
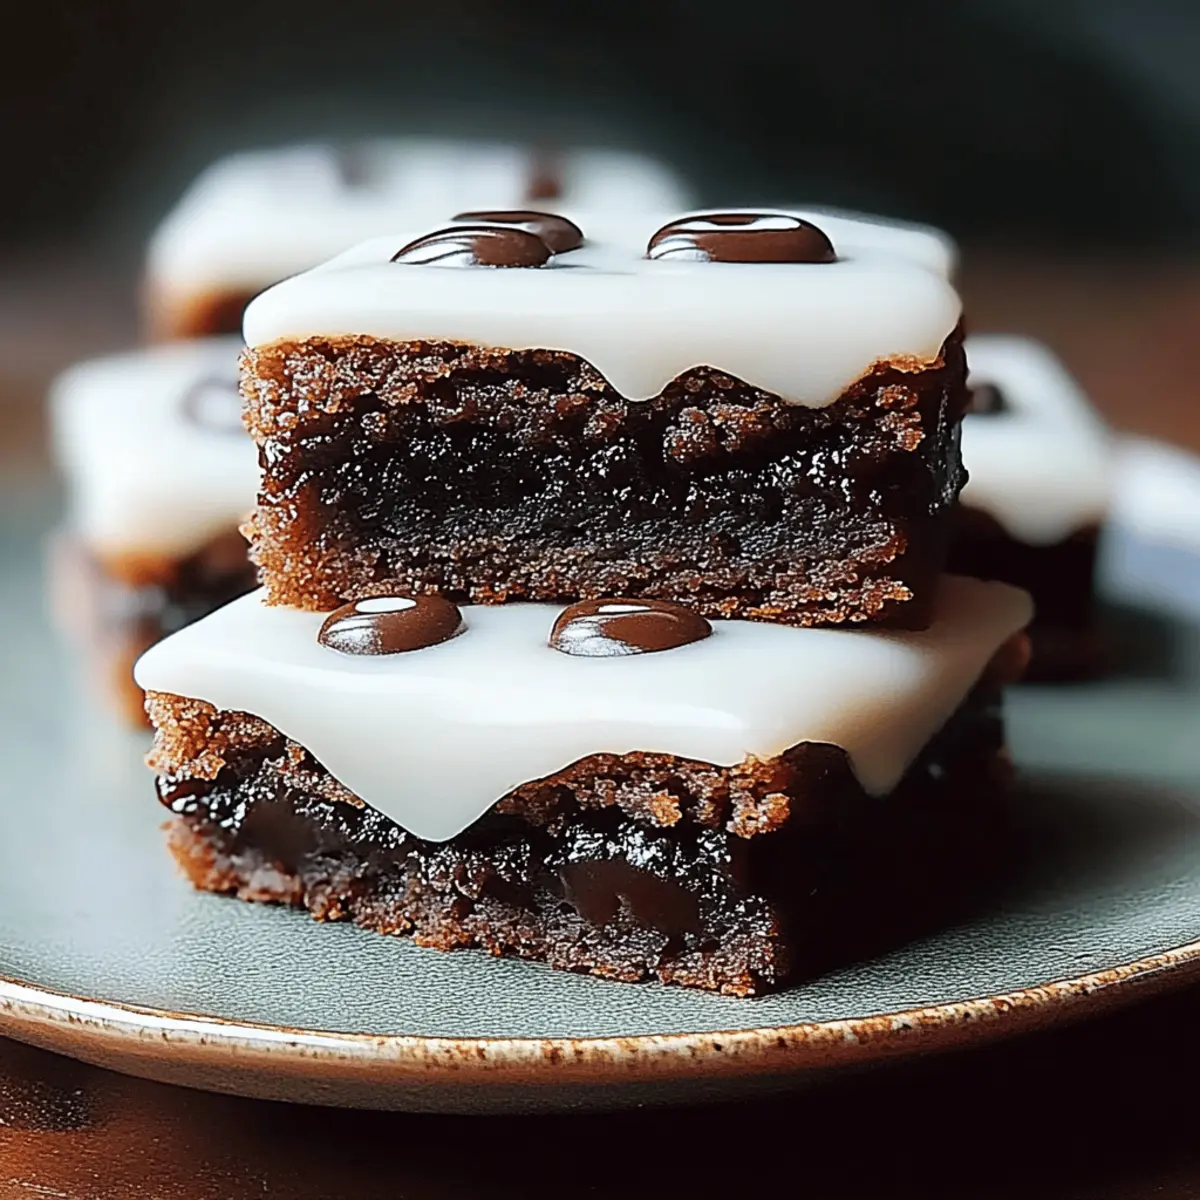
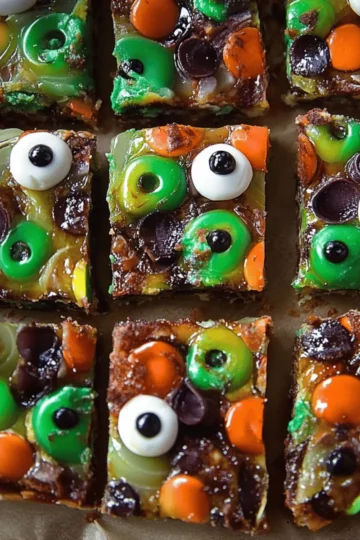
As the first cool whispers of autumn breeze through my kitchen, I can't help but unleash some sweet magic. Enter Mummy Brownies, the perfect treat to bring a touch of playful spookiness into your baking routine! Not only are these fudgy delights a crowd-pleaser that will charm both kids and adults alike, but they’re also kid-friendly in preparation—perfect for a fun afternoon project. In just 45 minutes, you can whip up a unique dessert that rivals any store-bought treat, all while engaging your loved ones in the kitchen. So, who’s ready to unearth the secrets to these ghoulishly delightful brownies adorned with sugary ribbons? Let’s dive into this enchanting recipe!
Why Are Mummy Brownies a Must-Try?
Spooktacular Fun: These Mummy Brownies bring a festive twist to your baking, making them an ideal choice for Halloween gatherings or family nights.
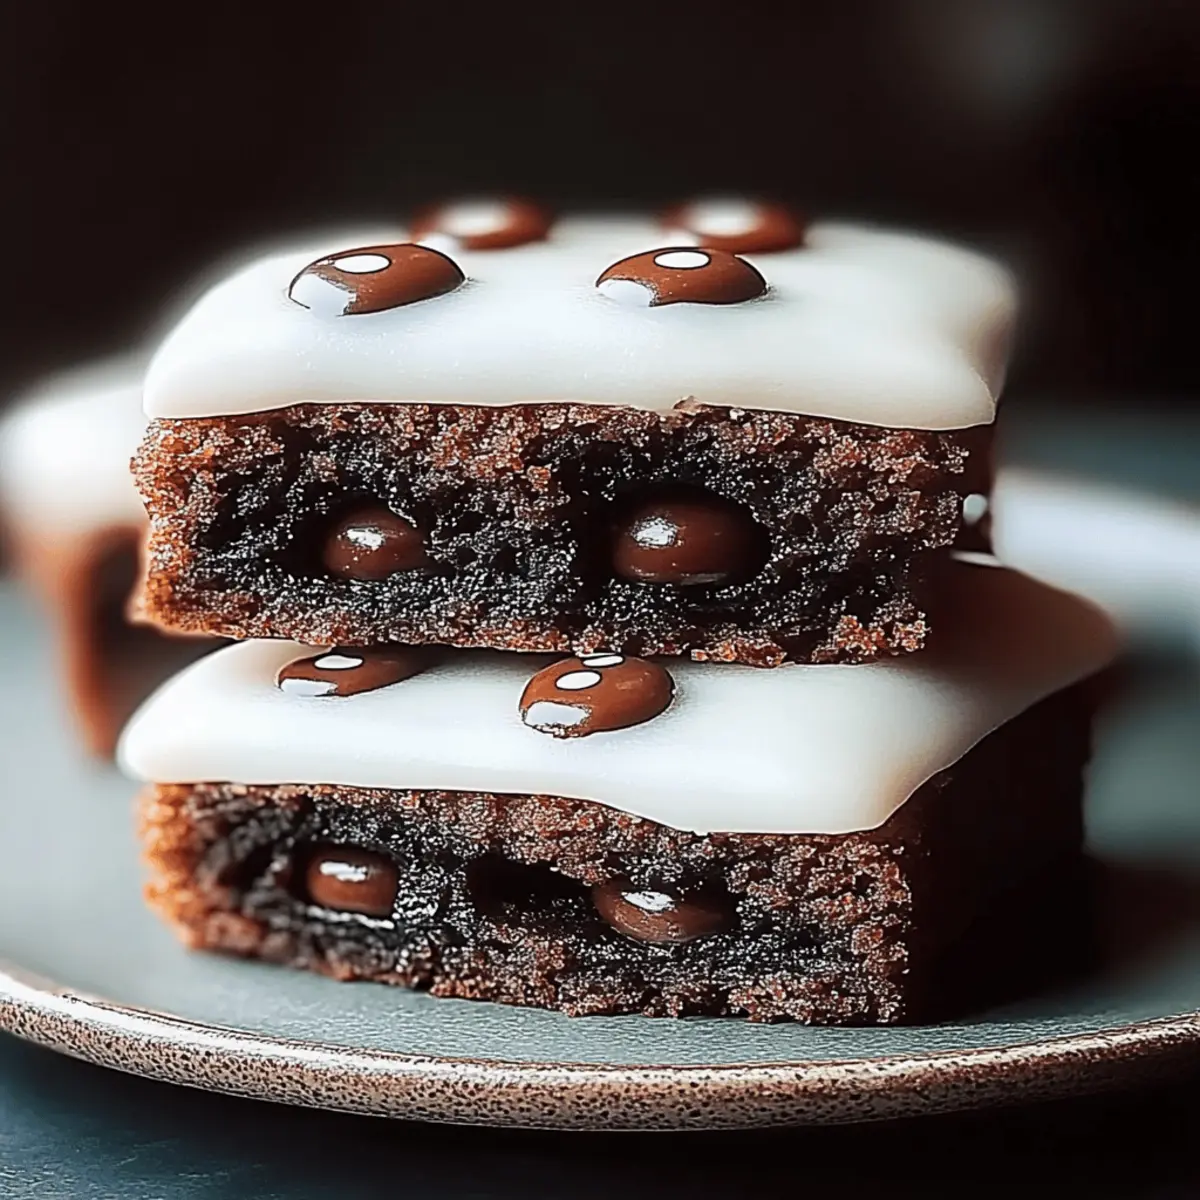
Fudgy Sensation: With a rich cocoa base, each bite delivers a chocolatey indulgence that’s impossible to resist—who can say no to fudgy goodness?
Easy to Make: The straightforward recipe allows novice bakers to shine, ensuring that everyone can participate in the spooky fun without stress.
Creative Decoration: Let your imagination run wild when decorating the brownies; they’re perfect for adding a personal touch with icing and candy eyes!
Crowd-Pleasing Delight: Whether you’re serving kids or adults, these treats will surely be the highlight of any gathering. Plus, while you’re at it, check out tips on how to elevate your dessert game for even more festive ideas!
Mummy Brownie Ingredients
• Dive into a chocolaty treat!
For the Brownies
- Unsweetened cocoa powder – It delivers that deep chocolate flavor, making your Mummy Brownies irresistibly rich.
- Granulated sugar – This sweetener balances the cocoa's bitterness perfectly; consider using brown sugar for extra moisture!
- All-purpose flour – Essential for structure, but be careful not to overmix to maintain a fudgy texture.
- Large eggs – These act as a binder; using room-temperature eggs helps achieve a smoother batter.
- Unsalted butter (melted) – Adds richness and helps create that fudgy consistency; melted butter should cool a bit before mixing in.
For the Decoration
- White icing – This is key for creating spooky mummy wrappings; feel free to add food coloring for festive flair!
- Candy eyes – These adorable decorations bring your Mummy Brownies to life and can be found or made at home!
Get ready to create a heavenly batch of these Mummy Brownies that are not only delicious but also fun to make!
Step‑by‑Step Instructions for Mummy Brownies
Step 1: Preheat the Oven
Start by preheating your oven to 350°F (175°C). While it's heating, take a moment to grease a baking pan with butter or line it with parchment paper to ensure your Mummy Brownies won’t stick. This preparation step is key, as it sets the stage for perfectly baked brownies—crucial for achieving that dreamy fudgy texture!
Step 2: Whisk the Dry Ingredients
In a large mixing bowl, combine 1 cup of unsweetened cocoa powder, 1 cup of granulated sugar, a pinch of salt, and 1 cup of all-purpose flour. Use a whisk to blend the dry ingredients thoroughly until the mixture appears homogenous. This crucial step helps evenly distribute the cocoa and sugar, ensuring every bite of your Mummy Brownies is as deliciously decadent as the last!
Step 3: Melt the Butter and Mix the Eggs
In a separate bowl, melt ½ cup of unsalted butter in the microwave or on the stovetop. Let it cool slightly, then whisk in 2 large eggs until the mixture is smooth and cohesive. This mixture will create a rich base for your Mummy Brownies, adding moisture and enhancing the overall fudginess of our delightful treat!
Step 4: Combine the Wet and Dry Ingredients
Gradually pour the wet mixture into the dry ingredients, stirring gently until just combined. Be careful not to overmix, as maintaining that fudgy texture is key to these Mummy Brownies. The batter should be thick and visually enticing, beckoning you with its rich, chocolatey aroma that fills your kitchen!
Step 5: Bake the Brownies
Spread the brownie batter evenly into the prepared pan using a spatula. Place it in the oven and bake for 25-30 minutes, tracking the time closely. Check for doneness by inserting a toothpick; it should come out with a few moist crumbs attached. This balance ensures your Mummy Brownies remain fudgy and delightful!
Step 6: Cool and Cut the Brownies
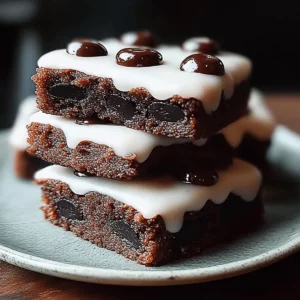
Once baked to perfection, remove the brownies from the oven and let them cool in the pan for about 10-15 minutes. Then, gently lift them out of the pan and transfer to a wire rack to cool completely. After they have cooled, cut them into squares—each piece will soon become a canvas for your spooky decorations!
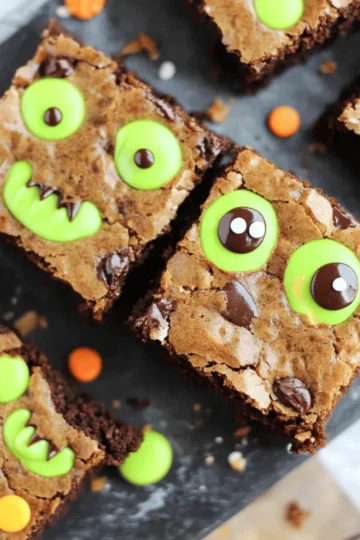
Step 7: Decorate Your Mummy Brownies
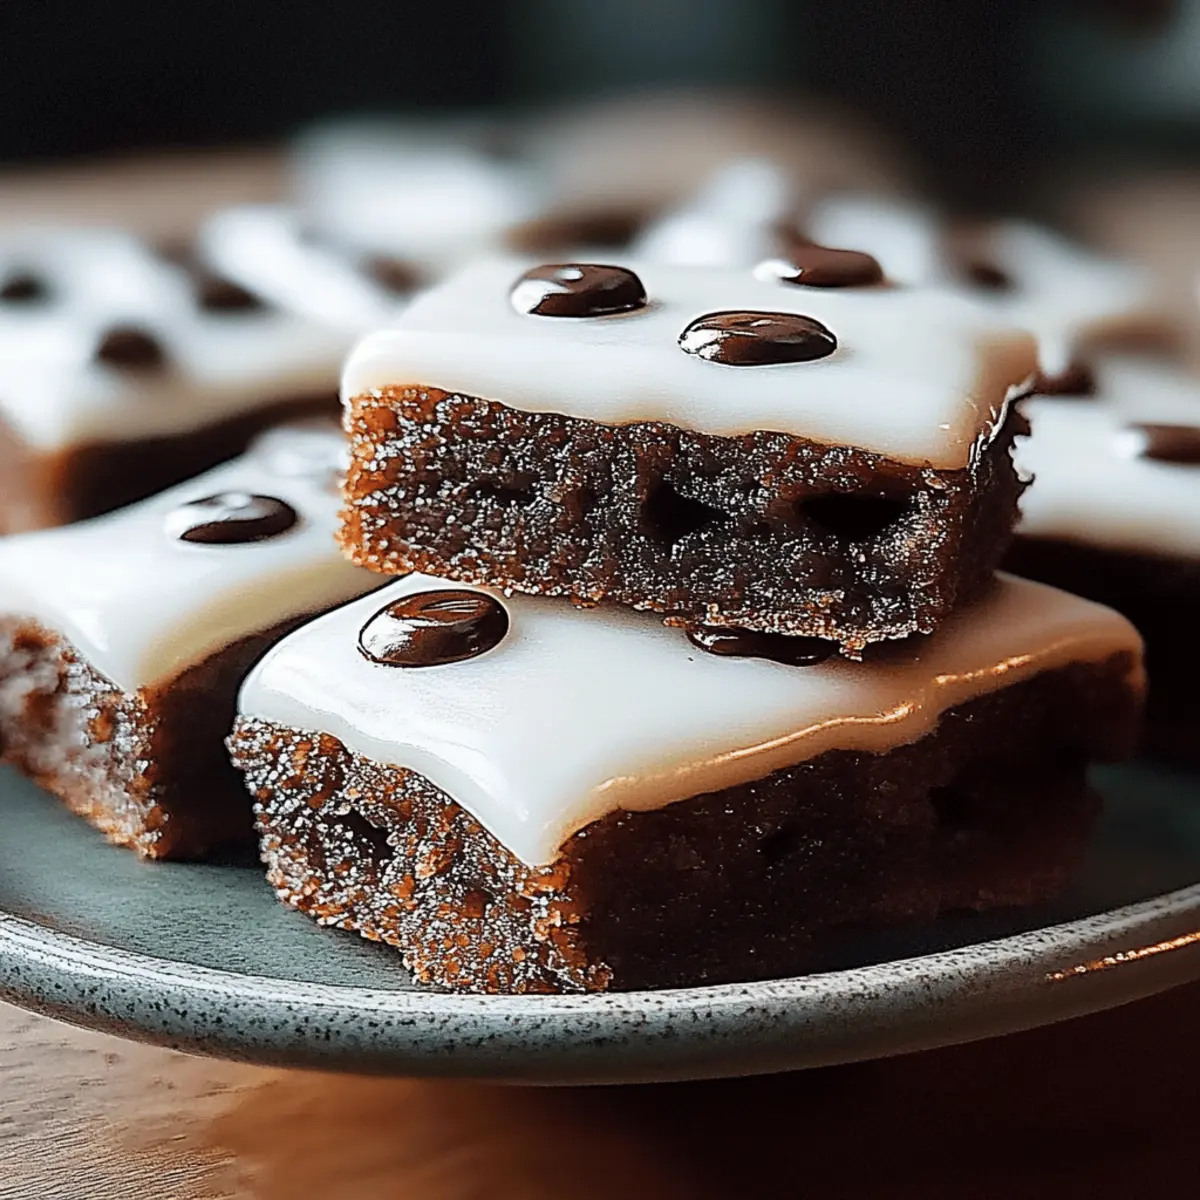
With your brownies now cut, it’s time to unleash your creativity! Use white icing to create zigzag patterns for mummy wrappings on top of each brownie square. Don’t forget to add candy eyes to bring your Mummy Brownies to life! This step is where the fun really begins, turning your delicious brownies into adorable, spooky treats perfect for any occasion!
Expert Tips for Mummy Brownies
Fudginess Factor: Keep the batter slightly under-mixed to achieve that perfect fudgy texture; overmixing can lead to dry brownies.
Egg Temperature: Use room-temperature eggs for smooth blending, ensuring they incorporate well into the melted butter mixture.
Perfect Baking: Check your brownies a couple of minutes before the timer goes off; ovens can vary, and you want that perfect gooey consistency!
Decoration Fun: Allow brownies to cool completely before icing; warm brownies can cause icing to melt and lose its shape.
Candy Eyes: Use chocolate chips or M&M's if candy eyes aren't available; they add charm and personality to your Mummy Brownies!
How to Store and Freeze Mummy Brownies
Room Temperature: Allow Mummy Brownies to cool completely, then store them in an airtight container for up to 3 days to keep them fresh and fudgy.
Fridge: For extended freshness, these brownies can be kept in the fridge for up to a week; ensure they’re well-wrapped to avoid drying out.
Freezer: If you want to enjoy these delicious treats later, freeze Mummy Brownies in a single layer in airtight bags for up to 3 months. Thaw at room temperature before serving.
Reheating: To revive that fudgy texture, warm individual pieces in the microwave for 10-15 seconds; enjoy that gooey delight of your Mummy Brownies all over again!
Mummy Brownies Variations & Substitutions
Feel free to make these Mummy Brownies your own with these fun and easy substitutions that just might surprise you!
-
Dairy-Free: Swap unsalted butter for coconut oil or a dairy-free butter alternative to keep the fudgy texture without dairy.
-
Gluten-Free: Replace the all-purpose flour with a gluten-free flour blend; ensure it contains xanthan gum for the right structure.
-
Nutty Twist: Stir in ½ cup of finely chopped nuts like walnuts or pecans for added crunch and a hearty flavor.
-
Minty Magic: Add a few drops of peppermint extract to the batter for a refreshing twist that complements the chocolate beautifully. Mint and chocolate together create a delightful pairing.
-
Spicy Kick: Incorporate a pinch of cayenne or chili powder into the batter for a surprising heat that plays well with the sweetness of the brownies.
-
Flavored Icing: Use chocolate or caramel icing in place of white icing for a different yet delicious flavor; this will change up the appearance too!
-
Mix-In Fun: Add chocolate chips, mini marshmallows, or crushed candy bars into the brownie batter for an indulgent surprise in every bite.
-
Vegan Option: Substitute eggs with flax eggs made by mixing 1 tablespoon of ground flaxseed with 2.5 tablespoons of water for a vegan-friendly version.
These creative swaps are just a few ways to keep things exciting in your baking adventure! Don't forget to check out more on how to elevate your dessert game for inspiration on unique flavor combinations and techniques!
What to Serve with Mummy Brownies?
Elevate your dessert experience with tempting pairings that bring out the best in these chocolatey ghouls!
- Vanilla Ice Cream: A classic pairing, the creamy richness of vanilla ice cream beautifully contrasts with the brownies’ fudginess and completes that comforting dessert.
- Pumpkin Spice Latte: Embrace the flavors of fall! This spiced drink adds warmth and a festive touch, perfect for enjoying alongside your Mummy Brownies.
- Chilled Milk: A traditional choice that enhances the chocolate experience, the coolness of milk balances the rich sweetness of the brownies.
- Whipped Cream: Light and airy, this topping adds a delightful creaminess that complements the dense texture, plus it’s perfect for artful presentations!
- Fresh Berries: Juicy strawberries or raspberries introduce a vibrant freshness that cuts through the chocolate richness for a well-rounded treat.
- Trail Mix: Combine sweet and salty with a mix of nuts, dried fruits, and chocolate bits, offering a crunchy contrast to the smooth brownies.
- Caramel Sauce: Drizzle this decadently sweet addition atop your brownies or serve it on the side for an indulgent dip!
- Hot Chocolate: Embrace a double dose of chocolatey goodness! A steaming cup of cocoa surrounded by your Mummy Brownies is cozy autumn bliss.
- Peanut Butter Drizzle: For a nutty twist, drizzle warm peanut butter over your brownies. The combination of chocolate and peanut butter is simply divine!
Make Ahead Options
These Mummy Brownies are a fantastic choice for meal prep, allowing you to savor their fudgy goodness with minimal effort on busy days! You can prepare the batter up to 24 hours in advance; simply mix the dry ingredients and combine with the wet mixture, then transfer it to an airtight container. To maintain their rich flavor and fudginess, be sure to refrigerate the batter until you're ready to bake. When you're set to serve, just preheat the oven and pour the batter into your prepared pan, baking as instructed. Enjoy the time-saving convenience and the delightful aroma that fills your kitchen when you finally indulge in these spooky treats!
Mummy Brownies Recipe FAQs
How do I choose the right cocoa powder for Mummy Brownies?
Absolutely! Look for high-quality unsweetened cocoa powder, as it provides a deep, rich chocolate flavor. I often recommend using Dutch-processed cocoa for a smoother taste and darker color, but regular unsweetened cocoa works beautifully too. Just avoid cocoa mixes that contain added sugars or preservatives, as they can alter the sweetness and overall texture of your brownies.
What is the best way to store leftover Mummy Brownies?
To keep your Mummy Brownies fresh and fudgy, let them cool completely, then store them in an airtight container at room temperature for up to 3 days. If you wish to keep them longer, refrigerate for up to a week, but remember to wrap them securely to prevent them from drying out. If you're a fan of that straight-from-the-oven sensation, I suggest reheating them briefly in the microwave!
Can I freeze Mummy Brownies, and how?
Yes, you can! To freeze your Mummy Brownies, first ensure they are completely cooled. Cut them into squares and place them in a single layer in an airtight container or sealable freezer bag. They can be frozen for up to 3 months. When you're ready to indulge, simply thaw them in the refrigerator overnight or at room temperature for a few hours. If you want to enjoy that fresh-baked taste again, heat them in the microwave for about 10-15 seconds.
What should I do if my brownies turn out too dry or crumbly?
Very good question! If your Mummy Brownies are dry, you likely overmixed the batter or baked them for too long. To avoid this, mix until just combined, and check them a few minutes before the indicated baking time. If you're dealing with already baked brownies, try adding a dollop of ice cream or a drizzle of warm chocolate sauce to revive their moisture and taste!
Are Mummy Brownies safe for pets?
Absolutely not. While these brownies are a delicious treat for humans, the ingredients, especially sugar and chocolate, are harmful to pets. If you’re looking to include your furry friends in baking fun, consider making dog-friendly treats with ingredients like peanut butter and oats instead!
Can I modify Mummy Brownies to make them gluten-free?
Yes, definitely! To adapt Mummy Brownies for a gluten-free diet, replace the all-purpose flour with a gluten-free flour blend, ensuring it contains xanthan gum for proper texture. Also, check that your cocoa powder and other ingredients are certified gluten-free. It’s an easy switch that retains that wonderful fudginess while catering to those who are gluten-sensitive!
Mummy Brownies for Spooky Fun and Fudgy Bliss
Equipment
- Mixing bowl
- Whisk
- Spatula
- Baking Pan
- Oven
- wire rack
Ingredients
For the Brownies
- 1 cup unsweetened cocoa powder Delivers deep chocolate flavor
- 1 cup granulated sugar Balances cocoa's bitterness
- 1 cup all-purpose flour Essential for structure
- 2 large eggs Use room-temperature for smooth batter
- ½ cup unsalted butter (melted) Adds richness
For the Decoration
- 1 cup white icing Key for spooky mummy wrappings
- as needed candy eyes Bring brownies to life
Instructions
Step‑by‑Step Instructions for Mummy Brownies
- Preheat the oven to 350°F (175°C) and grease a baking pan or line with parchment paper.
- In a large mixing bowl, whisk together cocoa powder, granulated sugar, salt, and flour.
- In a separate bowl, melt the butter, let it cool, then whisk in the eggs.
- Gradually mix the wet ingredients into the dry ingredients until just combined.
- Spread the batter in the baking pan and bake for 25-30 minutes.
- Allow the brownies to cool for 10-15 minutes in the pan before transferring to a wire rack.
- Decorate with white icing and candy eyes to create mummy faces.
Leave a Reply