
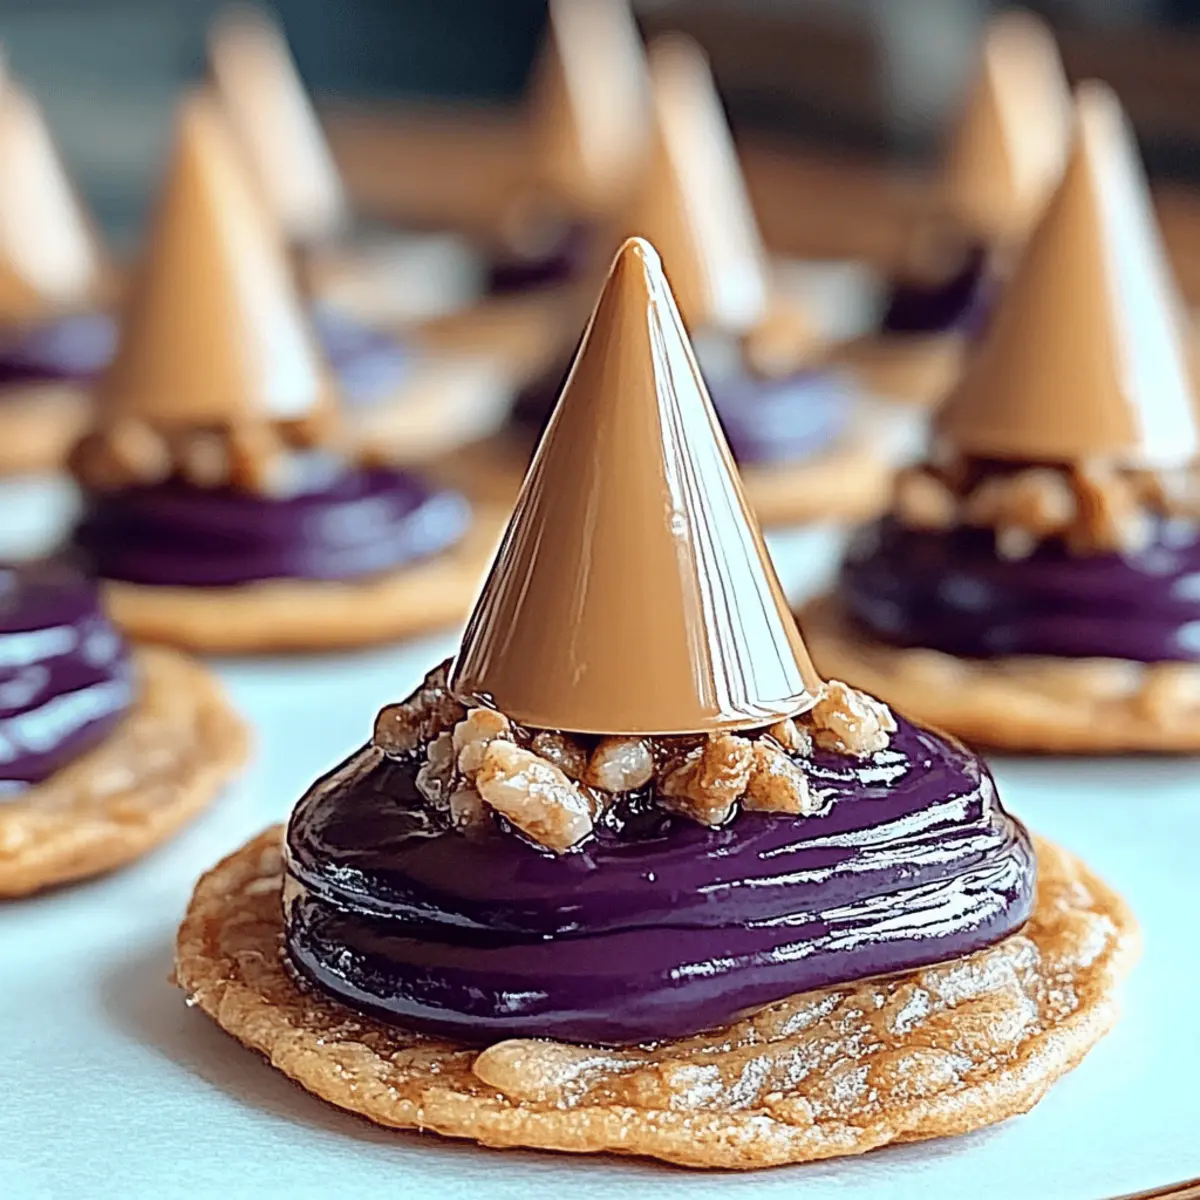
There’s something enchanting about the scent of cookies wafting through the house, and today, I’m thrilled to share my favorite recipe for Witchy Cookies. As I whip up this delightful treat, I can’t help but imagine how each decadent bite—with its rich chocolate chips and buttery goodness—will evoke childhood memories of indulging in homemade sweets. These cookies are not only a quick and easy bake, ready in under 30 minutes, but they also have a magical quality that makes them perfect for gatherings or cozy nights in. Plus, their irresistible charm makes them a fun project to tackle with kids or friends. Are you ready to conjure up some mouthwatering magic in your kitchen?
Why Are These Witchy Cookies Irresistible?
Magical flavors come alive with every bite, thanks to the perfect balance of semi-sweet chocolate chips and rich butter. Quick prep means you’ll have homemade goodness in just 27 minutes, making it a stellar choice for busy days. Crowd-pleaser appeal guarantees smiles from family and friends alike, making them ideal for gatherings or movie nights. Want to elevate your cookie game? Try these alongside a warm mug of homemade hot chocolate for an unforgettable experience! Plus, check out our tips on how to elevate your baking for even more delicious treats.
Witchy Cookies Ingredients
• Get ready to bake some magic!
For the Cookie Dough
- All-purpose flour – A key base that gives structure to your Witchy Cookies.
- Baking soda – Helps your cookies rise, ensuring a soft and chewy texture.
- Sea salt – Enhances the sweetness and balances flavors perfectly.
- Unsalted butter – Adds richness; make sure it’s at room temperature for easy mixing.
- Granulated sugar – Contributes to sweetness and color for those golden edges.
- Brown sugar – Packed with molasses, it adds moisture and a lovely caramel flavor.
- Large eggs – Provide binding and moisture for a tender cookie.
- Vanilla extract – A splash of warmth that rounds out the flavor beautifully.
- Chocolate chips – Grab some semi-sweet or dark for a decadent touch; chocolate lovers rejoice!
That's it! With these magical ingredients, you're all set to create the dreamiest Witchy Cookies that everyone will adore. Happy baking!
Step‑by‑Step Instructions for Witchy Cookies
Step 1: Preheat the Oven
Begin by preheating your oven to 350°F (175°C). This temperature is crucial for baking your Witchy Cookies to a perfect golden brown. While the oven warms up, get ready by gathering your ingredients and lining baking sheets with parchment paper to ensure easy cleanup later.
Step 2: Mix Dry Ingredients
In a medium bowl, whisk together 2 ¼ cups of all-purpose flour, 1 teaspoon of baking soda, and ½ teaspoon of sea salt. The whisking helps aerate the flour mixture, ensuring your cookies will be light and fluffy. Set this bowl aside as you move on to the next step, making sure you keep an eye on that warm oven.
Step 3: Cream the Butter and Sugars
In a large mixing bowl, beat together 1 cup of room temperature unsalted butter, ¾ cup of granulated sugar, and ¾ cup of packed brown sugar. Use a hand or stand mixer on medium speed for about 3 minutes until the mixture is creamy and fluffy. You’ll know it’s ready when it’s light in color and has a velvety texture.
Step 4: Add Eggs and Vanilla
Next, add 2 large eggs to the creamy butter and sugar mixture, one at a time, mixing well after each addition. Pour in 2 teaspoons of vanilla extract, incorporating it smoothly until everything is fully combined. The mixture should look rich and luscious, setting the stage for your delicious Witchy Cookies.
Step 5: Combine Wet and Dry Ingredients
Gradually add the dry flour mixture to the wet ingredients, mixing on low speed until just combined. Be careful not to overmix, as this can lead to tough cookies. After a few gentle folds with a spatula, the dough should be thick and slightly sticky, indicating it’s ready for the chocolate chips!
Step 6: Fold in Chocolate Chips
Now, it’s time to fold in 2 cups of chocolate chips, stirring gently until they’re evenly distributed throughout the dough. This step brings the magic of your Witchy Cookies alive, as the chocolate morsels will melt beautifully while baking. The mixture should now look delightful and decadent, ready for the baking sheet.
Step 7: Shape the Cookies
Using a cookie scoop or spoon, drop generous spoonfuls of dough onto your lined baking sheets, leaving space between each mound. Aim for uniform sizes to ensure even baking. The cookies should be slightly rounded and overflowing with chocolate chips—the perfect start to your Witchy Cookies.
Step 8: Bake and Watch for Doneness
Place the baking sheets in the preheated oven and bake for 10-12 minutes. Keep an eye on them; they should be golden around the edges while still soft in the center. Once they’re done, the heavenly aroma will fill your kitchen, tempting you to enjoy one right away.
Step 9: Cool Before Serving
After baking, let the cookies cool on the baking sheets for a few minutes before transferring them to wire racks. This cooling time allows them to set properly, ensuring that your Witchy Cookies have the perfect chewy texture. Once cooled, they’re ready to be enjoyed or shared with family and friends!
Expert Tips for Witchy Cookies
- Room Temperature Butter: Use butter that's truly softened; cold butter won’t cream properly with sugars, leading to dense cookies.
- Avoid Overmixing: Once you combine the wet and dry ingredients, mix just until combined to keep your Witchy Cookies tender and fluffy.
- Cookie Sizes Matter: Ensure uniform cookie sizes for even baking—this prevents some cookies from being overcooked while others are underbaked.
- Watch the Oven: Keep an eye on cookies as they bake; they should be golden around the edges but still soft in the center for that perfect texture.
- Cooling Time Counts: Let cookies cool on the baking sheets for a few minutes. This helps them set and achieve that delightful chewy texture.
Witchy Cookies Variations & Substitutions
Feel free to sprinkle your own magic on these cookies with these delightful twists and swaps!
-
Gluten-Free: Substitute all-purpose flour with a 1:1 gluten-free flour blend for a delightful alternative that everyone can enjoy.
-
Dairy-Free: Replace unsalted butter with coconut oil or a dairy-free butter substitute for a rich, non-dairy option that’s sure to please.
-
Nutty Delight: Add ½ cup of chopped nuts like walnuts or pecans to the dough for a satisfying crunch with every bite of your cookies.
-
Spicy Kick: Stir in a teaspoon of cinnamon or a pinch of cayenne pepper for a warm, spicy flavor that's perfect for cozy evenings.
-
Chewy Caramel: Keep things interesting by adding ½ cup of caramel bits alongside the chocolate chips for a sweet surprise in every mouthful.
-
Fruit Twist: Toss in ½ cup of dried cranberries or cherries for a fruity flavor that adds both tartness and chewy texture to your cookies. This delightfully elevates your traditional cookie recipe.
-
Extra Chocolatey: Use a mix of chocolate chips—try some white chocolate or butterscotch chips as a fun twist for a creamy contrast.
-
Frozen Treat: Prepare a dough log, freeze it, then slice and bake fresh cookies whenever the craving strikes. It’s the perfect way to whip up a quick treat on a whim!
These variations not only keep your baking exciting but also create new memories with each twist you add. Looking for more inspiration? Check out how to elevate your baking—we all deserve a little extra magic in our kitchens!
How to Store and Freeze Witchy Cookies
Fridge: Store your Witchy Cookies in an airtight container for up to 5 days to keep them fresh and delicious. They are best enjoyed soft and chewy!
Freezer: For longer storage, freeze your cookies in a single layer on a baking sheet. Once frozen solid, transfer them to a freezer-safe bag, where they can last up to 3 months.
Reheating: To enjoy freshly-baked flavors, reheat frozen cookies in the oven at 350°F (175°C) for about 5-7 minutes. This brings back their delightful softness.
Room Temperature: If you plan to enjoy them within a couple of days, they can sit in a covered container at room temperature, but they're likely to disappear quickly!
What to Serve with Witchy Cookies
Savoring these enchanting cookies creates a magical moment, and pairing them well can elevate your cozy experience even further.
- Glass of Milk: The classic choice, cold milk complements the chocolatey richness, making each bite a nostalgic delight.
- Vanilla Ice Cream: A scoop of creamy vanilla brings a luscious contrast, perfect for creating an indulgent cookie sundae.
- Fruit Medley: A fresh fruit bowl adds a burst of color and sweetness, balancing the sweetness of the cookies beautifully.
- Hot Chocolate: Sip on warm, velvety hot chocolate beside your Witchy Cookies for a comforting treat that's utterly irresistible.
- Coffee or Espresso: A warm cup of coffee enhances the flavors, offering a delightful blend of sweetness and warming notes.
- Pumpkin Spice Latte: Capture the fall vibes with this seasonal favorite, adding cozy spice and creamy goodness to your dessert experience.
- Chocolate Fondue: For a fun twist, serve these cookies with a side of melted chocolate for dipping, turning each bite into an adventure.
- Pear Tart: A slice of this tart brings a subtle sweetness and textural contrast, cleansing the palate beautifully between cookies.
- Caramel Sauce: Drizzle warm caramel over the cookies for an extra layer of decadence, making each bite ooze with sweet perfection.
- Chai Tea: This spiced tea offers warmth and rich flavors, adding a harmonious contrast to the chocolate within the cookies.
Make Ahead Options
These Witchy Cookies are perfect for meal prep enthusiasts! You can prepare the cookie dough up to 24 hours in advance. Simply complete steps 1-6, then cover the bowl tightly with plastic wrap and refrigerate to keep the dough fresh. If you’d like to prepare them even further out, you can scoop the dough into balls on the baking sheet and freeze them for up to 3 months. Just place the frozen dough on the sheets, bake directly from the freezer for an extra minute or two, and enjoy just as delightful cookies! Maintaining this prep will ensure that your cookies remain soft and flavorful, making them a quick treat for busy days.

Witchy Cookies Recipe FAQs
How do I know if my ingredients are ripe or fresh?
For the best results, ensure your butter is at room temperature—this means it should be soft enough to make an indentation when pressed. Check your eggs for freshness by placing them in a bowl of water; if they sink, they're good to use! For flour, look for a clean, dry texture without clumps or dark spots. If you're using chocolate chips, make sure there's no unusual odor or discoloration.
How should I store my Witchy Cookies?
To keep your Witchy Cookies fresh, store them in an airtight container at room temperature for up to 5 days. If you want to enjoy them longer, place them in the refrigerator, but they may lose a little softness. For the best texture, I highly recommend enjoying them warm right out of the oven or reheated in the oven.
Can I freeze Witchy Cookies and how?
Absolutely! To freeze your Witchy Cookies, start by placing them in a single layer on a baking sheet and freeze until solid—this typically takes about 1-2 hours. Then, transfer them to a freezer-safe bag or airtight container, where they can be stored for up to 3 months. When you're ready to enjoy them, reheat in a preheated oven at 350°F (175°C) for 5-7 minutes for that fresh-baked taste.
What should I do if my cookies turn out too dry?
If you find your cookies are dry, it’s often due to overmixing or measuring too much flour. To prevent this, be cautious not to pack the flour into your measuring cup; spoon it into the cup and level it off instead. The dough should be thick yet slightly sticky. If cookies consistently turn out dry, consider reducing your baking time slightly or adding a touch more butter next time for moisture.
Are Witchy Cookies safe for pets or individuals with allergies?
Witchy Cookies contain common allergens, including gluten (from flour) and dairy (from butter), so they are not suitable for individuals with celiac disease or dairy allergies. It’s best to keep these cookies away from pets as chocolate can be toxic to dogs and cats. If you’re looking for alternatives for dietary restrictions, consider using gluten-free flour or a dairy-free butter substitute!
What if I want to add other ingredients to the cookies?
The more the merrier! You can easily customize your Witchy Cookies by adding nuts, dried fruits, or different types of chocolate. If you want to make them even more magical, consider adding a pinch of cinnamon or swapping out the vanilla for almond extract. Just make sure to keep the principle proportions of wet and dry ingredients in check for optimal baking results!
Magically Delicious Witchy Cookies for Cozy Nights
Equipment
- Oven
- Mixing bowls
- Whisk
- hand mixer
- Baking Sheets
- parchment paper
- Cookie scoop
Ingredients
For the Cookie Dough
- 2 ¼ cups all-purpose flour A key base that gives structure to your Witchy Cookies.
- 1 teaspoon baking soda Helps your cookies rise, ensuring a soft and chewy texture.
- ½ teaspoon sea salt Enhances the sweetness and balances flavors perfectly.
- 1 cup unsalted butter At room temperature for easy mixing.
- ¾ cup granulated sugar Contributes to sweetness and color for those golden edges.
- ¾ cup brown sugar Packed with molasses, it adds moisture and a lovely caramel flavor.
- 2 large eggs Provide binding and moisture for a tender cookie.
- 2 teaspoons vanilla extract A splash of warmth that rounds out the flavor beautifully.
- 2 cups chocolate chips Semi-sweet or dark for a decadent touch.
Instructions
Step-by-Step Instructions for Witchy Cookies
- Preheat your oven to 350°F (175°C). Line baking sheets with parchment paper.
- In a medium bowl, whisk together 2 ¼ cups of all-purpose flour, 1 teaspoon of baking soda, and ½ teaspoon of sea salt.
- In a large mixing bowl, beat together 1 cup of room temperature unsalted butter, ¾ cup of granulated sugar, and ¾ cup of packed brown sugar for about 3 minutes until creamy.
- Add 2 large eggs one at a time, mixing after each addition. Incorporate 2 teaspoons of vanilla extract.
- Gradually add the dry mixture to the wet ingredients, mixing on low speed until just combined.
- Fold in 2 cups of chocolate chips until evenly distributed throughout the dough.
- Drop spoonfuls of dough onto the prepared baking sheets, leaving space between each.
- Bake for 10-12 minutes until golden around the edges and soft in the center.
- Let cool on the baking sheets for a few minutes before transferring to wire racks.


Leave a Reply