
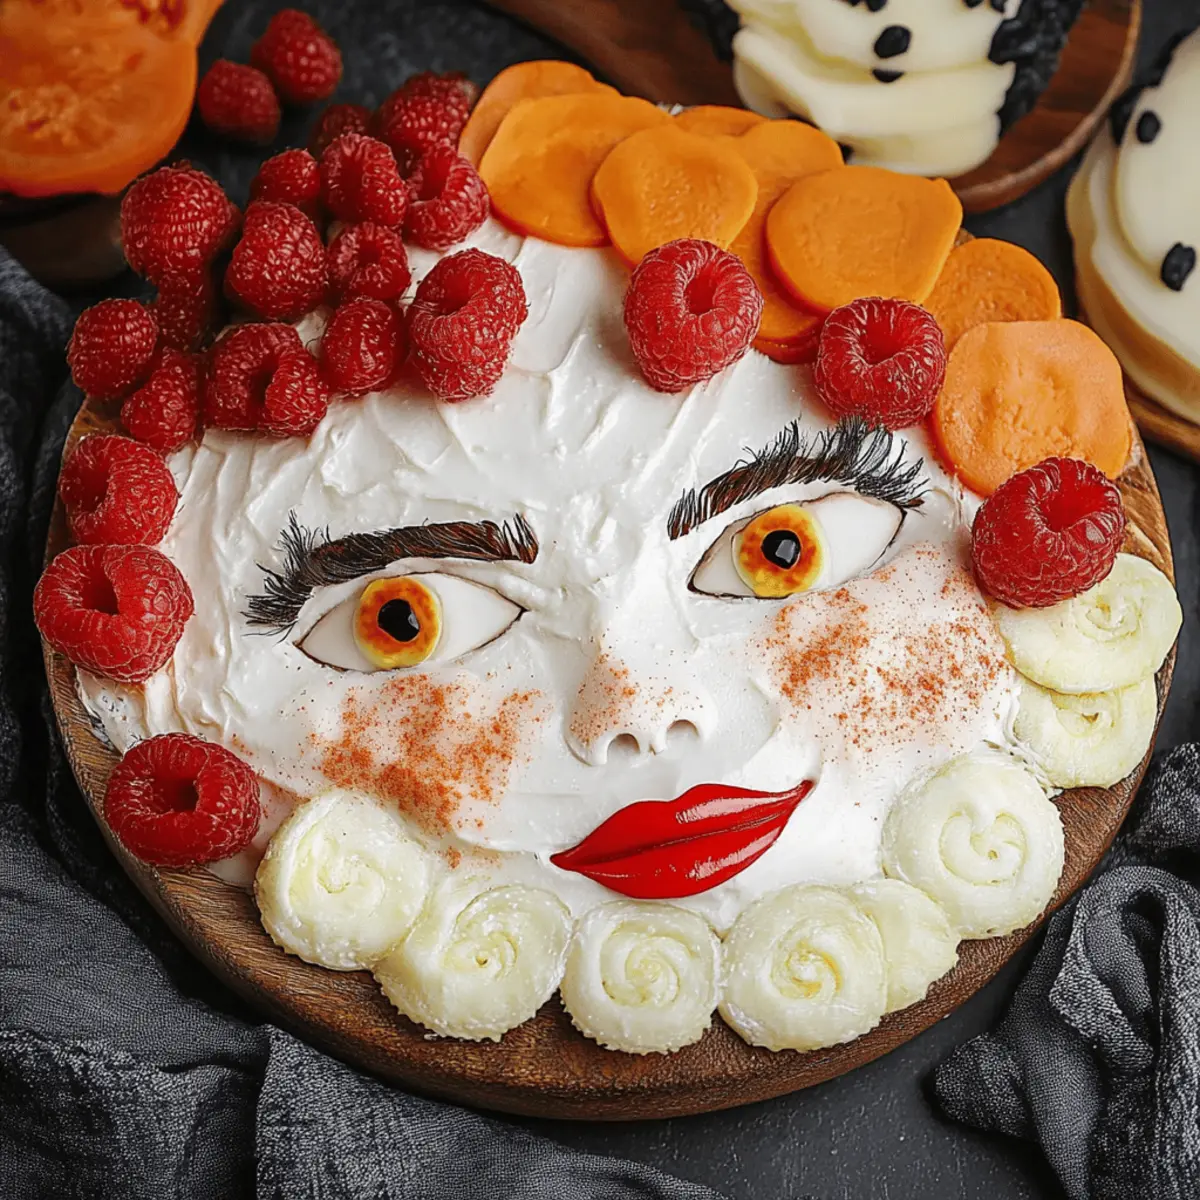
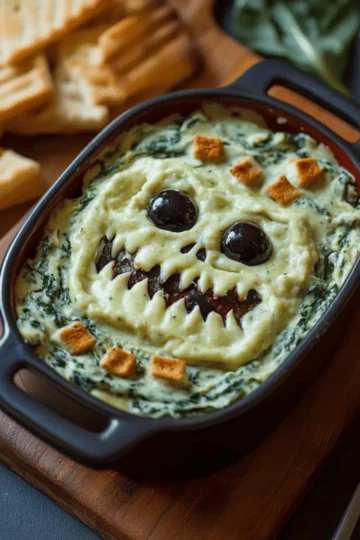
As the sun sets and Halloween whispers through the air, I’m reminded of the magic that unfolds with every whimsical bite. Enter the Hocus Pocus Snack Board—a delightful Halloween appetizer that transforms your table into a cauldron of fun and flavors. This customizable charcuterie board is not just a feast for the eyes; it’s a playful way to bring friends and family together, minus the chaos of fast food. With just 30 minutes of prep, you’ll conjure up a spellbinding spread featuring creamy brie, vibrant fruits, and crunchy snacks that even the Sanderson sisters would adore. Are you ready to create a masterpiece that will have everyone chanting for more? Let’s dive into the bewitching details of this festive delight!
Why Is This Snack Board a Must-Try?
Simplicity: This recipe comes together in just 30 minutes, making it the perfect easy-going project for the busy Halloween season.
Customizable: Mix and match your favorite snacks with endless combinations to suit everyone's taste.
Family Fun: Involve the kids or friends in decorating—it's a delightful activity that sparks creativity!
Eye-Catching Appeal: Beautifully arranged, this spooky board will be the centerpiece of your Halloween festivities, guaranteed to impress.
Crowd-Pleaser: Whether a cozy gathering or a lively party, this Hocus Pocus Snack Board will leave your guests enchanted and satisfied.
For even more fun ideas, try out some Halloween-themed appetizers to make your celebration even more festive!
Hocus Pocus Snack Board Ingredients
For the Base
• 3 wheels brie cheese – This creamy delight serves as the perfect canvas for your spooky decorations.
• Crackers or chips of choice – Choose your favorites to provide a satisfying crunch alongside the cheese.
For the Decorations
• Twizzlers pull and peel licorice – These add a sweet, playful touch for creating lips on the brie wheels.
• Black olives – Slice these for playful eyes that add character to each cheese wheel.
• Pepperoni – Rolled and speared with toothpicks, this savory treat makes for excellent hair on your spooky sisters.
For the Fruit Medley
• Blackberries – Pile these to craft Mary’s dark, luscious locks.
• Raspberries – Use these vibrant berries to represent Sarah’s flowing dress.
• Green grapes – These charming fruits can symbolize Winifred’s playful gown.
• Small oranges – Their bright hue adds a festive twist, complementing the other flavors.
For the Fun Extras
• Popcorn – Use it to create the whimsical hair for Sarah; it adds a delightful crunch!
• Sliced cheese of choice – Custom shapes can be cut with cookie cutters to fill in gaps and enhance the theme.
For Serving
• Toothpicks – Essential for easy serving and assembling your creative designs.
• Cookie cutter for cheese shapes (optional) – A fun way to elevate your snack board with themed cut-outs!
With these ingredients, your Hocus Pocus Snack Board will be as enchanting as it is delicious—perfect for captivating your guests this Halloween!
Step‑by‑Step Instructions for Hocus Pocus Snack Board
Step 1: Prepare the Base
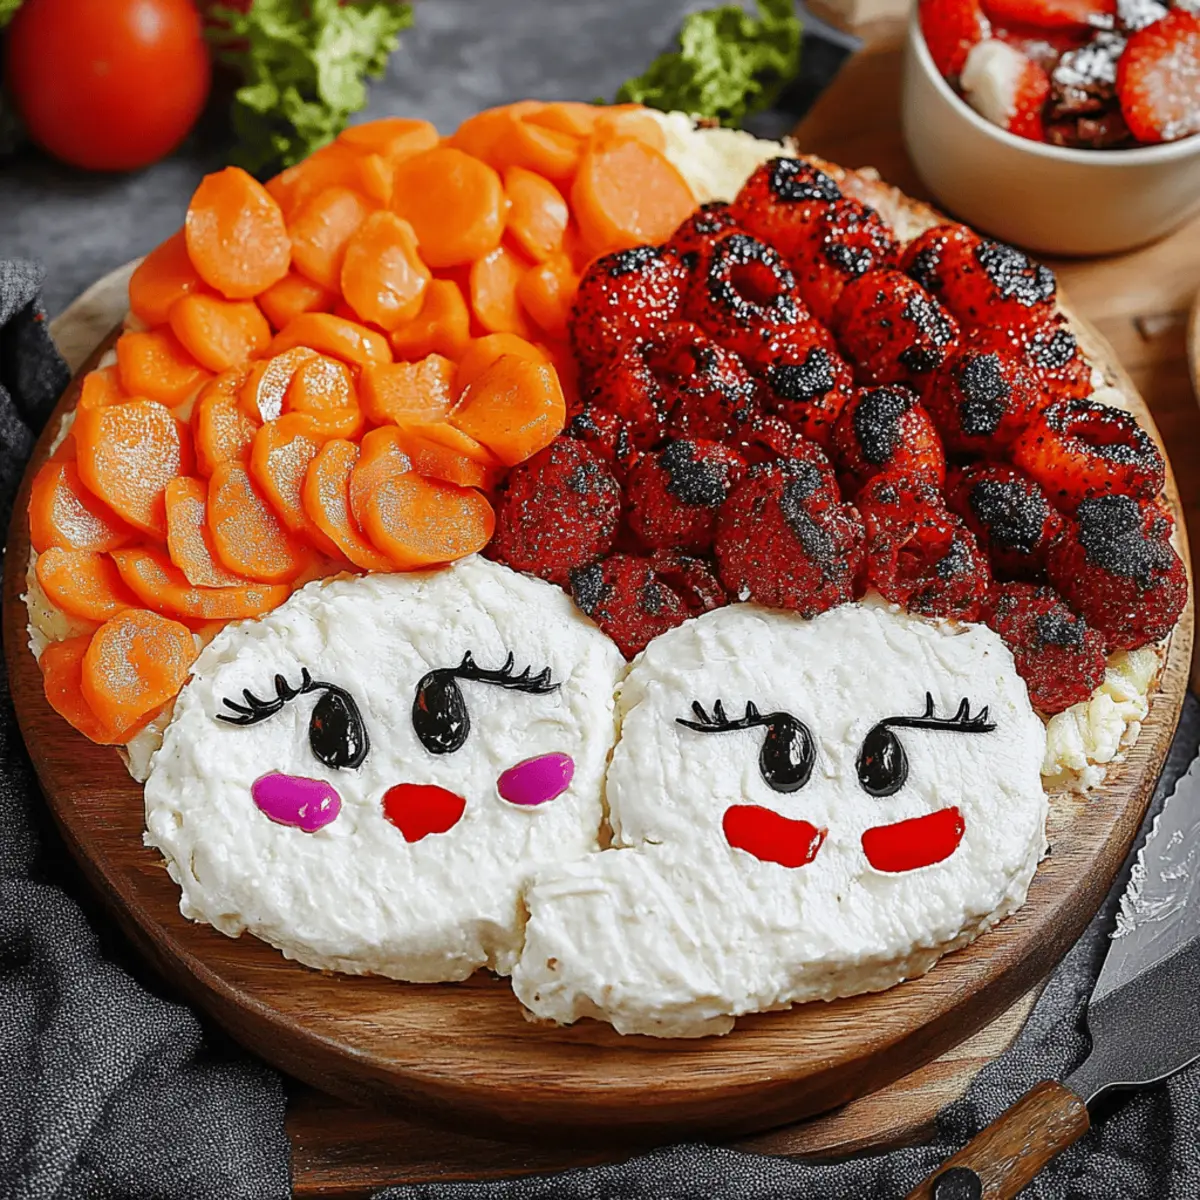
Start by placing the three wheels of brie cheese on your serving board, spreading them out to create a spacious and inviting layout. Ensure there's enough room for the designs you’ll be adding later. This step sets the foundation for your Hocus Pocus Snack Board, so aim for an attractive arrangement that draws the eye.
Step 2: Add the Twizzlers Lips
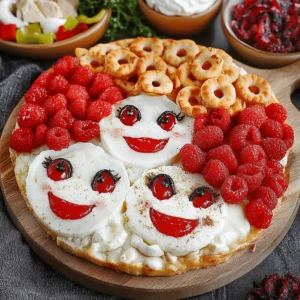
Next, take the Twizzlers pull and peel licorice and cut them into manageable lengths. Shape these colorful strips into lips, placing one on each brie wheel. This fun detail adds a whimsical touch to your snack board, making the cheese look like the faces of the Sanderson sisters.
Step 3: Create Playful Eyes with Olives
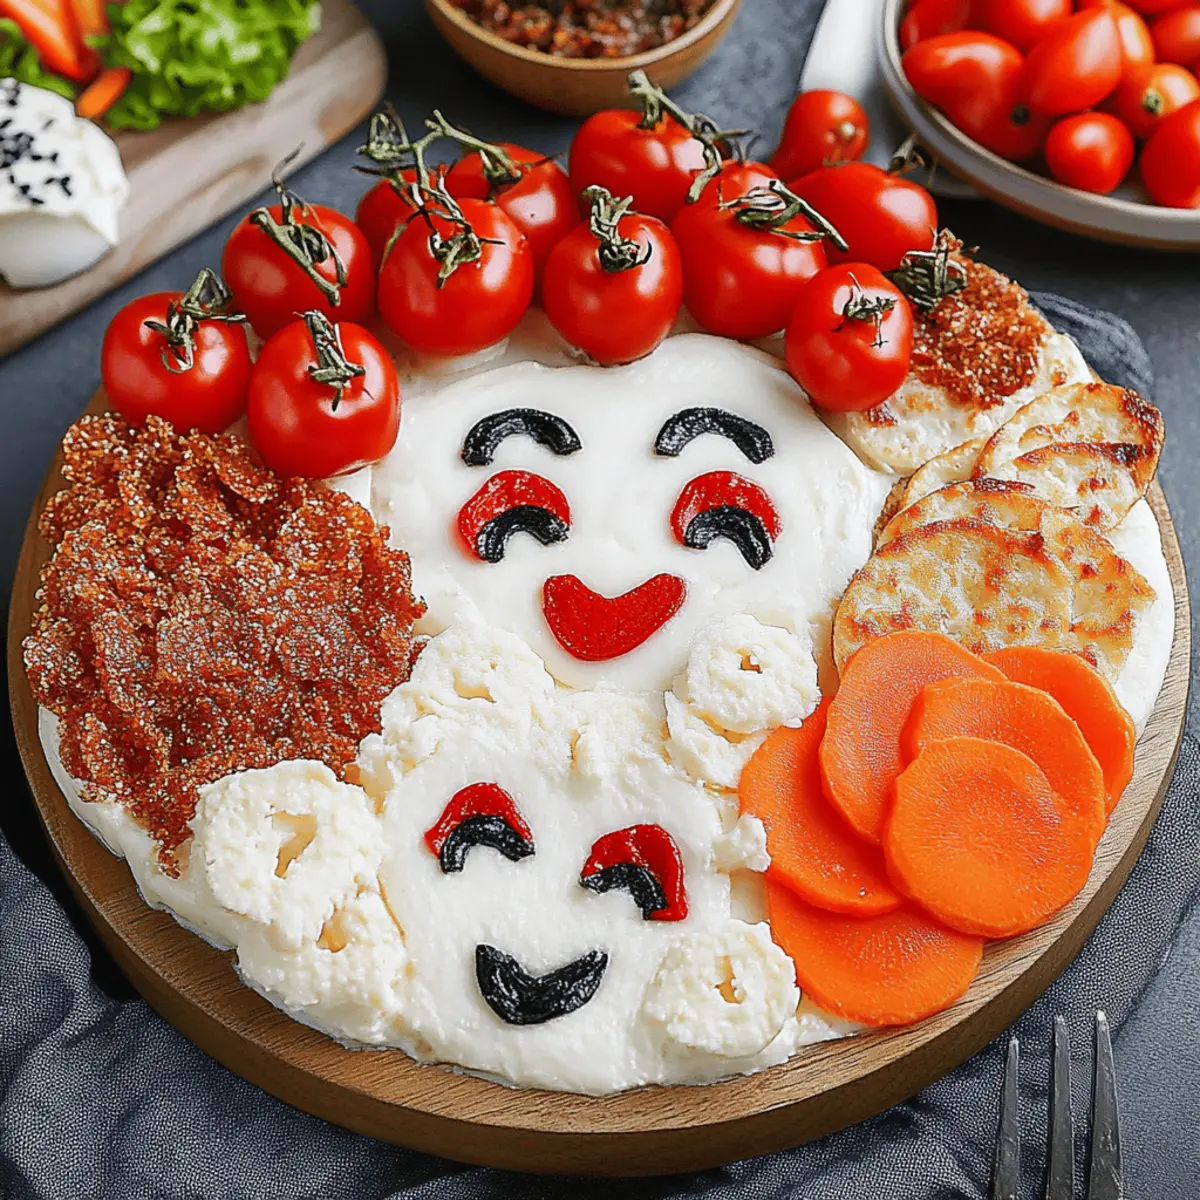
Slice the black olives into rounds, ensuring they are thick enough to maintain their shape. Place two olive slices on each brie wheel as eyes, adding character and a bit of spookiness to your Hocus Pocus Snack Board. The contrast of dark olives against creamy cheese will make the faces pop!
Step 4: Craft Hair for the Sisters
For Sarah's hair, generously sprinkle popcorn around her brie wheel, adding a whimsical and textured look. This crunchy element brings to life the playful character of Sarah. Don’t forget to fluff up the popcorn for a more voluminous effect, resembling wild hair that’s just bursting with fun!
Step 5: Roll Pepperoni for Winifred
Take pepperoni slices and roll them tightly. Spear several rolled pieces onto a toothpick, forming a quirky, curly hairdo for Winifred. Position this on her respective brie wheel, creating an eye-catching detail that will surely make everyone smile as they admire your creative presentation.
Step 6: Design Mary’s Hair with Blackberries
Pile up the blackberries to form Mary’s dark and luscious locks. This fruity addition not only enhances the visual appeal of your Hocus Pocus Snack Board but also provides a burst of flavor with each delicious bite. Arrange them in a slightly messy fashion to mimic Mary’s playful hairstyle.
Step 7: Arrange the Fruity Dresses
Now it’s time to decorate the sisters’ dresses! Use raspberries to create a flowing design for Sarah, and arrange green grapes for Winifred’s gown. Finally, place small orange slices for Mary’s attire. These vibrant fruits will not only add color but also tantalize your guests’ taste buds.
Step 8: Shape Cheese with Cookie Cutters
Utilizing your cookie cutters, create fun shapes like bats and broomsticks from sliced cheese. Fill in any empty spaces on your Hocus Pocus Snack Board with these delightful cheesy cut-outs, ensuring that every inch of the board is lively and engaging for a spooky celebration.
Step 9: Fill in the Gaps
To complete your board, arrange the extra fruit, crackers, and chips around the main decorations, ensuring there are no bare spots left. This final touch contributes to the overall presentation and ensures a plethora of tasty bites available for your guests to enjoy.
Step 10: Serve and Delight!
Once you’re satisfied with the arrangement of your Hocus Pocus Snack Board, it’s time to serve. Present your creation immediately to maintain freshness and excitement around the table. Everyone will be thrilled with this enchanting array of delicious snacks perfect for Halloween festivities!
Tips for the Best Hocus Pocus Snack Board
• Cheese Quality Matters: Use high-quality brie for a creamy texture that contrasts beautifully with your other ingredients. Don’t skimp on the cheese, as it’s the star of your Hocus Pocus Snack Board!
• Fresh Fruit: Choose ripe fruits that are in season for the best flavor. Avoid overly soft blackberries or raspberries to prevent them from breaking during assembly.
• Layout and Balance: Arrange heavier items like cheese at the back of the board, and distribute lighter snacks, such as popcorn and fruits, towards the front. This balance keeps the board looking appealing and avoids tipping.
• Involve the Kids: Let children help decorate the board! It's a fun activity that encourages creativity and makes preparing the Hocus Pocus Snack Board even more enjoyable.
• Make It Festive: Spice up your board with Halloween-themed toppings like candy corn or spooky sprinkles. Small touches can elevate the visual excitement!
• Serve Immediately: For the best presentation and flavor, serve your snack board right after assembling. Cheese and fruit are best enjoyed fresh!
Hocus Pocus Snack Board Variations
Feel free to unleash your creativity and customize this festive snack board to match your taste and dietary needs!
- Vegetarian: Swap out pepperoni for sliced bell peppers or cucumbers to keep all the flavors without the meat.
- Dairy-Free: Use vegan brie and dairy-free cheese options to create a similar aesthetic that everyone can enjoy.
- Spicy Twist: Add jalapeño slices or pepper jack cheese for a delightful kick that spice lovers will appreciate!
- Nutty Crunch: Sprinkle some roasted almonds or walnuts for an extra layer of texture and nutty flavor that pairs wonderfully with the fruits.
- Cocoa Dust: Dust chocolate-covered pretzels in between fruits for a sweet and salty combo that’s truly magical.
- Tropical Vibes: Incorporate juicy pineapple or mango chunks to infuse a fresh tropical touch that brightens your board.
- Smoky Flavor: Use smoked gouda or chipotle-flavored crackers for an unexpected smoky depth that adds intrigue to every bite.
- Sweet Swap: Replace blackberries and raspberries with strawberries and blueberries for a burst of sweetness that's just as colorful!
Remember, exploring different combinations can make your Hocus Pocus Snack Board even more enchanting! And if you're in the mood for more spooky fun, check out our ideas for Halloween-themed appetizers that are sure to delight your guests!
What to Serve with Hocus Pocus Charcuterie Board
Creating a delightful spread is easy when you have a whimsical centerpiece like this Halloween-themed charcuterie board.
- Crispy Breadsticks: Pair these crunchy delights for added texture, perfect for dipping into creamy brie.
- Pumpkin Soup: A warm, spicy concoction that complements the board's sweetness and brings a cozy feel to your gathering.
- Spiced Apple Cider: A fragrant, warm drink that enhances the board’s flavors, inviting an autumn warmth to your celebration.
- Garlic Knots: Soft and cheesy, these bite-sized treats are an irresistible addition, perfect for scooping up all the goodies.
- Roasted Chickpeas: These crunchy, seasoned snacks provide a satisfying, healthy contrast to the sweeter elements on the board.
- Chocolate-Covered Pretzels: Their sweet and salty balance not only adds a fun touch but also pleases every sweet tooth at your gathering.
- Candy Corn: A festive classic that brings a burst of color, enhancing your board with both nostalgic flavor and seasonal charm.
- Mini Pumpkin Pies: End your meal with these adorable desserts that echo the flavors of the season while keeping the festive spirit alive.
- Fruit Punch: This refreshing drink blends seasonal fruits, echoing the flavors of your board and adding a fun, festive flair to any gathering.
Make Ahead Options
These Hocus Pocus Snack Boards are perfect for meal prep enthusiasts! You can prepare most of the components up to 24 hours in advance, allowing you to enjoy your Halloween festivities stress-free. Start by arranging the brie wheels and decorating them with Twizzlers and olives, but hold off on adding the popcorn, fruit, and crackers until just before serving to prevent sogginess. Store the assembled brie in an airtight container in the refrigerator. When it's time to serve, simply finish the board by scattering the popcorn, fruit, and any additional snacks for a fresh and vibrant presentation. This makes entertaining a breeze, giving you more time to enjoy with loved ones!
How to Store and Freeze Hocus Pocus Snack Board
Fridge: Keep your Hocus Pocus Snack Board covered with plastic wrap or in an airtight container for up to 3 days to maintain freshness.
Freezer: It's best to avoid freezing the entire snack board, but you can freeze leftover brie cheese for up to 2 months. Just thaw it in the fridge when ready to enjoy!
Leftovers: If you have remaining fruits or snacks, separate them and store in airtight containers; most can last for up to 3 days, but check for freshness before serving again.
Reheating: If you have leftover brie, let it come to room temperature before serving, or briefly warm it in the oven to reclaim its creamy goodness.
Hocus Pocus Snack Board Recipe FAQs
How do I select ripe fruits for my Hocus Pocus Snack Board?
Absolutely! For the best flavor, choose fruits that are in season and look for vibrant colors. Green grapes should be firm and crisp, while blackberries and raspberries should be plump without dark spots. I often recommend giving them a gentle squeeze—if they’re overly soft, they might not hold up well on your board.
What’s the best way to store the Hocus Pocus Snack Board leftovers?
Very! After serving, cover your Hocus Pocus Snack Board with plastic wrap or transfer the leftovers into airtight containers. Fresh fruits and snacks are best kept in the fridge for up to 3 days. Make sure to check the fruits are still in good condition before enjoying them again.
Can I freeze any part of the Hocus Pocus Snack Board?
Of course! While it's best not to freeze an assembled snack board, you can freeze leftover brie cheese for up to 2 months! To do this, wrap the cheese tightly in plastic wrap and then place it in a freezer-safe bag. When you’re ready to use it, simply thaw it in the fridge overnight—your cheese will still be tasty!
What should I do if my brie cheese is too soft when assembling?
No worries! If your brie is overly soft, pop it into the freezer for about 15–20 minutes before using. This will firm it up and make it easier to work with for decorating. Just keep an eye on it so it doesn’t freeze solid—you're looking for a slightly firmer texture to make assembly a breeze.
Are there any dietary considerations I should keep in mind for guests?
Definitely! Always inquire about any allergies your friends or family might have prior to serving. Common allergens include dairy (in the brie and cheese), gluten (in crackers and chips), and certain fruits. For gluten-free options, opt for rice crackers or gluten-free chips that can still provide the crunchy element without the worry!
How long does it take to prepare the Hocus Pocus Snack Board?
In just 30 minutes, you can create this magical feast! The prep work is quick and easy, which means you can spend more time enjoying the holiday festivities and less time in the kitchen. So go ahead and have fun assembling your Hocus Pocus Snack Board!
Create a Spooky-Sweet Hocus Pocus Snack Board at Home
Equipment
- Serving board
- toothpicks
- cookie cutter
Ingredients
For the Base
- 3 wheels brie cheese This creamy delight serves as the perfect canvas for your spooky decorations.
- Crackers or chips of choice Choose your favorites to provide a satisfying crunch alongside the cheese.
For the Decorations
- Twizzlers pull and peel licorice These add a sweet, playful touch for creating lips on the brie wheels.
- Black olives Slice these for playful eyes that add character to each cheese wheel.
- Pepperoni Rolled and speared with toothpicks, this savory treat makes for excellent hair on your spooky sisters.
For the Fruit Medley
- Blackberries Pile these to craft Mary’s dark, luscious locks.
- Raspberries Use these vibrant berries to represent Sarah’s flowing dress.
- Green grapes These charming fruits can symbolize Winifred’s playful gown.
- Small oranges Their bright hue adds a festive twist, complementing the other flavors.
For the Fun Extras
- Popcorn Use it to create the whimsical hair for Sarah; it adds a delightful crunch!
- Sliced cheese of choice Custom shapes can be cut with cookie cutters to fill in gaps and enhance the theme.
For Serving
- Toothpicks Essential for easy serving and assembling your creative designs.
- Cookie cutter for cheese shapes (optional) A fun way to elevate your snack board with themed cut-outs!
Instructions
Step-by-Step Instructions for Hocus Pocus Snack Board
- Start by placing the three wheels of brie cheese on your serving board, spreading them out to create a spacious and inviting layout.
- Next, take the Twizzlers pull and peel licorice and cut them into manageable lengths. Shape these colorful strips into lips, placing one on each brie wheel.
- Slice the black olives into rounds, ensuring they are thick enough to maintain their shape. Place two olive slices on each brie wheel as eyes.
- For Sarah's hair, generously sprinkle popcorn around her brie wheel, adding a whimsical and textured look.
- Take pepperoni slices and roll them tightly. Spear several rolled pieces onto a toothpick, forming a quirky, curly hairdo for Winifred.
- Pile up the blackberries to form Mary’s dark and luscious locks.
- Use raspberries to create a flowing design for Sarah, and arrange green grapes for Winifred’s gown. Finally, place small orange slices for Mary’s attire.
- Utilizing your cookie cutters, create fun shapes like bats and broomsticks from sliced cheese.
- To complete your board, arrange the extra fruit, crackers, and chips around the main decorations, ensuring there are no bare spots left.
- Once you’re satisfied with the arrangement of your Hocus Pocus Snack Board, it’s time to serve. Present your creation immediately to maintain freshness.


Leave a Reply