
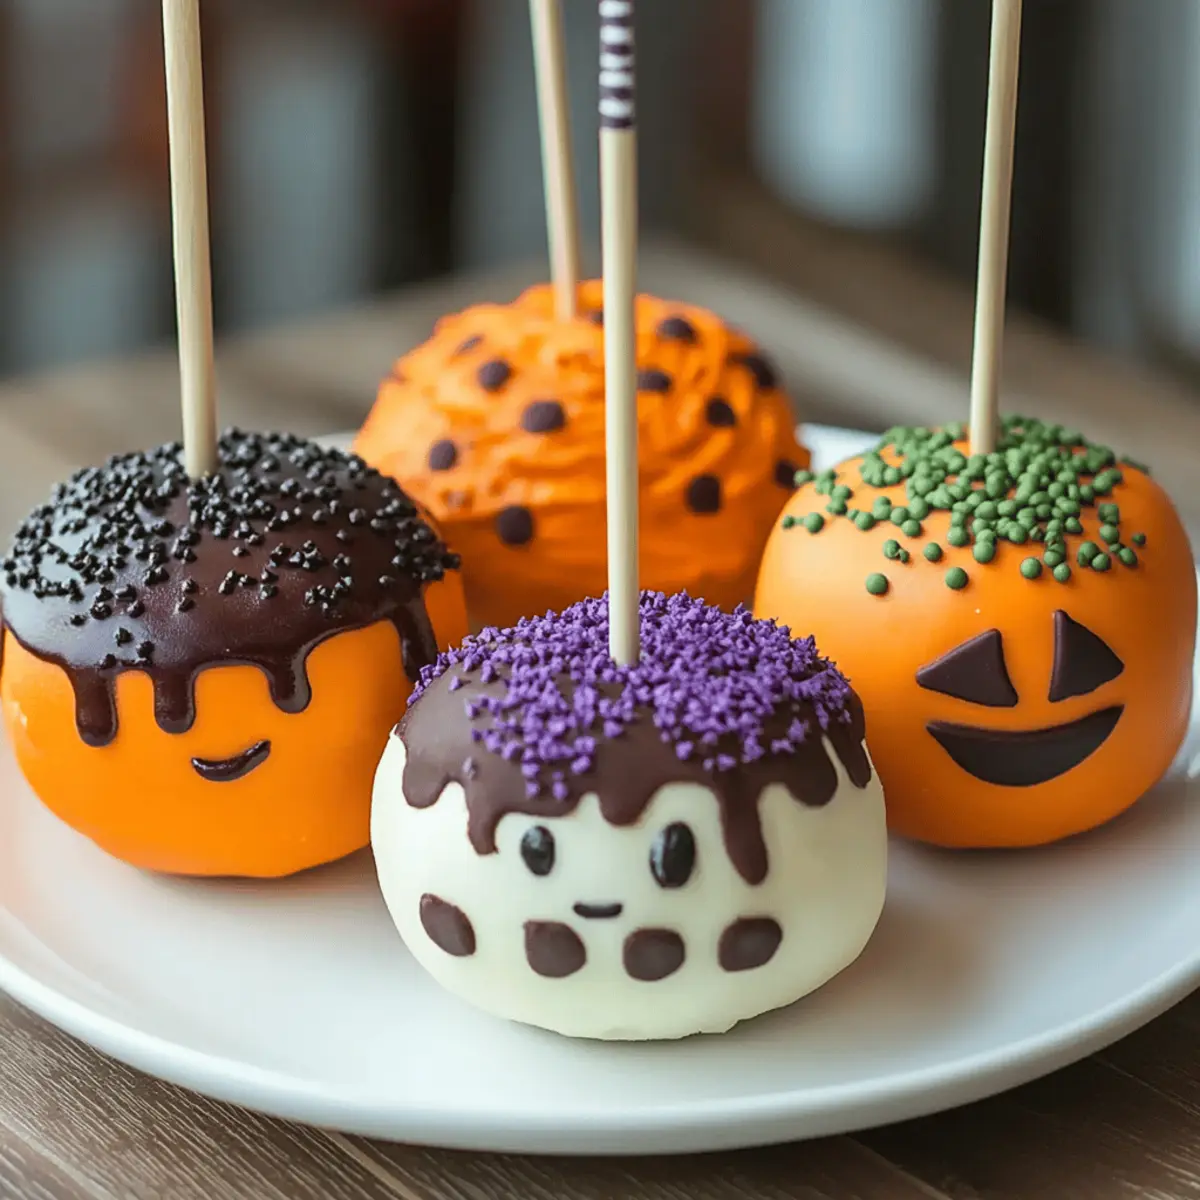
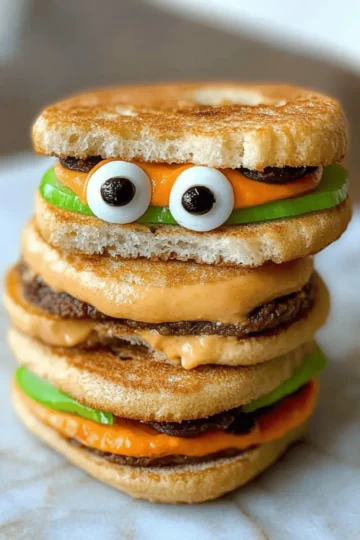
As the autumn leaves begin to swirl around and the air turns crisp, my kitchen transforms into a playful Halloween wonderland. One of my favorite treats to whip up during this spooky season is Halloween Cake Pops. These delightful bites are not only a fun way to indulge your sweet tooth, but they're also incredibly easy to personalize, making them perfect for gatherings or a festive family night. With minimal prep time, you can create a batch of these whimsical pops that will charm both kids and adults alike. They’re freezer-friendly, so you can always have a spooky surprise on hand when cravings strike. Are you ready to dive into this sweet adventure and impress your friends with your cake pop artistry?
Why Are These Cake Pops So Fun?
Easy to Make: With just a few ingredients and basic techniques, you can whip up these eye-catching treats in no time.
Creative Customization: Get playful with colors and decorations using your favorite Halloween-themed sprinkles or gel food coloring to match any spooky theme!
Crowd-Pleasing Treats: Their bite-sized nature makes them perfect for parties, ensuring that everyone gets to enjoy a little something sweet without the guilt of a big slice of cake.
Freezer-Friendly: Make ahead and freeze these festive goodies, ensuring you always have an impressive snack ready to go.
Deliciously Decadent: The rich cake combined with creamy frosting and chocolate coating creates a flavor explosion that will leave you craving more!
These Halloween Cake Pops are not just delicious—they're a chance to embrace creativity in the kitchen!
Halloween Cake Pops Ingredients
• Get ready to create the spookiest treats of the season!
For the Cake
• 1 box cake mix – Any flavor works, but chocolate and red velvet are Halloween favorites!
• Eggs – Use the quantity specified on the cake mix box for the best results.
• Oil – Follow the instructions on the box to keep your cake moist and delicious.
• Water – This common ingredient is crucial for baking the perfect cake!
For the Frosting
• ½ to 1 cup frosting – Cream cheese or chocolate frosting is perfect for binding the cake crumbs.
For the Coating
• 12 oz candy melts – Choose from spooky colors like orange, black, white, or green for a festive look.
• 24 lollipop sticks – Essential for transforming your cake balls into delightful pops!
For Decoration
• Candy eyeballs – Add a fun, spooky touch to your creations.
• Halloween sprinkles – Go wild with festive shapes and colors!
• Colored sugar – Use orange, black, or purple for that extra sparkle.
• Gel food coloring (optional) – Tint white chocolate to create unique shades for your pops.
• Red gel icing – Perfect for adding those eerie eyeball veins.
• Green frosting or fondant – Use it to craft adorable pumpkin stems.
These ingredients will set you on the path to crafting irresistible Halloween Cake Pops that everyone will love!
Step‑by‑Step Instructions for Halloween Cake Pops
Step 1: Bake the Cake
Prepare the cake mix according to the box instructions, usually mixing the cake mix with eggs, oil, and water. Once combined, pour the batter into a greased baking pan and bake at 350°F (175°C) for about 25 minutes, or until a toothpick comes out clean. Allow the cake to cool completely on a wire rack to ensure it crumbles easily.
Step 2: Crumble the Cake
Once the cake is cooled, break it into small pieces in a large bowl. Use your hands to crumble the cake until it resembles fine crumbs. Add frosting gradually, starting with ½ cup, mixing with a spatula until the mixture achieves a sticky dough-like texture. Be mindful to avoid overmixing, as the right consistency is key for shaping the Halloween Cake Pops.
Step 3: Form the Cake Balls
Using a small cookie scoop or your hands, portion out the mixture and roll it into 1-inch balls. Place the cake balls on a lined baking sheet, ensuring there’s enough space between them. Once formed, refrigerate the cake balls for 1-2 hours or pop them in the freezer for about 30 minutes until they are firm, making them easier to dip later.
Step 4: Insert Lollipop Sticks
Melt about 2 ounces of candy melts in the microwave, heating in 30-second intervals and stirring until smooth. Dip one end of each lollipop stick into the melted chocolate, then insert it about halfway into each chilled cake ball. This will help keep the sticks in place once coated. Chill the cake pops again for 10 minutes for the chocolate to set.
Step 5: Dip the Cake Balls
Melt the remaining candy melts following the package directions, ensuring a smooth texture. Take each cake pop and dip it entirely into the melted chocolate, gently tapping off any excess against the bowl's side. Work swiftly while the coating is wet for the best results, coating all sides for a delightful finish on your Halloween Cake Pops.
Step 6: Decorate Creatively
Before the chocolate coating hardens, immediately sprinkle with Halloween sprinkles or colored sugar for a fun twist. You can also add candy eyeballs or use gel food coloring to create unique designs. This is your chance to get creative, so have fun experimenting with different decorations to make your Halloween Cake Pops truly spooktacular!
Step 7: Dry and Serve
Once decorated, place the cake pops upright in a Styrofoam block or a cardboard box with holes created for this purpose. Allow the pops to dry completely at room temperature for about 15-20 minutes, or refrigerator for about 10 minutes for a quicker set. Once dry, your Halloween Cake Pops will be ready to charm friends and family!
Halloween Cake Pops Variations
Feel free to let your creativity shine and customize your Halloween Cake Pops with these delightful variations!
-
Gluten-Free: Use a gluten-free cake mix to accommodate dietary needs while keeping the spooky flavors intact.
-
Nut-Free: Opt for nut-free frosting and ensure your candy melts are from a nut-free facility for safe indulgence.
-
Vegan: Substitute eggs with flax eggs and use plant-based frosting and oil for completely vegan cake pops that everyone can enjoy.
-
Flavor Boost: Try adding spices like cinnamon or nutmeg to your cake mix for a warm, autumnal twist that complements the season.
-
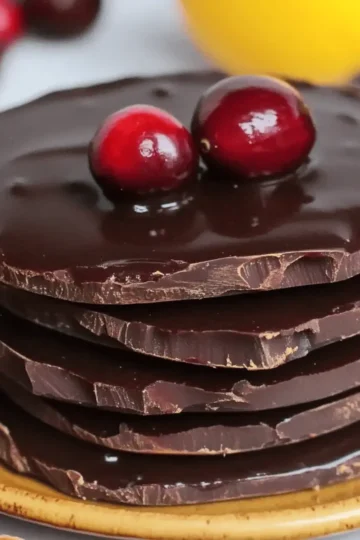
Chocolate-Dipped: For a richer taste, dip your cake pops in melted dark chocolate instead of regular candy melts. This adds a decadent layer!
-
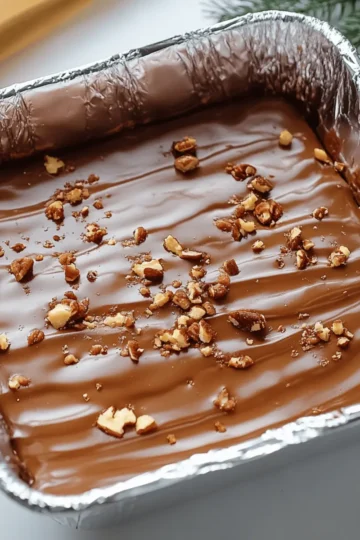
Rock Star Texture: Mix in crunchy toppings like crushed pretzels or cookies for an unexpected texture that kids will love.
-
Chill with Cream Cheese: Swap standard frosting with a whipped cream cheese frosting for a tangy, hauntingly delicious flavor.
-
Spicy Kick: Add a pinch of cayenne pepper or chili powder to the cake mixture for those who love a little heat amidst that sweet treat.
Embrace these variations to make your Halloween Cake Pops stand out! Consider fun fillings like cream cheese frosting or exploring different cake bases to expand the range of textures and flavors!
What to Serve with Halloween Cake Pops
As you bring your spooky creations to life, consider these delightful accompaniments to elevate your festive gathering.
-
Crispy Apple Slices: Fresh, crunchy apples provide a sweet yet tart contrast to the rich sweetness of cake pops, adding a refreshing bite.
-
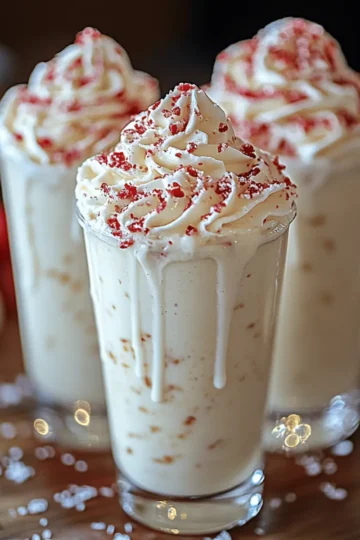
Halloween-Themed Punch: A fun, fruity punch will excite your guests and make for a whimsical drink pairing that complements the festive treats.
-
Chewy Caramel Corn: The buttery richness of caramel corn pairs beautifully with the smooth chocolate coating of the cake pops, creating a satisfying crunch.
-
Pumpkin Spice Muffins: These fluffy muffins echo the flavors of the season, providing a delightful blend of spices that harmonizes perfectly with your spooky sweets.
-
Ghostly Marshmallow Treats: Marshmallows dipped in chocolate and decorated as ghosts make for a whimsical pairing that your guests will love!
-
Warm Cinnamon Cider: The aromatic spices in this drink will enhance the flavors of your cake pops while warming your guests' hearts on a chilly autumn night.
-
Chocolate-Dipped Pretzels: The salty-sweet combo elevates the experience, giving a crunchy texture that contrasts with the soft cake pops.
These pairings will create a memorable spread for your Halloween celebration, ensuring your guests will be enchanted by every bite!
Make Ahead Options
These Halloween Cake Pops are perfect for meal prep enthusiasts! You can bake and crumble the cake up to 24 hours in advance, storing the crumbs in an airtight container in the fridge to maintain their freshness. Additionally, you can form the cake balls and freeze them for up to 3 months, so they're ready to dip whenever a sweet craving strikes. Just remember to let them thaw in the refrigerator before dipping, ensuring the coating adheres properly. When you’re ready to finish them off, simply insert the lollipop sticks and dip into melted candy melts, decorating them right away for that fun festive touch. You'll have delightful, homemade treats with minimal effort on your busy days!
Tips for the Best Halloween Cake Pops
Mind the Moisture: Keep cake balls moist but not soggy by adding frosting gradually. Overmixing can lead to a dry texture.
Chill for Success: Ensure cake balls are firm after chilling or freezing, making it easier to insert sticks and dip without breaking.
Dip Quickly: Work swiftly when dipping the cake pops in melted chocolate to prevent it from hardening before you can decorate.
Get Creative: Use various colors and decorations to personalize your Halloween Cake Pops, embracing fun themes and designs.
Store Wisely: Keep cake pops at room temperature in an airtight container if not consumed immediately; they can also be frozen for later enjoyment!
How to Store and Freeze Halloween Cake Pops
Room Temperature: Store leftover Halloween Cake Pops in an airtight container at room temperature for up to 3 days. Keep them away from direct sunlight to maintain their vibrant colors.
Fridge: For extended freshness, you can refrigerate cake pops in an airtight container for up to 1 week. Just ensure they're fully cooled to avoid condensation.
Freezer: Freeze your Halloween Cake Pops for up to 2 months. Place them in a single layer on a baking sheet until solid, then transfer to a freezer bag, removing excess air to prevent freezer burn.
Reheating: When ready to enjoy, simply take the frozen cake pops out and allow them to thaw at room temperature for about 30 minutes. Avoid refreezing once thawed to maintain texture and taste.
Halloween Cake Pops Recipe FAQs
How do I choose the right cake mix for Halloween Cake Pops?
Absolutely! You could go for chocolate or red velvet cake mixes, as they are particularly popular during Halloween. Look for a box that has a good reputation and ensure that it's within the expiration date for the best flavor.
How should I store leftover Halloween Cake Pops?
After making these delightful treats, store them in an airtight container at room temperature for up to 3 days. If you want to keep them longer, you can refrigerate them for up to 1 week. Just make sure they are completely cooled down before sealing to prevent condensation.
Can I freeze Halloween Cake Pops?
Yes, you can absolutely freeze them! To do this, place the cake pops in a single layer on a baking sheet until they are solid. Once frozen, transfer them to a freezer-safe bag, removing as much air as possible. They will stay fresh for up to 2 months. When you're ready to enjoy, thaw them at room temperature for about 30 minutes.
What should I do if my cake pops are cracking?
If you notice cracking in your pops, it may be due to a few reasons. First, ensure that your cake balls are adequately chilled before dipping—this helps them retain shape. If the chocolate coating is too hot when dipping, it can also cause cracking. Try working quickly and allowing the chocolate coating to cool slightly before dipping.
Are these cake pops safe for my pets?
Very! However, it's essential to keep these cake pops out of reach of pets, as chocolate and certain sweeteners can be harmful to them. It's always best to enjoy your Halloween Cake Pops yourself and share the joy, but no treats for furry friends!
Can I use homemade frosting instead of store-bought for my Halloween Cake Pops?
While store-bought frosting works wonders, homemade frosting can add a personal touch and delightful flavor to your cake pops! Just ensure it's thick enough to bind the crumbs without making them too soggy. You might need to adjust the quantity based on your recipe's consistency.
Spooktacular Halloween Cake Pops Everyone Will Love
Equipment
- Mixing bowl
- Baking Pan
- Cookie scoop
- Microwave
- Baking sheet
- Styrofoam block or cardboard box
Ingredients
For the Cake
- 1 box cake mix Any flavor works, but chocolate and red velvet are Halloween favorites.
- 4 large eggs Use the quantity specified on the cake mix box.
- ½ cup oil Follow the instructions on the box.
- 1 cup water Crucial for baking the perfect cake.
For the Frosting
- 1 cup frosting Cream cheese or chocolate frosting is preferred.
For the Coating
- 12 oz candy melts Choose spooky colors like orange, black, white, or green.
- 24 pieces lollipop sticks Essential for transforming cake balls into pops.
For Decoration
- candy eyeballs For a fun, spooky touch.
- Halloween sprinkles Festive shapes and colors.
- colored sugar Use orange, black, or purple.
- gel food coloring Optional for tinting chocolate.
- red gel icing For adding eyeball veins.
- green frosting or fondant To craft pumpkin stems.
Instructions
Step-by-Step Instructions
- Prepare the cake mix according to the box instructions, mixing the cake mix with eggs, oil, and water. Pour into a greased baking pan and bake at 350°F for about 25 minutes. Cool completely.
- Crumble the cooled cake into small pieces in a large bowl. Gradually add frosting starting with ½ cup and mix until sticky.
- Roll the mixture into 1-inch balls and place on a lined baking sheet. Refrigerate for 1-2 hours or freeze for about 30 minutes until firm.
- Melt 2 ounces of candy melts, dip lollipop sticks in chocolate and insert halfway into each cake ball. Chill for 10 minutes.
- Melt the remaining candy melts. Dip each cake pop entirely in chocolate and tap off excess.
- Before the coating hardens, decorate with sprinkles or candy eyeballs. Get creative!
- Place pops upright in a block or box to dry completely for 15-20 minutes at room temperature.
Leave a Reply