
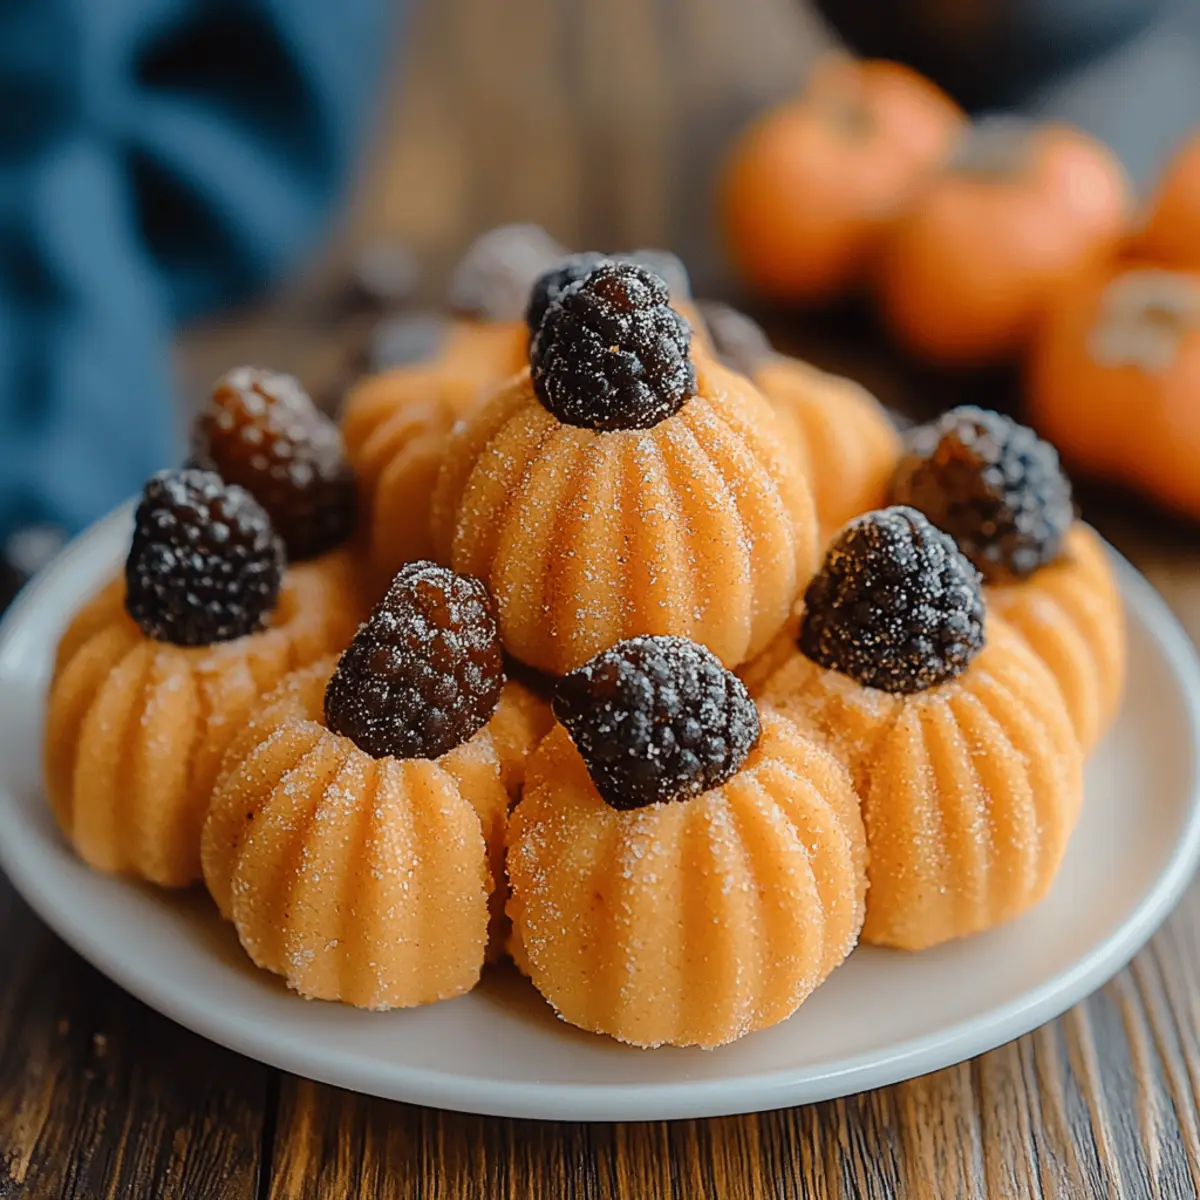
As I stood in my kitchen, the scent of spices wafting around me, I realized I had stumbled upon a little piece of autumn magic—Pumpkin Cheesecake Truffles. This delightful recipe seamlessly marries the creamy richness of cheesecake with the comforting flavors of fall, making them perfect for gatherings or an indulgent snack. Not only are these truffles fun to make, but they’re also a hit with anyone craving a sweet treat without the fuss. Plus, they can be made in advance and stored in the fridge, so you’ll always have a little cozy joy at your fingertips. What could be better than that? Ready to roll up your sleeves and create some tasty bites of pumpkin bliss?
Why Are These Pumpkin Cheesecake Truffles Irresistible?
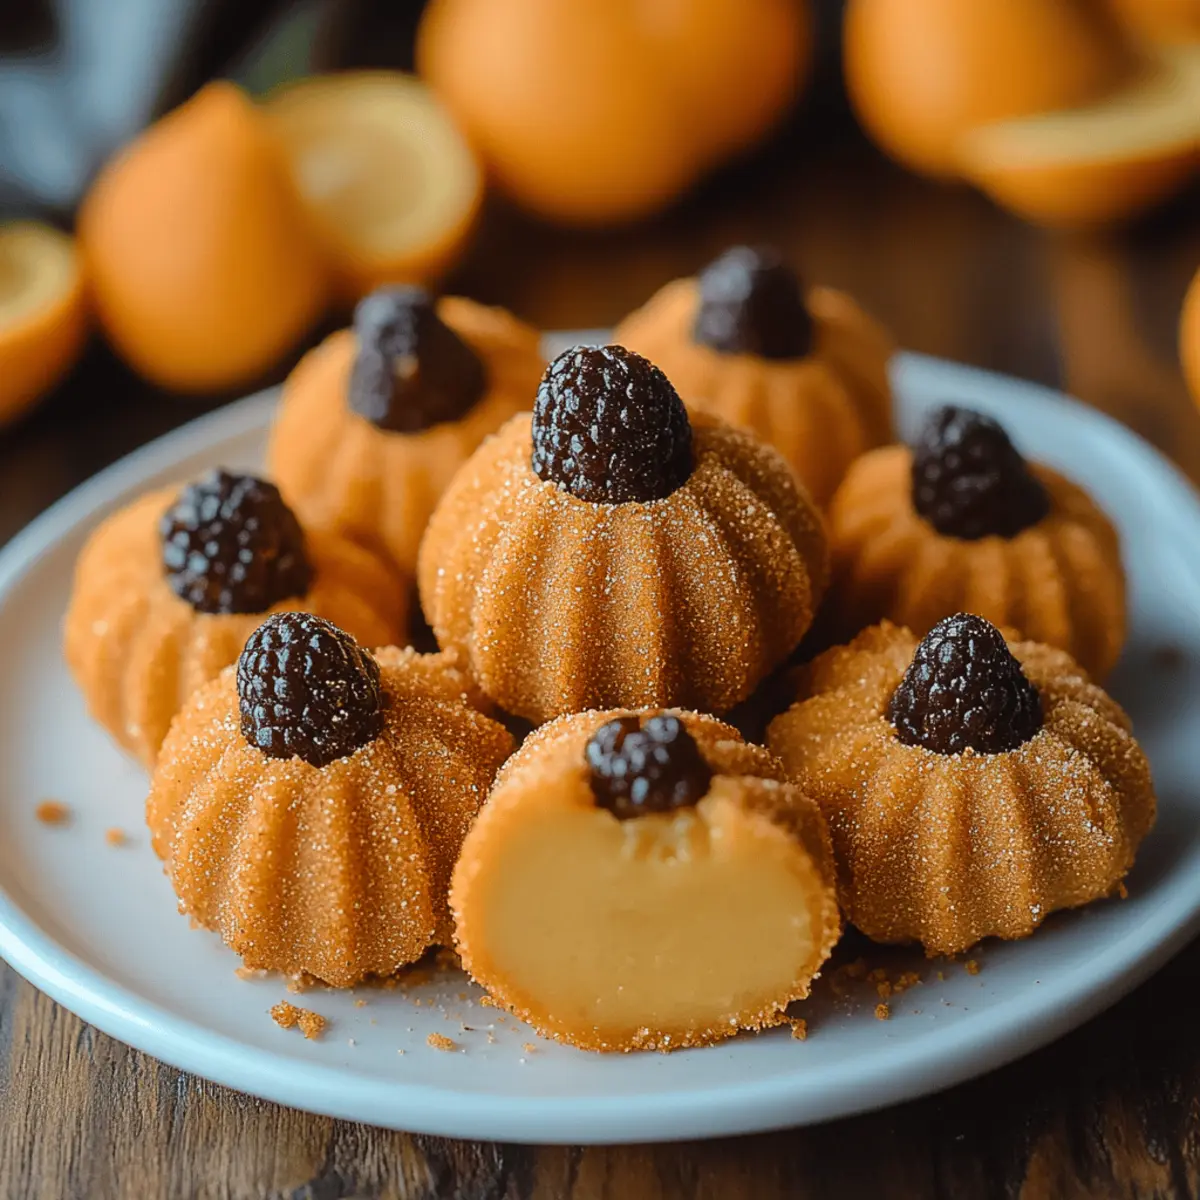
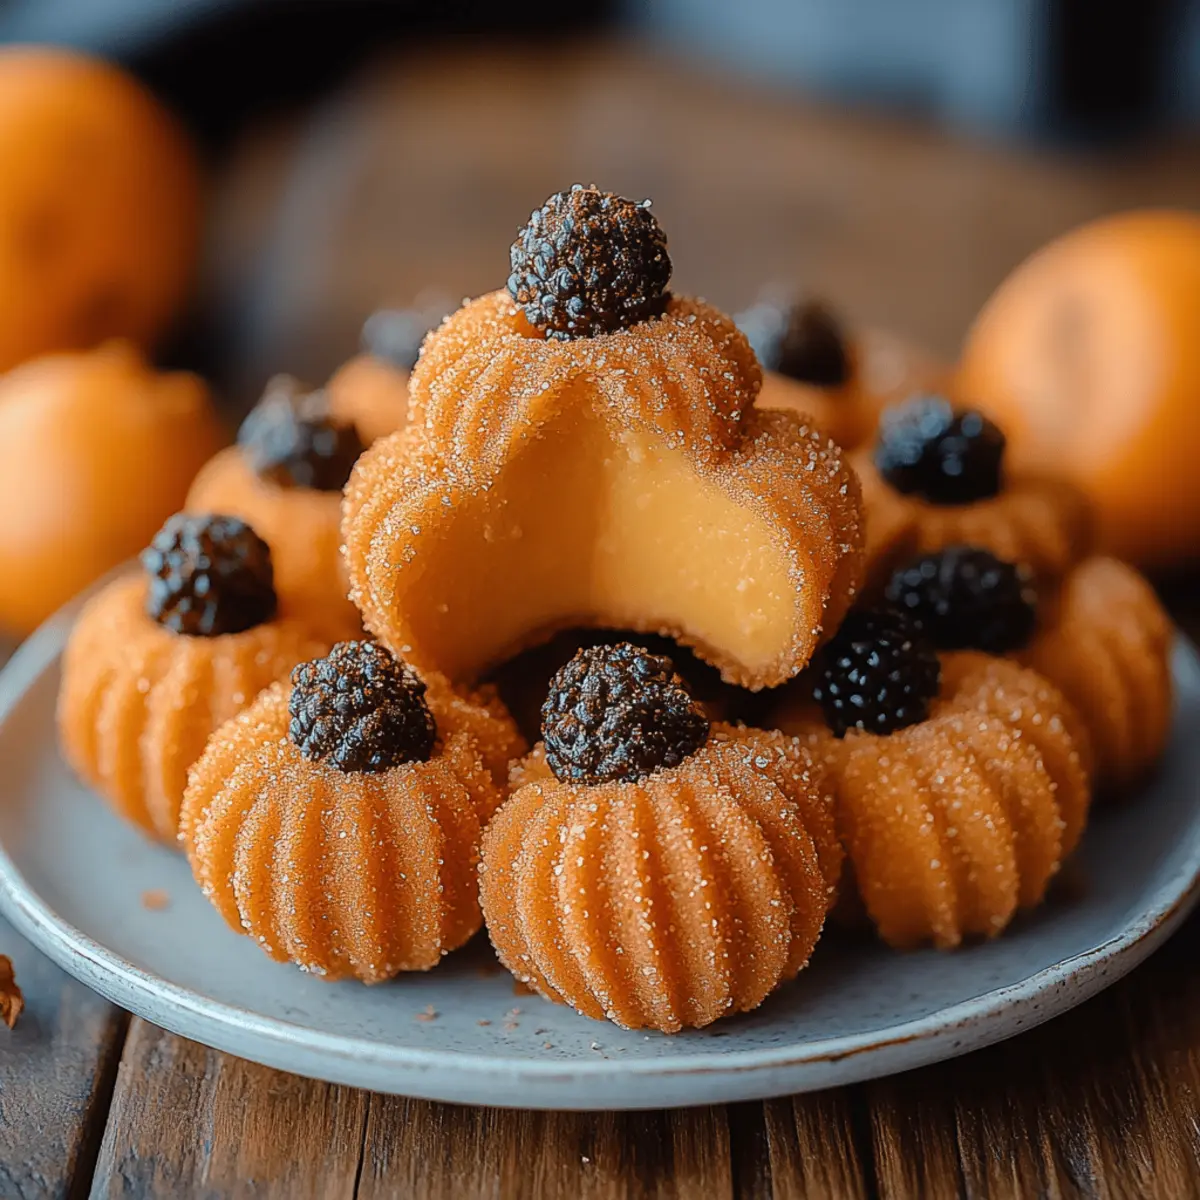
Unforgettable Flavor: The rich combination of pumpkin puree and cream cheese creates a heavenly filling that melts in your mouth, capturing the essence of fall.
Effortless Preparation: With just 30 minutes of prep time and minimal cooking, you’ll spend more time enjoying these treats than making them.
Fun Presentation: Each truffle can be personalized! Use orange food coloring for a festive touch, making them perfect for holidays or gatherings.
Versatile Treats: Great as a seasonal snack, party centerpiece, or cozy dessert after dinner, these truffles are bound to impress guests and family alike.
Make-Ahead Convenience: Easily prepared in advance and stored in your fridge, offering time-saving options for busy weeks or entertaining occasions. Check out my serving tips for maximizing their appeal!
Pumpkin Cheesecake Truffles Ingredients
Dive into the deliciousness of these sweet bites with the following ingredients!
For the Base
- Butter – 1 tablespoon; adds richness and helps with mixing the filling.
- Cream Cheese – 4 ounces, softened; this creamy base brings that cheesecake flavor that’s hard to resist.
- Canned Pumpkin Puree – ½ cup; a must-have for that authentic pumpkin taste!
- Sweetened Condensed Milk – 1 (14-ounce) can; gives the truffles a luscious sweetness and creamy texture.
- Pumpkin Pie Spice – 1 ½ teaspoons; infuses the mix with warm fall flavors.
For the Coating
- Graham Cracker Crumbs – ½ cup; create a delightful crunch and that signature cheesecake crust flavor.
- White Chocolate Chips – ⅓ cup; melts beautifully into the filling, elevating its richness.
- Orange Food Coloring (optional) – a fun addition to give your truffles a festive splash!
- Granulated Sugar – for rolling; adds a sweet touch to the outside, making them sparkle.
For the Topping
- Chocolate Chips – for topping; these mimic pumpkin stems and add a delightful finishing touch to your truffles.
Get ready to enjoy your homemade Pumpkin Cheesecake Truffles—every bite is a delightful journey into fall’s favorite flavors!
Step‑by‑Step Instructions for Pumpkin Cheesecake Truffles
Step 1: Prepare the Filling
In a skillet over medium heat, melt 1 tablespoon of butter. Add 4 ounces of softened cream cheese, ½ cup of canned pumpkin puree, 1 can of sweetened condensed milk, and 1 ½ teaspoons of pumpkin pie spice. Stir constantly for about 5–7 minutes until the mixture thickens and turns creamy, creating a delightful base for your Pumpkin Cheesecake Truffles.
Step 2: Combine the Ingredients
Once the mixture is well combined and creamy, reduce the heat to low. Stir in ½ cup of graham cracker crumbs and ⅓ cup of white chocolate chips. Keep stirring until the chocolate melts completely and the mixture is smooth, about 2–3 minutes. If you'd like a festive touch, add a few drops of orange food coloring for that iconic pumpkin hue.
Step 3: Chill the Mixture
Carefully pour the pumpkin cheesecake mixture onto a butter-greased baking sheet, spreading it into an even layer with a spatula. Place the baking sheet in the refrigerator and allow the mixture to chill for at least 2 hours, or overnight if possible, until firm to the touch. This chilling will make shaping the truffles much easier.
Step 4: Form the Truffles
After chilling, take the firm mixture from the fridge. Rub a little butter on your hands to prevent sticking, and roll the cheesecake dough into small balls, about the size of a golf ball. The Pumpkin Cheesecake Truffles should be smooth and round; place them on a parchment-lined tray as you go to keep them from sticking together.
Step 5: Coat the Truffles
Next, pour some granulated sugar into a shallow bowl. Roll each ball of the pumpkin cheesecake mixture in the sugar to coat evenly, creating a sweet, sparkling exterior. This step adds a satisfying crunch and enhances the flavor of your delicious Pumpkin Cheesecake Truffles.
Step 6: Add Finishing Touches
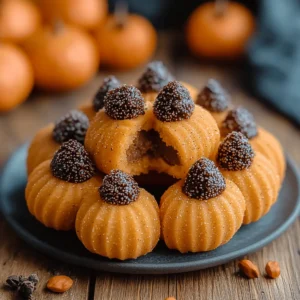
To give your truffles a cute pumpkin-like appearance, use a toothpick to create ridges along the sides of each truffle, mimicking the texture of a pumpkin's surface. Top each truffle with a chocolate chip that resembles a tiny pumpkin stem, adding both decoration and flavor to your delightful treats.
Step 7: Serve or Store
Finally, you can either serve the Pumpkin Cheesecake Truffles immediately for a delicious sweet treat or store them in the fridge until you're ready to indulge. They can be made a day ahead, making them perfect for gatherings, ensuring every bite is bursting with cozy fall flavors!
How to Store and Freeze Pumpkin Cheesecake Truffles
Fridge: Store your Pumpkin Cheesecake Truffles in an airtight container for up to 1 week. This keeps them fresh and ready for whenever the sweet craving hits!
Freezer: For longer storage, freeze the truffles individually on a baking sheet, then transfer to an airtight container or freezer bag. They can last up to 2 months!
Reheating: No need to reheat; simply let them sit at room temperature for about 10-15 minutes before serving if frozen. Enjoy the delightful flavors at their best!
Make-Ahead: These treats are perfect for prepping in advance; the flavors actually deepen, making for an even tastier pumpkin cheesecake indulgence.
Make Ahead Options
These Pumpkin Cheesecake Truffles are a fantastic option for meal prep! You can prepare the filling mixture and refrigerate it up to 24 hours in advance, allowing the flavors to meld beautifully. Simply follow the first three steps of the recipe, then chill the mixture overnight. When ready to serve, roll the chilled filling into truffles, coat with sugar, and add the finishing touches. To maintain their quality, store the formed truffles in an airtight container in the fridge for up to 3 days. This way, you’ll always have a delightful dessert on hand, perfect for busy weeknights or surprise guests! Enjoy the convenience without sacrificing taste!
What to Serve with Pumpkin Cheesecake Truffles
Elevate your festivities with delightful accompaniments that enhance the cozy, sweet experience of these truffles.
-
Autumn Spice Cookies: Their warm flavors harmonize beautifully with the truffles, creating a stress-free dessert platter that delivers ultimate comfort.
-
Cinnamon Hot Chocolate: This creamy beverage warms the soul, perfectly balancing the sweetness of the Pumpkin Cheesecake Truffles. It's like a hug in a mug!
-
Spiced Apple Cider: Serve it warm alongside the truffles, and experience the delightful contrast of flavors—sweet, tart, and oh-so-fall-like.
-
Whipped Cream Dip: A light and fluffy addition that provides a creamy texture to complement the truffles’ richness. Perfect for dipping!
-
Green Apple Slices: The tartness of fresh apple slices brings a refreshing crunch, cutting through the sweetness and bursting with autumn flavors.
-
Caramel Sauce: Drizzling a little caramel sauce over the truffles adds an indulgent flair, intensifying the flavors and giving a delightful gooeyness.
Tips for the Best Pumpkin Cheesecake Truffles
Chill Thoroughly: Ensure the mixture is well-chilled before rolling; this makes shaping the Pumpkin Cheesecake Truffles much easier and prevents them from becoming gooey.
Butter Your Hands: A little butter on your hands prevents sticking during the rolling process, creating perfectly round truffles without mess.
Even Coating: Roll the truffles evenly in granulated sugar to add a delightful crunch and sweet touch; this enhances the flavor and keeps them visually appealing.
Customize Colors: If using food coloring, start with just a drop; you can always add more until you achieve that beautiful pumpkin hue!
Presentation Matters: Use a toothpick to create ridges for a rustic, pumpkin-like appearance; topping them with chocolate chips adds the perfect finishing touch.
Store Wisely: Keep stored in an airtight container in the fridge. The flavors deepen as they sit, making them even more delicious a day or two later!
Pumpkin Cheesecake Truffles Variations
Feel free to get creative with these delightful bites—embrace your inner chef and make them your own!
-
Gluten-Free: Swap graham cracker crumbs for gluten-free cookies or ground almonds for a similar crunch without the gluten.
-
Vegan: Use a vegan cream cheese alternative, and replace sweetened condensed milk with a coconut cream mixture for a dairy-free delight.
-
Nutty Twist: Add ⅓ cup of finely chopped pecans or walnuts into the mixture for a lovely nutty flavor and extra texture.
-
Spiced Up: Elevate the flavor by adding a pinch of cayenne pepper or chopped candied ginger to the filling for a warm kick.
-
Chocolate Lovers: Substitute half of the white chocolate chips with dark chocolate chips to deepen the flavor and add a touch of richness.
-
Coconut Coating: Instead of rolling in granulated sugar, give the truffles a tropical twist by rolling them in shredded coconut for extra sweetness and flavor.
-
Different Shapes: Use cookie cutters to create fun shapes from the chilled mixture instead of rolling them into balls, adding a playful touch to your presentation.
-
Flavor Infusion: Experiment by incorporating a splash of vanilla extract or maple syrup into the filling to enhance the sweetness and aroma.
With these variations, you’ll surely impress your friends and family with your creative spins on these beloved Pumpkin Cheesecake Truffles! Want more tips on decorating or serving these treats? Check out my serving suggestions for more fun ideas!
Pumpkin Cheesecake Truffles Recipe FAQs
What type of pumpkin puree should I use?
Absolutely! I recommend using 100% canned pumpkin puree, which offers a rich flavor and smooth texture. Avoid pumpkin pie filling, as it contains added sugars and spices that can alter your truffles.
How long can I store my Pumpkin Cheesecake Truffles in the fridge?
Very! You can keep your truffles stored in an airtight container in the fridge for up to 1 week. They'll stay fresh, ready for you or any surprise guests craving a sweet treat!
Can I freeze Pumpkin Cheesecake Truffles?
Absolutely! For freezing, place the truffles on a baking sheet, ensuring they don't touch, and freeze until solid. Then transfer them to an airtight container or a freezer bag. They can be stored for up to 2 months. To enjoy, simply let them come to room temperature for 10-15 minutes!
What should I do if my truffle mixture is too sticky?
Great question! If the mixture is too sticky to roll, it might need more chilling time. Pop it back into the fridge for another 30 minutes to an hour. A little extra butter on your hands when rolling can also help prevent sticking and create a smoother shape.
Are these truffles safe for pets?
No way! Keep in mind that chocolate is toxic to dogs and other pets. It's best to store these in a pet-proof place and enjoy them yourself. It's a delightful treat for you and your family!
Can I make these Pumpkin Cheesecake Truffles vegan or gluten-free?
Certainly! For a vegan version, substitute cream cheese with a vegan alternative and use coconut or almond cream for added richness. For gluten-free truffles, swap graham cracker crumbs with gluten-free versions or crushed nuts. Enjoy customizing these treats to fit your dietary needs!
Pumpkin Cheesecake Truffles: Sweet Fall Bliss in Every Bite
Equipment
- Skillet
- Spatula
- Baking sheet
- parchment paper
- shallow bowl
Ingredients
For the Base
- 1 tablespoon Butter adds richness and helps with mixing the filling.
- 4 ounces Cream Cheese this creamy base brings that cheesecake flavor that’s hard to resist.
- ½ cup Canned Pumpkin Puree a must-have for that authentic pumpkin taste!
- 1 14-ounce can Sweetened Condensed Milk gives the truffles a luscious sweetness and creamy texture.
- 1 ½ teaspoons Pumpkin Pie Spice infuses the mix with warm fall flavors.
For the Coating
- ½ cup Graham Cracker Crumbs create a delightful crunch and that signature cheesecake crust flavor.
- ⅓ cup White Chocolate Chips melts beautifully into the filling, elevating its richness.
- Orange Food Coloring a fun addition to give your truffles a festive splash!
- Granulated Sugar adds a sweet touch to the outside, making them sparkle.
For the Topping
- Chocolate Chips these mimic pumpkin stems and add a delightful finishing touch to your truffles.
Instructions
Step-by-Step Instructions for Pumpkin Cheesecake Truffles
- Step 1: Prepare the Filling - In a skillet over medium heat, melt 1 tablespoon of butter. Add 4 ounces of softened cream cheese, ½ cup of canned pumpkin puree, 1 can of sweetened condensed milk, and 1 ½ teaspoons of pumpkin pie spice. Stir constantly for about 5–7 minutes until the mixture thickens and turns creamy, creating a delightful base for your Pumpkin Cheesecake Truffles.
- Step 2: Combine the Ingredients - Reduce the heat to low and stir in ½ cup of graham cracker crumbs and ⅓ cup of white chocolate chips. Stir until well combined and chocolate melts, about 2–3 minutes. Add a few drops of orange food coloring, if desired.
- Step 3: Chill the Mixture - Pour the pumpkin cheesecake mixture onto a butter-greased baking sheet, spreading it into an even layer. Place it in the refrigerator for at least 2 hours or overnight until firm.
- Step 4: Form the Truffles - Roll the chilled mixture into small balls, about the size of a golf ball. Place them on a parchment-lined tray.
- Step 5: Coat the Truffles - Roll each ball in granulated sugar to coat evenly, creating a sweet, sparkling exterior.
- Step 6: Add Finishing Touches - Use a toothpick to create ridges on the sides of each truffle and top each with a chocolate chip that resembles a pumpkin stem.
- Step 7: Serve or Store - Serve immediately or store in the fridge until ready to indulge.


Leave a Reply