
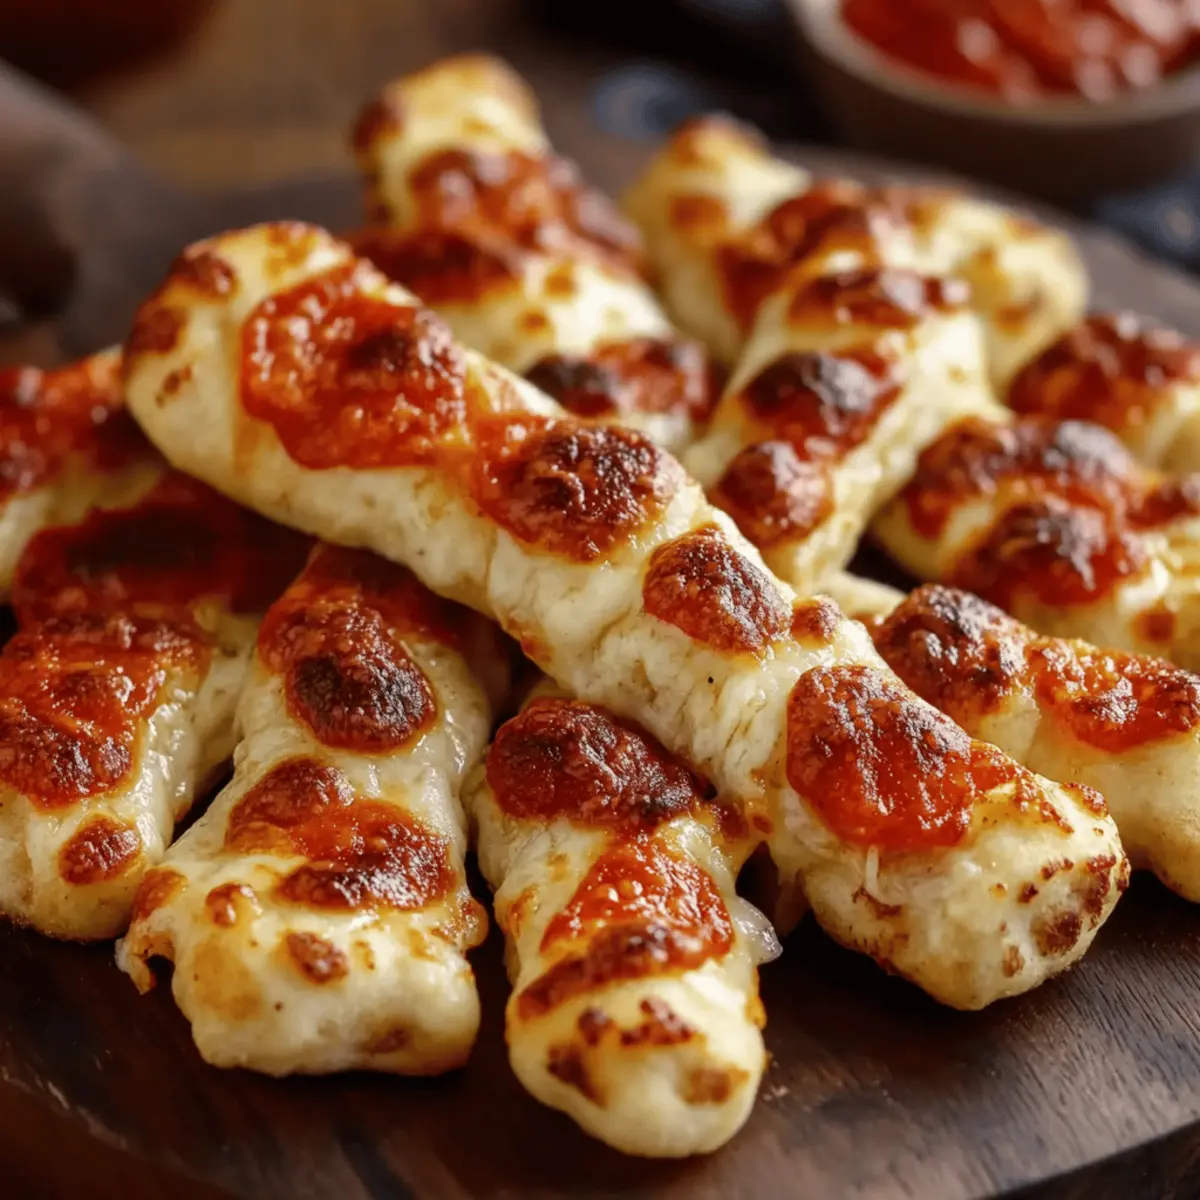
As I pulled the golden-brown breadsticks from the oven, the aroma wafted through my kitchen, instantly transporting me to a cozy autumn evening. Perfectly named, these Cheesy Halloween Breadstick Bones are not just a whimsical twist on your typical snack; they’re a crowd-pleasing, delicious addition to your seasonal gatherings. With just 15 minutes of prep and a playful presentation, they turn any dinner into a festive celebration. Your loved ones will delight in pulling apart these cheesy, bone-shaped delights, especially when dipped in warm marinara sauce. Plus, they can be made ahead of time and even frozen for later, making them a convenient treat for busy autumn nights. Are you ready to add some spooky fun to your dinner table?
Why are these breadsticks so special?
Irresistible Fun: Your kids and guests will adore the playful bone shape, making these cheesy treats a hit at any Halloween celebration.
Fast Preparation: With only 15 minutes of hands-on time, you can whip up a batch of these delightful treats without breaking a sweat.
Crowd-Pleasing Flavor: The combination of melted mozzarella and cheesy Parmesan creates a rich, savory experience that pairs perfectly with marinara sauce.
Versatile Snack: Whether for a spooky gathering or a cozy family movie night, these breadsticks are perfect for any occasion. Serve them alongside homemade pizza or any of your favorite comfort foods for an unforgettable meal.
Make Ahead: Prep some breadsticks a day in advance or freeze them for stress-free entertaining. It's the ideal solution for busy autumn weekends!
Cheesy Halloween Breadstick Bones Ingredients
For the Dough
• Pizza dough – Use store-bought or homemade for easy preparation.
• All-purpose flour – This helps dust your surface, ensuring the dough doesn’t stick during shaping.
For the Topping
• Unsalted butter – Melted, it adds a rich flavor and helps the cheese stick to the breadsticks.
• Grated Parmesan cheese – This gives a deliciously salty and savory kick to each bite.
• Shredded mozzarella cheese – Essential for that gooey, stretchy texture that everyone loves in cheesy Halloween breadstick bones.
For Dipping
• Marinara sauce – A perfect pairing; it’s great for dipping and enhances the cheesy experience.
These Cheesy Halloween Breadstick Bones will not only charm your guests but will also fill your home with delightful aromas, bringing a touch of seasonal spirit to your gatherings!
Step-by-Step Instructions for Cheesy Halloween Breadstick Bones
Step 1: Preheat the Oven
Begin by preheating your oven to 375°F (190°C). While the oven is warming up, line two baking sheets with parchment paper to ensure the cheesy Halloween breadstick bones won’t stick during baking. This preparation step is crucial for achieving perfectly baked breadsticks that are easy to remove from the sheets.
Step 2: Prepare the Dough
Once your pizza dough has reached room temperature, lightly dust your clean countertop with all-purpose flour. Divide the dough into 10 equal pieces, paying attention to make them uniformly sized for even baking. This step will help you create consistent cheesy Halloween breadstick bones, ensuring they cook evenly in the oven.
Step 3: Shape the Breadsticks
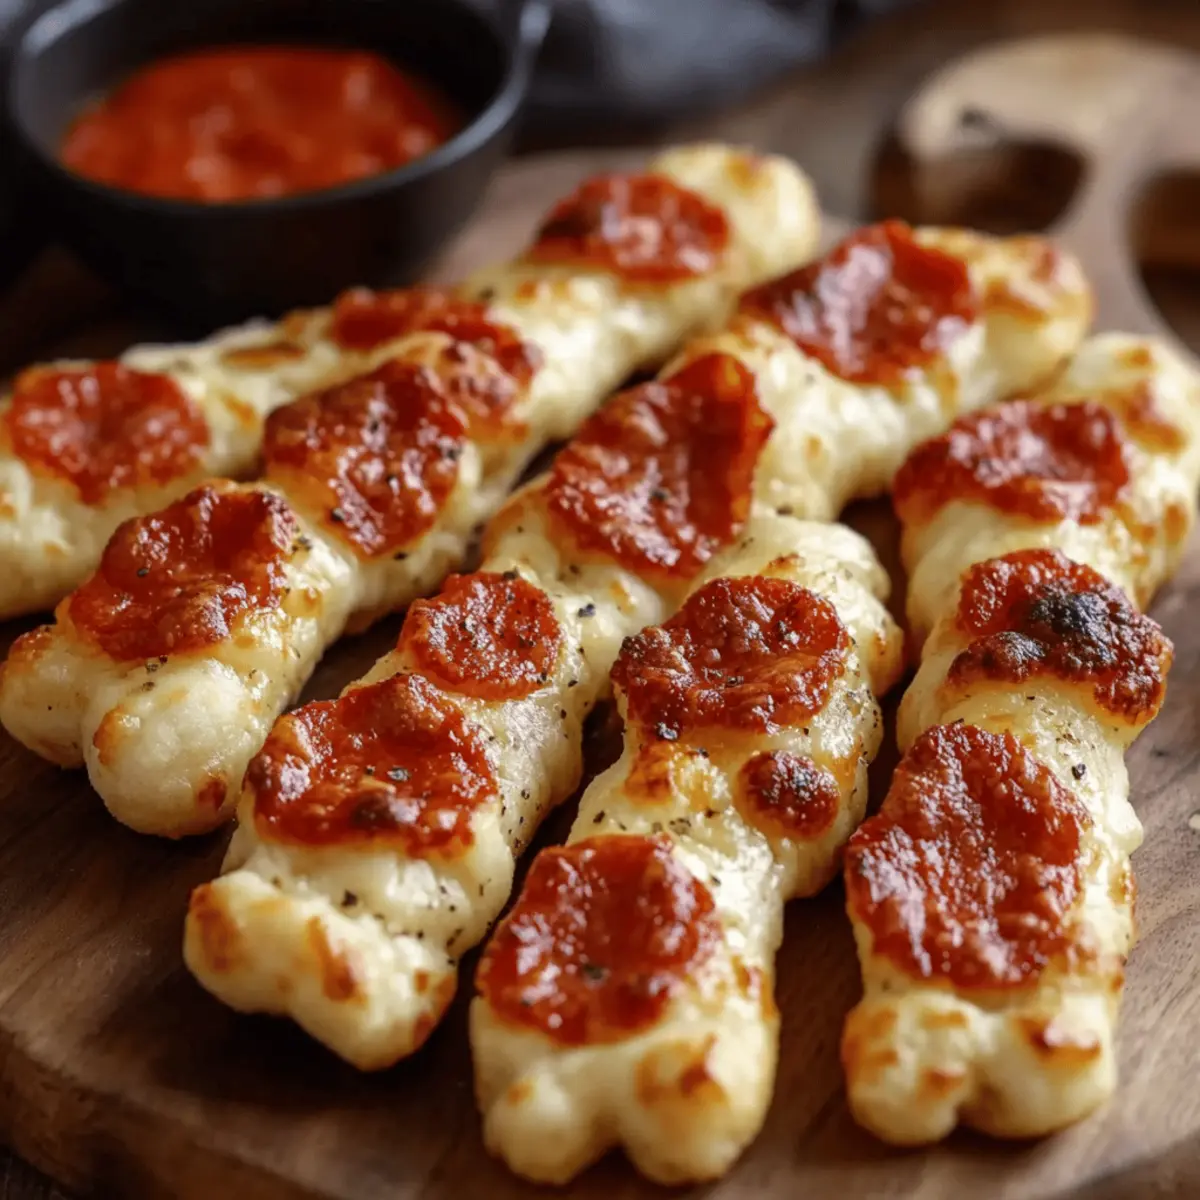
Take each piece of dough and roll it into an 8-inch long rope. To give it the desired bone shape, make the ends of each rope slightly thicker. Snip each end about 1 inch deep and gently pull apart the ends to form bone-like shapes. This not only adds a fun element but also enhances their appearance.
Step 4: Arrange on Baking Sheets
Place your shaped breadsticks on the prepared baking sheets, ensuring there’s a little space between each one to allow for expansion. This spacing is essential to prevent them from sticking together while baking, allowing your cheesy Halloween breadstick bones to rise beautifully in the oven.
Step 5: Butter and Cheese
Take the melted butter and generously brush it over the tops of each breadstick. Follow this by sprinkling a delightful layer of grated Parmesan cheese over them. The melted butter not only adds flavor but also helps the cheese adhere, creating a deliciously crusty topping for your cheesy Halloween breadstick bones.
Step 6: Bake to Perfection
Slide the baking sheets into the preheated oven and bake your breadsticks for about 15 minutes. Keep an eye on them as they puff up and turn a light golden color. This is the perfect visual cue that indicates they’re well on their way to becoming irresistibly cheesy Halloween breadstick bones.
Step 7: Add the Mozzarella
After 15 minutes, remove the breadsticks from the oven and sprinkle the shredded mozzarella cheese generously on top. This step adds that gooey, melty texture everyone loves. Return the breadsticks to the oven for an additional 5 to 7 minutes, or until the cheese is beautifully melted and bubbly.
Step 8: Cool and Serve
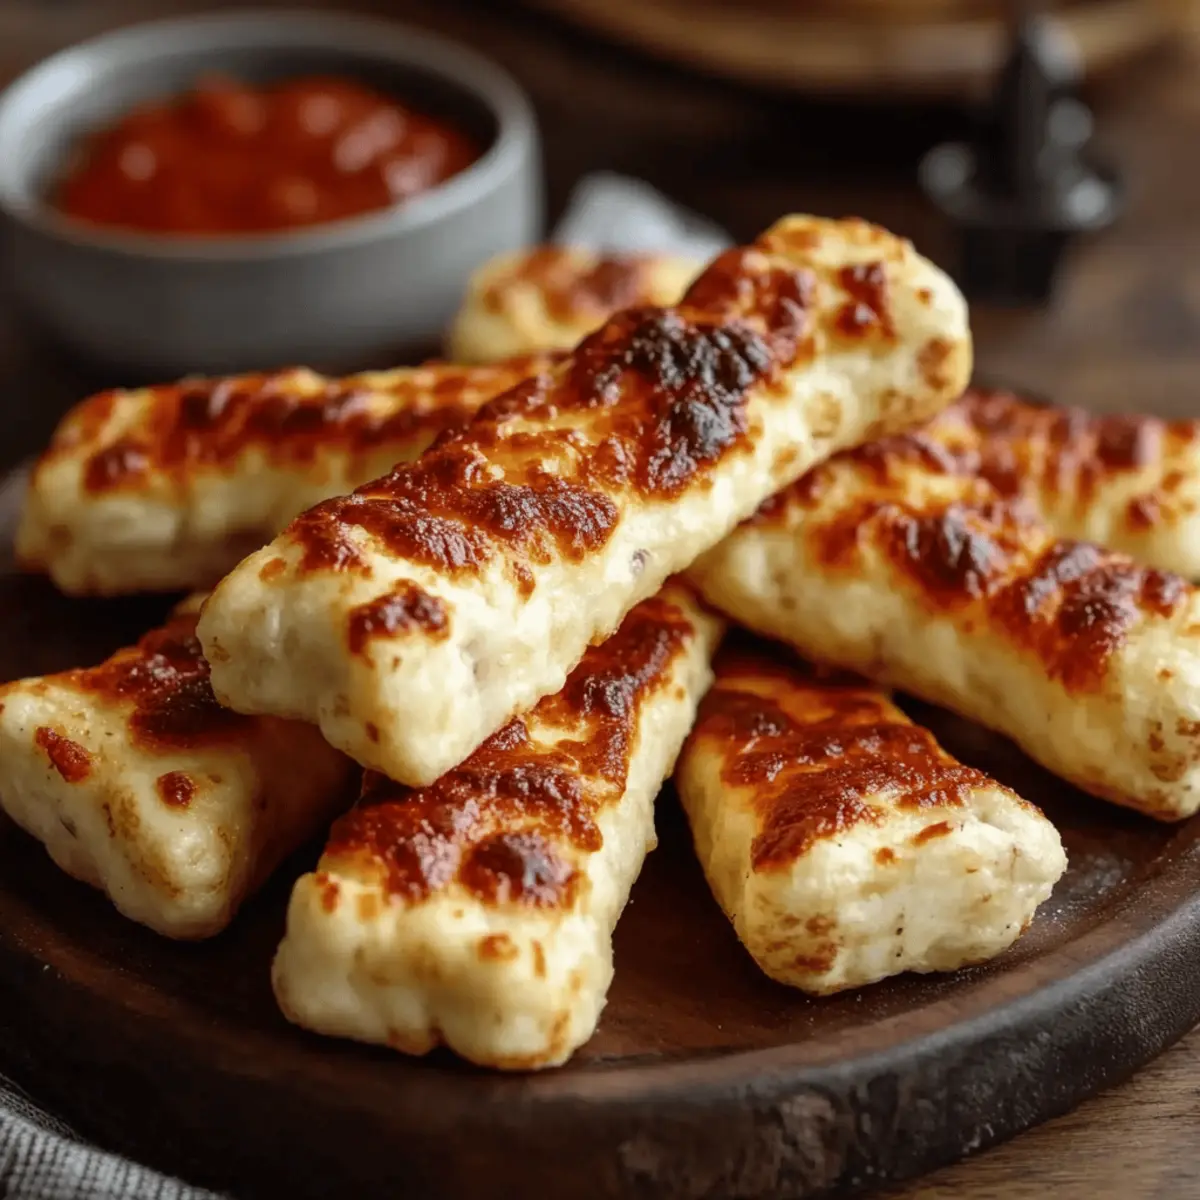
Once the cheese is ready, take the cheesy Halloween breadstick bones out of the oven and allow them to cool slightly on the baking sheets. This cooling period helps them set and makes them easier to handle. Serve them warm alongside a bowl of marinara sauce for dipping, enhancing their cheesy goodness.
What to Serve with Cheesy Halloween Breadstick Bones
These delightful treats can be the star of your spooky dinner or a whimsical addition to family movie nights.
-
Pumpkin Soup: A creamy pumpkin soup offers a warm, comforting contrast to the cheesy crunch of the breadsticks. The flavors of autumn shine in every bite!
-
Garlic Butter Roasted Vegetables: Crispy veggies add texture and a touch of sweetness, balancing the breadsticks' richness. Roasting brings out their natural flavors while complementing the cheesy goodness.
-
Spicy Marinara Sauce: For those who crave a little kick, a spicy marinara will elevate the dipping experience, creating a delicious heat that pairs perfectly with the cheesy bread.
-
Garden Salad: A fresh garden salad adds a refreshing crunch that contrasts beautifully with the soft texture of cheesy Halloween breadstick bones. The crisp veggies bring balance to your meal.
-
Hot Apple Cider: A warm cup of spiced apple cider creates a cozy atmosphere, enhancing the seasonal spirit of the breadsticks. Sip slowly while enjoying the rich flavors!
-
Chocolate Mousse: For dessert, a light and airy chocolate mousse provides a sweet end to the meal. Its smooth texture is a delightful finish after the savory breadsticks.
Let your imagination soar as you pair these delicious cheesy Halloween breadstick bones with your favorite sides and drinks!
Make Ahead Options
These Cheesy Halloween Breadstick Bones are a fantastic make-ahead option for busy home cooks! You can prepare the breadsticks up to 24 hours in advance by shaping them and placing them on baking sheets, then covering them tightly with plastic wrap and refrigerating. This ensures they remain fresh without losing their fun shape. When you're ready to bake, simply follow the baking instructions, brushing with butter and adding cheese before popping them into the oven. If you're looking to save even more time, you can also freeze shaped breadsticks in a single layer on a baking sheet, then transfer them to a freezer-safe bag for up to 3 months. Bake them directly from frozen, increasing the baking time slightly for perfect, cheesy goodness!
Expert Tips for Cheesy Halloween Breadstick Bones
Dough Temperature: Make sure the pizza dough is at room temperature for easier handling and better elasticity when shaping your breadsticks.
Even Snipping: When snipping the ends of the ropes, aim for consistent depth to ensure uniform baking. This helps avoid burnt or undercooked areas.
Cheese Layer: Feel free to get creative with your cheese toppings. For a more intense flavor, try adding a blend of Italian cheeses to your cheesy Halloween breadstick bones.
Baking Sheet Space: Don’t rush the arrangement on the baking sheets; leaving enough space between each breadstick is key to allow them to puff up beautifully without merging.
Storage Readiness: If storing leftovers, ensure the breadsticks cool completely before sealing them in an airtight container. This prevents moisture buildup and keeps them fresh longer.
Dipping Delight: Experiment with different dipping sauces! While marinara is classic, ranch or garlic butter can elevate the cheesy Halloween breadstick bones to another level of deliciousness.
How to Store and Freeze Cheesy Halloween Breadstick Bones
Room Temperature: Keep the cheesy Halloween breadstick bones in an airtight container at room temperature for up to 1 day to maintain their freshness.
Fridge: For longer storage, place them in the fridge. They’ll stay delicious for up to 3 days in an airtight container. Just reheat before serving!
Freezer: Wrap each cooled breadstick individually in foil and store them in a freezer-safe bag. They can be frozen for up to 2 months for a tasty snack anytime.
Reheating: To enjoy frozen breadsticks, bake directly from frozen at 375°F (190°C) for about 10-15 minutes until heated through.
Cheesy Halloween Breadstick Bones Variations
Feel free to put your personal spin on these delightful breadsticks and make them uniquely yours!
-
Garlic-Butter Twist: Add minced garlic to the melted butter for an aromatic, savory boost that will have everyone craving more. Simply mix and brush it on before adding cheese.
-
Herbed Delight: Incorporate dried Italian herbs like oregano and basil into the dough for a fragrant twist, infusing a lovely flavor in every bite. A quick sprinkle on top before baking adds a delightful touch.
-
Spicy Kick: Mix in a pinch of red pepper flakes to the melted butter to spice things up. This fiery addition will wake up your taste buds and complement the cheese beautifully.
-
Cheddar Surprise: Swap out half of the mozzarella for sharp cheddar cheese for a different flavor profile. The sharpness of cheddar will give your breadsticks a distinctive, tangy taste that pairs wonderfully with marinara.
-
Vegetable Boost: Chop and mix in finely diced bell peppers or olives to the dough to sneak in some veggies. This twist not only adds color but contributes a fresh, savory element.
-
Stuffed Surprise: Fill the breadsticks with a little dollop of cream cheese or ricotta before shaping them for a creamy center. When pulled apart, this surprise will add a fun texture and flavor burst.
-
Sweet Variant: Drizzle a honey-butter glaze on top post-baking for a sweet dessert twist. Pair this with fresh fruit for an unexpected but delightful flavor.
-
Gluten-Free: Use a gluten-free pizza dough alternative to accommodate dietary needs without sacrificing taste. There are many delicious options available that can help you recreate the delightful flavors of these breadsticks.
Explore these variations, and you’ll see just how versatile these Cheesy Halloween Breadstick Bones can be! Pair them with a warming bowl of homemade vegetable soup or a side of Italian salad for a heartwarming meal. Enjoy the creativity and fun!
Cheesy Halloween Breadstick Bones Recipe FAQs
What type of pizza dough should I use?
Absolutely! You can use store-bought pizza dough for convenience or make your own from scratch. If making homemade dough, let it rise according to recipe instructions before using to achieve the best texture in your cheesy Halloween breadstick bones.
How should I store the breadsticks after baking?
Once the cheesy Halloween breadstick bones have cooled completely, place them in an airtight container. They will stay fresh at room temperature for up to 1 day or in the refrigerator for up to 3 days. It’s essential to let them cool completely to avoid moisture buildup that can make them soggy.
Can I freeze the breadsticks for later?
Yes, you can! Wrap each cooled cheesy Halloween breadstick bone individually in foil, then place them in a freezer-safe bag. They can be frozen for up to 2 months. When you're ready to enjoy them, simply bake directly from frozen at 375°F (190°C) for about 10-15 minutes until heated through.
What if my dough seems too sticky while shaping?
If your dough feels sticky during shaping, don’t fret! Dust your hands and the work surface with a little more all-purpose flour to prevent sticking. Be careful not to add too much flour, as this can make the breadsticks tough. A light dusting should help you easily form those bone shapes.
Are there any dietary considerations I should be aware of?
Absolutely! If you're catering to guests with specific dietary restrictions, you can easily make these cheesy Halloween breadstick bones gluten-free by using a gluten-free pizza dough. Furthermore, for those with dairy sensitivities, consider using dairy-free cheese alternatives, although they may not melt as beautifully. Always check product labels for allergens.
Delicious Cheesy Halloween Breadstick Bones You'll Love
Equipment
- Oven
- Baking Sheets
- parchment paper
- Rolling Pin
Ingredients
For the Dough
- 1 package Pizza dough Use store-bought or homemade
- 1 cup All-purpose flour For dusting surface
For the Topping
- 2 tablespoons Unsalted butter Melted
- 1 cup Grated Parmesan cheese For sprinkling
- 1 cup Shredded mozzarella cheese For topping
For Dipping
- 2 cups Marinara sauce For dipping
Instructions
Preparation Steps
- Preheat your oven to 375°F (190°C). Line two baking sheets with parchment paper.
- Dust the countertop with all-purpose flour and divide the pizza dough into 10 equal pieces.
- Roll each piece into an 8-inch rope and shape into bones by thickening the ends and snipping them.
- Arrange the shaped breadsticks on the prepared baking sheets with space between each.
- Brush melted butter over each breadstick and sprinkle with Parmesan cheese.
- Bake for about 15 minutes until lightly golden. Remove and add shredded mozzarella cheese on top.
- Return to the oven for an additional 5 to 7 minutes, until cheese is melted and bubbly.
- Cool slightly on baking sheets and serve warm with marinara sauce.


Leave a Reply