
As the rich aroma of freshly brewed espresso filled my kitchen, I realized I would soon have a delightful indulgence on my hands—Coffee Mousse! This no-fuss dessert only takes a mere 10 minutes of active prep time, making it perfect for those of us who crave a sweet treat without spending an entire afternoon in the kitchen. With its creamy texture and the deep, satisfying flavor of coffee and chocolate, this recipe is sure to impress anyone you serve it to. Plus, it’s a fantastic make-ahead option that allows you to enjoy an elegant dessert with minimal effort. Are you ready to bring a little café flair into your home?
Why is Coffee Mousse a Must-Try?
Effortless Delight: This coffee mousse recipe requires just 10 minutes of your time! Perfect for those evenings when you want dessert without the fuss.
Decadent Flavor: The luscious blend of dark chocolate and bold espresso creates a rich flavor that’s sure to satisfy your sweet tooth.
Crowd-Pleaser: Whether it's a dinner party or a cozy night in, this dish will impress guests and family alike with its café quality.
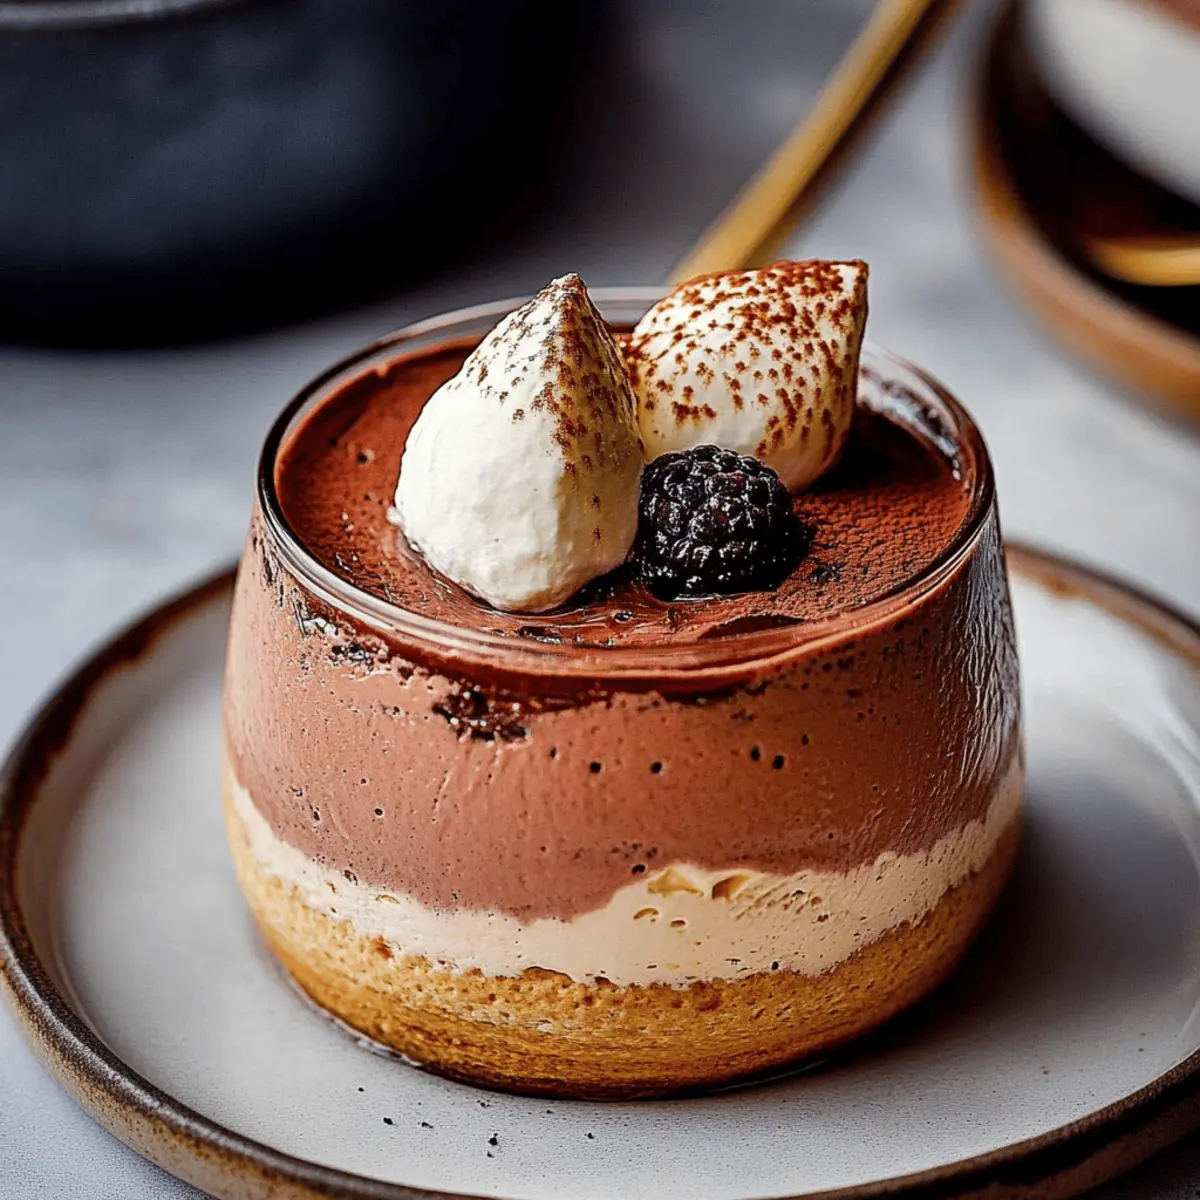
Versatile Presentation: Serve in elegant glasses or fun bowls, making it perfect for any occasion—think brunches or special celebrations!
Chill and Serve: Prepare ahead and simply refrigerate for a couple of hours. When you're ready, just scoop and serve. It couldn't be easier!
With so much to love, it's no wonder this Coffee Mousse has become a staple in my dessert repertoire.
Coffee Mousse Ingredients
• To create your own dreamy coffee mousse, gather these simple ingredients that will make all the difference.
For the Mousse
- Heavy Cream – This ingredient gives the mousse its airy texture; use chilled cream for best results.
- Milk – Adds creaminess; substitute with almond milk if you prefer a dairy-free version.
- Espresso or Strong Coffee – The star of the show! Brew strong coffee and let it cool for a rich coffee flavor.
- Confectioners Sugar – Provides sweetness and helps create a smooth texture; adjust based on your sweetness preference.
- Dark Chocolate – Melts into the mixture, enriching it with deep chocolate notes; opt for semi-sweet if desired.
This Coffee Mousse is not just a dessert; it's an experience waiting to happen!
Step‑by‑Step Instructions for Coffee Mousse
Step 1: Whip the Cream
Begin by pouring 1 cup of heavy cream into a large mixing bowl. Use an electric mixer at medium-high speed to whip the cream until stiff peaks form, which should take about 3-5 minutes. The cream should be thick enough to hold its shape, creating a fluffy base for your Coffee Mousse.
Step 2: Combine the Ingredients
In a separate bowl, mix together ½ cup of milk, ¼ cup of cooled espresso or strong coffee, and ¼ cup of confectioners sugar. Whisk these ingredients until well combined and the sugar dissolves fully, creating a smooth mixture. Next, add in 4 ounces of melted and cooled dark chocolate, stirring until fully incorporated for that rich chocolate flavor your mousse craves.
Step 3: Fold the Mixtures Together
Carefully incorporate the whipped cream into the coffee-chocolate mixture by using a spatula to gently fold them together. Start with a small amount of whipped cream to lighten the mixture, then gradually add the rest, ensuring you maintain the airy texture essential for your Coffee Mousse. This folding technique keeps the mousse light and fluffy.
Step 4: Serve and Chill
Once your coffee mousse is well combined and fluffy, spoon it evenly into serving glasses or bowls. Cover the containers with plastic wrap and refrigerate for at least 2 hours, or until set. This chilling process allows the flavors to meld beautifully and the mousse to reach its perfect texture.
Step 5: Final Touches and Enjoy
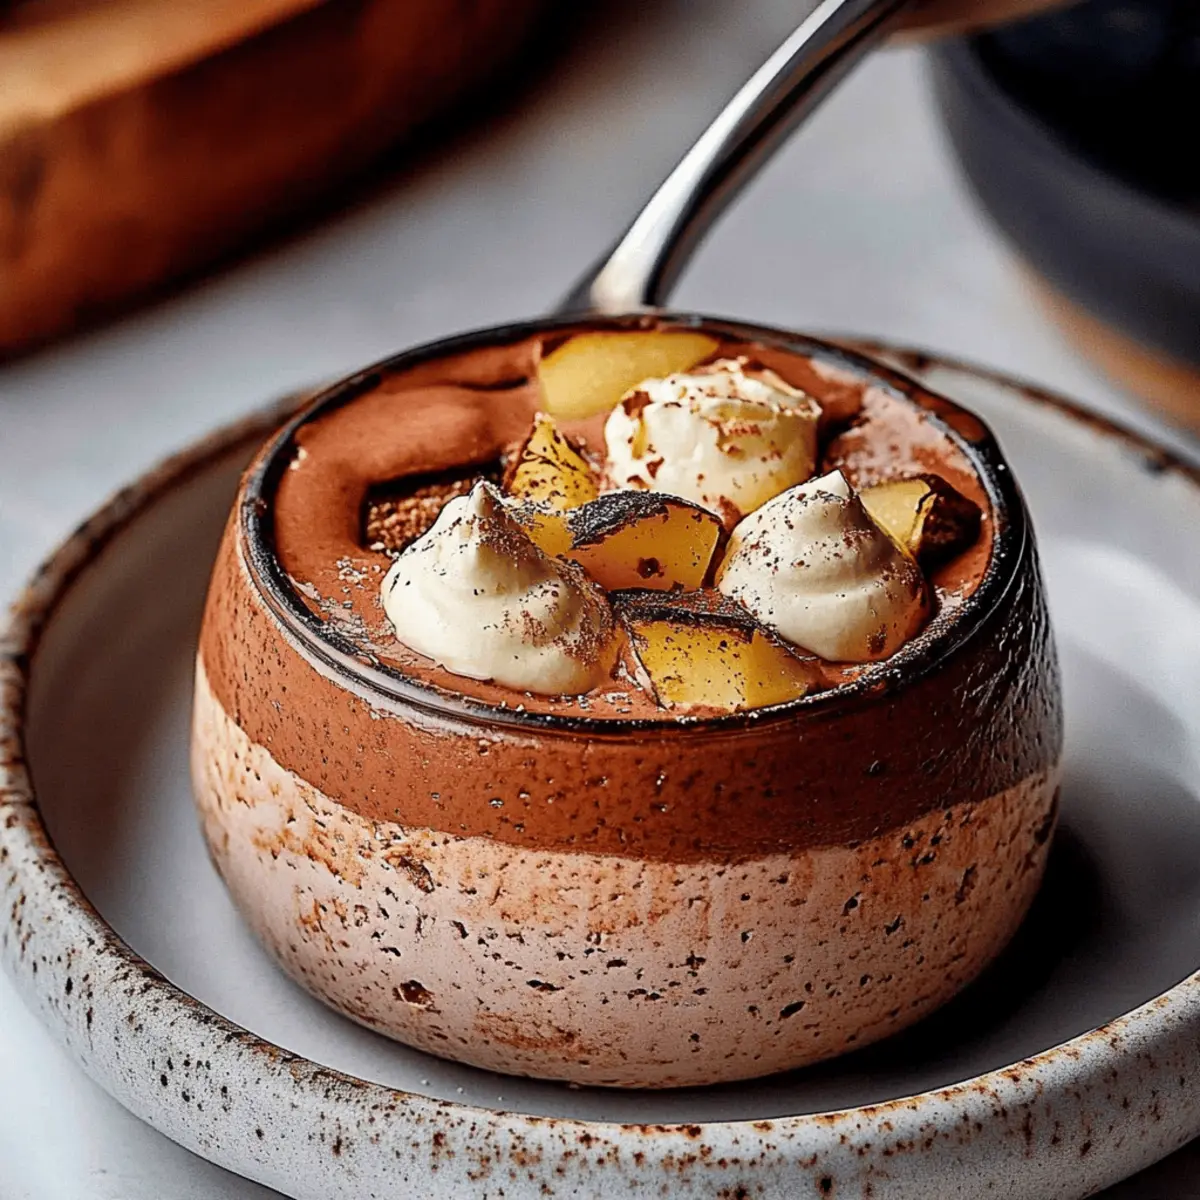
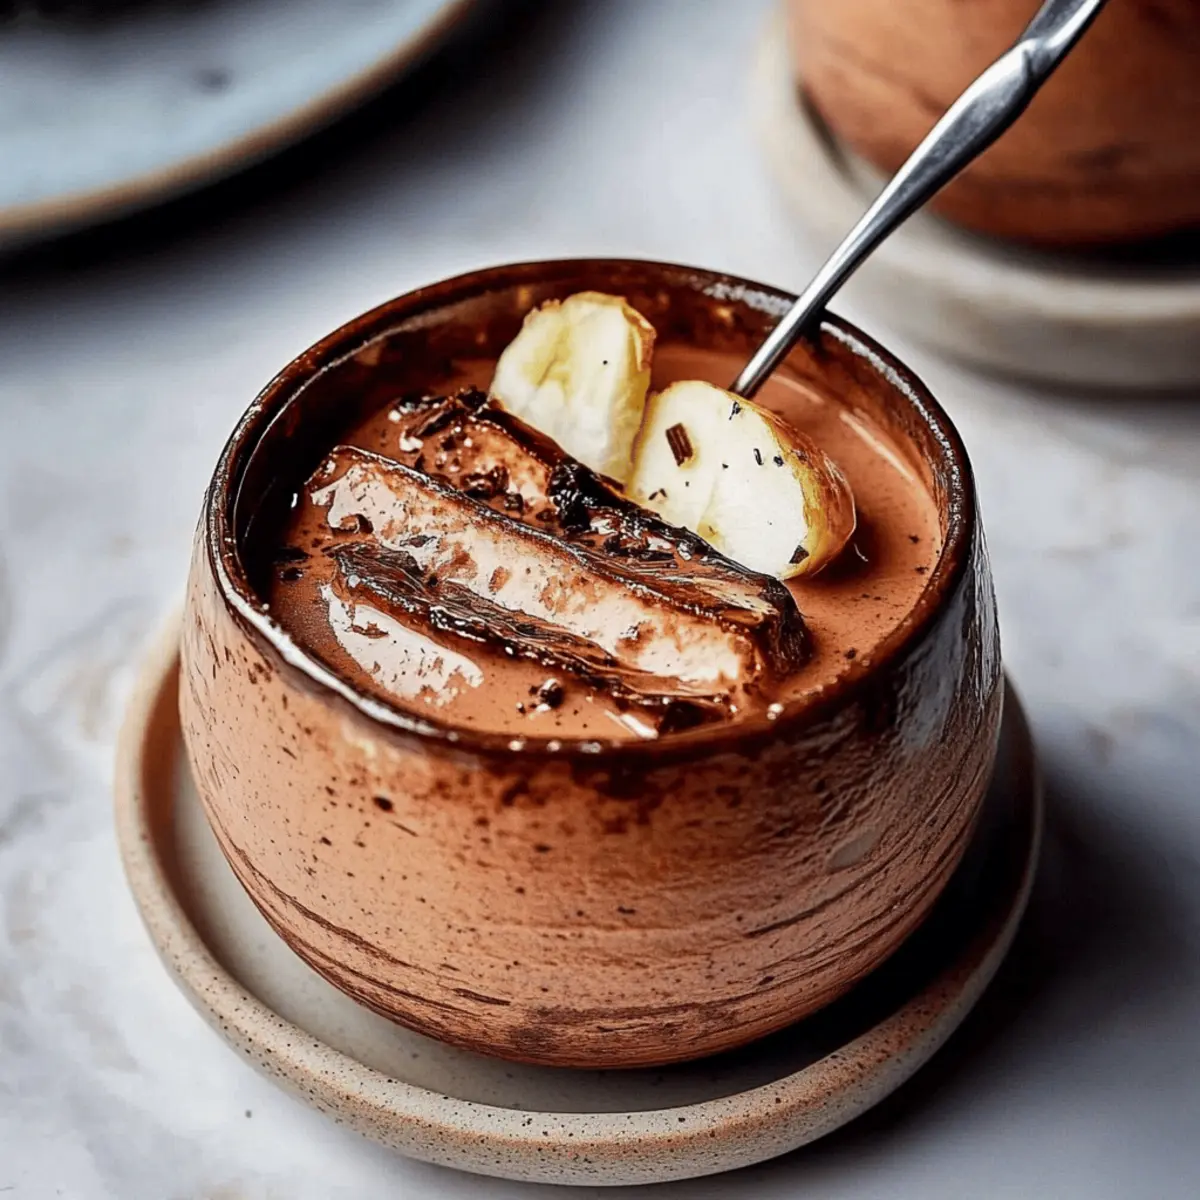
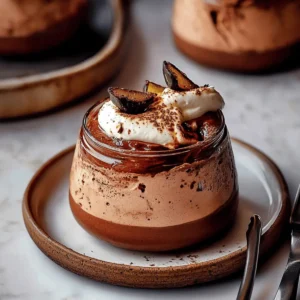
After the mousse has set, you can add your favorite toppings such as chocolate shavings, whipped cream, or a dusting of cocoa powder for an extra touch. With a rich aroma and enticing appearance, your Coffee Mousse is now ready to be devoured! Serve chilled and delight in your homemade indulgence.
Expert Tips for Coffee Mousse
-
Chill Your Equipment: Ensure your mixing bowl and beaters are cold to help the heavy cream whip up to stiff peaks more easily.
-
Espresso Quality: Use freshly brewed espresso for the best flavor; instant coffee can lead to a less intense taste.
-
Folding Technique: Be gentle when folding the whipped cream into the mixture; over-mixing can deflate the mousse, affecting the airy texture.
-
Chill Time: Don’t skip the chilling step! Allow at least 2 hours for the flavors to develop and the mousse to set properly.
-
Custom Sweetness: Adjust the confectioners sugar based on your taste; taste the mixture before folding it all in to ensure it's sweet enough.
With these expert tips, your Coffee Mousse will shine and please every palate at your gathering!
Make Ahead Options
These Coffee Mousse cups are a wonderful treat for busy evenings, allowing you to savor a delicious dessert without the last-minute rush! You can prepare the mousse mixture up to 24 hours in advance by following the steps to whip the cream and combine the ingredients, then simply fold them together. Pour the mixture into serving containers, cover tightly, and refrigerate to maintain its luscious texture. When you're ready to serve, just remove them from the fridge, add your favorite toppings, and enjoy a delightful indulgence that's just as delicious as if made fresh that day. Prepare ahead to save time and impress your loved ones with this elegant dessert!
How to Store and Freeze Coffee Mousse
Refrigerator: Store your Coffee Mousse covered in the fridge for up to 3 days. Use an airtight container to maintain its dreamy texture and prevent it from absorbing odors.
Freezer: For longer storage, freeze the mousse for up to 1 month. Portion it into airtight containers, but note that freezing may affect its light texture upon thawing.
Thawing: Transfer frozen mousse to the fridge to thaw overnight. Avoid microwaving, as this can change the consistency; simply let it sit until soft and creamy again.
Serving Tip: When ready to serve, give it a gentle stir to restore its texture, and feel free to add an extra dollop of whipped cream on top for that café-inspired finish!
Coffee Mousse Variations & Substitutions
Feel free to let your creativity shine and customize your coffee mousse for a unique twist!
-
Dairy-Free: Use coconut cream instead of heavy cream and almond milk instead of regular milk for a delicious alternative.
For a tropical flair, consider topping it with shredded coconut or fresh tropical fruit. -
Flavor Boost: Add a splash of vanilla extract or a pinch of cinnamon for an unexpected flavor enhancement.
These warm spices can elevate the dessert to a whole new level of taste, making each bite more enchanting. -
Sweetness Adjustment: Substitute confectioners sugar with maple syrup or honey for a more natural sweetness.
This swap not only sweetens but also adds its own delightful flavor profile to the mousse. -
Chocolate Variation: Experiment with different types of chocolate; white chocolate will give a sweeter taste, while dark chocolate offers richness.
You could even try a combination, balancing the flavors for a new dessert experience! -
Nutty Twist: Fold in chopped walnuts or hazelnuts for added texture and a nutty touch.
The crunch complements the creaminess of the mousse, creating a pleasing contrast that delightfully surprises the palate. -
Spicy Kick: Add a dash of cayenne pepper for a spicy version that tantalizes the taste buds.
This unique twist can transform your coffee mousse into a conversation starter and an adventurous treat! -
Coffee Alternatives: Swap the espresso with cold brew or flavored coffee for a different intensity and character.
This switch opens the door to a range of flavor profiles from smooth to vibrant, adjusting to your preference beautifully.
With these variations, you can tailor your coffee mousse to suit your taste or the occasion, making each experience special!
What to Serve with Coffee Mousse?
Indulging in a cup of rich coffee mousse opens the door to delightful meal pairings that elevate the entire dining experience.
-
Light Biscotti: These crunchy, sweet treats provide the perfect textural contrast, making each bite of mousse even more delightful.
-
Crunchy Almond Tuile: A delicate, thin cookie that adds an elegant crunch, beautifully complementing the creamy richness of the mousse.
-
Fresh Berries: Bright, juicy raspberries or strawberries refresh the palate and add a burst of flavor alongside the deep chocolate notes.
-
Espresso Martini: Enhance your coffee experience with this cocktail; its rich coffee flavor pairs beautifully with your mousse.
-
Whipped Cream Topping: A dollop of freshly whipped cream on top adds extra creaminess and a cute finishing touch for each serving.
For a complete coffee experience, consider offering a side of dark chocolate shavings or a sprinkle of cocoa powder to elevate the visual appeal. Enjoying these with your coffee mousse creates a decadent moment that feels special for any occasion!
Coffee Mousse Recipe FAQs
What type of coffee works best for this recipe?
Absolutely! For the richest flavor, I recommend using freshly brewed espresso. A strong brewed coffee also works well if you don't have an espresso machine at home. Just make sure it’s cooled before mixing to avoid melting the chocolate.
How should I store leftover coffee mousse?
You’ll want to cover your Coffee Mousse and store it in the refrigerator, where it will keep well for up to 3 days. Use an airtight container to lock in that heavenly texture and prevent it from picking up other smells in your fridge.
Can I freeze coffee mousse? How do I do it?
Yes, you can freeze your Coffee Mousse for up to 1 month! Portion it into airtight containers, leaving some space for expansion. When you’re ready to enjoy it again, simply transfer it to the fridge to thaw overnight. Avoid the microwave, as it can alter the mousse's wonderfully airy texture.
What should I do if my mousse doesn’t set properly?
If your mousse hasn’t set properly after chilling for two hours, it’s likely due to insufficient folding of the whipped cream or not using cold ingredients. To troubleshoot, you can gently incorporate a bit more whipped cream and chill it longer. If it still doesn’t set, you may want to try adding a stabilizer like gelatin on your next attempt.
Can I make this coffee mousse dairy-free?
Very! To make a dairy-free version, simply substitute the heavy cream with coconut cream or a thick unsweetened almond yogurt. Additionally, use a plant-based milk alternative and a dairy-free dark chocolate for the perfect creamy consistency. It’s a fantastic way to cater to different dietary needs.
Are there any allergies I should be aware of?
Definitely! This recipe contains common allergens such as dairy and chocolate. If serving to guests, ensure they do not have allergies to these ingredients. For a nut allergy, be cautious about using certain brands of chocolate that may contain traces of nuts. Always check labels to ensure safety for everyone enjoying the mousse.
Deliciously Light Coffee Mousse That's Perfect for Any Occasion
Equipment
- Mixing bowl
- Electric mixer
- Spatula
- Measuring Cups
- Whisk
Ingredients
For the Mousse
- 1 cup Heavy Cream Chilled for best results
- ½ cup Milk Substitute with almond milk for dairy-free
- ¼ cup Espresso or Strong Coffee Brewed and cooled
- ¼ cup Confectioners Sugar Adjust based on sweetness preference
- 4 ounces Dark Chocolate Melted and cooled
Instructions
Step-by-Step Instructions for Coffee Mousse
- Begin by pouring 1 cup of heavy cream into a large mixing bowl. Use an electric mixer at medium-high speed to whip the cream until stiff peaks form, which should take about 3-5 minutes.
- In a separate bowl, mix together ½ cup of milk, ¼ cup of cooled espresso or strong coffee, and ¼ cup of confectioners sugar. Whisk until well combined.
- Add in 4 ounces of melted and cooled dark chocolate, stirring until fully incorporated.
- Carefully fold the whipped cream into the coffee-chocolate mixture using a spatula.
- Spoon the mousse into serving glasses or bowls, cover with plastic wrap, and refrigerate for at least 2 hours.
- Add toppings like chocolate shavings or whipped cream before serving.


Leave a Reply