
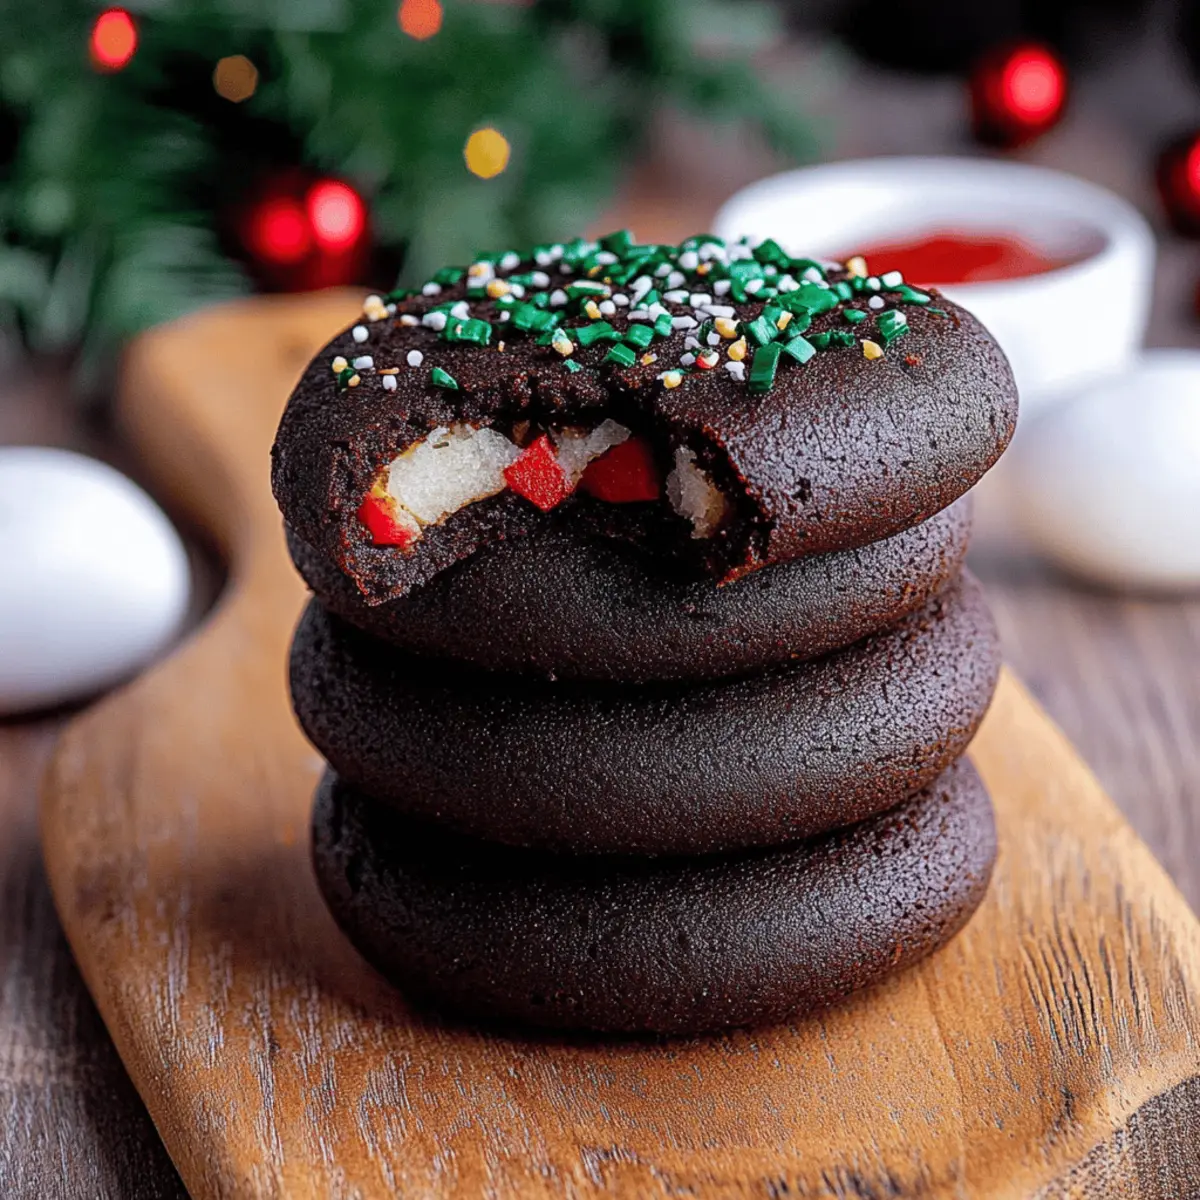
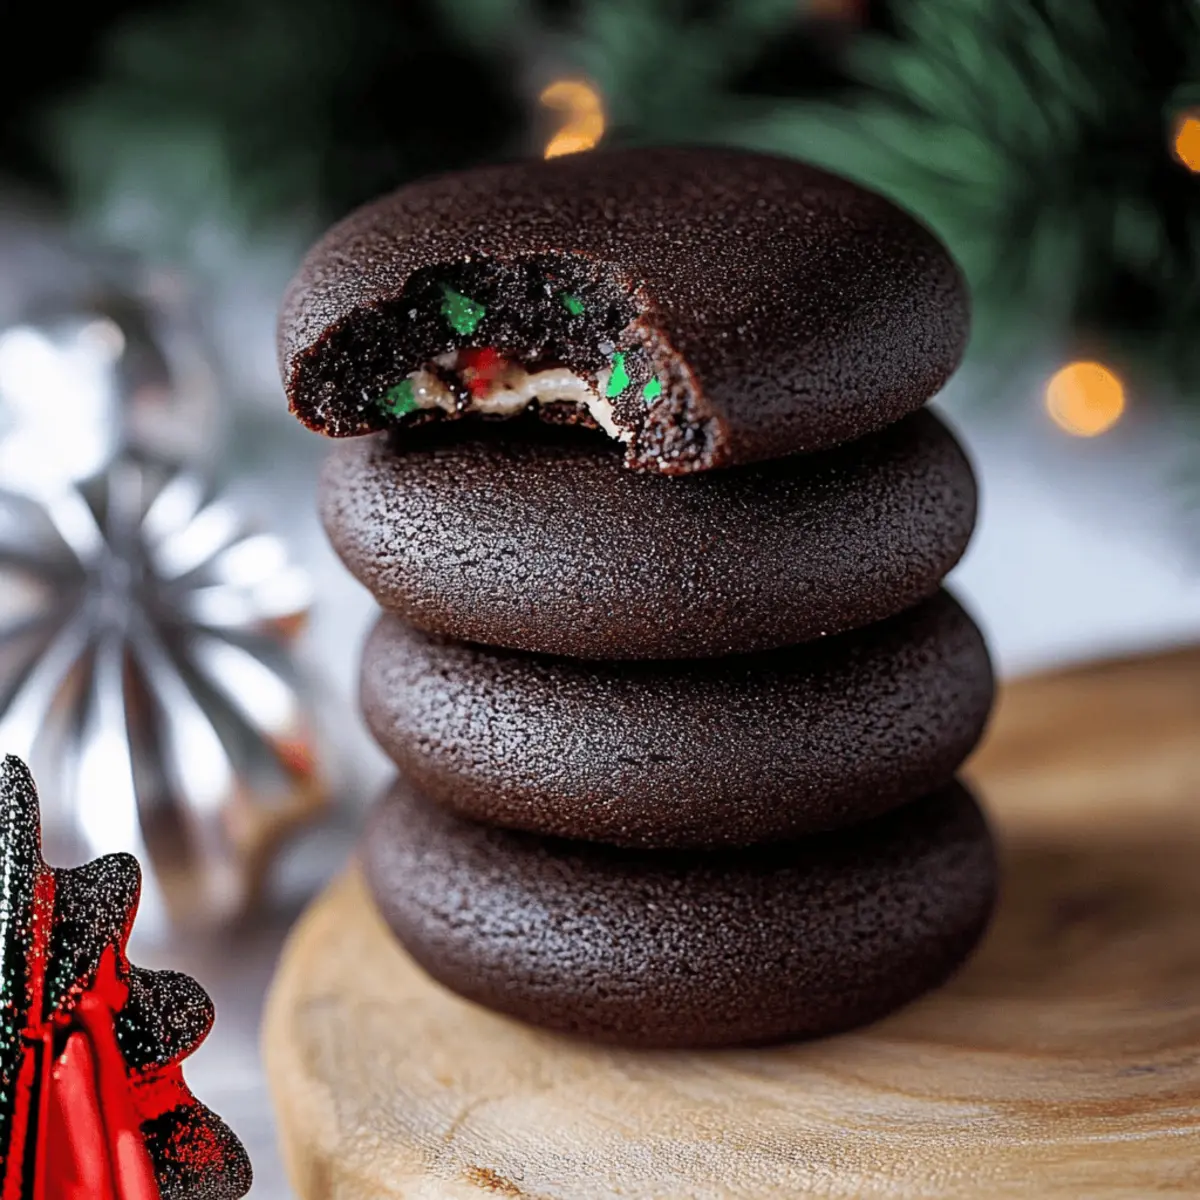
As I savored the first bite of a freshly baked Chocolate Thumbprint Cookie, a wave of nostalgia washed over me—these decadent morsels have been a family favorite for generations. The soft, cocoa-infused base cradles a luscious ganache, making them a delightful treat that feels special yet achievable. Whether you're impressing guests or simply indulging in some self-care, these cookies are your perfect companion, providing quick prep and endless enjoyment. Plus, they’re an excellent way to transform a regular baking day into a memorable one. Why settle for store-bought when you can create a touch of magic in your kitchen? Ready to dive into this irresistible recipe? Let’s get baking!
Why Are Chocolate Thumbprint Cookies Irresistible?
Decadent flavor is at the heart of these cookies, with rich cocoa and gooey ganache creating a taste sensation that satisfies any sweet tooth. Easy preparation ensures you can whip them up even on busy days, making them perfect for spontaneous baking sessions. Visual appeal shines with their charming thumbprints, inviting both kids and adults to indulge. Plus, they’re an ideal treat for sharing at gatherings, breaking the monotony of fast food while impressing friends with your culinary skills. Ready for more delightful baking ideas? Check out my Ultimate Baking Guide for tips that will elevate your experience!
Chocolate Thumbprint Cookies Ingredients
• Get ready to create a scrumptious dessert!
For the Cookie Base
- All-purpose flour – This forms the foundation of your cookie, giving it that perfect texture.
- Dutch process cocoa powder – It amplifies the chocolate flavor, providing a rich and deep hue.
- Salt – A pinch enhances sweetness and balances flavors beautifully.
- Baking powder – This is essential for giving the cookies a light and tender crumb.
- Unsalted butter – Softened for easy mixing, it adds richness to each bite.
- Light brown sugar – Packed for extra moisture and a hint of caramel-like flavor.
- Granulated white sugar – For a touch of sweetness that balances the chocolate.
- Egg yolks – They enrich the dough, creating a buttery texture.
- Vanilla bean paste or extract – A splash elevates the flavor profile with warmth.
For the Ganache
- Semi-sweet chocolate chips – The star ingredient that melts into a luxurious filling.
- Heavy whipping cream – Provides the perfect creaminess for a rich ganache.
Optional Topping
- Nonpareils – These delightful sprinkles add a festive touch to your cookies.
Enjoy making these Chocolate Thumbprint Cookies and transform your kitchen into a sweet haven!
Step‑by‑Step Instructions for Chocolate Thumbprint Cookies
Step 1: Prepare the Baking Sheets
Start by lining two baking sheets with parchment paper, ensuring no sticky residue remains. This will prevent your delectable Chocolate Thumbprint Cookies from sticking while baking. Place them on a flat surface, ready for the cookie dough later on.
Step 2: Combine Dry Ingredients
In a medium-sized bowl, whisk together the all-purpose flour, Dutch process cocoa powder, salt, and baking powder until well blended. This step is crucial for evenly distributing the cocoa and leavening, which gives the cookies their rich flavor and light texture. Set this mixture aside as you work on the wet ingredients.
Step 3: Cream the Butter and Sugars
In a large bowl, use an electric mixer to cream together the softened unsalted butter, light brown sugar, and granulated sugar. Mix on medium speed for about two minutes until the mixture becomes light and fluffy. This incorporates air for a tender texture in your Chocolate Thumbprint Cookies and enhances their sweetness.
Step 4: Add Egg Yolks and Vanilla
Next, incorporate the room temperature egg yolks and vanilla bean paste or extract into the butter mixture. Continue mixing for 1-2 minutes until the mixture appears pale and fluffy. This step enriches the dough and imparts a warm, inviting flavor to the cookies.
Step 5: Mix Dry and Wet Ingredients
Gradually add the dry ingredients from Step 2 into the wet ingredients, mixing just until combined. Be careful not to over-mix; you want to retain a soft and slightly crumbly texture typical of Chocolate Thumbprint Cookies. Once the dough has formed, it's ready to shape.
Step 6: Shape the Cookie Dough
Using a cookie scoop or tablespoon, scoop out 34 portions of the dough and roll each into a ball, about one tablespoon in size. Place the dough balls on the prepared baking sheets, leaving space between them. The dough will spread slightly during baking, so give each ball room to grow.
Step 7: Create Indents
Using a ¼ teaspoon measure, gently press down on the center of each dough ball to create an indent. This will hold the luscious ganache later. Be sure to make the indents deep enough, as the dough will puff up a bit while baking.
Step 8: Chill the Dough
Cover the baking sheets with plastic wrap and chill the prepared dough balls in the refrigerator for at least one hour. This chilling time helps the cookies maintain their shape during baking, ensuring a perfect thumbprint every time.
Step 9: Preheat the Oven
When there's about 15 minutes left for chilling, preheat your oven to 350°F (175°C). This ensures your Oven is at the right temperature when the cookie dough comes out, allowing for a consistent bake for your Chocolate Thumbprint Cookies.
Step 10: Bake the Cookies
Once the dough is chilled, arrange the balls on the baking sheets about 1 ½ inches apart. Bake in the preheated oven for 9-11 minutes, keeping an eye on them. They should look set but slightly soft in the center when done. A little indentation may require a gentle press to reshape afterward.
Step 11: Cool the Cookies
After baking, allow the cookies to cool on the baking sheet for about 5 minutes. This helps them firm up a bit before transferring. Once cooled slightly, move the cookies to a wire rack to cool completely, ensuring they stay soft and melt-in-your-mouth delectable.
Step 12: Prepare the Ganache
In a small bowl, place the semi-sweet chocolate chips. Heat the heavy whipping cream either in the microwave or on the stove until it just boils, then pour it over the chocolate chips. Let it sit for 1 minute to soften, making it easy to stir into a creamy ganache.
Step 13: Fill the Cookies
Stir the chocolate and cream together until completely combined. Using a teaspoon, carefully fill each well of the cookies with about 1 teaspoon of ganache. For an extra festive touch, sprinkle some nonpareils on top of the chocolate filling as a beautiful garnish.
Step 14: Set the Ganache
To ensure the ganache sets perfectly, chill the filled cookies in the refrigerator for 10-15 minutes. This allows the chocolate to firm a bit, making your Chocolate Thumbprint Cookies even more delightful to bite into.
Step 15: Store the Cookies
Finally, store any leftover cookies in an airtight container at room temperature for up to three days. This way, you can enjoy your chocolatey treats a little longer, Sharing is optional, but highly recommended!
Chocolate Thumbprint Cookies Variations & Substitutions
Feel free to customize these delightful cookies to suit your taste buds and dietary preferences!
-
Gluten-Free: Use a gluten-free flour blend in place of all-purpose flour for a delicious cookie everyone can enjoy.
-
Vegan: Replace butter with coconut oil or a vegan butter substitute, and use flax eggs instead of egg yolks for a plant-based version that doesn’t compromise on taste.
-
Spicy Kick: Add a pinch of cayenne pepper or chili powder to the dough for a surprising warmth that complements the chocolate beautifully. It’s a unique twist that’s sure to impress!
-
Nutty Flavor: Mix in chopped nuts, such as walnuts or pecans, to the dough for added texture and nutty richness. Just be mindful of your guests' allergies for a worry-free treat!
-
Flavor Infusion: Swap vanilla extract for almond extract or orange zest to create a refreshing flavor profile that brightens up each bite. This small change can take your cookies from ordinary to extraordinary!
-
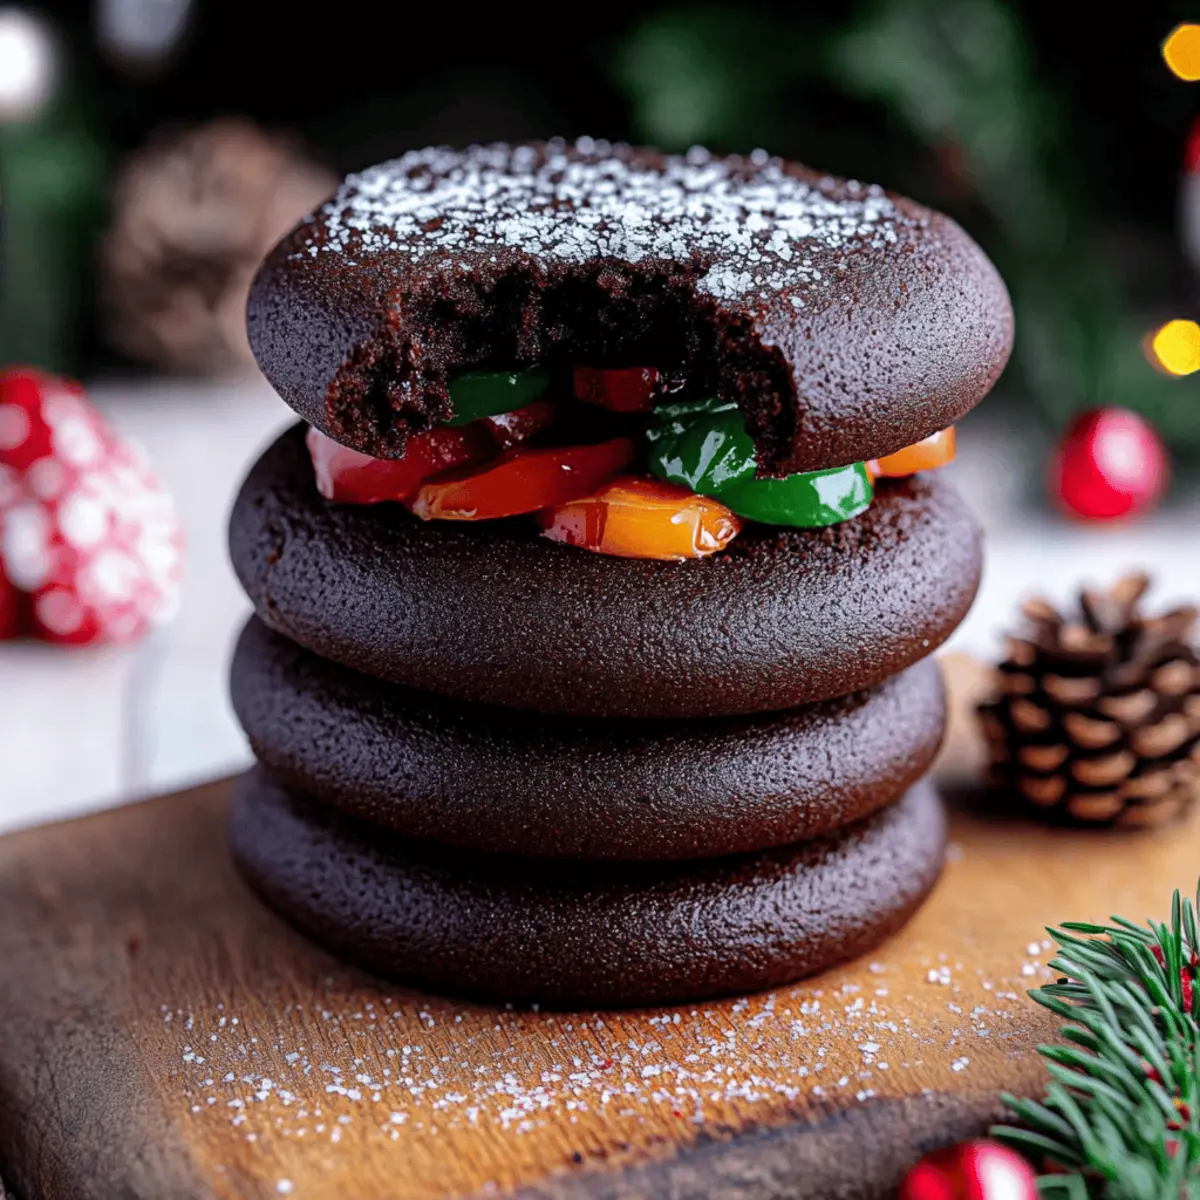
Different Ganache: Try white chocolate chips for a creamy, sweet ganache, or experiment with flavored chips like peppermint or raspberry for a festive twist during the holidays.
-
Fruity Surprise: Add a dollop of fruit preserves (like raspberry or apricot) along with the ganache for a delightful burst of flavor that pairs well with the rich chocolate. Each bite will be a delightful explosion of taste!
Looking for more fantastic baking ideas? Check out my Ultimate Baking Guide and elevate your kitchen adventures!
How to Store and Freeze Chocolate Thumbprint Cookies
Airtight Container: Store leftover Chocolate Thumbprint Cookies in an airtight container at room temperature for up to 3 days to maintain their softness and flavor.
Refrigeration: If you want to keep the cookies fresh for a bit longer, place them in the refrigerator where they'll stay good for up to 1 week. Just remember to let them come to room temperature before enjoying!
Freezer: To freeze, place the cookies in a single layer on a baking sheet until solid, then transfer them to a freezer-safe bag or container for up to 3 months. Thaw and enjoy at room temperature!
Reheating Tip: For a warm treat, pop the cookies in the microwave for 10-15 seconds. This will soften the ganache and bring back that freshly baked vibe!
Expert Tips for Chocolate Thumbprint Cookies
-
Chill Well: Always chill the dough for at least one hour. This prevents the cookies from spreading too much in the oven, ensuring perfect thumbprints.
-
Avoid Overmixing: When combining dry and wet ingredients, mix just until combined. Overmixing can make your cookies tough rather than tender.
-
Indentation Depth: Press down firmly in the center of each dough ball to create a deep enough well for ganache, so it doesn’t overflow during baking.
-
Use Quality Chocolate: For a rich ganache, select high-quality semi-sweet chocolate chips. They elevate the flavor of your Chocolate Thumbprint Cookies significantly.
-
Serve Fresh: These cookies are best enjoyed fresh, but if there's any left over, store them in an airtight container to keep them soft and delicious.
Make Ahead Options
These Chocolate Thumbprint Cookies are perfect for busy home cooks looking to save time! You can prepare the cookie dough and chill it in the refrigerator for up to 24 hours before baking. Simply follow the first eight steps of the recipe, then cover the baking sheets with plastic wrap and refrigerate. This helps maintain their shape and flavor. When you're ready to bake, proceed with preheating the oven and baking the cookies as instructed. Additionally, you can make the ganache ahead of time and store it in the fridge for a few days, just reheat slightly before filling the cookies to ensure it’s smooth and pourable. Enjoy the convenience of having these delightful treats ready to share on a moment's notice!
What to Serve with Chocolate Thumbprint Cookies
Indulge in a delightful experience as you pair these rich, chocolatey treats with complementary flavors that elevate your dessert game.
-
Fresh Berries: The tartness of strawberries or raspberries balances the sweetness of the cookies, providing a refreshing contrast.
-
Vanilla Ice Cream: A scoop of creamy vanilla ice cream adds smoothness that beautifully melds with the rich chocolate ganache.
-
Coffee or Espresso: A strong coffee or espresso enhances the chocolate flavor and creates a cozy, comforting experience perfect for any occasion.
-
Chocolate Milkshake: For a fun twist, serve with a chocolate milkshake to create the ultimate sweet indulgence that will delight kids and adults alike.
-
Mint Chocolate Chip Cookies: Pairing with these soft, minty cookies offers a delightful flavor contrast while keeping the chocolate theme intact.
-
Decadent Chocolate Sauce: Drizzling extra chocolate sauce over the cookies adds an indulgent layer of richness, taking them to a new level of deliciousness.
-
Sparkling Water with Lime: This refreshing drink provides a light complement to the richness of the cookies, cleansing the palate beautifully.
Revel in the magic of combining flavors and textures that make your Chocolate Thumbprint Cookies even more special!
Chocolate Thumbprint Cookies Recipe FAQs
What type of cocoa powder should I use for Chocolate Thumbprint Cookies?
Absolutely! Dutch process cocoa powder is ideal for these cookies as it provides a rich, deep chocolate flavor. It’s treated to neutralize the acidity, giving your cookies a smoother taste and darker color. You can substitute with natural cocoa powder, but note that the flavor and texture may be slightly different.
How should I store my Chocolate Thumbprint Cookies?
Store your leftover Chocolate Thumbprint Cookies in an airtight container at room temperature for up to 3 days. This will keep them soft and fresh! For longer storage, you can refrigerate them for up to 1 week, just remember to let them come to room temperature before enjoying.
Can I freeze Chocolate Thumbprint Cookies?
Yes! To freeze, place the cookies in a single layer on a baking sheet until solid, then transfer them to a freezer-safe bag or container. They’ll last for up to 3 months. When ready to eat, simply thaw them at room temperature. If you prefer a warm treat, microwave them for 10-15 seconds to soften the ganache.
What if my cookies spread too much during baking?
If your Chocolate Thumbprint Cookies spread out too much while baking, it’s likely due to warm dough. Make sure to chill the dough for at least 1 hour before baking. If they still spread, try ensuring your butter is softened but not melted, as melted butter can lead to excess spreading.
Are Chocolate Thumbprint Cookies safe for pets or those with allergies?
Chocolate is toxic to pets, so keep these delicious cookies away from them! Additionally, if you’re baking for someone with allergies, be cautious regarding the use of eggs, dairy, or gluten. You can adapt the recipe by using dairy-free chocolate and a plant-based butter substitute to make it more allergy-friendly.
How can I make my ganache smoother?
For a smooth ganache, always heat the heavy whipping cream until just boiling before pouring it over the chocolate chips. Let it sit for 1 minute before stirring to combine, allowing the chocolate to melt gently. If the ganache feels too thick, add a splash of cream to achieve your desired consistency!

Decadent Chocolate Thumbprint Cookies for Sweet Tooth Bliss
Equipment
- Baking Sheets
- parchment paper
- Medium Bowl
- large bowl
- Electric mixer
- Teaspoon
- Cookie scoop or tablespoon
- Plastic wrap
Ingredients
For the Cookie Base
- 2 cups all-purpose flour
- ¾ cups Dutch process cocoa powder
- ¼ teaspoon salt
- 1 teaspoon baking powder
- ½ cups unsalted butter softened
- ½ cups light brown sugar packed
- ¼ cups granulated white sugar
- 2 large egg yolks
- 1 teaspoon vanilla bean paste or extract
For the Ganache
- 1 cups semi-sweet chocolate chips
- ½ cups heavy whipping cream
Optional Topping
- 1 tablespoon nonpareils for garnish
Instructions
Step-by-Step Instructions
- Prepare the Baking Sheets: Line two baking sheets with parchment paper.
- Combine Dry Ingredients: Whisk together flour, cocoa powder, salt, and baking powder.
- Cream the Butter and Sugars: Mix butter, brown sugar, and granulated sugar until light and fluffy.
- Add Egg Yolks and Vanilla: Incorporate egg yolks and vanilla into the butter mixture.
- Mix Dry and Wet Ingredients: Gradually mix dry ingredients into the wet ingredients until combined.
- Shape the Cookie Dough: Scoop out portions of dough and roll them into balls.
- Create Indents: Press down in the center of each ball to create an indent.
- Chill the Dough: Cover and chill the dough balls in the refrigerator for at least one hour.
- Preheat the Oven: Preheat your oven to 350°F (175°C).
- Bake the Cookies: Bake for 9-11 minutes until set but slightly soft in the center.
- Cool the Cookies: Let cookies cool on the baking sheet for 5 minutes, then transfer to a wire rack.
- Prepare the Ganache: Heat cream and pour over chocolate chips, stir until creamy.
- Fill the Cookies: Fill each cookie well with ganache and add nonpareils if desired.
- Set the Ganache: Chill filled cookies for 10-15 minutes to firm ganache.
- Store the Cookies: Store in an airtight container at room temperature for up to 3 days.


Leave a Reply