
As the autumn breeze starts to whisper, the excitement of Halloween creeps in—an invitation to bring a touch of whimsy into our kitchens. This year, I’ve embraced that spirit with my delightful Halloween Decorated Cookies. Perfect for both a spooky gathering or a cozy night in, these cookies are a crowd-pleaser that will have you ditching the fast-food drive-thru for a sweet, homemade treat. With just a little creativity, they can become edible masterpieces adorned with vibrant royal icing and a dash of festive flair. Plus, they’re fun to make and share, making every bite an opportunity for connection. Are you ready to unleash your inner artist and create some magic with these spooky delights? Let’s dive in!
Why are these cookies a must-make?
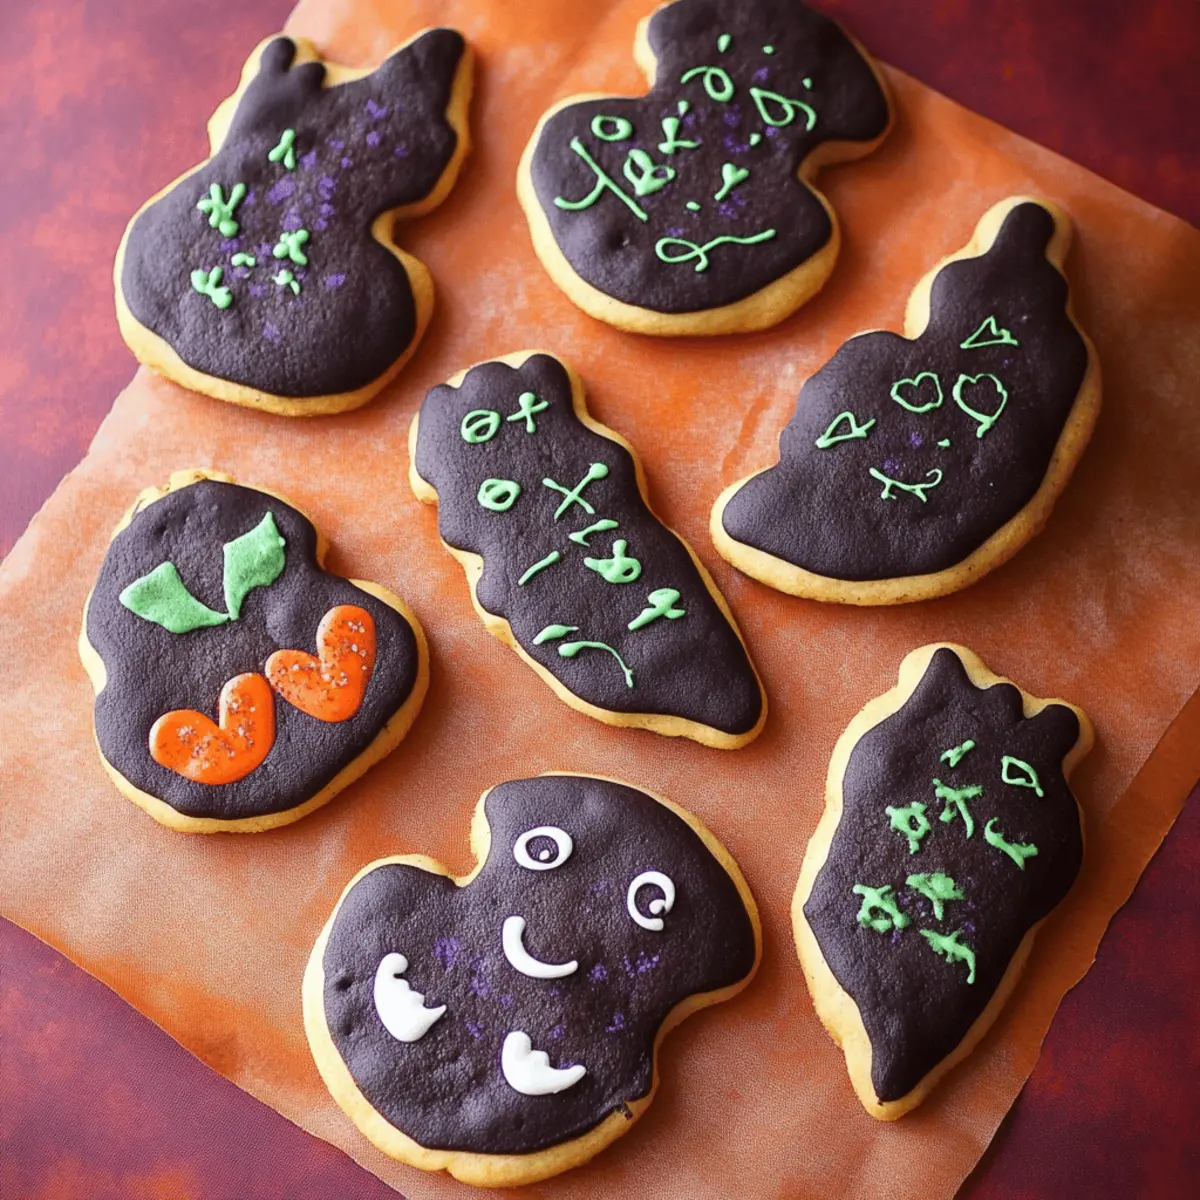
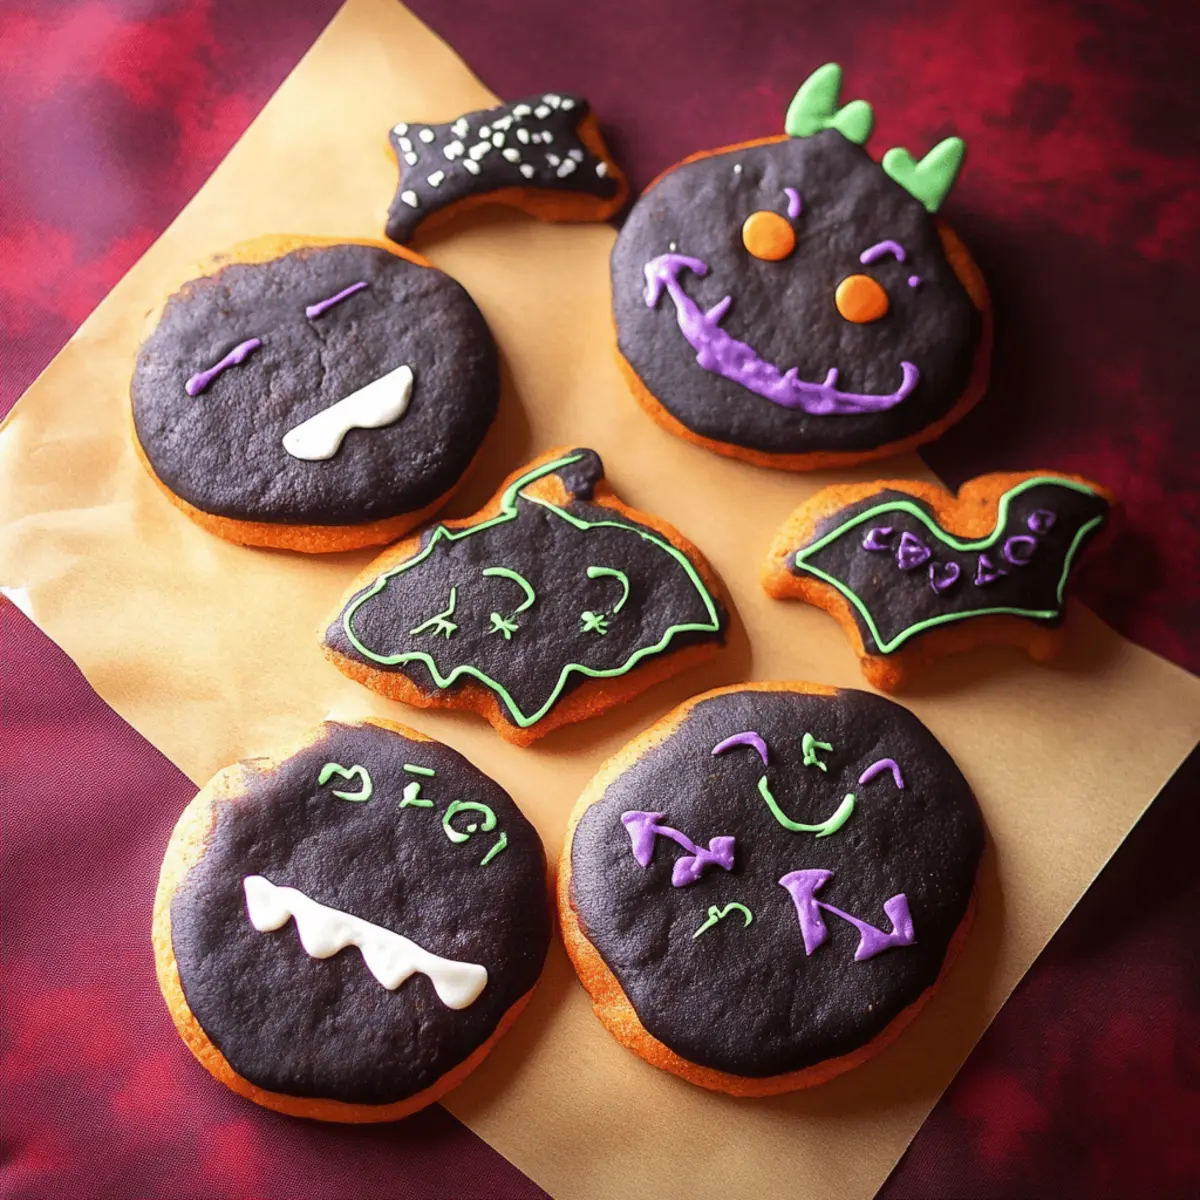
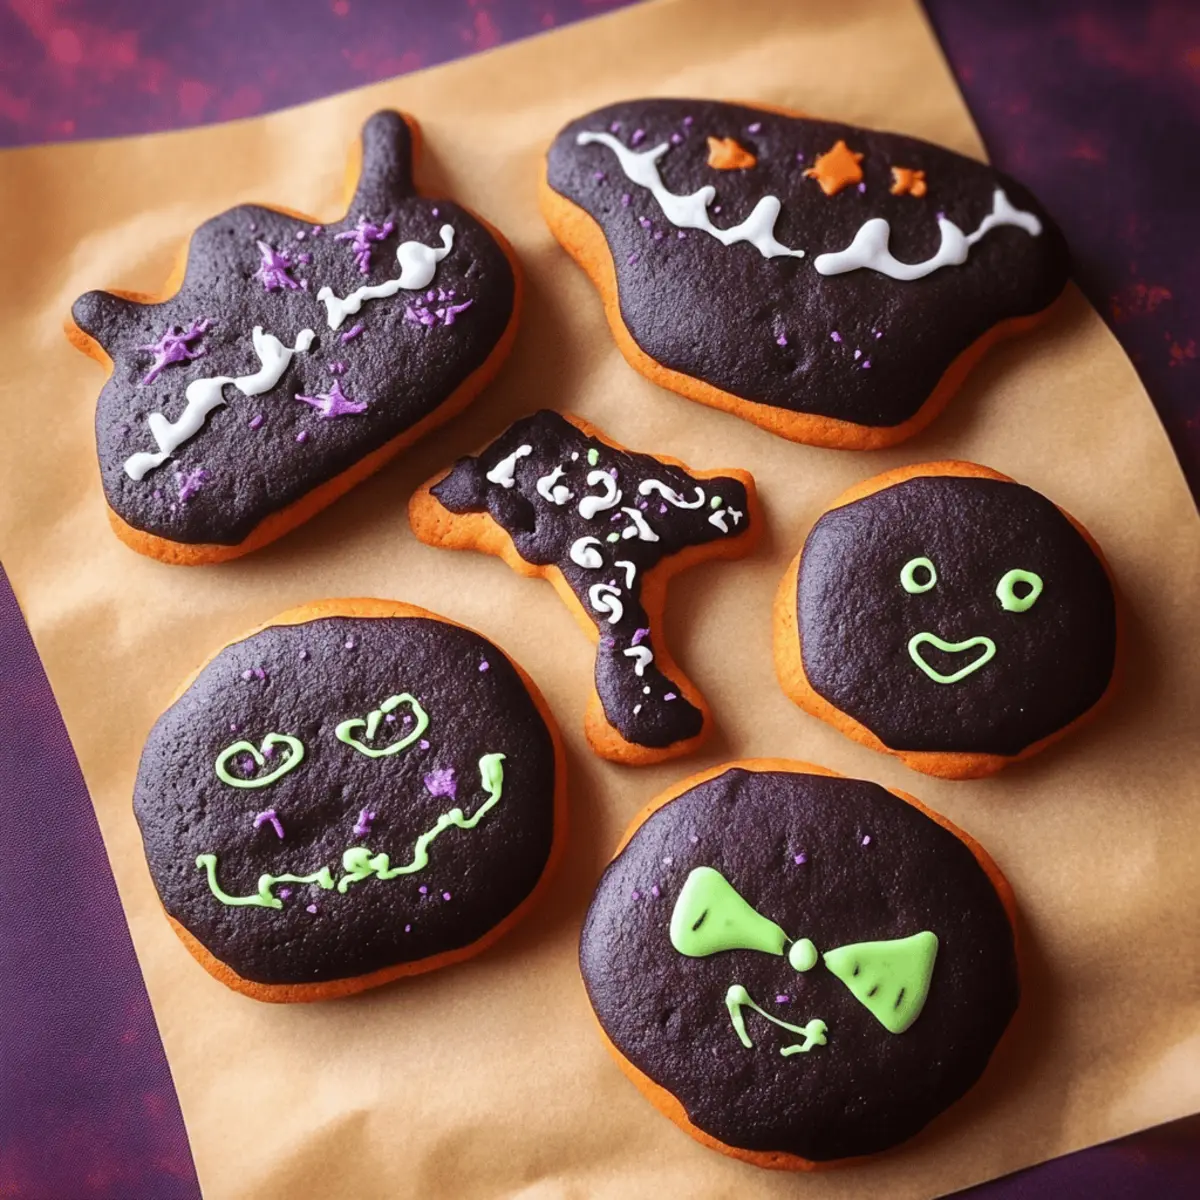
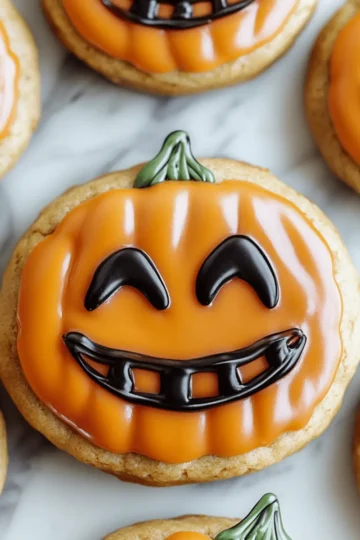
Uniquely Spooky: Transform standard cookies into hauntingly beautiful creations that steal the show at any Halloween gathering.
Easy to Customize: Use your favorite colors and designs when decorating with royal icing for a personal touch.
Fun for All Ages: This recipe isn’t just a treat, but a delightful family activity, perfect for kids and adults alike.
Impressive Yet Simple: With a few straightforward steps, you create cookies that look professionally made, leaving your guests amazed.
Sweet Aroma: Baking these treats fills your home with an irresistible aroma that adds to the festive atmosphere.
Perfect for Sharing: Whether it’s a party or a cozy night in, sharing these cookies brings joy and connection to anyone who has a taste!
Try combining them with cozy Halloween drinks for a complete festive experience!
Halloween Decorated Cookies Ingredients
• Get ready for ghoulishly good treats!
For the Cookies
- 1 cup butter – adds that rich, creamy texture essential for delicious cookies.
- 1 cup powdered sugar – ensures sweetness and creates a tender cookie.
- 1 egg – binds all the ingredients together and adds moisture.
- 2 ½ cups all-purpose flour – the base for your cookies; make sure to measure accurately for the best results.
- ½ cup black cocoa powder – gives a deep, dark color and a rich flavor for these Halloween Decorated Cookies.
- ¼ cup Dutch process cocoa powder – enhances the cookie's chocolatey taste without bitterness.
- ½ teaspoon salt – balances the sweetness and elevates the flavors.
For the Royal Icing
- 1 egg white – the key to achieving that glossy finish in your icing.
- 2 cups powdered sugar – sweetens the icing and helps it set perfectly.
- Vanilla extract (optional) – adds a touch of warmth and flavor; feel free to skip if you prefer pure white icing.
- Gel food coloring (optional) – essential for bringing your spooky designs to life with vibrant colors.
Step‑by‑Step Instructions for Halloween Decorated Cookies
Step 1: Cream the Butter
In the bowl of a stand mixer fitted with the paddle attachment, cream 1 cup of butter on medium speed until it's light and fluffy, about 2-3 minutes. This creamy base sets the foundation for your Halloween Decorated Cookies, so ensure there are no lumps and it looks pale and smooth.
Step 2: Mix in the Sugar
Next, add 1 cup of powdered sugar to the creamed butter, mixing until fully incorporated. Beat well for another 2-3 minutes, or until the mixture is light and airy. This step is crucial for achieving the tender, melt-in-your-mouth texture these cookies are known for.
Step 3: Add the Egg
Crack in 1 egg and mix on low speed until fully combined, about 30 seconds. The egg helps to bind the ingredients, contributing moisture and rich flavor to your Halloween Decorated Cookies. Scrape down the sides of the bowl as needed to ensure everything is well-mixed.
Step 4: Prepare the Dry Ingredients
In a separate bowl, sift together 2 ½ cups of all-purpose flour, ½ cup of black cocoa powder, ¼ cup of Dutch process cocoa powder, and ½ teaspoon of salt. Whisk these dry ingredients until well combined, ensuring there are no clumps. This blend adds depth and that signature dark color to your cookies.
Step 5: Combine Wet and Dry Ingredients
Gradually add the dry mixture to the wet ingredients in the mixer, mixing on low speed until just incorporated. Be careful not to overmix; you want a soft dough that holds together without being tough. This blend is what transforms your mixture into the base for those delightful Halloween Decorated Cookies.
Step 6: Shape the Dough
Turn the dough out onto a clean surface and bring it together into a ball. Lightly knead the dough just until it’s smooth and unified. Once ready, flatten the dough into a 1-inch-thick disc, wrap it in plastic wrap, and chill in the fridge for at least 30-45 minutes, or up to two days for maximum flavor.
Step 7: Roll Out the Dough
After chilling, remove the dough from the fridge and let it rest for about 5 minutes to soften slightly. Roll the dough out between two sheets of parchment paper to a thickness of approximately 4 mm. This prevents sticking and ensures even cookie thickness, essential for uniform baking.
Step 8: Cut Out the Cookies
Using cookie cutters, cut out shapes from the rolled dough and carefully place them on a baking tray lined with baking paper. Make sure the shapes are distinct for your Halloween Decorated Cookies, and try to keep some space between each cookie for even baking.
Step 9: Chill the Cookies Again
Place the decorated cookie shapes back into the refrigerator, chilling them for at least 1 hour or overnight. This step helps the cookies maintain their shape while baking, ensuring those sharp edges and details that you'll later adorn with royal icing.
Step 10: Preheat and Bake
When ready to bake, preheat your oven to 160°C (320°F), fan-assisted. Once preheated, bake the cookies for 10 minutes until they are firm but not overly browned. The edges should look set, and the centers will puff up slightly, creating a perfect base for your decorations.
Step 11: Cool the Cookies
After baking, allow the cookies to cool on the baking sheets for about 5 minutes. This resting period lets them firm up a bit more, making them easier to transfer without breaking. Then, carefully move them to a cooling rack to cool completely before decorating.
Step 12: Make the Royal Icing
To prepare the royal icing, beat 1 egg white in a clean bowl on medium-low speed until frothy. Gradually add 2 cups of powdered sugar and a splash of vanilla (if using), mixing on low until smooth. Increase the speed to medium and continue beating until shiny peaks form, signaling your icing base is ready.
Step 13: Color and Pipe the Icing
If desired, divide the royal icing into bowls for coloring and mix in gel food coloring. Transfer the colored icing into piping bags, ready to create festive designs on your Halloween Decorated Cookies. Make sure the tips are small enough for detail while piping.
Step 14: Decorate and Dry
Now, let your creativity flow as you decorate the cookies with royal icing, adding festive features that reflect the Halloween theme. Once decorated, allow the icing to dry for 3 to 6 hours, depending on the ambient temperature, ensuring your designs set firmly for a spectacular finish.
Expert Tips for Halloween Decorated Cookies
Chill the Dough: Ensure the dough is properly chilled before rolling out. This helps the cookies keep their shape during baking, preventing any spreading.
Use Parchment Paper: Roll the dough between sheets of parchment paper to avoid sticking. This makes rolling easier and ensures a clean surface for cutting cookies.
Don’t Overmix: When combining wet and dry ingredients, mix until just incorporated. Overmixing can lead to tough cookies rather than the desired tender bite found in Halloween Decorated Cookies.
Check Oven Temperature: An accurate oven temperature is crucial for even baking. Use an oven thermometer if necessary to ensure it matches the set temperature.
Pipe with Precision: When decorating, use small piping tips for detailed designs. Practice on parchment paper first if you’re uncertain, which helps build confidence!
Allow Enough Drying Time: Be patient with the royal icing drying time. Allow 3 to 6 hours, as rushing can lead to smudging or incomplete designs.
Halloween Decorated Cookies Variations
Get creative and elevate your Halloween Decorated Cookies with these fun and simple twists!
- Gluten-Free: Substitute all-purpose flour with a gluten-free flour blend for a safe, delicious treat.
- Vegan: Use coconut oil instead of butter and flaxseed meal mixed with water as an egg replacement—delightfully vegan and tasty!
- Spicy Kick: Add a dash of cayenne pepper or chili powder to the dough for a surprising heat that complements the sweetness. This subtle twist can make your cookies intriguing and keep guests guessing!
- Chocolate Chip Surprise: Fold in mini chocolate chips for added texture and sweetness. These delightful morsels melt into pockets of joy for everyone.
- Nutty Flavor: Incorporate finely chopped nuts such as almonds or walnuts into the dough for an irresistible crunch in each bite. Nuts not only add depth but offer a lovely contrast to the soft cookie.
- Seasonal Spices: Infuse custom flavors by adding pumpkin spice or cinnamon for a cozy fall aroma and flavor. These warm spices enhance the festive spirit!
- Lemon Zest Twist: Brighten your cookies with a teaspoon of fresh lemon zest in the dough. This zesty addition will add a refreshing contrast to the sweetness—perfect for a unique Halloween treat.
- Decorative Sprinkles: Top your iced cookies with festive sprinkles before the icing sets for added color and fun. Decorative sprinkles can elevate the festive vibe of your Halloween gathering!
Make sure to enjoy these delicious cookies alongside a cup of cozy Halloween drinks for an unforgettable experience! If you’re looking to create a delightful surprise for your guests, don’t hesitate to try them out—sweet moments are just a cookie away!
Make Ahead Options
These Halloween Decorated Cookies are perfect for meal prep enthusiasts! You can make the cookie dough and chill it in the fridge for up to 2 days, ensuring the flavors develop beautifully. Simply roll out the dough and cut out your desired shapes ahead of time, then place them on a baking tray and refrigerate for an hour or overnight before baking. To maintain their quality, wrap the dough tightly in plastic wrap to prevent drying out. When you're ready to serve, just bake the cookies for 10 minutes, allow them to cool, then decorate with royal icing! You'll have delicious, festive treats that are just as delightful as if made the same day.
How to Store and Freeze Halloween Decorated Cookies
Room Temperature: Store the cookies in an airtight container at room temperature for up to 5 days. This keeps them fresh while allowing you to enjoy their delightful flavors.
Fridge: If you prefer, you can keep the cookies in the fridge for up to 7 days. Just ensure they are packed tightly to prevent them from drying out.
Freezer: For longer storage, freeze your unbaked cookie dough in a tightly wrapped disc for up to 3 months. When ready to bake, simply thaw and roll out the dough for quick Halloween Decorated Cookies.
Reheating: If you’ve made decorated cookies in advance and want to bring them back to life, simply allow them to come to room temperature before enjoying.
What to Serve with Halloween Decorated Cookies
Indulge in a whimsical Halloween feast that will enchant your guests and elevate your cookie experience!
-
Spiced Apple Cider: Warm and comforting, this drink pairs perfectly with the rich chocolate flavors in the cookies, making every sip feel like a cozy hug. Roasted apples and festive spices evoke the essence of autumn.
-
Pumpkin Soup: Silky and flavorful, a bowl of creamy pumpkin soup brings a savory contrast to the sweetness of Halloween Decorated Cookies, perfect for balancing flavors at your gathering.
-
Cheese Platter: A selection of sharp and creamy cheeses creates a delightful savory contrast to your cookies. Add crackers, olives, and nuts for a visually appealing and tasty spread.
-
Caramel Apples: These classic sweets are fun to make and enjoy—similar to your cookies! The crunchy coating and tart apple flavor offer a delightful contrast to the chocolatey sweetness.
-
Chocolate Mousse: Rich and velvety, this dessert mirrors the decadence of black cocoa powder in your cookies. Serve it in small glasses for an elegant touch alongside your festive creations.
-
Halloween-Themed Cocktails: Create some spooky beverages with fun garnishes like gummy worms or eyeball ice cubes that will impress your adult guests and enhance the Halloween spirit.
-
Cinnamon Sugar Dusting: For a unique twist, serve a dusting of cinnamon sugar on the side. Guests can sprinkle it over each cookie, adding an extra layer of flavor and warmth to each bite!
Halloween Decorated Cookies Recipe FAQs
What is the best way to select ripe ingredients for the cookies?
Absolutely! For the best results, use room temperature butter, which should be soft but not melted, making it easy to cream. Fresh eggs are key; choose ones without any cracks. Ensure your cocoa powders are fresh as they give that rich chocolate flavor.
How should I store my Halloween Decorated Cookies?
You can store the cookies in an airtight container at room temperature for up to 5 days. If you prefer them chilled, they can last in the fridge for up to 7 days. Just ensure they're packed tightly to avoid drying out.
Can I freeze the Halloween Decorated Cookies?
Absolutely! You can freeze the unbaked cookie dough, tightly wrapped as a disc, for up to 3 months. When you're ready to bake, simply thaw it in the fridge overnight, then roll it out, cut your shapes, and proceed with baking as directed. If you have any baked cookies left, lay them flat in a single layer in a freezer-safe container for up to 3 months. Just let them thaw at room temperature before enjoying.
What should I do if my royal icing is too runny or too thick?
If your royal icing seems too runny, try adding a little more powdered sugar, about a tablespoon at a time, until it reaches the right consistency. On the flip side, if it's too thick, you can add a small amount of water (½ teaspoon at a time) to thin it out. Remember, the ideal royal icing should be thick enough to hold its shape when piped but smooth enough to create a glossy finish.
Are these Halloween Decorated Cookies safe for pets or those with allergies?
While the cookies are safe for humans, it’s important to note that they contain ingredients like butter, eggs, and cocoa powder—all of which can be harmful to pets, especially chocolate. For those with allergies, modify the recipe by using egg substitutes and gluten-free flour as necessary to accommodate dietary needs. Always double-check labels for potential allergens in processed ingredients!
How long does the royal icing take to dry properly?
After decorating your cookies with royal icing, allow them to dry for 3 to 6 hours depending on your room temperature. If it's cooler or humid, it might take longer. Ensure to leave them undisturbed to set completely for beautifully decorated cookies without any smudging.

Delicious Halloween Decorated Cookies to Wow Your Guests
Equipment
- stand mixer
- Piping bags
- cookie cutters
- parchment paper
- Baking trays
Ingredients
For the Cookies
- 1 cup butter adds that rich, creamy texture essential for delicious cookies.
- 1 cup powdered sugar ensures sweetness and creates a tender cookie.
- 1 egg binds all the ingredients together and adds moisture.
- 2.5 cups all-purpose flour the base for your cookies; make sure to measure accurately for the best results.
- 0.5 cup black cocoa powder gives a deep, dark color and a rich flavor for these cookies.
- 0.25 cup Dutch process cocoa powder enhances the cookie's chocolatey taste without bitterness.
- 0.5 teaspoon salt balances the sweetness and elevates the flavors.
For the Royal Icing
- 1 egg white the key to achieving that glossy finish in your icing.
- 2 cups powdered sugar sweetens the icing and helps it set perfectly.
- vanilla extract optional, adds a touch of warmth and flavor.
- gel food coloring optional, essential for bringing your spooky designs to life.
Instructions
Step-by-Step Instructions
- In the bowl of a stand mixer fitted with the paddle attachment, cream the butter on medium speed until light and fluffy, about 2-3 minutes.
- Add the powdered sugar to the creamed butter, mixing until fully incorporated. Beat well for another 2-3 minutes.
- Crack in the egg and mix on low speed until fully combined, about 30 seconds.
- In a separate bowl, sift together the all-purpose flour, black cocoa powder, Dutch process cocoa powder, and salt. Whisk until well combined.
- Gradually add the dry mixture to the wet ingredients, mixing on low speed until just incorporated.
- Turn the dough out onto a clean surface and bring it together into a ball. Flatten it into a 1-inch-thick disc, wrap in plastic wrap, and chill in the fridge for at least 30-45 minutes.
- After chilling, roll the dough out between two sheets of parchment paper to a thickness of approximately 4 mm.
- Using cookie cutters, cut out shapes from the rolled dough and place them on a baking tray lined with baking paper.
- Chill the cookie shapes in the refrigerator for at least 1 hour.
- Preheat your oven to 160°C (320°F) and bake the cookies for 10 minutes until firm.
- Allow the cookies to cool on the baking sheets for about 5 minutes, then move them to a cooling rack.
- To prepare the royal icing, beat the egg white until frothy, gradually add powdered sugar and mix until smooth.
- If desired, color the royal icing with gel food coloring and transfer it into piping bags.
- Decorate the cookies with royal icing, adding festive features, and allow the icing to dry for 3 to 6 hours.


Leave a Reply