
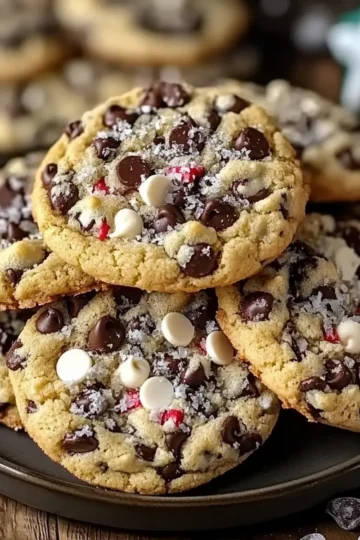
As the crisp autumn air settles in, some of my fondest memories revolve around the sugary spirit of Halloween. This time of year inspires creative baking endeavors, and one of my all-time favorites is whipping up a batch of Halloween Cookies. This delightful recipe not only satisfies your sweet tooth but also brings festive cheer to your home with its playful decorations. With a quick prep time of just 15 minutes, these cookies are perfect for busy schedules yet impressive enough to serve at your spooky gatherings. Plus, they’re a crowd-pleaser, combining creamy white chocolate chips and vibrant Halloween M&Ms with a delightful hint of black cocoa for an enchanting twist. Are you ready to transform your kitchen into a haunted bake shop? Let’s get started!
Why are Halloween Cookies a must-bake?
Festive Fun: These cookies are an absolute treat for any Halloween gathering! Their vibrant colors and playful candy eyeballs will capture the spirit of the season and impress your guests.
Easy to Make: With just 15 minutes of prep, these cookies fit seamlessly into your busy schedule. You’ll have deliciously spooky creations ready in no time!
Surprising Flavors: Embrace the uniqueness of black cocoa combined with white chocolate and Halloween M&Ms for a rich and delightful flavor that stands out.
Family Friendly: Baking these cookies is a fantastic activity to enjoy with the kids, making lasting memories while creating delicious snacks.
Versatile Treat: Whether for a Halloween party or cozy nights in, these cookies are perfect for any occasion, satisfying both kids and adults alike!
Halloween Cookies Ingredients
Unlock the secrets behind these enchanting treats with this delightful list of ingredients!
For the Cookie Base
- Unsalted butter – at cool room temperature to create a creamy texture.
- Granulated sugar – adds sweetness and helps with browning.
- Brown sugar – for a hint of caramel flavor and moisture.
- Vanilla extract – enhances the overall flavor profile beautifully.
- Egg – binds ingredients and adds richness.
- All-purpose flour – forms the structure of these spooky cookies.
- Black cocoa powder – imparts a rich, dark flavor perfect for Halloween.
- Cornstarch – tenderizes the cookies for a soft bite.
- Fine sea salt – balances sweetness and enhances flavors.
- Baking soda – helps the cookies rise for a soft texture.
- Baking powder – provides additional lift to keep them puffy.
For the Mix-ins and Toppings
- White chocolate chips – add creamy sweetness that contrasts beautifully with dark cocoa.
- Halloween M&Ms – vibrant candy that makes each cookie festive and fun.
- Edible candy eyeballs – give these cookies a playful, spooky twist!
These Halloween Cookies come together wonderfully and are sure to be a hit with everyone!
Step‑by‑Step Instructions for Halloween Cookies
Step 1: Preheat the Oven
Start by preheating your oven to 350 degrees F (175 degrees C). While the oven is heating, line two baking sheets with parchment paper to ensure your Halloween Cookies don’t stick. This will help in achieving even baking and a lovely golden crust, keeping your cookies perfectly puffy and delicious.
Step 2: Cream the Butter and Sugars
In the bowl of a stand mixer fitted with the paddle attachment, combine the cool room-temperature butter, granulated sugar, and brown sugar. Beat on medium speed for about 3 minutes until the mixture becomes light and fluffy. Remember to scrape down the sides of the bowl, then add in the vanilla extract and room-temperature egg, mixing well to achieve a smooth batter consistency.
Step 3: Mix the Dry Ingredients
In a separate bowl, whisk together the all-purpose flour, black cocoa powder, cornstarch, fine sea salt, baking soda, and baking powder. Gradually incorporate this dry mixture into the wet ingredients in the stand mixer, beating until a slightly sticky dough forms. Make sure everything is well-combined for perfectly textured Halloween Cookies.
Step 4: Fold in the Mix-ins
Using a rubber spatula, gently fold in the white chocolate chips and Halloween M&Ms. Be careful not to overmix; you want to evenly distribute the candy without breaking them. This colorful addition will not only enhance the flavor but also give your Halloween Cookies a festive flair, making them even more appealing.
Step 5: Portion the Dough
Grab a large spring-loaded cookie scoop and drop 3-tablespoon-sized balls of dough onto your prepared baking sheets. Space them at least 2 inches apart to allow for spreading as they bake. To make them extra special, dot each cookie ball with extra white chocolate chips, M&Ms, and candy eyeballs for that spooky, fun look.
Step 6: Bake the Cookies
Carefully place the baking sheets in the preheated oven and bake for about 12 minutes. The cookies should appear puffy and soft, with slightly set edges. Be cautious not to overbake, as you want them to retain that delightful chewiness that makes these Halloween Cookies truly magical.
Step 7: Cool and Serve
Once baked, allow the cookies to cool on the baking sheet for 5 minutes. This initial cooling helps them set perfectly. Afterward, transfer them to a wire rack to cool completely. Now your delectable Halloween Cookies are ready to be enjoyed, perfect for sharing at your upcoming festivities!
How to Store and Freeze Halloween Cookies
Room Temperature: Keep baked Halloween Cookies in an airtight container at room temperature for up to 3 days to maintain their freshness.
Fridge: For longer preservation, store cookies in the fridge in an airtight container for up to 1 week. Bring to room temperature before serving.
Freezer: Freeze unbaked cookie dough balls for up to 3 months. Just scoop them onto a baking sheet, freeze until solid, then transfer to a freezer-safe bag. Bake directly from frozen, adding a couple of minutes to the baking time.
Reheating: If enjoying leftover baked cookies, warm them gently in the microwave for about 10-15 seconds to regain their gooey texture, making your Halloween Cookies feel freshly baked again!
Expert Tips for Halloween Cookies
Chill the Dough: Take a moment to chill the cookie dough for 30 minutes before baking. This helps prevent spreading, resulting in thicker cookies.
Don't Overmix: When combining the dry ingredients into the wet, mix just until combined. Overmixing can lead to tough cookies, which is a common mistake to avoid.
Use Quality Ingredients: Opt for high-quality chocolate chips and fresh spices to enhance flavor in your Halloween Cookies. Quality ingredients make all the difference!
Watch the Bake Time: Since ovens vary, keep an eye on your cookies around the 10-minute mark. They should look puffy but soft, as they will continue to firm up while cooling.
Add Extra Toppings: For a fun touch, sprinkle additional Halloween M&Ms and candy eyeballs on top before baking. It makes these cookies visually striking!
Experiment with Flavors: Don't hesitate to tailor the mix-ins! Feel free to swap M&Ms for other candies or add nuts for extra texture in your Halloween Cookies.
Halloween Cookies Variations & Substitutions
Feel free to get creative and make these Halloween Cookies your own with these fun twists!
-
Gluten-Free: Substitute all-purpose flour for a gluten-free blend to enjoy these cookies without worry. Many blends work wonderfully in this recipe, ensuring a delightful treat.
-
Vegan: Swap the egg for a flax egg and use vegan butter for a compassionate option. The flavor and texture remain delightful, allowing everyone to join the fun!
-
Nutty Addition: Add ½ cup of chopped walnuts or pecans for a crunchy surprise. The nuts elevate the cookie experience, giving it a lovely texture that complements the soft dough.
-
Spicy Twist: Mix in ½ teaspoon of pumpkin pie spice or cinnamon for a cozy warmth. Embrace the spirit of fall, as these spices will awaken your senses alongside the chocolate!
-
Chocolate Overload: Use semi-sweet chocolate chips instead of white and double the amount for a decadent treat. With this indulgent flavor, every bite will be an irresistible chocolate dream.
-
Double Chocolate: Substitute half of the all-purpose flour for cocoa powder to enhance the chocolate flavor. You'll transform these cookies into a true chocolate lover's delight, perfect for an autumn night.
-
Fruity Splash: Toss in ½ cup of dried cranberries or cherries for a fruity burst of flavor. The slight tartness brings a fresh contrast against the sweetness of the cookies, making each bite special.
-
Heat It Up: Merge in ¼ teaspoon of cayenne pepper for a playful kick. Just enough heat will surprise your taste buds without overshadowing the rich flavors of the cookie!
Let your imagination run wild with these variations, and consider hosting a fun baking session with the family or friends. For more delightful festive ideas, check out these spooky treats for your Halloween celebration!
Make Ahead Options
These Halloween Cookies are perfect for meal prep, allowing you to whip up the dough in advance! You can prepare the cookie dough and refrigerate it for up to 3 days. Simply scoop the dough onto parchment-lined baking sheets and store them in an airtight container or cover the sheets tightly with plastic wrap. When you're ready to bake, you can either bake them straight from the fridge for about 2 extra minutes or let them sit at room temperature for about 15 minutes before baking for even results. This way, you’ll enjoy fresh, chewy cookies just as delicious as if made on the spot, saving you time for other Halloween festivities!
What to Serve with Halloween Cookies
As you dive into the sweetness of these festive treats, elevate your spooky gathering with delightful pairings that dance alongside the flavors of Halloween.
- Chilled Pumpkin Spice Latte: Offers a cozy warmth that complements the rich cocoa of the cookies while adding seasonal spice.
- Creamy Hot Chocolate: Perfectly balances the sweetness of the cookies, making every bite extra indulgent with each sip.
- Caramel Apple Slices: The crispness of fresh apples dipped in caramel adds a refreshing crunch to contrast the cookies' chewy texture.
- Spooky Cheesecake Bites: Bite-sized and creamy, these spooky treats introduce a delightful contrast to the rich, chocolatey flavors of your cookies.
- Crunchy Trail Mix: A mix of nuts, dried fruits, and chocolate gives a playful texture that pairs well with each gooey cookie.
- Candy Corn Popcorn: Sweet and salty popcorn with a nod to classic Halloween candy provides a fun snack that everyone will enjoy.
- Homemade Vanilla Ice Cream: Serve a scoop alongside the warm cookies for an incredibly nostalgic dessert experience.
- Sparkling Cider: Bubbly and festive, this drink adds a celebratory flair that enhances the joyful spirit of Halloween.
- Cinnamon Sugar Tortilla Chips: Crisp and lightly sweet, they bring another layer of texture and flavor perfect for dipping into your favorite pumpkin dip.
- Chocolate Milk: A classic that children adore, this pairing amplifies the chocolate experience, making it even more memorable.
Halloween Cookies Recipe FAQs
What is the best way to select ripe ingredients?
Absolutely! Always choose fresh, high-quality ingredients for your Halloween Cookies. Look for butter that’s cool but soft to the touch, and make sure your egg is at room temperature for easy blending. When picking candies, avoid any with damaged packaging or mismatched colors—these could indicate age or poor quality.
How should I store Halloween Cookies to keep them fresh?
I recommend keeping your Halloween Cookies in an airtight container at room temperature for up to 3 days. If you’d like to preserve them for a bit longer, place the cookies in the fridge in an airtight container for up to 1 week. Just let them come back to room temperature before indulging!
Can I freeze the Halloween Cookies or dough?
Very! To freeze unbaked dough, scoop your cookie balls onto a baking sheet lined with parchment. Freeze until solid, then transfer them to a freezer-safe bag or container where they can last for up to 3 months. When you're ready to bake, simply pop them in the oven from frozen—just add a couple of extra minutes to the bake time.
What if my cookie dough is too sticky?
If your cookie dough is too sticky to work with, don’t worry! Chill the dough in the refrigerator for about 30 minutes. This will firm it up nicely, making it easier to scoop and shape. Additionally, ensure you're measuring your flour correctly; too little can lead to a stickier texture.
Are these cookies safe for pets or those with allergies?
These Halloween Cookies contain common allergens like eggs, butter, and wheat, and they are not pet-friendly due to ingredients like chocolate. If you're cooking for someone with allergies, always substitute risky ingredients with allergy-friendly alternatives, such as gluten-free flour for a suitable option.
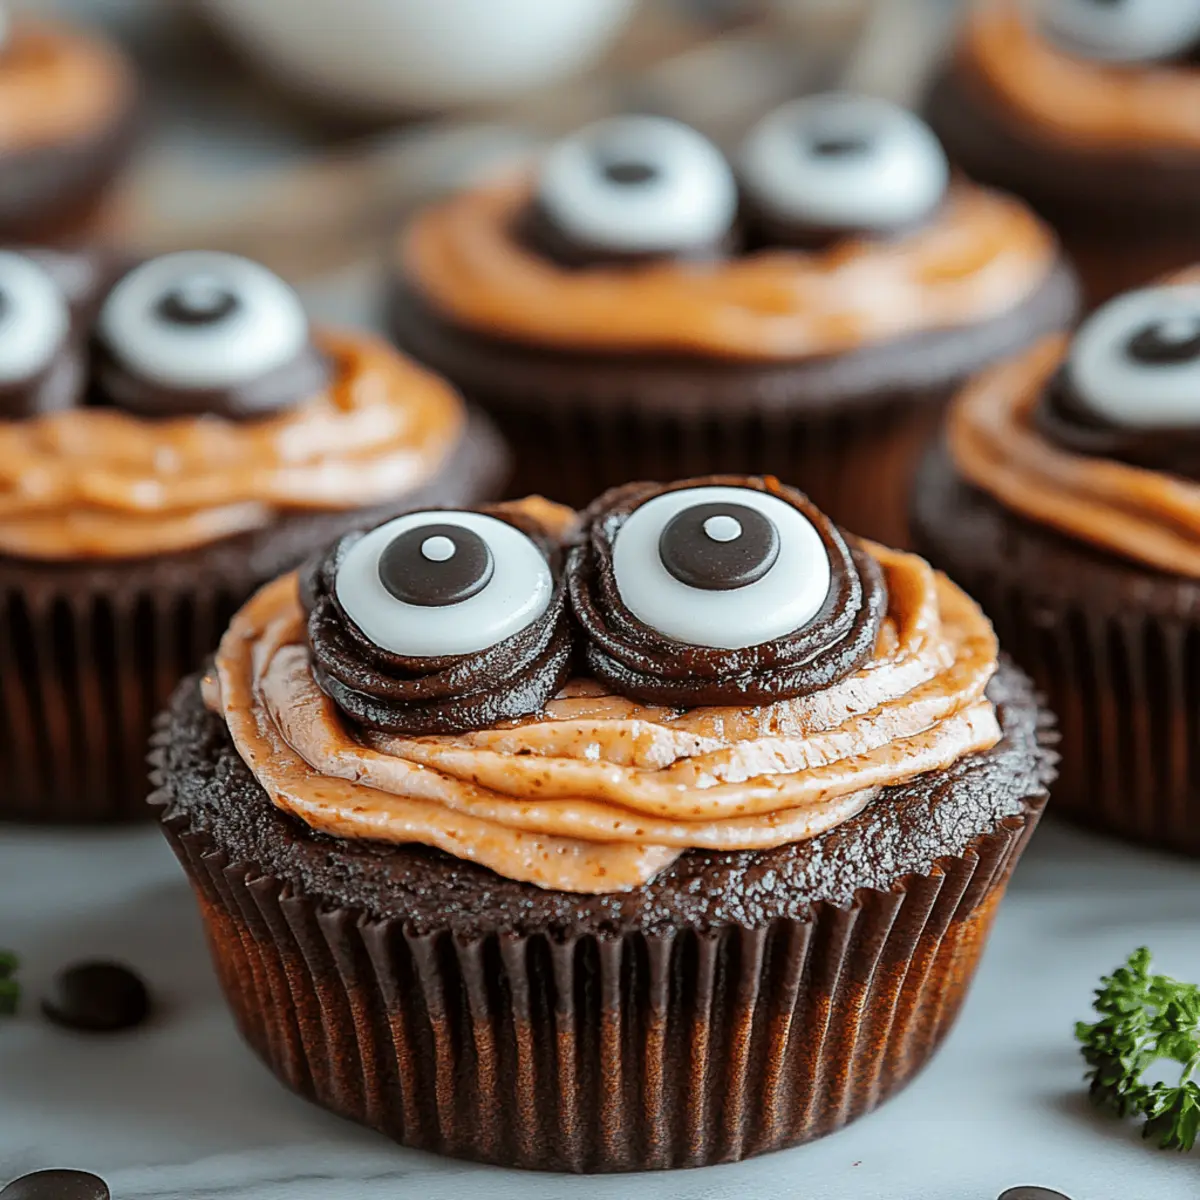
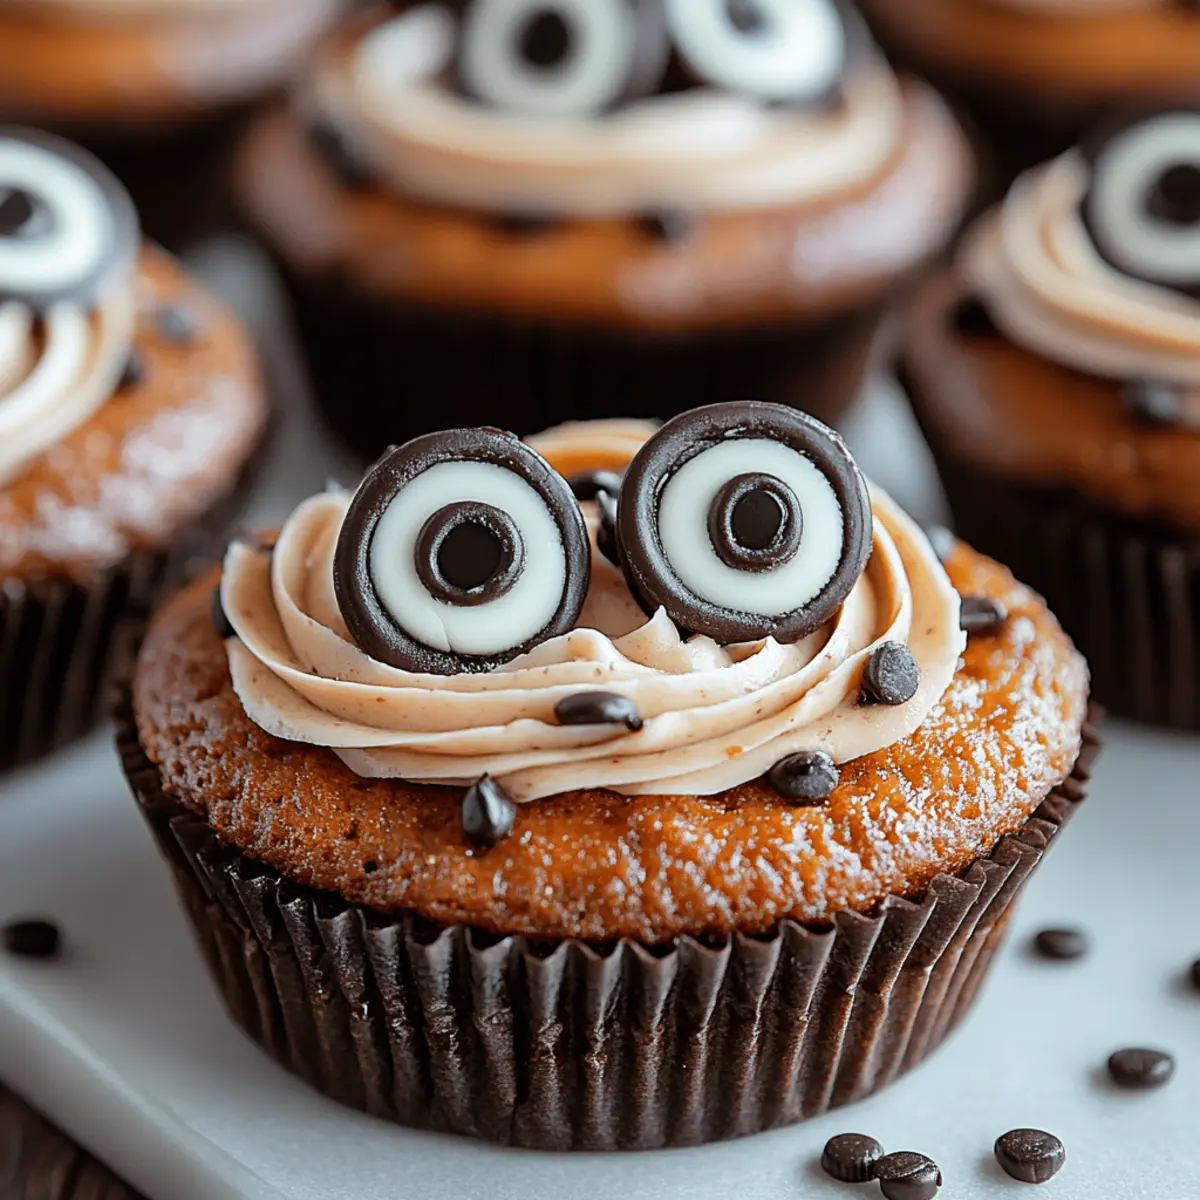
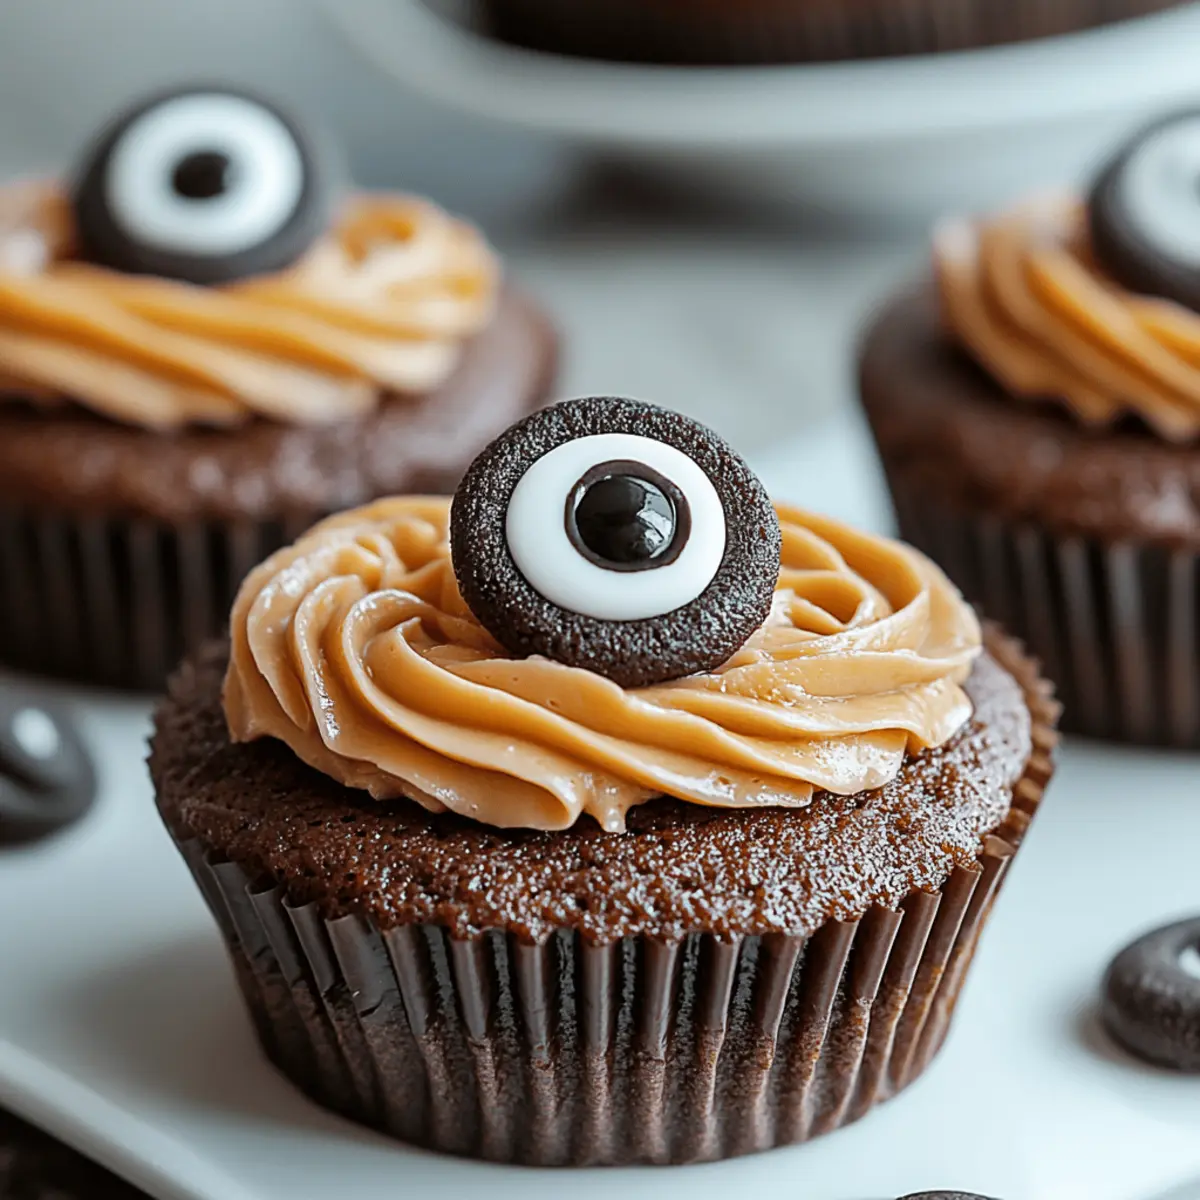
Easy Halloween Bat Cupcakes to Thrill Your Guests
Equipment
- stand mixer
- Baking Sheets
- parchment paper
- Rubber spatula
- Cookie scoop
Ingredients
For the Cookie Base
- 1 cup Unsalted butter at cool room temperature
- 1 cup Granulated sugar
- ½ cup Brown sugar packed
- 1 teaspoon Vanilla extract
- 1 large Egg room temperature
- 2 cups All-purpose flour
- ¾ cup Black cocoa powder
- ½ cup Cornstarch
- ½ teaspoon Fine sea salt
- 1 teaspoon Baking soda
- 1 teaspoon Baking powder
For the Mix-ins and Toppings
- 1 cup White chocolate chips
- 1 cup Halloween M&Ms
- ½ cup Edible candy eyeballs
Instructions
Step-by-Step Instructions for Halloween Cookies
- Preheat the oven to 350 degrees F (175 degrees C) and line two baking sheets with parchment paper.
- In a stand mixer, combine the butter, granulated sugar, and brown sugar. Beat until light and fluffy, then add vanilla and egg.
- In a separate bowl, whisk the flour, cocoa, cornstarch, salt, baking soda, and baking powder, then add to the wet ingredients.
- Fold in the white chocolate chips and Halloween M&Ms using a rubber spatula.
- Scoop tablespoon-sized balls onto prepared sheets, spacing them 2 inches apart. Optionally, add extra mix-ins on top.
- Bake for 12 minutes until puffy and soft. Don't overbake.
- Cool on sheets for 5 minutes, then transfer to a wire rack.


Leave a Reply