
You know that moment when the savory aroma of garlic wafts through your kitchen, instantly making your heart feel at home? That’s the magic behind my Garlic-Swirl Rolls. This delightful recipe not only brings comfort but also keeps your cooking time in check, letting you spend more time enjoying the results with friends and family instead of slaving away in the kitchen. The combination of fluffy dough swirled with rich garlic butter and fresh herbs is truly irresistible, transforming an ordinary meal into an extraordinary experience. Plus, they freeze beautifully, making them convenient for last-minute cravings or unexpected guests. Are you ready to elevate your baking game and treat yourself to these heavenly rolls? Let’s dive into the recipe!
Why are Garlic-Swirl Rolls Amazing?
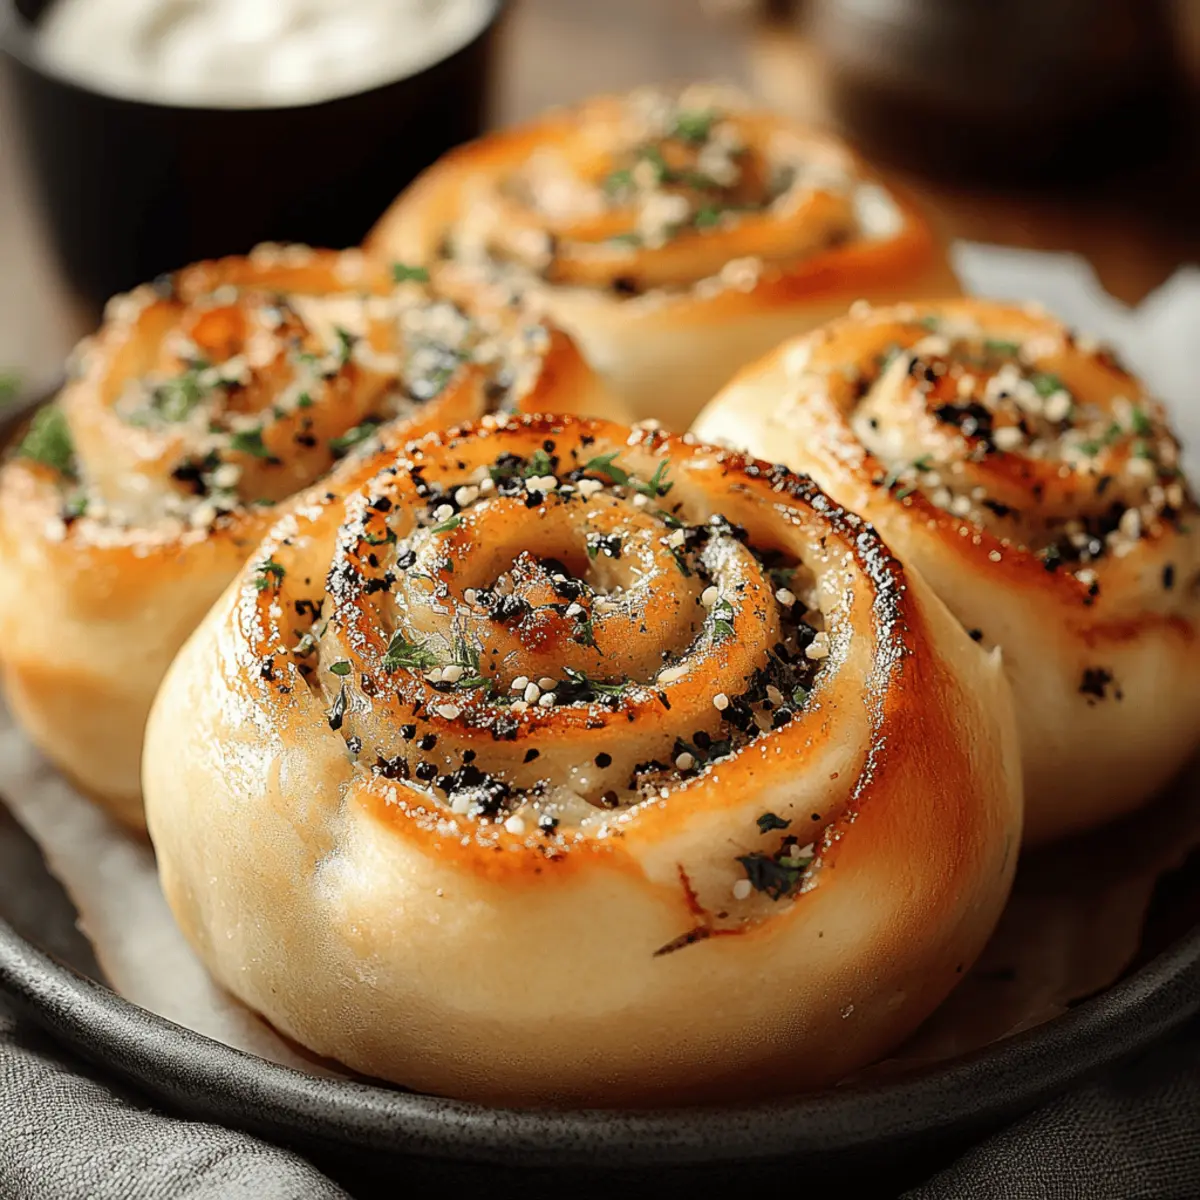
Warm, Comforting Aroma: The moment you pull these rolls from the oven, your kitchen fills with an irresistible scent that beckons everyone to the table.
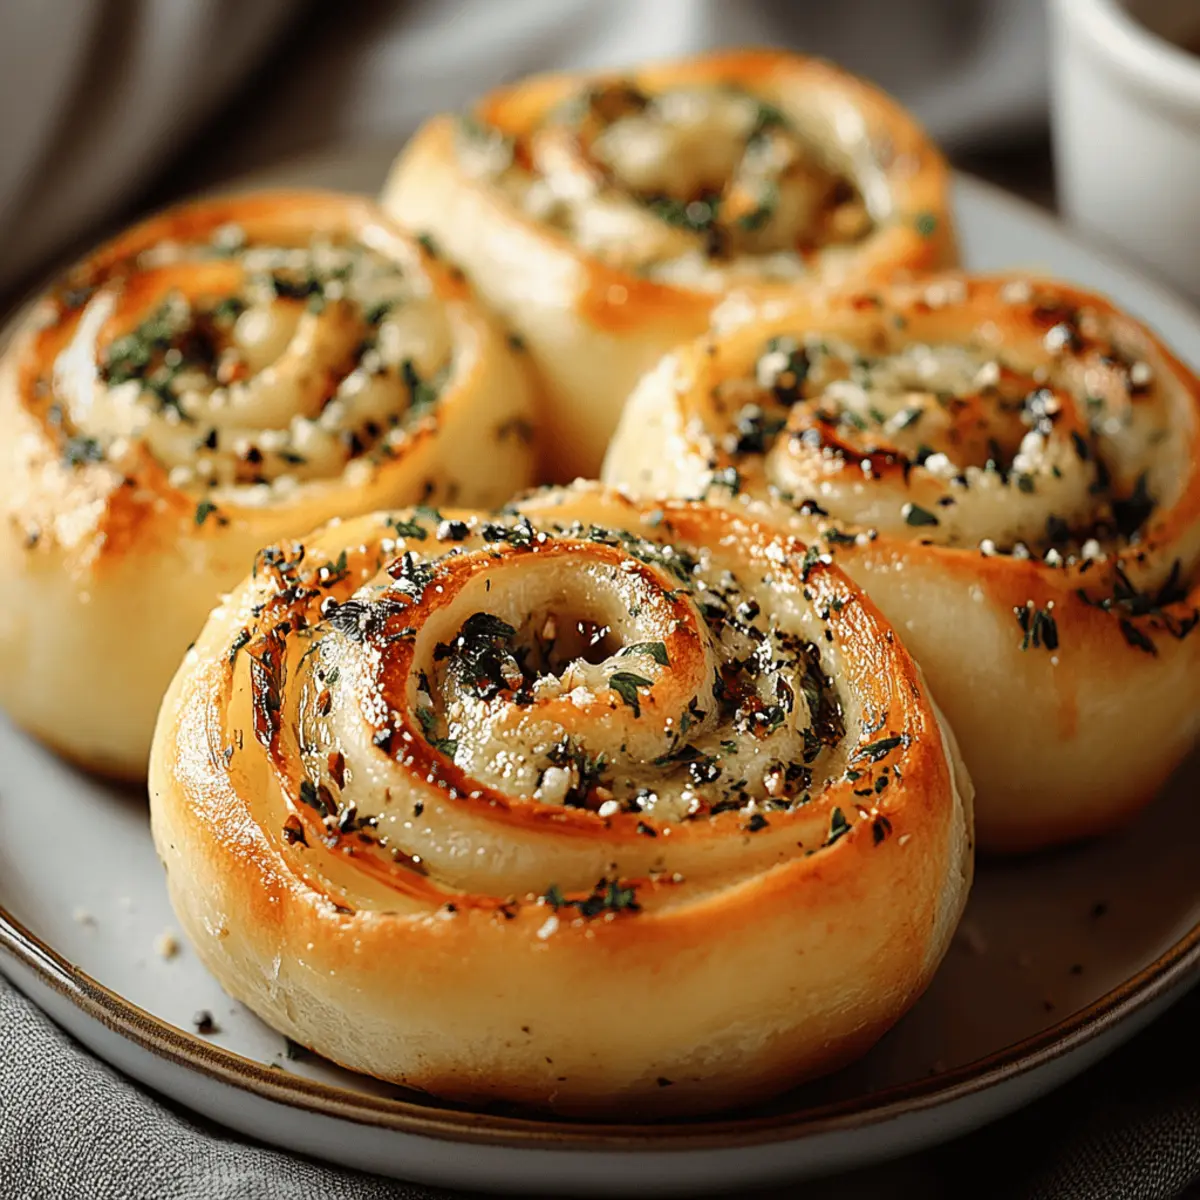
Soft, Fluffy Texture: The dough is a dream to work with, yielding rolls that are light and airy, perfect for any meal.
Endless Versatility: You can customize these rolls with your favorite add-ins, like cheese or spinach, making them a perfect side or snack.
Quick and Easy: With minimal prep time and simple ingredients, you can whip up a batch of these delightful rolls in no time.
Freezer-Friendly: Make a double batch and freeze half for those busy days when you crave something homemade. Enjoy them later with a drizzle of garlic butter or a side of marinara for dipping!
Ready to bring joy to your kitchen with these Garlic-Swirl Rolls? Don’t forget to check out our other delicious bread recipes for more inspiration!
Garlic-Swirl Rolls Ingredients
• Here’s what you need to make these mouthwatering rolls!
For the Dough
- All-purpose flour – creates a soft, airy texture that's perfect for rolls.
- Active dry yeast – helps the dough rise and develop a light structure.
- Warm milk – activates the yeast; ideally around 110°F for best results.
- Sugar – adds a hint of sweetness and nourishes the yeast for a good rise.
- Unsalted butter – provides richness and flavor; always use melted for incorporation.
- Salt – enhances the overall flavor of the rolls.
- Large egg – adds moisture and richness to the dough.
For the Filling
- Garlic butter – infuses the rolls with savory garlic flavor, making them irresistible.
- Fresh herbs (e.g., parsley, rosemary) – add a burst of freshness and complexity to the filling.
Optional Add-Ins
- Cheese – adds a gooey, savory layer; mozzarella works wonderfully!
- Caramelized onions – provide a sweet and savory depth that’s hard to resist.
- Spinach – for a nutritious twist that pairs beautifully with the garlic flavor.
Whether you're baking these Garlic-Swirl Rolls for a cozy family dinner or a casual gathering with friends, each bite will be a comforting explosion of flavor!
Step‑by‑Step Instructions for Garlic‑Swirl Rolls
Step 1: Activate the Yeast
In a bowl, combine 1 cup of warm milk (about 110°F), ¼ cup of sugar, and 1 packet of active dry yeast. Stir gently and let it sit for 5 minutes until it becomes foamy. This step ensures the yeast is activated, which is crucial for your Garlic-Swirl Rolls to rise beautifully.
Step 2: Mix the Dough
In a separate bowl, whisk together 4 cups of all-purpose flour and 1 teaspoon of salt. Pour in the yeast mixture along with ¼ cup of melted unsalted butter and 1 large egg. Stir until a cohesive dough forms, signaling it's ready for the next step.
Step 3: Knead the Dough
Turn the dough out onto a floured surface and knead it for about 8-10 minutes. You're looking for a smooth and elastic texture, which means the gluten is developing nicely. If the dough is sticky, sprinkle a little more flour as needed while kneading.
Step 4: First Rise
Place your kneaded dough into a greased bowl, cover it with a clean kitchen towel, and set it in a warm area. Allow it to rise for approximately 1 hour or until it has doubled in size. This is the magic moment where your Garlic-Swirl Rolls start to take shape!
Step 5: Prepare the Filling
While your dough is rising, mix together ¼ cup of garlic butter and 1 tablespoon of finely chopped fresh herbs in a bowl. This filling will give your Garlic-Swirl Rolls that delightful savory flavor. Set it aside until the dough is ready.
Step 6: Roll Out the Dough
Once the dough has doubled, punch it down gently and turn it out onto a floured surface. Roll it into a rectangle about ¼ inch thick. The dough should feel soft and elastic, perfect for absorbing all that delicious garlic filling.
Step 7: Spread the Filling
Spread the garlic herb butter mixture evenly over the rolled-out dough, leaving a small border around the edges. This ensures every bite of your Garlic-Swirl Rolls is packed with flavor. For added indulgence, you may sprinkle cheese or other optional add-ins at this stage.
Step 8: Shape the Rolls
Starting from the long side, roll the dough tightly into a log shape. Pinch the seams to seal the roll and cut it into even pieces, about 1 inch thick. Place these pinwheeled pieces into a greased baking dish, ensuring they sit close together for a cozy rise.
Step 9: Second Rise
Cover the rolls with a kitchen towel and let them rise again in a warm place for about 30 minutes. They should puff up and become visibly larger, a crucial step in creating those soft, airy Garlic-Swirl Rolls you crave.
Step 10: Bake the Rolls
Preheat the oven to 375°F (190°C) while your rolls finish rising. Once ready, bake them for 20-25 minutes, or until they turn golden brown. The aroma of freshly baked Garlic-Swirl Rolls will fill your kitchen, enticing everyone to gather around.
Step 11: Serve Warm
Once baked, remove the rolls from the oven and let them cool slightly. They're best enjoyed warm, perhaps drizzled with additional garlic butter or served with marinara for dipping. Each bite of your Garlic-Swirl Rolls will be a comforting delight!
How to Store and Freeze Garlic-Swirl Rolls
Room Temperature: Keep your Garlic-Swirl Rolls in an airtight container at room temperature for up to 3 days to maintain their softness.
Fridge: If you need them to last longer, store the rolls in the refrigerator for up to a week, wrapping them tightly to prevent drying out.
Freezer: For longer storage, freeze the garlic rolls by placing them in a freezer-safe bag or container for up to 3 months. Thaw them overnight in the fridge before reheating.
Reheating: To enjoy them warm, simply pop the thawed rolls in a preheated oven at 350°F (175°C) for about 10-15 minutes, or until warmed through.
What to Serve with Garlic-Swirl Rolls
Imagine gathering around the table with a feast that warms both your heart and home, ready to be shared with loved ones.
- Creamy Tomato Soup: A velvety blend of fresh tomatoes and cream creates the perfect tangy dip for your delicious rolls.
- Caesar Salad: Crisp romaine, crunchy croutons, and a tangy dressing balance the soft texture of the garlic rolls, enhancing your meal.
- Herbed Olive Oil: Drizzling your warm rolls with aromatic olive oil infused with herbs elevates their rich garlic flavor, creating an unbeatable appetizer.
- Garlic Mashed Potatoes: Fluffy potatoes with a hint of garlic provide a comforting side that echoes the flavors in the rolls, creating harmony on your plate.
- Roasted Vegetables: Colorful veggies with caramelized edges add a hearty crunch, bringing freshness that perfectly pairs with the savory goodness of garlic rolls.
- Grilled Cheese Sandwiches: A gooey, melty grilled cheese is not only a nostalgic favorite but adds a delightful textural contrast alongside the rolls.
- Sparkling Lemonade: The refreshing citrus notes of this drink cut through the richness of the rolls, making each bite and sip enjoyable and rejuvenating.
- Chocolate Chip Cookies: For a sweet finish, these warm cookies offer delightful texture, ranging from chewy to gooey, perfectly capping off a delicious meal.
Don't just stop at the rolls—make it a celebration of flavors and textures that everyone will remember!
Expert Tips for Garlic-Swirl Rolls
Dough Temperature Matters: Make sure your milk is warm, around 110°F, to properly activate the yeast for fluffy Garlic-Swirl Rolls.
Knead Properly: Don’t rush the kneading process; knead for a solid 8-10 minutes until the dough is smooth and elastic. This ensures good gluten development.
Watch the Rising: If your dough hasn’t doubled in size during the first rise, it may be too cold; find a warm spot to encourage a proper rise.
Cut Evenly: When slicing the log, try to make each piece uniform in size to ensure they bake evenly and fluff up beautifully.
Bake Until Golden: Keep an eye on the rolls in the oven; they should be golden brown. Overbaking can dry them out, ruining their soft texture.
Serve Fresh: Garlic-Swirl Rolls are best enjoyed right out of the oven for that heavenly fluffy experience. Consider freezing leftovers for later indulgence!
Make Ahead Options
These Garlic-Swirl Rolls are perfect for meal prep enthusiasts! You can prepare the dough up to 24 hours in advance by following the first rise (Step 4). Just shape the rolls after the initial rise, cover them tightly, and refrigerate. This ensures they remain fresh. When you're ready to bake, simply let them rise in a warm place for about 30 minutes (Step 9) before popping them in the oven. Alternatively, you can bake the rolls and freeze them for up to 3 months. To maintain quality, store in an airtight container, and reheat in the oven. Enjoy fresh, homemade Garlic-Swirl Rolls with minimal effort on busy days!
Garlic-Swirl Rolls Customizations
Feel free to let your creativity shine and personalize these rolls to suit your taste buds!
-
Dairy-Free: Substitute unsalted butter with coconut oil and use almond milk instead of regular milk for a delightful twist.
A hint of coconut will add a subtle sweetness that pairs beautifully with the garlic! -
Cheesy Delight: Add mozzarella or cheddar cheese to the filling for a gooey, savory surprise in every bite.
Imagine the melty goodness as you pull apart these rolls, creating cheesy strings that are simply irresistible. -
Spicy Kick: Mix in a pinch of crushed red pepper flakes to your garlic butter for an extra layer of heat.
This will take your Garlic-Swirl Rolls to a whole new level of flavor, perfect for heat lovers! -
Herb Infusion: Swap out traditional herbs for fresh thyme or basil for a unique flavor profile.
The fragrant aroma of these herbs will transport you right to a sunny Italian kitchen! -
Veggie Boost: Incorporate fresh spinach or roasted red peppers into the filling for added nutrition and color.
These add-ins create a vibrant visual appeal, making your rolls not only delicious but also stunning to serve. -
Whole Wheat: For a healthier option, replace half of the all-purpose flour with whole wheat flour.
This adds a nutty undertone and a slightly denser texture, making every bite feel wholesome! -
Sweet Cinnamon Rolls: Transform this savory recipe into a sweet delight by replacing garlic butter with cinnamon sugar.
Rolls stuffed with cinnamon and brown sugar are perfect for a cozy brunch, drizzled with icing. -
Garlic Herb Oil: Instead of garlic butter, use a garlic herb-infused olive oil for a lighter, yet flavorsome filling.
This option not only enhances the flavor but also gives your rolls a gorgeous, shiny finish!
Feel inspired to experiment with these variations? Don’t forget to complement your Garlic-Swirl Rolls with a side of homemade marinara sauce or a rich garlic butter for dipping! Each bite will be a delightful experience, no matter which twist you choose!
Garlic-Swirl Rolls Recipe FAQs
How do I know if my garlic is fresh enough for the filling?
Absolutely! Fresh garlic should feel firm, with papery skin that isn’t damaged. If you notice any dark spots or sprouting, it’s best to discard it. For the best flavor, always choose fresh garlic bulbs and chop them right before using.
What’s the best way to store my leftover Garlic-Swirl Rolls?
To keep your Garlic-Swirl Rolls soft, store them in an airtight container at room temperature for up to 3 days. If you want to extend their life, wrap each roll tightly in plastic wrap or aluminum foil and place them in the fridge for up to a week.
Can I freeze Garlic-Swirl Rolls, and how do I do it?
Yes, you can definitely freeze Garlic-Swirl Rolls! First, allow them to cool completely after baking. Then, wrap each roll in plastic wrap or aluminum foil, and place them in a freezer-safe bag or container. They can be frozen for up to 3 months. To enjoy them later, just transfer the rolls to the fridge overnight, and reheat in a preheated oven at 350°F (175°C) for about 10-15 minutes until warm.
What should I do if my dough isn’t rising?
Very! If your dough isn't rising as expected, it might be due to unactivated yeast or cold temperatures. Ensure your milk is warm (about 110°F) to properly activate the yeast. If rising is slow, create a warmer environment by turning on your oven to the lowest setting for a minute, then turning it off and placing the covered dough inside. It should rise nicely.
Are Garlic-Swirl Rolls safe for pets?
While the rolls themselves are not toxic, they do contain garlic, which can be harmful to dogs and should be avoided. Always keep these delicious rolls away from your furry friends, and instead enjoy them as a treat for yourself and guests!
Can I add other ingredients to the rolls?
Absolutely! Garlic-Swirl Rolls are incredibly versatile. You can add cheese, caramelized onions, or spinach to the filling to give them an extra flavor boost. Feel free to experiment with your favorite additions, as they adapt beautifully to various tastes!
Garlic-Swirl Rolls: Irresistibly Soft & Flavorful Delights
Equipment
- Mixing bowl
- Baking Dish
- Floured surface
Ingredients
Dough Ingredients
- 4 cups all-purpose flour
- 1 packet active dry yeast
- 1 cup warm milk ideally around 110°F
- ¼ cup sugar
- ¼ cup unsalted butter melted
- 1 teaspoon salt
- 1 large egg
Filling Ingredients
- ¼ cup garlic butter
- 1 tablespoon fresh herbs e.g., parsley, rosemary
Optional Add-Ins
- 1 cup cheese mozzarella works wonderfully
- 1 cup caramelized onions
- 1 cup spinach
Instructions
Preparation Instructions
- Activate the yeast by combining warm milk, sugar, and yeast. Let it sit for 5 minutes until foamy.
- Mix together flour and salt in a bowl. Add yeast mixture, melted butter, and egg. Stir until a dough forms.
- Knead the dough on a floured surface for 8-10 minutes until smooth and elastic.
- Let the dough rise in a greased bowl covered with a towel for about 1 hour until doubled in size.
- Prepare the filling by mixing garlic butter and chopped herbs in a bowl.
- Roll the dough into a rectangle about ¼ inch thick.
- Spread the garlic herb butter mixture over the dough, leaving a small border.
- Roll the dough tightly into a log shape and cut into 1-inch pieces.
- Arrange the pieces in a greased baking dish and let them rise again for 30 minutes.
- Preheat the oven to 375°F and bake the rolls for 20-25 minutes until golden brown.
- Serve warm, drizzled with additional garlic butter or with marinara for dipping.

Leave a Reply