
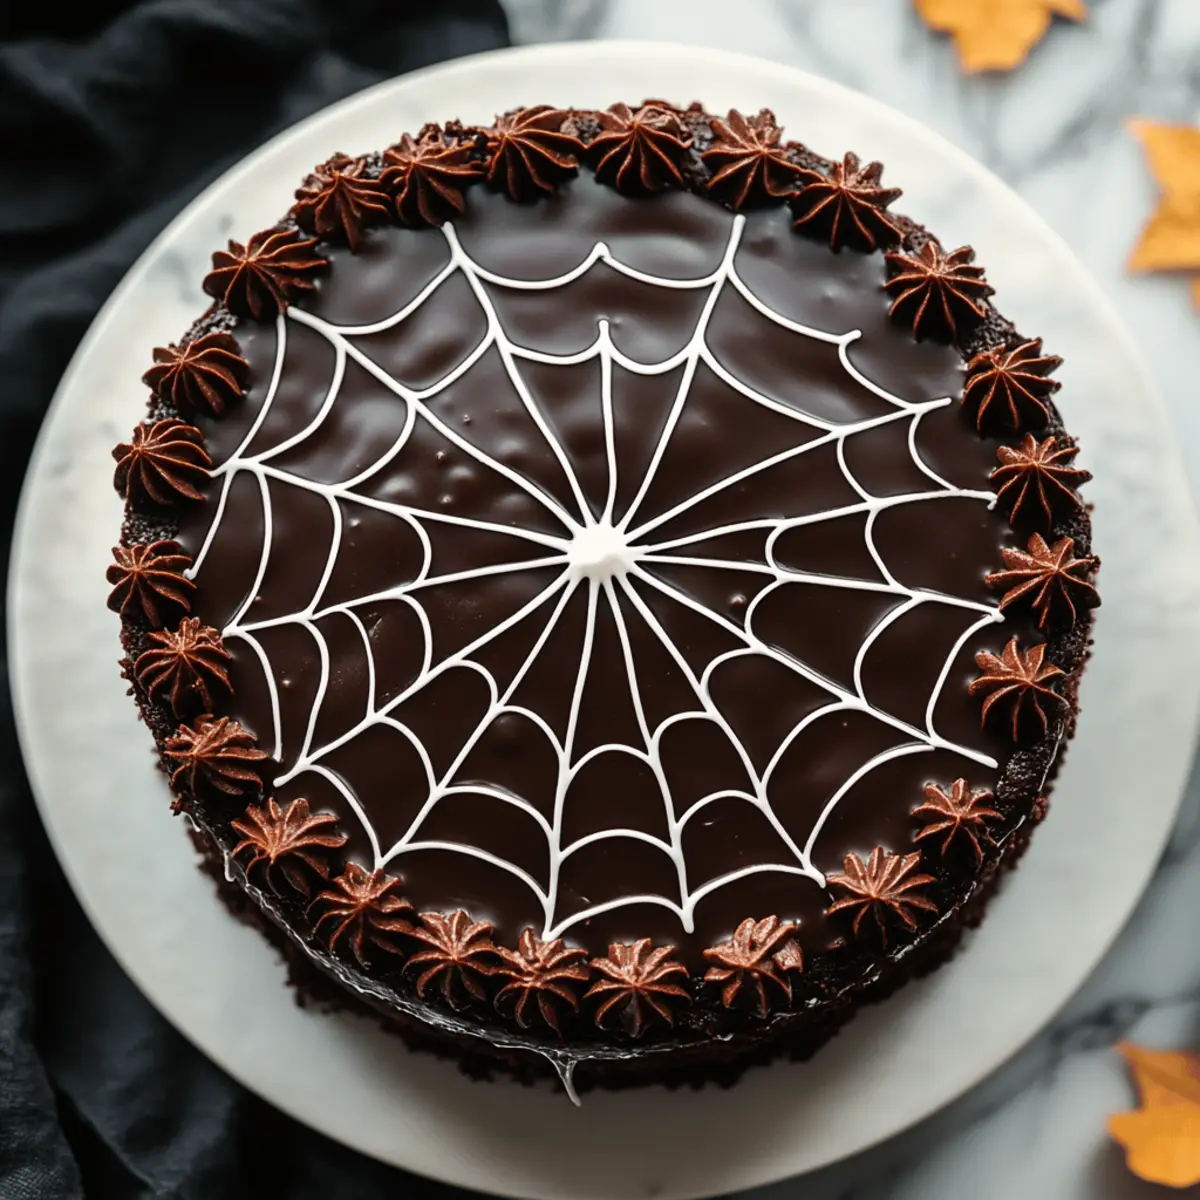
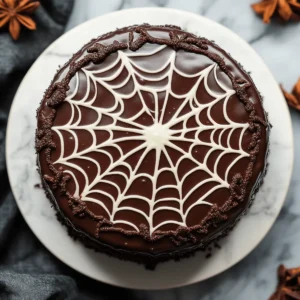
As I lifted the lid of my cake stand, a delightful shiver ran down my spine. The centerpiece? A stunning Spiderweb Chocolate Cake, perfectly crafted for Halloween gatherings. The rich chocolate layers and the elegant white chocolate spiderweb topping give a spooky yet sophisticated twist that will leave your guests spellbound. Not only is this recipe a visual delight, but it's also a breeze to make, ensuring you spend less time in the kitchen and more time enjoying the festivities with family and friends. Plus, it’s a guaranteed crowd-pleaser, appealing to both chocolate lovers and Halloween enthusiasts alike. Are you ready to unleash your inner baker and create some edible magic?

Why is Spiderweb Chocolate Cake a Must-Try?
Indulgent Flavor: The rich, decadent chocolate cake paired with a delightful white chocolate spiderweb topping creates a hauntingly delicious treat.
Spooky Presentation: Impress your guests with this visually stunning cake that serves as both dessert and centerpiece for your Halloween gatherings.
Ease of Preparation: This recipe is simple to follow, making it accessible for bakers of all skill levels who want to create something special.
Crowd Pleaser: Whether you're hosting a party or looking for treats for trick-or-treaters, this cake caters to both chocolate lovers and Halloween enthusiasts alike.
For more spooktacular offerings, don't forget to check out our delicious Witch Hat Cupcakes and Mummy Brownies to elevate your Halloween dessert table!
Spiderweb Chocolate Cake Ingredients
• Get ready to whip up this spooky delight!
For the Cake
- All-purpose flour – Provides the structure for this rich chocolate cake.
- Granulated sugar – Adds sweetness that balances the cocoa flavor.
- Cocoa powder – For that indulgent chocolate taste that everyone loves.
- Baking powder – Helps the cake rise beautifully.
- Salt – Enhances all the flavors in the cake.
- Eggs – Binds the ingredients together and adds moisture.
- Whole milk – Ensures a tender crumb and rich flavor.
- Unsalted butter – Adds richness and helps create a moist texture.
- Vanilla extract – Infuses the cake with a warm, aromatic essence.
For the White Chocolate Spiderweb Topping
- White chocolate chips – Melts beautifully for creating the spiderweb design.
- Heavy cream – Makes the white chocolate smooth and easy to work with.
Every bite of this Spiderweb Chocolate Cake will enchant your guests, making it a magical centerpiece for your Halloween festivities!
Step‑by‑Step Instructions for Spiderweb Chocolate Cake
Step 1: Preheat the Oven
Begin by preheating your oven to 350°F (175°C). This crucial step prepares the environment for baking your rich Spiderweb Chocolate Cake. While the oven heats, gather your cake pans, ideally two 9-inch round ones, and grease them with unsalted butter or non-stick spray. Dust lightly with flour for easy removal after baking.
Step 2: Mix the Dry Ingredients
In a medium mixing bowl, whisk together 2 cups of all-purpose flour, 2 cups of granulated sugar, ¾ cup of cocoa powder, 1 ½ teaspoons of baking powder, and 1 teaspoon of salt. Ensure these dry ingredients are well combined for even flavor throughout your cake. Consider using a fine sieve to break up any cocoa clumps, resulting in a smooth batter.
Step 3: Combine the Wet Ingredients
In a large mixing bowl, blend 4 large eggs, 1 cup of whole milk, ½ cup of melted unsalted butter, and 2 teaspoons of vanilla extract. Whisk until the mixture is smooth and completely combined. This creamy mixture will help create a moist spiderweb chocolate cake. Gradually pour in the dry ingredient mixture, mixing gently until just combined to avoid overmixing.
Step 4: Bake the Cake
Divide the batter evenly between your prepared cake pans. Gently tap the pans on the counter to release air bubbles, ensuring a level bake. Place them in the preheated oven and bake for 30–35 minutes or until a toothpick inserted into the center comes out clean. While baking, the aromas will fill your kitchen, adding to the excitement of your Spiderweb Chocolate Cake.
Step 5: Cool the Cakes
Once baked, remove the cake pans from the oven and let them cool in the pans for about 10 minutes. Carefully run a knife around the edges to loosen the cakes, then invert them onto wire racks to cool completely. Ensuring the cakes are fully cooled is crucial before applying the white chocolate spiderweb topping to prevent it from melting.
Step 6: Prepare the White Chocolate Topping
While the cakes cool, prepare the white chocolate spiderweb topping. In a microwave-safe bowl, heat 1 cup of white chocolate chips with ½ cup of heavy cream in short bursts of 15 seconds, stirring in between until smooth. This melted mixture will be your canvas for the spooky design, so be careful not to overheat it.
Step 7: Decorate the Cake
Once the cakes are completely cool, place one layer on a serving plate. Pour and spread a generous layer of the white chocolate mixture on top, allowing it to slightly drip down the edges. Place the second layer on top, repeating the process. Then, use a piping bag or a fork to create a spiderweb design with the remaining white chocolate mixture.
Step 8: Final Touches
For added glamour, consider finishing the spiderweb design with chocolate spider decorations or even gummy spiders if you're feeling playful. Let the Spiderweb Chocolate Cake set for about 30 minutes at room temperature before slicing. This not only allows the design to firm up but creates a delightful and festive presentation for your Halloween gathering!
Spiderweb Chocolate Cake Variations
Feel free to let your creativity soar with these delightful twists on the classic Spiderweb Chocolate Cake!
-
Gluten-Free: Substitute all-purpose flour with a gluten-free blend for a cake everyone can enjoy. Just remember to check your baking powder for gluten-free certification too.
-
Decadent Swirls: Add a swirl of raspberry or orange zest into the batter before baking to introduce a refreshing complement to the rich chocolate. The burst of flavor will enchant every bite!
-
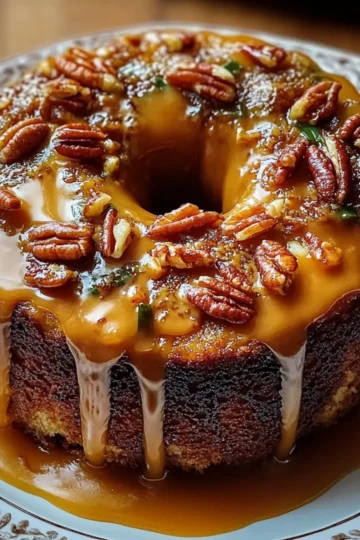
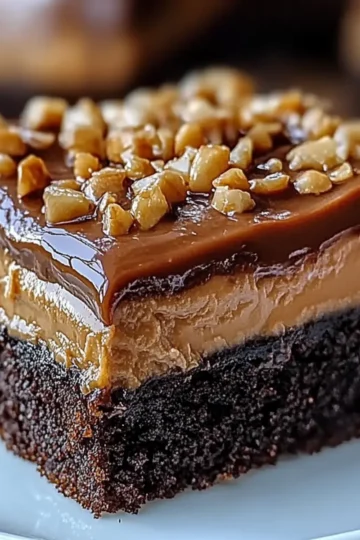
Nutty Crunch: Fold in some chopped nuts like walnuts or pecans into the batter for added texture. The crunch pairs beautifully with the soft cake, giving a delightful contrast that will have guests coming back for seconds.
-
Vegan Option: Replace eggs with flaxseed meal (1 tablespoon mixed with 2.5 tablespoon water) and swap dairy milk with a plant-based alternative. Enjoy a passionately created cake that caters to all!
-
Coffee Infusion: Add 1 cup of brewed coffee to the wet ingredients for an enhanced depth in chocolate flavor. The subtle coffee taste will lift the cake to new heights, making it unforgettable.
-
Spicy Twist: Mix in a ½ teaspoon of cayenne pepper or chili powder into the batter for an unexpected kick. The heat complements chocolate beautifully and adds an exciting surprise!
-
Flavorful Frosting: Upgrade the white chocolate topping by mixing in a touch of peppermint or orange extract for a refreshing flair. This simple addition brings a seasonal zing to your festive cake.
-
Layer it Up: Create a multi-layered cake by adding a layer of soft chocolate mousse or cream cheese frosting between each cake layer. This added indulgence will make your Spiderweb Chocolate Cake a showstopper!
For even more Halloween fun, don’t miss our spooky Vampire Donuts and charming Jack-O'-Lantern Sugar Cookies that are sure to impress!
Make Ahead Options
These Spiderweb Chocolate Cake preparations are perfect for busy home cooks looking to save time without sacrificing flavor! You can bake the cake layers up to 3 days in advance; simply allow them to cool completely, then wrap each layer tightly in plastic wrap and refrigerate. For the white chocolate spiderweb topping, prepare it up to 24 hours ahead and store it in an airtight container at room temperature; this will keep it at the perfect consistency when you’re ready to assemble. When it’s time to serve, just layer the cakes, decorate with the white chocolate, and let it set for about 30 minutes. This way, you can enjoy a stress-free Halloween gathering with a show-stopping dessert that’s just as delicious!
Expert Tips for Spiderweb Chocolate Cake
Use Quality Ingredients: Start with fresh, high-quality cocoa powder and chocolate for a richer flavor in your Spiderweb Chocolate Cake.
Don't Overmix: Gently mix the batter to avoid overworking the gluten; this ensures a tender and fluffy cake.
Cool Completely: Allow the cake layers to cool completely before decorating. This prevents the white chocolate from melting and losing shape.
Perfect the Spiderweb: For a clean spiderweb design, use a piping bag with a small round tip. Practice on parchment paper first if needed.
Experiment with Additions: Consider adding chocolate chips or nuts in the batter for an extra twist that your guests will love.
Storage Wonders: Keep any leftover cake in an airtight container for up to 3 days to maintain its moisture and flavor.
What to Serve with Spiderweb Chocolate Cake
As you gather around the table to enjoy your chillingly delightful cake, consider these enchanting companions that promise to elevate your Halloween dessert experience.
- Chilled Milk: Perfectly complements the rich chocolate, making each bite even more satisfying and enjoyable.
- Halloween Punch: A fruity, bubbly drink adds a festive touch to your meal, ensuring your guests stay refreshed and entertained.
- Whipped Cream: A dollop on top of each slice enhances its richness and brings a silky texture that balances the cake's density.
- Pumpkin Pie Ice Cream: The warm spices of pumpkin make for a holiday-inspired pairing that will leave your guests craving more.
- Chocolate-Covered Strawberries: Add a sweet and slightly tart contrast to the cake’s deep chocolate flavor, cutting through the richness beautifully.
- Spooky Macarons: Glittery or decorated with Halloween themes, they provide a delicate crunch and a fun twist that appeals to the eye.
- Cinnamon Sugar Donuts: Their cozy, comforting taste matches perfectly with the striking visual of your Spiderweb Chocolate Cake, echoing autumnal flavors.
- Candy Corn: Simple yet iconic, offer guests a nostalgic nod to Halloween while adding a pop of color to your dessert spread.
- Pecan Pie Bars: These sweet and nutty treats introduce a different texture, perfectly contrasting with the soft, rich cake.
How to Store and Freeze Spiderweb Chocolate Cake
Room Temperature: Store the Spiderweb Chocolate Cake in an airtight container for up to 3 days to keep it moist and fresh.
Fridge: If you wish to extend its shelf life, refrigerate the cake in an airtight container for up to a week. Note that refrigeration may slightly change the texture.
Freezer: For longer storage, freeze the cake for up to 3 months. Wrap it tightly in plastic wrap followed by aluminum foil to prevent freezer burn.
Reheating: To enjoy your cake again, simply thaw it in the fridge overnight, then bring it to room temperature before serving for the best taste!

Spiderweb Chocolate Cake Recipe FAQs
How do I choose the best ingredients for Spiderweb Chocolate Cake?
Absolutely! When selecting ingredients for your Spiderweb Chocolate Cake, opt for high-quality cocoa powder and unsalted butter for the richest flavor. Ensure your eggs are fresh and at room temperature for best incorporation into the batter. Plus, make sure your baking powder isn’t expired to guarantee a perfect rise!
What’s the best way to store Spiderweb Chocolate Cake?
To keep your cake fresh and moist, store it in an airtight container at room temperature for up to 3 days. For extended storage, refrigerate it for up to a week, though this may alter the texture slightly. Just make sure it’s wrapped well to prevent drying out!
Can I freeze Spiderweb Chocolate Cake?
Definitely! If you want to enjoy your Spiderweb Chocolate Cake later, it freezes beautifully. Simply wrap the cooled cake tightly in plastic wrap, then in aluminum foil. It can last up to 3 months in the freezer. When you’re ready to indulge, thaw it overnight in the fridge and bring it to room temperature before serving!
Why did my cake not rise as expected?
The more the merrier, so don't despair if your cake doesn’t rise correctly! This can happen if your baking powder is outdated or if the batter was overmixed, both of which hinder the cake from achieving its fluffy texture. Always check the expiration date on your baking powder and mix just until the ingredients are combined for the best results.
Are there any dietary considerations for this cake?
Absolutely! If you're making a spiderweb chocolate cake for someone with dietary restrictions, there are substitutes available. You can swap out all-purpose flour for gluten-free flour blends to cater to those with gluten sensitivities. Additionally, using dairy-free butter and almond milk can make the cake suitable for lactose intolerant guests. Just make sure to check for any allergies related to cocoa or chocolate!
How can I enhance the presentation of my Spiderweb Chocolate Cake?
For a stunning visual effect, consider garnishing your cake with chocolate spiders or even festive Halloween-themed decorations like edible glitter. A sprinkle of crushed chocolate cookies can create a "graveyard" effect around the cake, adding to the spooky appeal! Don’t hesitate to get creative with your decoration—after all, presentation is key to delight!
Spiderweb Chocolate Cake
Equipment
- Oven
- Mixing bowls
- cake pans
- Whisk
- Piping Bag
- Wire racks
- Microwave-safe bowl
Ingredients
For the Cake
- 2 cups all-purpose flour
- 2 cups granulated sugar
- ¾ cup cocoa powder
- 1.5 teaspoons baking powder
- 1 teaspoon salt
- 4 large eggs
- 1 cup whole milk
- ½ cup unsalted butter melted
- 2 teaspoons vanilla extract
For the White Chocolate Spiderweb Topping
- 1 cup white chocolate chips
- ½ cup heavy cream
Instructions
Step-by-Step Instructions
- Preheat your oven to 350°F (175°C). Grease two 9-inch round cake pans with unsalted butter and dust with flour.
- In a medium bowl, whisk together flour, sugar, cocoa powder, baking powder, and salt.
- In a large bowl, mix the eggs, milk, melted butter, and vanilla extract until smooth. Gradually add dry ingredients, mixing gently.
- Divide the batter between the prepared pans and bake for 30-35 minutes or until a toothpick comes out clean.
- Cool the cakes in pans for 10 minutes, then transfer to wire racks to cool completely.
- In a microwave-safe bowl, combine white chocolate chips and heavy cream. Heat in short bursts until smooth.
- Place one cake layer on a serving plate, spread the white chocolate mixture on top, and then place the second layer on top.
- Use a piping bag to create a spiderweb design with the remaining white chocolate mixture. Decorate as desired.
- Let the cake set for 30 minutes before slicing and serving.
Leave a Reply