
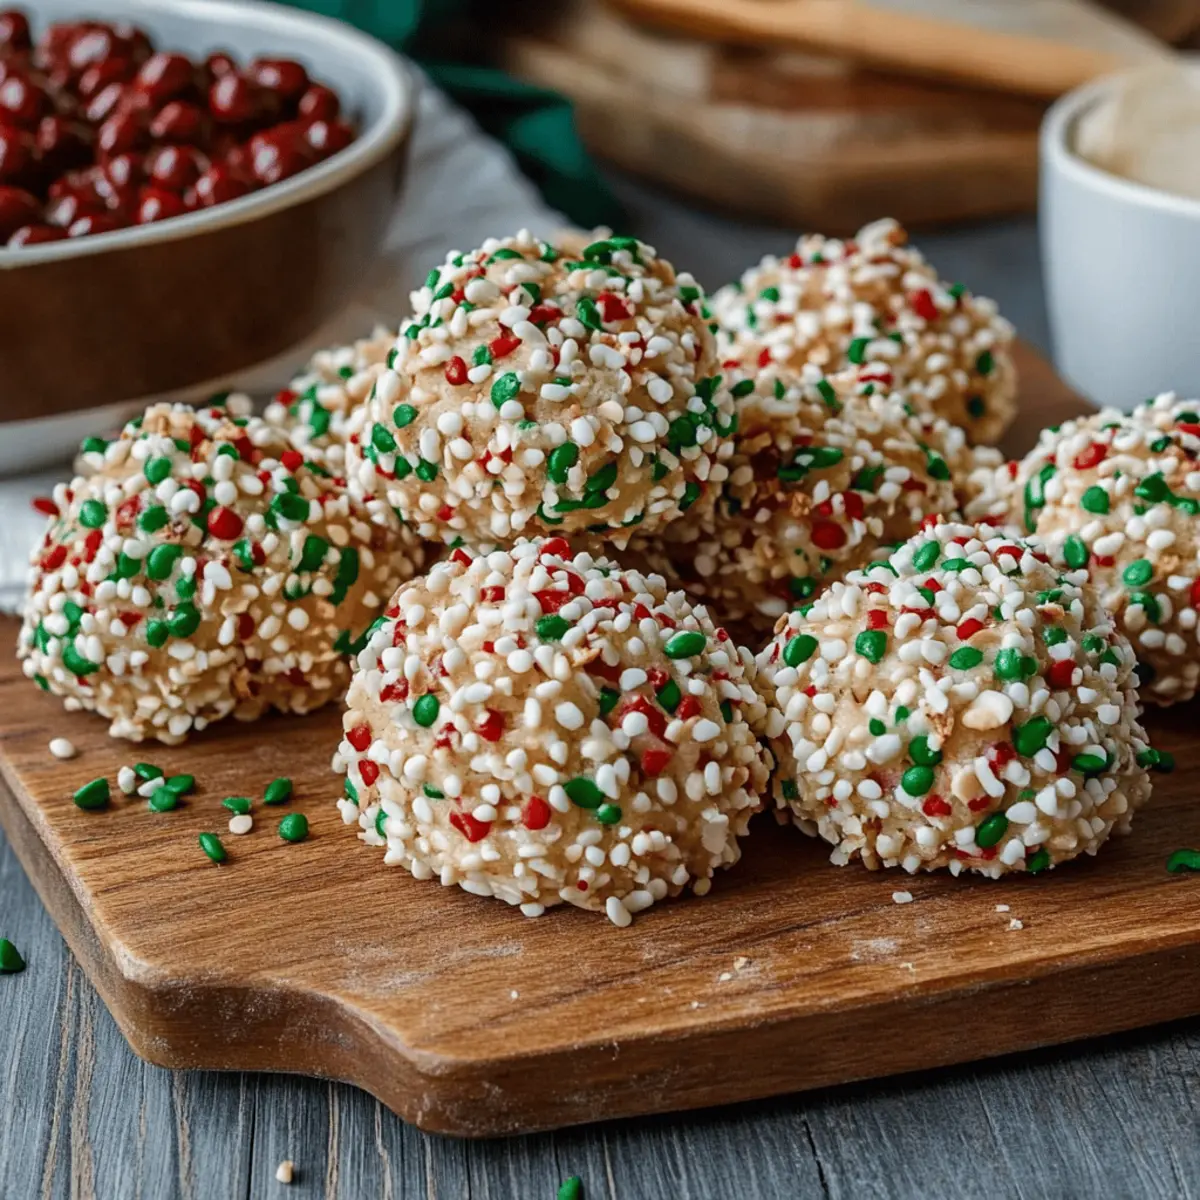
The scent of melted chocolate wafting through the kitchen instantly brings me back to my childhood, where simple ingredients became sources of joy and creativity. Today, I'm excited to share my recipe for Chocolate Rice Krispie Balls—a sweet treat that combines the nostalgic crunch of Rice Krispies with creamy peanut butter and rich chocolate. What I love most about these delightful bites is how quickly they come together, making them perfect for unexpected gatherings or an indulgent afternoon snack. Plus, they’re a great make-ahead dessert, easily stored in the fridge or freezer for when that sweet tooth strikes. Ready to dive into a recipe that blends nostalgia with a touch of gourmet flair? Let’s get started!
Why are Chocolate Rice Krispie Balls so delightful?
Irresistible Crunch: The combination of Rice Krispies with rich peanut butter creates a satisfying texture that keeps you reaching for more.
Quick to Make: In just 15 minutes of prep plus some chill time, these treats are ready to impress without the fuss of traditional baking.
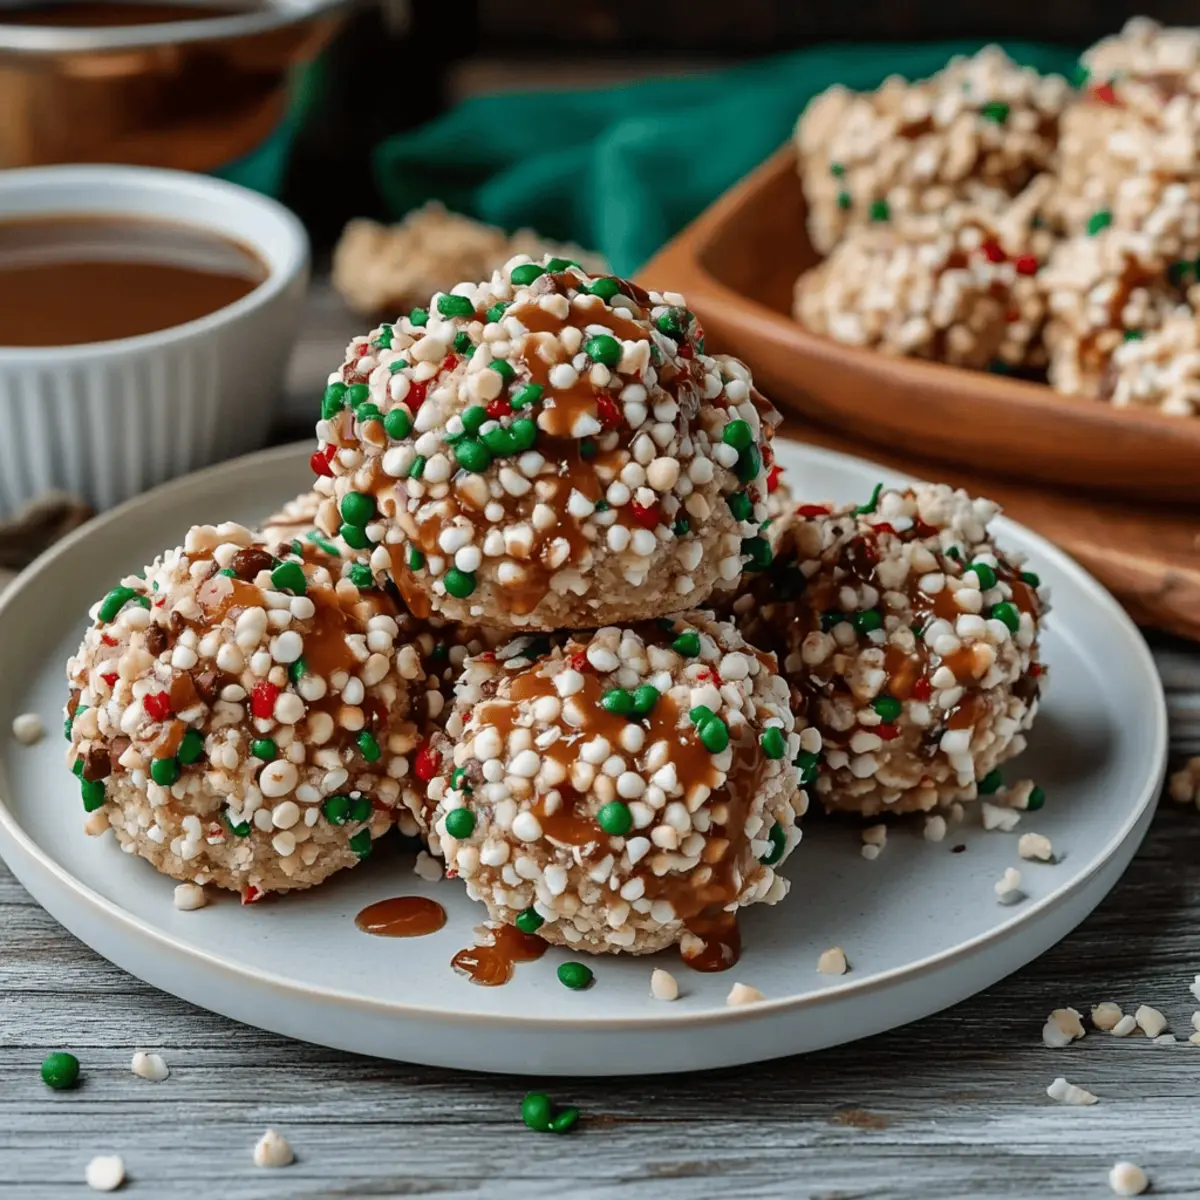
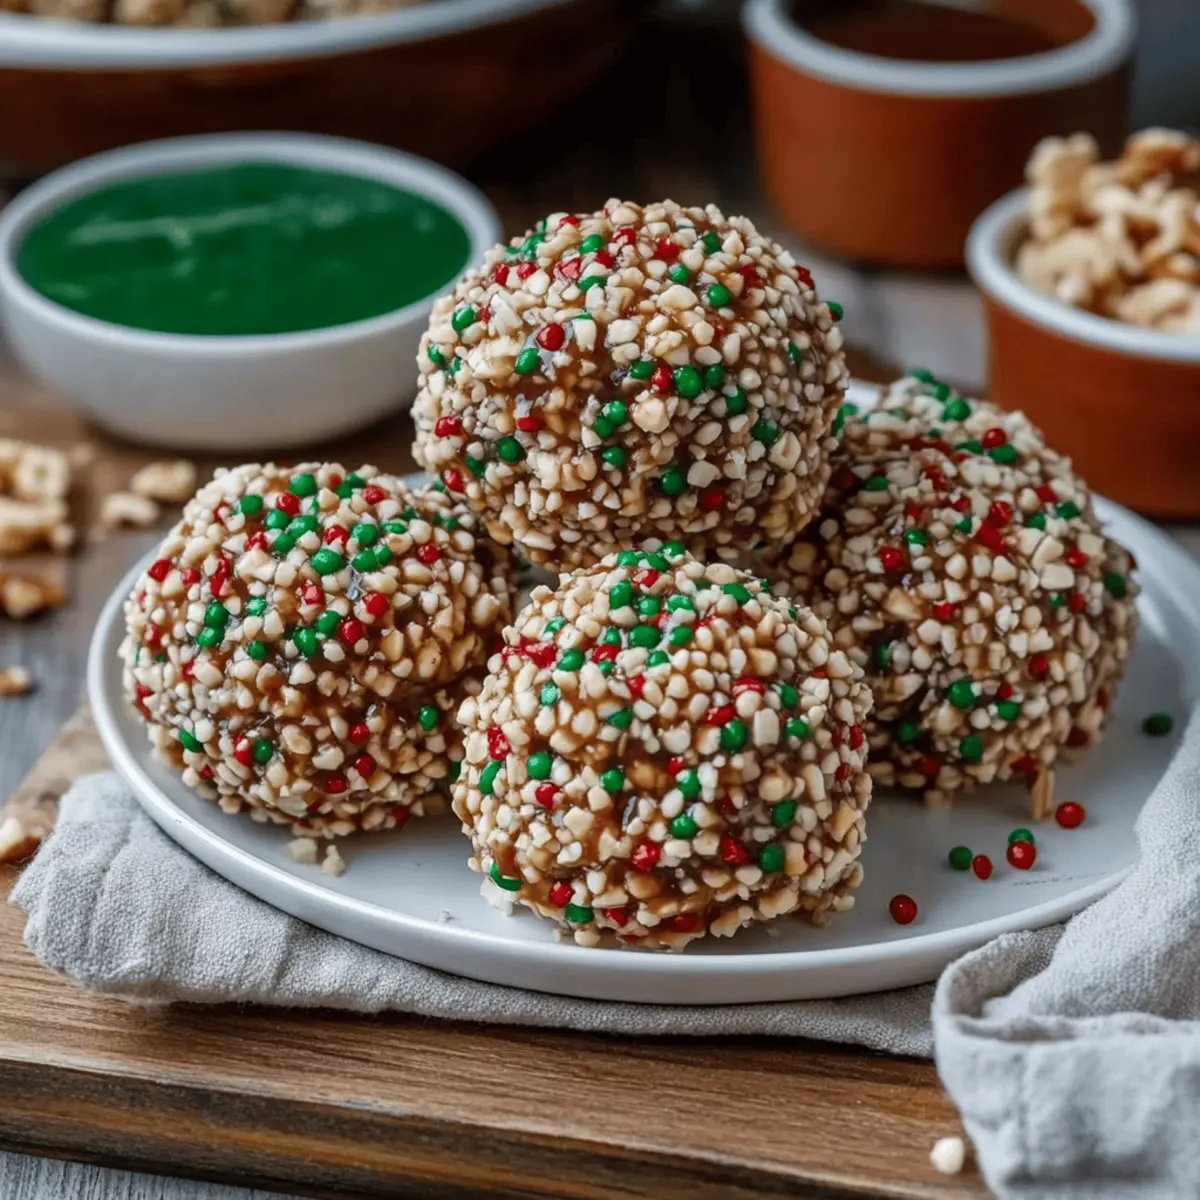
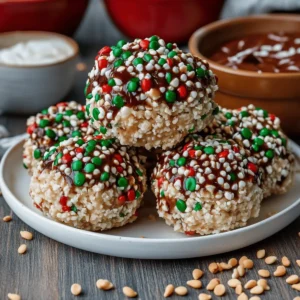
Versatile Treat: Customize chunks of your favorite nuts or add sprinkles for an extra touch of flavor and flair!
Crowd Pleaser: Whether for parties or a movie night, these bite-sized snacks are perfect for sharing and will definitely be a hit.
Make Ahead: Conveniently store them in an airtight container for up to two weeks, or freeze for delightful snacking later!
Chocolate Rice Krispie Balls Ingredients
Transform your kitchen into a sweet haven with these simple ingredients!
For the Base
- Creamy or crunchy peanut butter – adds a deliciously rich flavor that binds the mixture.
- Unsalted butter – enhances creaminess; use vegan butter for a dairy-free option.
- Powdered sugar – sweetens and thickens the mixture, creating the perfect texture.
- Vanilla extract – infuses a warm, aromatic essence that elevates the taste.
For the Crunch
- Rice Krispies cereal – provides that satisfying crunch, making these Chocolate Rice Krispie Balls irresistible!
For the Coating
- Semi-sweet or dark chocolate chips – brings that decadent chocolate flavor; melting wafers work too for a smooth coating.
- Vegetable oil (optional) – thins out chocolate for easier dipping, giving you that perfect glossy finish.
With these ingredients, you’re just a few steps away from enjoying your homemade Chocolate Rice Krispie Balls!
Step‑by‑Step Instructions for Chocolate Rice Krispie Balls
Step 1: Mix the Base
In a large mixing bowl, combine 1 cup of creamy or crunchy peanut butter with 4 tablespoons of unsalted butter. Use an electric mixer on medium speed for about 2-3 minutes until the mixture is smooth and well blended. The mixture should be creamy without any lumps, providing a perfect foundation for your Chocolate Rice Krispie Balls.
Step 2: Add Flavor
Pour in 1 teaspoon of vanilla extract, then continue mixing until fully incorporated. This addition adds an aromatic warmth that enhances the richness of the peanut butter. The mixture should now smell heavenly and have a silky texture, making it ready for the next delicious step.
Step 3: Sweeten the Mixture
Gradually sift in 2 cups of powdered sugar, mixing on low speed to avoid a sugary cloud. As you blend for about 3-4 minutes, the mixture will thicken and become creamy. You’ll want it thick enough to hold its shape but still soft enough to fold in the Rice Krispies.
Step 4: Incorporate the Crunch
Gently fold in 1 ½ cups of Rice Krispies cereal using a spatula. Take care to combine thoroughly without crushing the cereal; this will ensure that each bite of your Chocolate Rice Krispie Balls is perfectly crunchy. You'll see the luscious mixture clinging to those crispy bites, creating a delightful texture.
Step 5: Shape the Balls
Using a small cookie scoop or your hands, form the mixture into 1-inch balls. Place each ball on a parchment-lined baking sheet, ensuring they are spaced apart. This process should take about 5-7 minutes, and you’ll want them to be uniformly shaped for even coating later.
Step 6: Chill the Mixture
Once all the balls are formed, transfer the baking sheet to the freezer for at least 20 minutes. This step is crucial—it allows the Chocolate Rice Krispie Balls to firm up, ensuring they hold their shape when coated in luscious chocolate.
Step 7: Melt the Chocolate
While the balls chill, prepare your chocolate coating. Melt 8-10 ounces of semi-sweet or dark chocolate chips in a double boiler or microwave, stirring frequently until smooth and glossy. If the chocolate is too thick, add 1-2 teaspoons of vegetable oil to thin it out for easy dipping.
Step 8: Coat the Balls
Once the Chocolate Rice Krispie Balls are chilled, retrieve them from the freezer. Using a toothpick or dipping tools, dip each ball into the melted chocolate, allowing any excess to drip off. Return the coated balls to the parchment-lined baking sheet, creating a beautiful chocolate layer that encases the delightful peanut butter and Rice Krispies.
Step 9: Set the Chocolate
Allow the coated Chocolate Rice Krispie Balls to sit at room temperature or place them in the refrigerator until the chocolate is set, which may take about 15-30 minutes. You’ll know they’re ready when the chocolate feels firm to the touch, completing this delightful treat for your taste buds!
Expert Tips for Chocolate Rice Krispie Balls
-
Handle with Care: When folding in the Rice Krispies, use a gentle touch to avoid crushing them. This maintains the delightful crunch in your Chocolate Rice Krispie Balls.
-
Chill Properly: Make sure to freeze the balls for at least 20 minutes. This step is crucial for keeping their shape during chocolate coating.
-
Melt Smoothly: If your chocolate becomes too thick for dipping, add 1-2 teaspoons of vegetable oil to thin it out. A smooth coating ensures a glossy finish.
-
Even Sizing: Use a cookie scoop to shape uniform balls. This helps with even coating and creates a more visually appealing treat.
-
Storage Savvy: Store leftover Chocolate Rice Krispie Balls in an airtight container at room temperature for up to 2 weeks, or freeze for longer enjoyment.
Make Ahead Options
These Chocolate Rice Krispie Balls are perfect for busy home cooks looking to save time! You can prepare the peanut butter mixture and form the balls up to 24 hours in advance. Simply follow the recipe up to shaping the balls and place them on a parchment-lined baking sheet in the fridge instead of the freezer. This will keep them fresh and help prevent any undesired browning or texture changes. When you're ready to serve, just chill them in the freezer for about 20 minutes before melting the chocolate and coating each ball. This way, you'll have delicious, homemade treats ready to impress at a moment's notice!
How to Store and Freeze Chocolate Rice Krispie Balls
Room Temperature: Store your Chocolate Rice Krispie Balls in an airtight container at room temperature for up to 2 weeks. This option retains their chewy texture and delightful flavor.
Fridge: If you prefer them cooler, refrigerate the balls in an airtight container for up to 2 weeks as well. This keeps them fresh and perfect for those moments when you crave something sweet!
Freezer: For longer storage, freeze the balls for up to 3 months. Flash freeze them for 20 minutes on a baking sheet before transferring to a freezer-safe bag for easy access later.
Thawing: When ready to enjoy, simply remove from the freezer and let them thaw at room temperature for about 15-20 minutes. This way, you can savor the flavor and texture of your Chocolate Rice Krispie Balls!
Chocolate Rice Krispie Balls Variations
Feel free to get creative with these delightful treats; the possibilities are endless!
-
Nut-Free: Swap peanut butter for sunbutter or almond butter to keep the flavor while making it safe for nut allergies.
-
Vegan-Friendly: Use coconut oil instead of butter and your favorite dairy-free chocolate chips to keep everyone happy.
-
Spicy Kick: Add a pinch of cayenne pepper or crushed red pepper flakes to the peanut butter mixture for a surprising heat that complements the sweetness.
-
Crunchy Alternatives: Incorporate chopped mixed nuts or seeds for added texture. Almonds or walnuts can elevate the flavor profile!
-
Flavored Chocolate: Experiment with flavored chocolate chips—mint or orange-infused chocolate can offer a delightful twist making your treats stand out.
-
Gourmet Variations: Roll the finished balls in crushed pretzels, coconut flakes, or crushed cookies for a unique outer layer.
-
Savory Touch: Add a sprinkle of sea salt on top of the chocolate for a delicious contrast—sweet and salty flavors are simply irresistible!
With these variations in mind, you can easily adapt these Chocolate Rice Krispie Balls to meet any dietary needs or personal preferences! Is there a particular twist you’re excited to try? Let your culinary imagination run wild!
What to Serve with Chocolate Rice Krispie Balls
Indulge in a delightful feast by pairing these sweet bites with complementary flavors and textures.
-
Creamy Vanilla Ice Cream: The rich creaminess of vanilla ice cream beautifully contrasts with the crunch of the Chocolate Rice Krispie Balls, creating a heavenly dessert.
-
Fruit Salad: A fresh medley of seasonal fruits adds a vibrant, refreshing element to balance the sweetness of the chocolate treats. The juicy bites of berries will brighten your palate.
-
Hot Cocoa: Cozy up with a warm mug of hot cocoa, its chocolaty warmth mirroring the flavors in your treats, creating a comforting experience perfect for chilly evenings.
-
Chocolate Dipped Strawberries: Elevate your dessert spread with chocolate-dipped strawberries, offering a tart, juicy bite that pairs wonderfully with the sweet richness of your rice krispie balls.
-
Caramel Sauce: A drizzle of warm caramel sauce adds a luxurious touch, enhancing the overall flavor profile with its buttery sweetness that pairs perfectly with the chocolate.
-
Nutty Granola: Serve alongside a bowl of nutty granola for a delightful crunch; its earthy flavors contrast beautifully with the sweet, creamy chocolate bites.
-
Sparkling Water: Refresh your palate with a glass of sparkling water, which cleanses the taste buds and accentuates the flavors of your indulgent snacks.
-
Milk: A classic pairing that never fails to please. The coolness of a tall glass of milk complements the richness of the Chocolate Rice Krispie Balls, making for a nostalgic treat.
-
Mini Cheesecakes: For an elegant dessert offering, mini cheesecakes deliver a creamy richness that varies the texture and adds a sophisticated touch to your sweet spread.
Chocolate Rice Krispie Balls Recipe FAQs
What’s the best way to select ingredients for this recipe?
Absolutely! When choosing peanut butter, opt for a brand that has no added sugars or hydrogenated oils for the healthiest option. For Rice Krispies, check the expiration date to ensure freshness. You can use either creamy or crunchy peanut butter depending on your texture preference. When selecting chocolate, look for high-quality semi-sweet or dark chocolate chips for a rich flavor—dark chocolate adds a lovely depth to the sweetness!
How should I store my Chocolate Rice Krispie Balls?
Very! You can store your Chocolate Rice Krispie Balls in an airtight container at room temperature for up to 2 weeks. If you prefer a cooler treat, refrigerate them for the same duration. This keeps them fresh and delightful! Always ensure the container is sealed tightly to maintain their soft texture and prevent any moisture from ruining that delicious crunch.
Can I freeze Chocolate Rice Krispie Balls?
Absolutely! To freeze your Chocolate Rice Krispie Balls, flash freeze them first. Place the balls on a parchment-lined baking sheet and freeze for about 20 minutes. Once firm, transfer them to a freezer-safe bag, making sure to remove excess air to avoid freezer burn. They can be frozen for up to 3 months. When you’re ready to enjoy, thaw them at room temperature for around 15-20 minutes.
What if my chocolate coating isn’t smooth?
If your chocolate is too thick, don't worry—this can happen! Simply add 1-2 teaspoons of vegetable oil to the melted chocolate while stirring. This will thin it out, allowing for easier dipping and a beautiful glossy finish. Ensure it's fully melted and smooth before dipping your Chocolate Rice Krispie Balls for that perfect coating!
Are there any dietary considerations I should be aware of?
Very! If you're making these treats for guests or family members with dietary restrictions, consider using a nut-free butter substitute like sunflower seed butter for those with peanut allergies. You can also opt for dairy-free chocolate chips to make the recipe suitable for vegans or anyone avoiding dairy. It's always a win to have options that everyone can enjoy!
How long do Chocolate Rice Krispie Balls last?
Conveniently, these delightful treats can last in an airtight container at room temperature for up to 2 weeks. Refrigerating them will maintain their freshness for the same amount of time, while freezing is a great option for up to 3 months. Just remember to flash freeze them first, and you'll have a stash of sweet bites ready anytime that craving hits!
Irresistibly Sweet Chocolate Rice Krispie Balls You’ll Love
Equipment
- Mixing bowl
- Electric mixer
- Spatula
- Baking sheet
- parchment paper
- double boiler
Ingredients
For the Base
- 1 cup creamy or crunchy peanut butter
- 4 tablespoons unsalted butter can use vegan butter for dairy-free
- 1 teaspoon vanilla extract
- 2 cups powdered sugar
For the Crunch
- 1.5 cups Rice Krispies cereal
For the Coating
- 8-10 ounces semi-sweet or dark chocolate chips
- 1-2 teaspoons vegetable oil optional, for thinning chocolate
Instructions
Step‑by‑Step Instructions
- In a large mixing bowl, combine peanut butter and unsalted butter. Use an electric mixer on medium speed for about 2-3 minutes until smooth.
- Pour in vanilla extract and continue mixing until well incorporated.
- Gradually sift in powdered sugar, mixing on low speed for about 3-4 minutes until thick and creamy.
- Gently fold in Rice Krispies cereal using a spatula without crushing the cereal.
- Form the mixture into 1-inch balls and place them on a parchment-lined baking sheet.
- Transfer the baking sheet to the freezer for at least 20 minutes to firm up.
- Melt chocolate chips in a double boiler or microwave. Stir until smooth, adding vegetable oil if needed.
- Dip each ball into the melted chocolate, allowing excess to drip off, then return to the baking sheet.
- Let the coated balls sit at room temperature or refrigerate until the chocolate is set.


Leave a Reply