
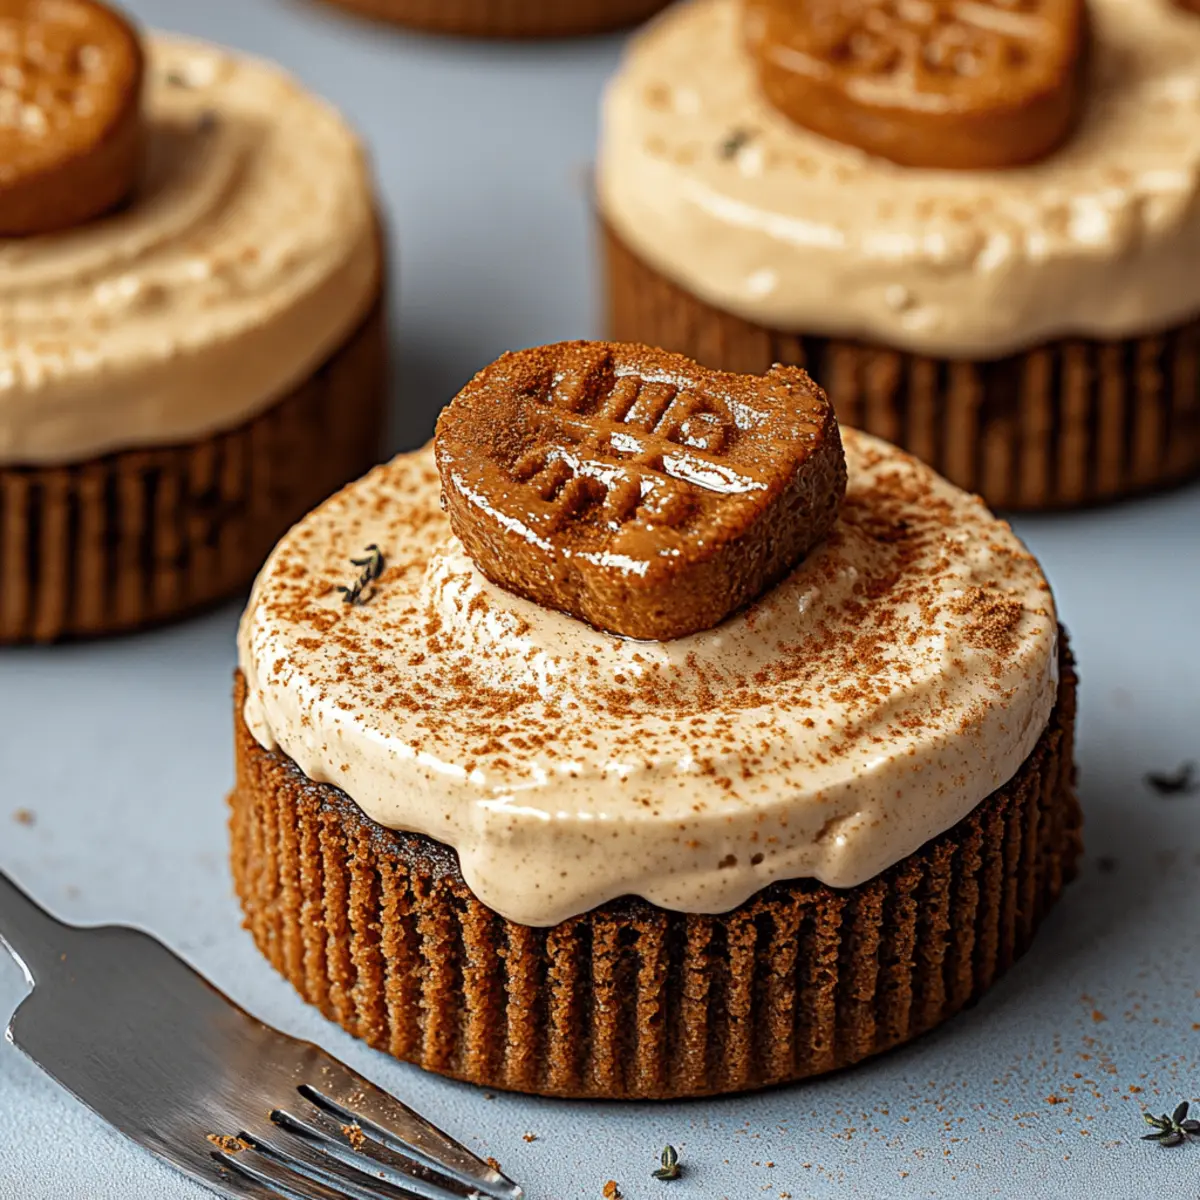
As I stood in the kitchen, a whirl of creamy dreams danced in my head—enter the tantalizing No Bake Mini Biscoff Cheesecakes. These delightfully indulgent treats bring the beloved flavors of Biscoff cookies to life in a light, airy dessert that requires no oven time. Perfect for anyone looking to impress guests or simply satisfy a sweet craving, these mini cheesecakes come together effortlessly, making them an ideal option for busy home chefs. Each individual portion is not only a visual feast but also a delightful way to enjoy a comforting yet sophisticated dessert. With a crunchy cookie crust and a rich, fluffy filling, they check all the boxes for a crowd-pleaser. Curious about how easy it is to create this creamy delight? Let’s dive into the sweet details!
Why Are Biscoff Cheesecakes So Irresistible?
Creamy Indulgence: These No Bake Mini Biscoff Cheesecakes are the perfect blend of rich cream cheese and smooth Biscoff cookie butter, creating a decadent treat that melts in your mouth.
Quick & Easy: No baking means you can whip these beauties up in just 20 minutes of prep, leaving you more time to relax or entertain your guests.
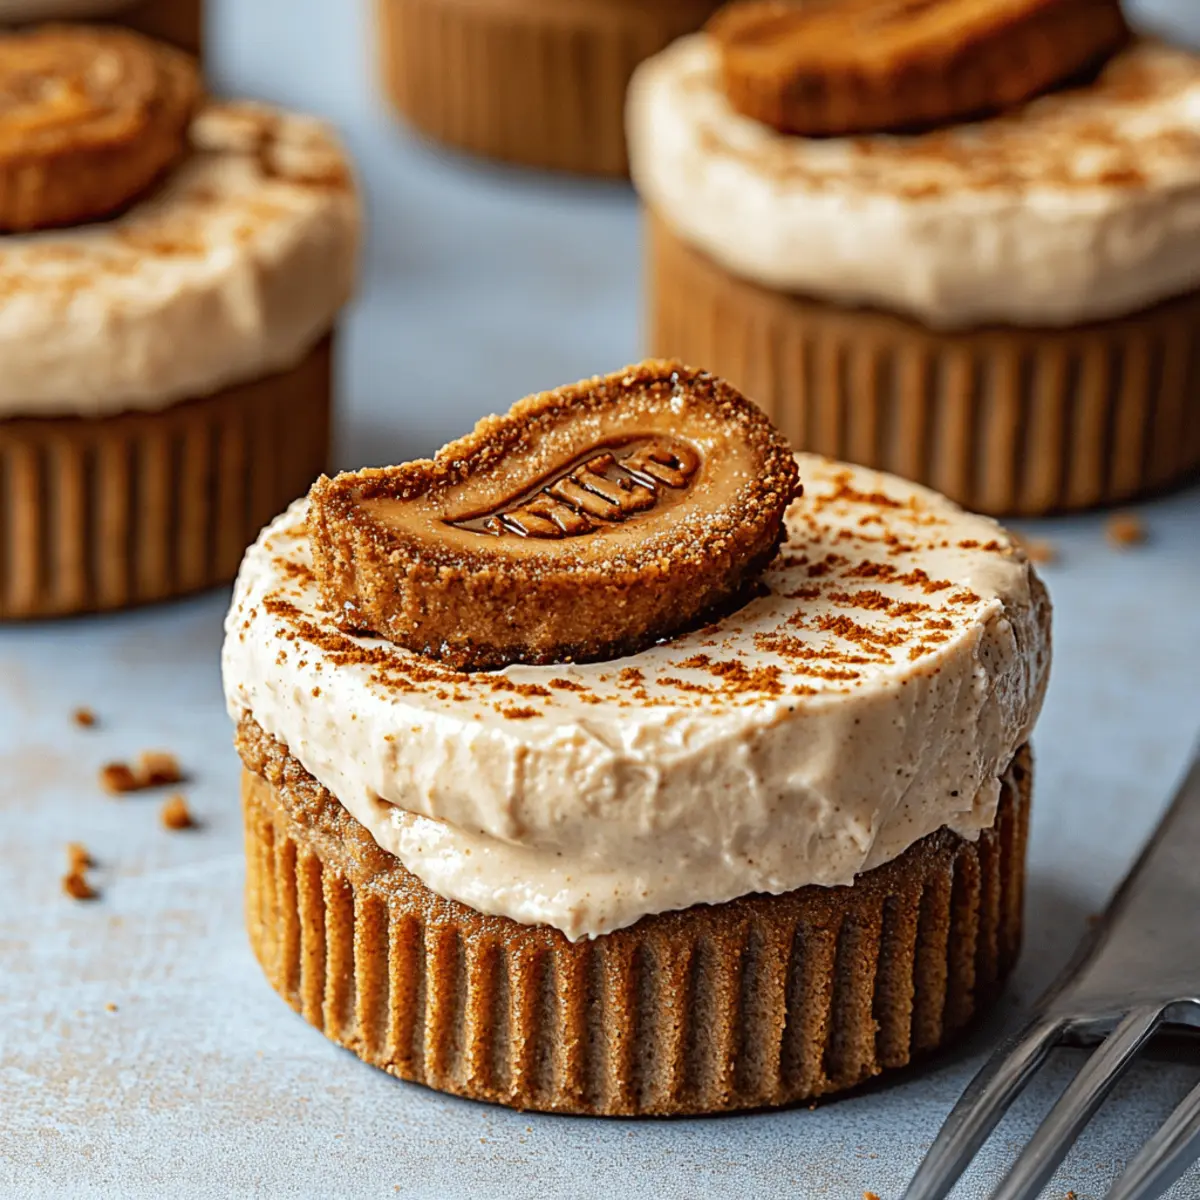
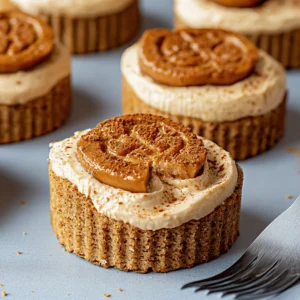
Individual Portions: Each mini cheesecake is a delightful single-serving, ideal for gatherings or a cozy night in—no cutting or messy slices required!
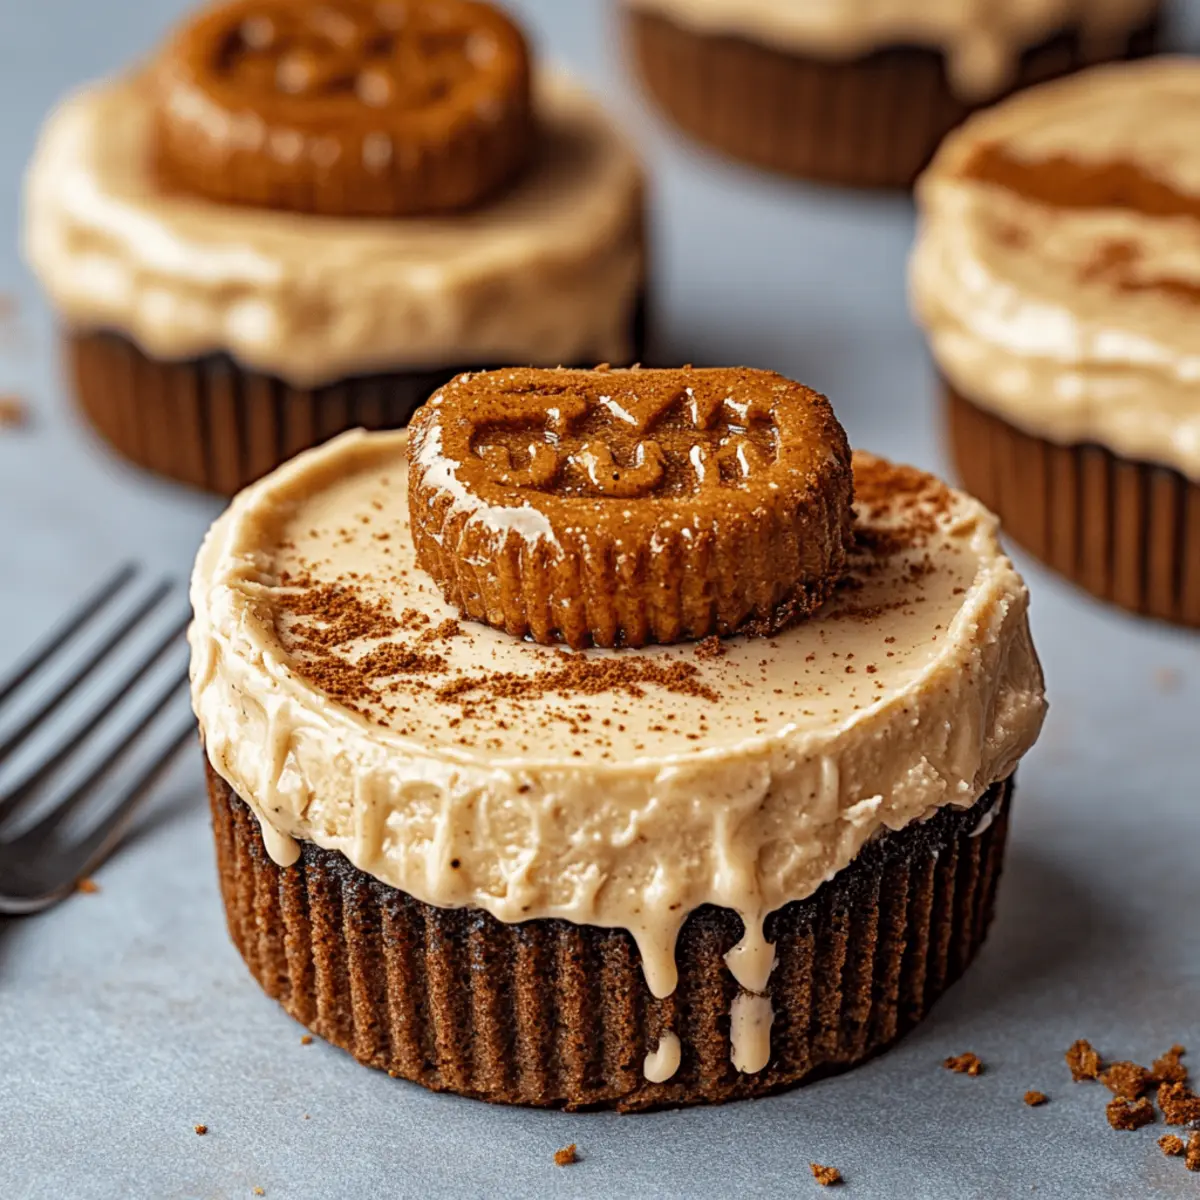
Stunning Presentation: Topped with drizzles of melty Biscoff and crushed cookie garnish, they’re as beautiful as they are delicious, perfect for impressing friends at any occasion.
Versatile Pairings: Serve them alongside coffee, fresh fruit, or even chocolate truffles for an unforgettable dessert experience. Take a look at more delightful treats with our festive dessert ideas.
No Bake Mini Biscoff Cheesecakes Ingredients
For the Crust
• Biscoff cookie crumbs – gives a deliciously crunchy base that complements the creamy filling.
• Unsalted butter – binds the cookie crumbs together for a sturdy crust; melted for ease of mixing.
• Brown sugar (optional) – adds a hint of richness that elevates the flavor profile.
For the Cheesecake Filling
• Cream cheese – forms the creamy base; make sure it’s softened for a smooth texture.
• Biscoff cookie butter – provides that signature Biscoff flavor in a creamy, spreadable form; use the smooth variety for best results.
• Powdered sugar – sweetens the filling without adding graininess; be sure to sift for a lump-free mixture.
• Vanilla extract – a touch of classic flavor that rounds out the sweetness.
For the Whipped Topping
• Heavy whipping cream – whipped to stiff peaks, this adds lightness and volume to the cheesecake filling.
• Biscoff cookie butter (melted slightly) – for drizzling or spreading, this extra layer of indulgence makes these mini cheesecakes truly irresistible.
• Extra Biscoff cookie crumbs – for garnish, adding texture and visual appeal to your cheesecakes.
• Whipped cream (optional) – a fluffy topping that enhances the overall indulgence, perfect for serving alongside your mini cheesecakes.
Now you’re all set to create these delightful No Bake Mini Biscoff Cheesecakes!
Step‑by‑Step Instructions for No Bake Mini Biscoff Cheesecakes
Step 1: Prepare the Muffin Pan
Begin by lining a muffin pan with cupcake liners, or use silicone molds for effortless removal later. This will help ensure that your No Bake Mini Biscoff Cheesecakes are easy to serve and present beautifully.
Step 2: Create the Crust Mixture
In a mixing bowl, combine 1 ½ cups of Biscoff cookie crumbs, 5 tablespoons of melted unsalted butter, and 1 tablespoon of brown sugar, if desired. Stir the mixture until it reaches a consistency similar to wet sand, indicating that it’s ready to form a crust for your mini cheesecakes.
Step 3: Form the Crust
Scoop approximately 1 ½ tablespoons of the crust mixture into each muffin liner. Use the back of a spoon to firmly press down and compact the crust, ensuring it holds together well. Once finished, place the tray in the fridge for about 15 minutes to set while you prepare the filling.
Step 4: Beat the Cream Cheese
In a large mixing bowl, take 8 ounces of softened cream cheese and beat it using a hand mixer or stand mixer until completely smooth and creamy. This step is crucial for the velvety texture of the filling in your No Bake Mini Biscoff Cheesecakes.
Step 5: Mix in Cookie Butter and Flavorings
Add ½ cup of Biscoff cookie butter, ½ cup of powdered sugar, and 1 teaspoon of vanilla extract to the beaten cream cheese. Beat the mixture until fully combined and fluffy, allowing the rich flavors to meld together beautifully.
Step 6: Whip the Heavy Cream
In a separate clean bowl, pour in 1 cup of cold heavy whipping cream. Whip it using an electric mixer until stiff peaks form, which usually takes about 2–3 minutes. This whipped cream will add a lightness to your cheesecake filling, making it extra indulgent.
Step 7: Combine the Mixtures
Gently fold the whipped cream into the Biscoff cheesecake mixture using a spatula, ensuring you maintain the light and airy texture. Carefully mix until everything is smooth and well blended; this step is key to achieving that creamy consistency.
Step 8: Fill the Crusts
Spoon or pipe the cheesecake filling over the chilled crusts in the muffin pan. Use a spoon or offset spatula to smooth the tops, creating an even and appealing surface. This is where your No Bake Mini Biscoff Cheesecakes start to take shape.
Step 9: Chill for Perfection
Cover the muffin pan with plastic wrap and chill in the refrigerator for at least 4 hours, or ideally overnight. This allows the flavors to develop fully and the cheesecakes to set properly, resulting in a deliciously firm and creamy texture.
Step 10: Add the Finishing Touches
Just before serving, gently warm the remaining ½ cup of Biscoff cookie butter in the microwave for about 10–15 seconds until it’s pourable. Drizzle or spread this over each mini cheesecake, enhancing its deliciousness and adding a gorgeous visual element.
Step 11: Garnish and Serve
Finally, sprinkle crushed Biscoff cookies on top for an extra touch of flavor and texture. If desired, add a dollop of whipped cream for even more indulgence. Serve your No Bake Mini Biscoff Cheesecakes chilled, and watch as they impress everyone at your gathering.
Expert Tips for No Bake Mini Biscoff Cheesecakes
Crust Consistency: Ensure your crust mixture resembles wet sand. If it’s too dry, add a bit more melted butter to help it hold together.
Whip It Right: When whipping the heavy cream, make sure it’s cold—this helps achieve those lovely stiff peaks for your filling.
Gentle Folding: When combining the whipped cream with the cheesecake mixture, fold gently to maintain the airy texture in your No Bake Mini Biscoff Cheesecakes.
Chill Thoroughly: For the best flavor and texture, let your cheesecakes chill overnight. This extra time helps everything blend beautifully.
Creative Toppings: Try different toppings like chocolate sauce or caramel for a unique twist. Experimenting keeps dessert interesting!
Make Ahead Options
These No Bake Mini Biscoff Cheesecakes are perfect for busy home cooks looking to save time! You can prepare the crust and filling separately up to 24 hours in advance. Simply make the Biscoff cookie crust and press it into the muffin liners, then refrigerate. For the filling, beat the cream cheese mixture and store it in an airtight container in the fridge. When you’re ready to serve, simply fill the chilled crusts with the cheesecake mixture, allow them to set for a few hours, and finish with a drizzle of warmed Biscoff cookie butter. Your cheesecakes will remain just as delicious, ready to impress at any gathering!
How to Store and Freeze No Bake Mini Biscoff Cheesecakes
Fridge: Store your mini cheesecakes in an airtight container in the refrigerator for up to 3 days. This keeps them fresh and creamy, perfect for last-minute indulgence.
Freezer: If you want to make them ahead, freeze the cheesecakes for up to 2 months. Place them in a single layer in a freezer-safe container to prevent sticking.
Thawing: To enjoy frozen No Bake Mini Biscoff Cheesecakes, thaw them in the fridge overnight before serving for the best texture and flavor.
Reheating: There’s no need to reheat these treats—serve them chilled straight from the fridge or after thawing for a delightful bite!
What to Serve with No Bake Mini Biscoff Cheesecakes
Elevate your mini cheesecake experience with delicious pairings that complement their creamy sweetness and rich flavor.
- Rich Espresso: A hot cup brings out the deep caramel notes of Biscoff, making each bite even more decadent.
- Fresh Berries: Bright strawberries or blueberries add a refreshing contrast, balancing the heaviness of the cheesecakes beautifully.
- Chocolate Truffles: Indulgent and bite-sized, they provide a luxurious touch that pairs well with the cookie-inspired flavors.
- Vanilla Ice Cream: The creamy chill of ice cream enhances the texture and sweetness, creating an irresistible dessert duo.
- Gourmet Coffee: A rich brew intensifies the Biscoff flavor, making for a perfect after-dinner treat that satisfies sweet cravings.
- Nutty Biscotti: These crunchy cookies provide a nice textural contrast and their subtle flavors enhance the cheesecake's sweetness.
- Mint Tea: A refreshing herbal option that helps cleanse the palate, making it a delightful pairing after the rich cheesecakes.
Pampering your guests with these pairings ensures a memorable dessert experience that resonates with indulgent comfort.
No Bake Mini Biscoff Cheesecakes Variations
Feel free to sprinkle in your personal touch to these delightful mini cheesecakes for a truly unique experience!
- Gluten-Free: Substitute Biscoff cookie crumbs with gluten-free cookies to make it suitable for gluten-free diets. Still rich and creamy without compromising flavor!
- Vegan: Use dairy-free cream cheese and coconut whipped cream instead of heavy cream for a plant-based version. The creaminess remains deliciously satisfying while accommodating vegan friends!
- Decadent Chocolate: Fold in chocolate ganache or cocoa powder for a chocolatey twist that enhances the dessert experience. This variation takes the mini cheesecakes to another level of indulgence!
- Nutty Addition: Incorporate crushed nuts like almonds or hazelnuts into the crust for an exciting crunch. Not only does this offer a delightful texture, but it also adds a lovely nutty flavor.
- Fruit-Infused: Top with fresh berries or a berry compote for a refreshing contrast to the richness of the cheesecake. You could even fold in some fruit puree into the filling for a fruity surprise!
- Cinnamon Spice: Add a dash of cinnamon into the crust or filling for a warm flavor profile that pairs beautifully with the Biscoff. This cozy twist is perfect for autumn gatherings!
- Orange Zest: Mix in some grated orange zest into the filling for a burst of citrus that brightens the dessert. Enjoy a refreshing and zesty lift with each creamy bite!
- Extra Layers: Layer the cheesecake filling with different cookie flavors, like Oreo or peanut butter cookies, between the Biscoff layers for a multi-dimensional treat. The variety of flavors keeps each bite interesting while being utterly delightful.
Let your imagination run wild with these variations, and don't hesitate to make these cheesecakes truly your own!
No Bake Mini Biscoff Cheesecakes Recipe FAQs
How do I select the right Biscoff cookies?
Absolutely! Look for Biscoff cookies that are free from any dark spots or damage, as this can affect the flavor. Fresh cookies create a crisp, buttery crust; typically, when they’re in a tightly sealed package, they’ll stay fresh for about 6 months from the purchase date.
What’s the best way to store No Bake Mini Biscoff Cheesecakes?
I recommend storing your mini cheesecakes in an airtight container in the refrigerator. They’ll stay delicious and creamy for up to 3 days. Just make sure they are covered well to preserve their lovely texture.
Can I freeze No Bake Mini Biscoff Cheesecakes?
Yes, you can! To freeze, place the mini cheesecakes in a single layer in a freezer-safe container, ensuring they don’t touch to prevent sticking. They can be frozen for up to 2 months. When ready to enjoy, thaw them in the fridge overnight to maintain the best flavor and texture.
What should I do if my crust is too crumbly?
If your crust mixture is crumbly and not holding together, it might need a little more melted butter. Try adding an additional tablespoon of melted butter, mixing well, and check the consistency again. It should feel like wet sand; this will help it stay compact once pressed into the muffin liners.
Are there any dietary considerations for pets?
Very! The ingredients in No Bake Mini Biscoff Cheesecakes, particularly chocolate and certain sweeteners, can be harmful to pets. Always ensure these delightful treats are kept out of reach from dogs and cats, as the ingredients are made solely for human consumption.
Can I use alternatives for the heavy cream?
Absolutely! If you want a lighter version, you can substitute heavy cream with a combination of Greek yogurt and milk. Use 1 cup of Greek yogurt and 2-3 tablespoons of milk to achieve a similar texture, which will still give you that creamy filling while reducing the fat content.
Irresistible No Bake Mini Biscoff Cheesecakes to Wow Your Guests
Equipment
- muffin pan
- Cupcake liners
- Mixing bowls
- Electric mixer
- Spatula
Ingredients
Crust
- 1.5 cups Biscoff cookie crumbs
- 5 tablespoons Unsalted butter melted
- 1 tablespoon Brown sugar optional
Cheesecake Filling
- 8 ounces Cream cheese softened
- 0.5 cups Biscoff cookie butter smooth variety
- 0.5 cups Powdered sugar sifted
- 1 teaspoon Vanilla extract
Whipped Topping
- 1 cup Heavy whipping cream
- 0.5 cups Biscoff cookie butter melted slightly
- Extra Biscoff cookie crumbs for garnish
- Whipped cream optional
Instructions
Preparation
- Prepare the muffin pan by lining it with cupcake liners or using silicone molds.
- Combine the Biscoff cookie crumbs, melted butter, and brown sugar in a mixing bowl until it resembles wet sand.
- Scoop the crust mixture into each muffin liner and press down firmly. Chill in the fridge for 15 minutes.
- Beat the softened cream cheese in a large bowl until smooth.
- Mix in the Biscoff cookie butter, powdered sugar, and vanilla extract until fluffy.
- Whip the heavy cream in a separate bowl until stiff peaks form.
- Gently fold the whipped cream into the cheesecake mixture.
- Fill the chilled crusts with the cheesecake filling and smooth the tops.
- Cover with plastic wrap and refrigerate for at least 4 hours or overnight.
- Warm the remaining Biscoff cookie butter slightly and drizzle over each cheesecake.
- Garnish with crushed Biscoff cookies and whipped cream if desired. Serve chilled.


Leave a Reply