
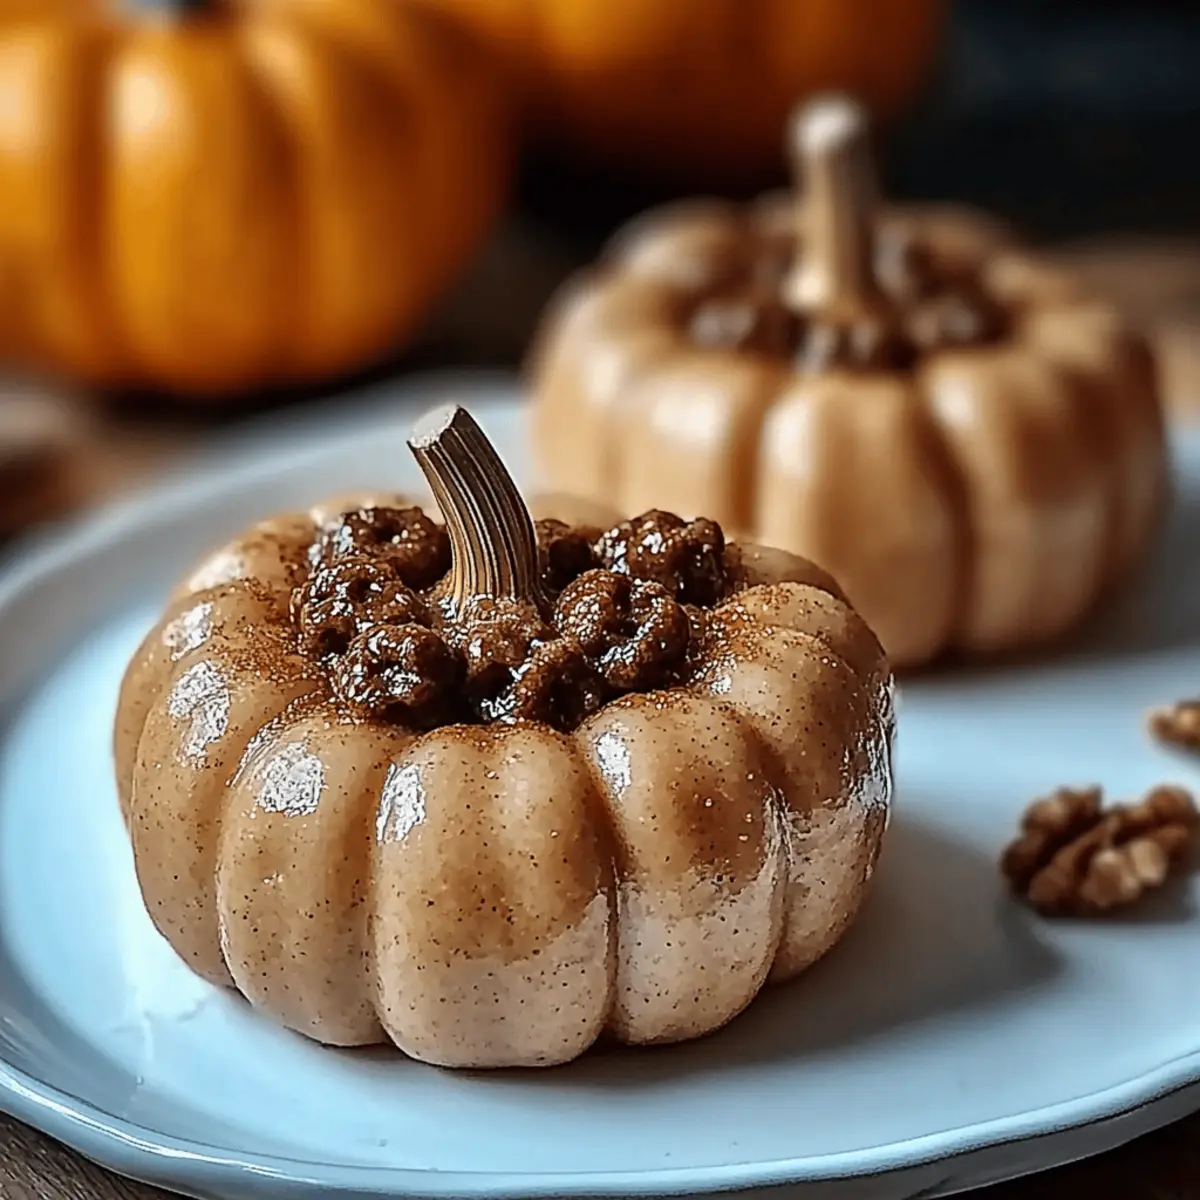
The first time I brought these adorable Peanut Butter Pumpkins to a gathering, I was stunned by the delight on everyone’s faces. Who knew a simple mixture of peanut butter, crispy rice cereal, and a pop of orange candy melts could steal the spotlight? This recipe is not only a fun twist on traditional treats but also a brilliant way to get kids (and adults!) involved in the kitchen. With just 20 minutes of prep, these whimsical goodies turn any ordinary day into a festive occasion, making them the perfect crowd-pleaser. Plus, they’re easy to personalize with little chocolate chip eyes and vibrant green leaves. Ready to bring a little sweetness and cheer into your life? Let’s dive into making these delightful Peanut Butter Pumpkins together!
Why Will You Love Peanut Butter Pumpkins?
Easy to Make: This simple recipe requires only 20 minutes of prep time, making it perfect for busy bakers or those new to the kitchen.
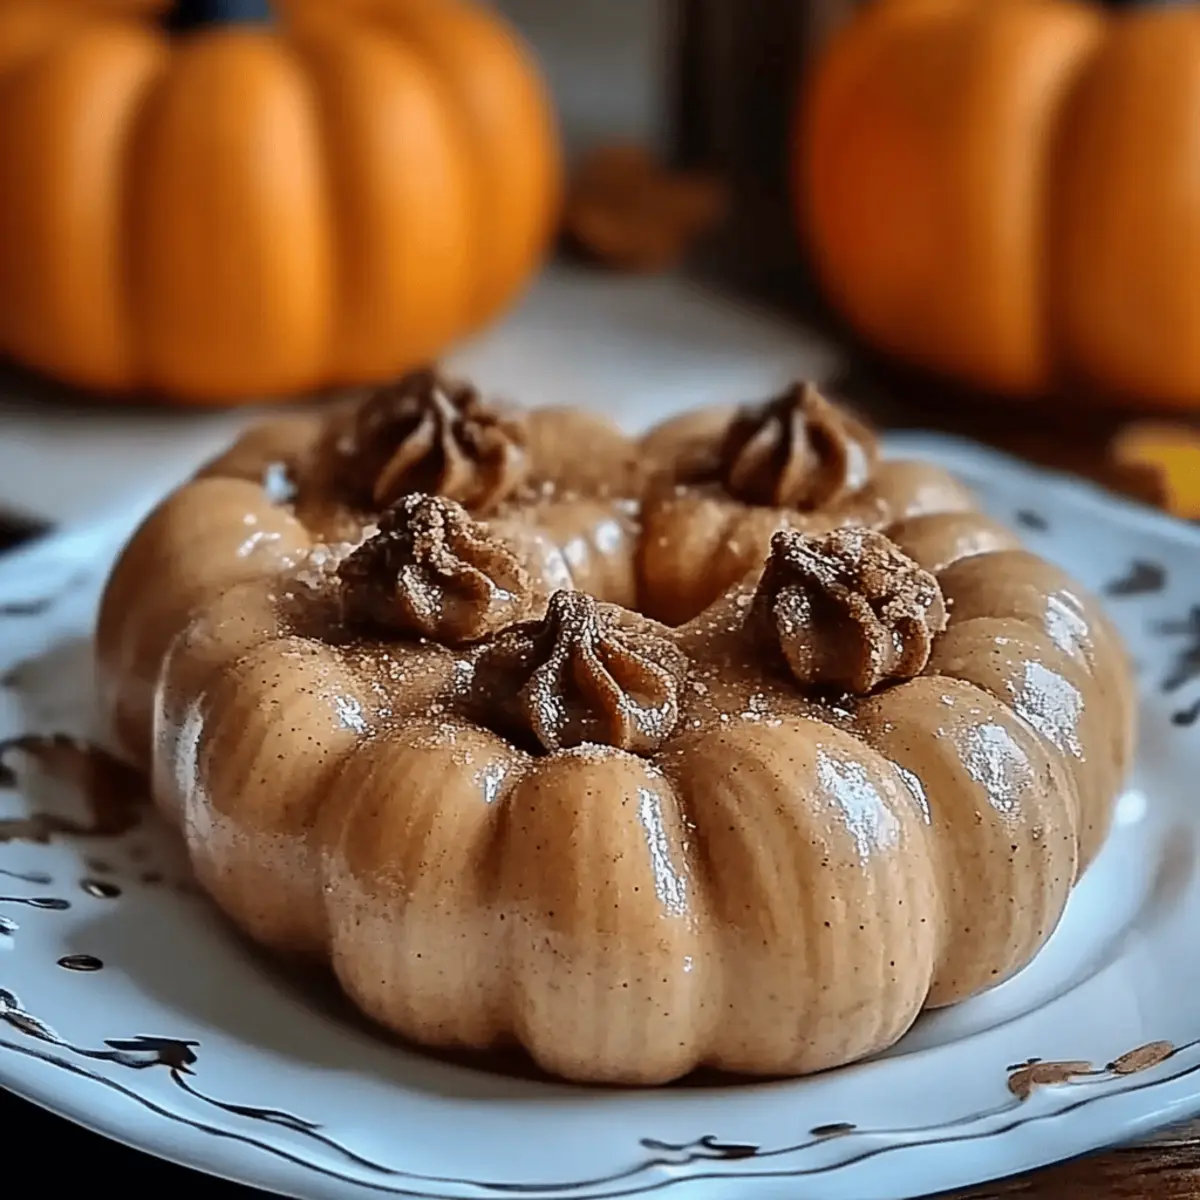
Fun and Festive: The vibrant orange and charming pumpkin shapes will brighten any gathering, capturing both children's and adults' hearts.
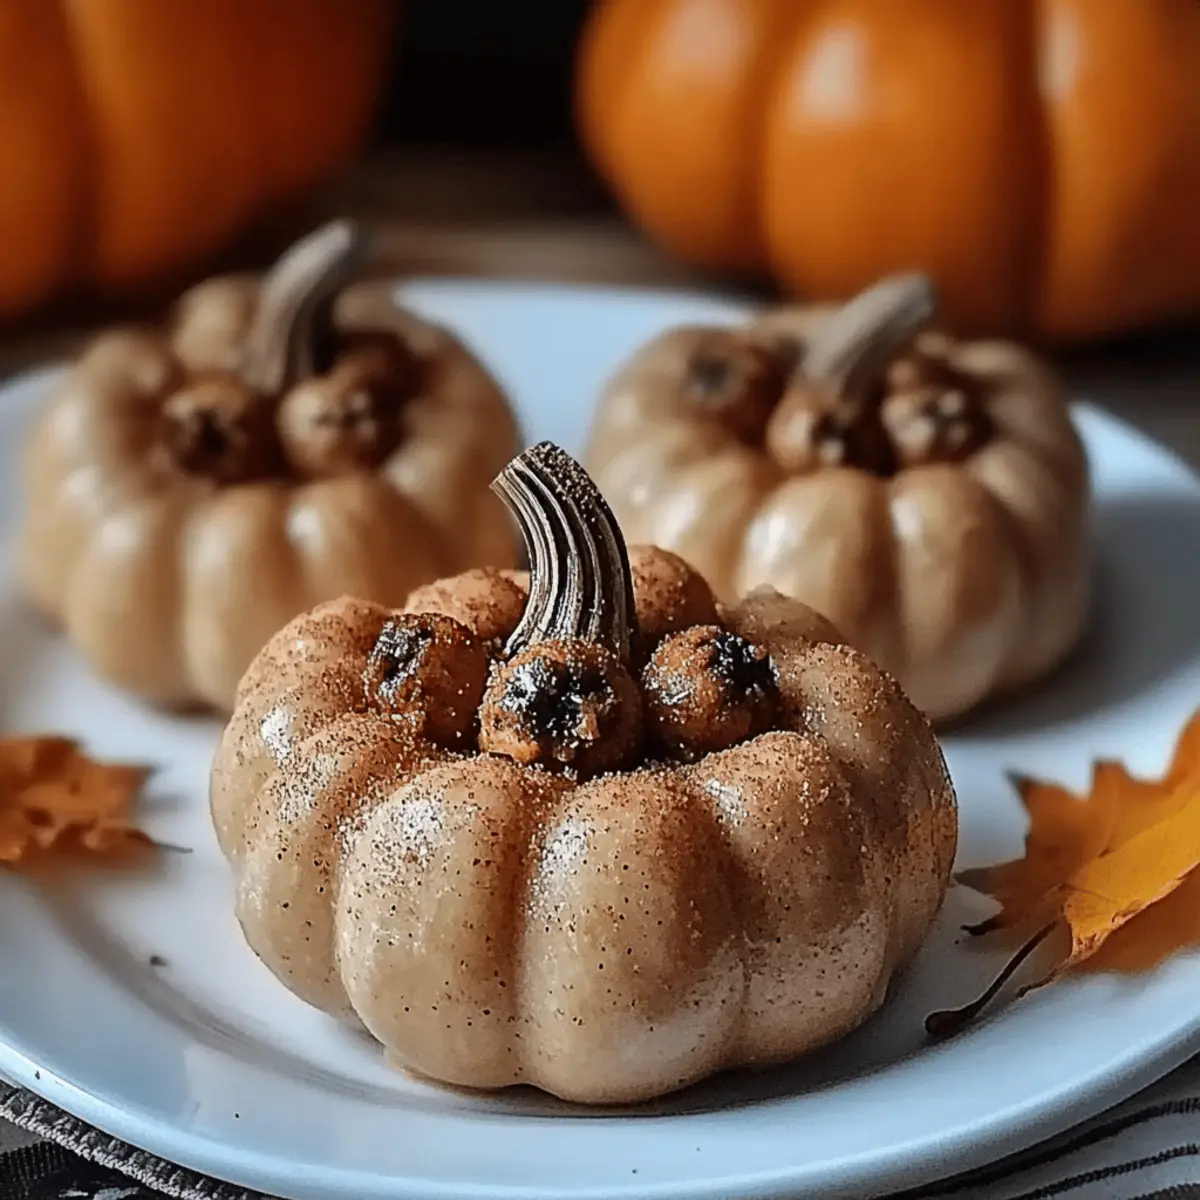
Customizable Treats: You can easily tweak the decoration with your favorite candies, just like how I add mini chocolate chips for eyes and green candy melts for leaves.
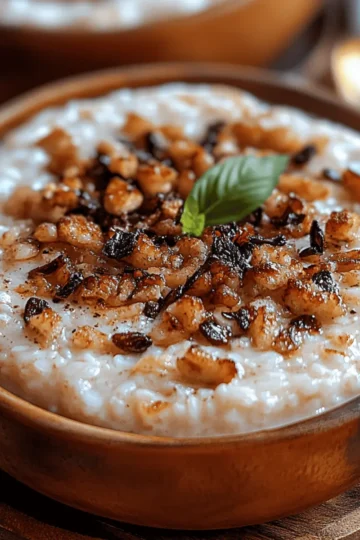
Crowd-Pleasing Flavor: Combining creamy peanut butter with crispy rice cereal creates a delightful crunch that offers a unique take on traditional desserts.
Perfect for Fall: These adorable treats are ideal for Halloween parties, Thanksgiving, or simply to enjoy during the autumn season. Looking for cake options too? Check out my delicious Garlic Butter Steak recipe or the savory Cowboy Butter Chicken — both will impress!
Peanut Butter Pumpkins Ingredients
• Get ready to create these delightful sweets!
For the Pumpkin Filling
• Creamy peanut butter – a smooth base that brings a rich flavor to each bite.
• Powdered sugar – sweetens the mixture and helps bind it all together perfectly.
• Vanilla extract – adds a warm, aromatic depth to the peanut butter filling.
• Crispy rice cereal – introduces a satisfying crunch, making these pumpkins extra fun to eat.
For the Candy Coating
• Orange candy melts – the vibrant coating that transforms your pumpkins into a festive treat.
• Vegetable oil – ensures the candy melts are smooth and easy to work with.
For Decoration
• Green candy melts – perfect for creating cute little leaves atop your pumpkins.
• Mini chocolate chips – ideal for adding charming eyes, giving personality to each pumpkin.
Let’s get started on this fun and delicious adventure of making Peanut Butter Pumpkins!
Step‑by‑Step Instructions for Peanut Butter Pumpkins
Step 1: Prepare Your Workspace
Start by clearing and cleaning your kitchen counter or table. Gather all your ingredients and equipment, including a large mixing bowl, a spoon, a baking sheet, and parchment paper. This ensures a smooth workflow as you create your delightful Peanut Butter Pumpkins, setting you up for success right from the beginning.
Step 2: Mix the Peanut Butter Filling
In a large mixing bowl, combine 1 cup of creamy peanut butter, 1 cup of powdered sugar, and 1 teaspoon of vanilla extract. Use a spoon to mix these ingredients thoroughly, until smooth and well-blended, which should take about 2–3 minutes. The mixture should be thick yet creamy, showcasing a delicious base for your Peanut Butter Pumpkins.
Step 3: Incorporate the Crispy Rice Cereal
Gently fold in 2 cups of crispy rice cereal into your peanut butter mixture. Use a spatula for a delicate mixing process, ensuring every piece of cereal is coated with the mixture. This step should take about 1–2 minutes, and you’ll know it’s ready once the cereal is evenly distributed, adding that delightful crunch to your cute pumpkins.
Step 4: Shape the Pumpkins
Using your hands, take small portions of the mixture and roll them into round shapes, about 1–2 inches in diameter. This process should yield around 24 pumpkins, and you can play around with the size to suit your preferences. Place each shaped peanut butter ball onto a parchment-lined baking sheet, setting the stage for chilling.
Step 5: Chill the Pumpkins
Cover the baking sheet with plastic wrap and refrigerate the peanut butter balls for about 30 minutes, or until firm to the touch. Chilling is crucial as it helps the pumpkins hold their shape during the coating process, so patience is key here! You’ll know they’re ready once they firm up nicely.
Step 6: Prepare the Candy Coating
In a microwave-safe bowl, combine 1 cup of orange candy melts with 1 tablespoon of vegetable oil. Microwave in 30-second intervals, stirring in between, until fully melted and smooth—this should take about 1 to 2 minutes total. The glossy texture will help coat your Peanut Butter Pumpkins beautifully.
Step 7: Dip the Pumpkins
Once melted, dip each chilled peanut butter ball into the orange candy coating, ensuring they are completely covered. Allow the excess coating to drip off before placing them back onto the parchment-lined baking sheet. This step is crucial for a smooth coating, transforming your treats into festive Peanut Butter Pumpkins.
Step 8: Add Eyes and Leaves
While the candy coating is still wet, gently place two mini chocolate chips on each pumpkin for adorable eyes. Then, use melted green candy melts to add small leaves on top; a toothpick can help you create these cute details. This playful decoration truly brings your Peanut Butter Pumpkins to life!
Step 9: Let the Coating Set
Allow the coated peanut butter pumpkins to set at room temperature until the candy coating hardens completely, which should take about 10–15 minutes. Keep an eye on them, as you'll want that shiny, firm finish. Once set, they’ll be ready to impress your family and friends with their charming appearance!
Make Ahead Options
These delightful Peanut Butter Pumpkins are perfect for meal prep, allowing you to enjoy a festive treat without the last-minute rush! You can make the pumpkin filling and roll them into shapes up to 24 hours in advance; simply store them in an airtight container in the refrigerator to maintain their texture. If you want to prep even further, consider melting the orange candy coating up to 3 days ahead and keeping it sealed to prevent hardening. When you’re ready to serve, just dip the chilled peanut butter balls in the melted coating and decorate with chocolate chips and green candy leaves. This way, you’ll whip up these crowd-pleasing treats with minimal effort, saving valuable time for busy weeknights or gatherings!
What to Serve with Peanut Butter Pumpkins?
Creating a festive spread alongside your adorable Peanut Butter Pumpkins will make for a delightful gathering.
-
Creamy Mashed Potatoes: Their rich, buttery flavor provides a comforting contrast to the sweet pumpkins, perfect for holiday feasts.
-
Warm Apple Cider: This spiced beverage enhances the cozy autumn vibe, pairing beautifully with the nutty sweetness of the pumpkins.
-
Vegetable Platter with Hummus: Crisp veggies add a fresh, crunchy element that balances out the indulgence of the Peanut Butter Pumpkins.
-
Chocolate Chip Cookies: Classic and beloved, these add a nostalgic sweetness, inviting a delightful mix of textures and flavors on your dessert table.
-
Cinnamon Sugar Donuts: These fluffy delights echo fall flavors, creating a wonderful harmony with your peanut butter treats.
-
Fruit Salad: A vibrant mix of seasonal fruits like apples and pears can cleanse the palate and offer a refreshing bite alongside the rich pumpkins.
-
Pumpkin Spice Latte: Spice up your gathering with this inviting coffee drink; its flavors resonate with the pumpkins and warm everyone’s hearts.
-
Ice Cream Float: Serve with a scoop of vanilla ice cream topped with soda for a playful dessert that contrasts the pumpkins' texture.
These pairings will bring warmth and joy to your table, creating a feast that celebrates the cozy spirit of fall!
Expert Tips for Peanut Butter Pumpkins
Use Fresh Ingredients: Ensure your peanut butter and candy melts are fresh for the best flavor and texture, elevating your Peanut Butter Pumpkins.
Chill Before Coating: Don't skip the chilling step; it helps the pumpkins maintain their shape when dipped in the warm candy coating.
Microwave Carefully: Heat the candy melts in short intervals and stir in between to prevent burning and achieve a smooth consistency.
Perfect Round Shapes: Wet your hands slightly when rolling the pumpkin mixture to prevent sticking, making it easier to form perfectly round shapes.
Customize Decorations: Feel free to experiment with different candies for eyes and leaves, adding your personal touch to these delightful treats!
How to Store and Freeze Peanut Butter Pumpkins
Room Temperature: Store your Peanut Butter Pumpkins in an airtight container at room temperature for up to 3 days. Keep them away from direct sunlight for optimal freshness.
Fridge: For extended freshness, keep your Peanut Butter Pumpkins in the refrigerator for up to 1 week. Make sure they are in an airtight container to avoid moisture.
Freezer: If you want to make them ahead of time, freeze the pumpkins in a single layer on a baking sheet, then transfer to a freezer-safe container. They can be frozen for up to 3 months.
Reheating: When ready to enjoy, thaw in the fridge overnight or at room temperature for 1-2 hours. No need to reheat; they're delightful cold!
Peanut Butter Pumpkins Variations & Substitutions
Get creative and make these delightful Peanut Butter Pumpkins even more personal by trying out these fun variations!
- Nut-Free: Substitute peanut butter with seed butter like sunflower seed butter for an allergy-friendly option that tastes delicious.
- Extra Crunch: Mix in chopped nuts, like pecans or almonds, for an additional crunch that complements the creamy filling beautifully.
- Chocolate Lovers: Coat your pumpkins in melted chocolate instead of candy melts for a rich, decadent twist that will satisfy any chocolate craving.
- Spicy Kick: Add a pinch of cayenne pepper or cinnamon to the peanut butter mixture for a surprising flavor boost that adds warmth to your treats.
- Colorful Coating: Use different colors of candy melts for a fun, festive variation. Think bright blue or purple for a Halloween or birthday theme!
- Dairy-Free: Choose dairy-free chocolate chips and candy melts to keep this treat vegan, all while maintaining its irresistible appeal.
- Different Shapes: Instead of traditional pumpkins, shape the mixture into ghosts or goblins for a whimsical twist that’s perfect for Halloween parties.
- Drizzled Over: After coating, drizzle melted white chocolate over the pumpkins for an elegant finishing touch that’s both beautiful and delicious.
Let your imagination run wild in the kitchen, and don't forget to share your own unique creations! If you're in the mood for something savory, why not check out my Garlic Butter Steak or the hearty Cowboy Butter Chicken – both are sure to impress any dinner guests!
Peanut Butter Pumpkins Recipe FAQs
How do I choose the right peanut butter for this recipe?
Absolutely! Look for creamy peanut butter that has a smooth texture without added sugars or stabilizers. Natural peanut butter is a great choice, but be sure to stir it well before measuring to avoid an oily mess. The right peanut butter base helps achieve that deliciously rich flavor in your Peanut Butter Pumpkins.
How should I store my Peanut Butter Pumpkins?
To keep your Peanut Butter Pumpkins fresh, store them in an airtight container at room temperature for up to 3 days. If you'd like to extend their shelf life, pop them into the fridge where they can last for about a week. Just remember to keep them sealed tight to prevent moisture from ruining their incredible texture!
Can I freeze my Peanut Butter Pumpkins for later?
Very! Freezing is a fantastic option if you want to prepare these treats ahead of time. Here’s how to do it: First, arrange the shaped pumpkins in a single layer on a baking sheet and freeze until solid, which takes about 1-2 hours. Once frozen, transfer them to a freezer-safe container or zip-top bag, labeling it with the date. They can be frozen for up to 3 months. When you're ready to enjoy, simply thaw them in the fridge overnight or let them sit at room temperature for a couple of hours.
What should I do if my candy melts aren’t melting smoothly?
No worries! If your candy melts clump or harden, try this: microwave them in shorter intervals—about 15-30 seconds—and stir thoroughly between each burst. This way, you'll prevent overheating and burning. If they’re still stubborn, adding a splash of vegetable oil can smooth the mixture out, making it perfect for dipping.
Can my pets enjoy Peanut Butter Pumpkins?
It’s best to keep these delicious treats away from your furry friends! While plain peanut butter is often safe for dogs, the powdered sugar, candy melts, and other ingredients may not be suitable for pets. Always double-check ingredient labels and consult your veterinarian if you're unsure about specific treats for your animals.
What if I have allergies to nuts or gluten?
If you or someone you're serving has nut allergies, consider using sunbutter or soy nut butter as a substitute for peanut butter. Ensure that the candy melts are gluten-free—most brands are, but it's always wise to verify. These adaptations can make delicious alternatives while still keeping the fun shape and festive spirit of Peanut Butter Pumpkins!

Peanut Butter Pumpkins: A Fun Fall Treat for Everyone!
Equipment
- large mixing bowl
- Spatula
- Baking sheet
- parchment paper
- Microwave-safe bowl
Ingredients
For the Pumpkin Filling
- 1 cup creamy peanut butter
- 1 cup powdered sugar
- 1 teaspoon vanilla extract
- 2 cups crispy rice cereal
For the Candy Coating
- 1 cup orange candy melts
- 1 tablespoon vegetable oil
For Decoration
- 1 cup green candy melts
- 24 pieces mini chocolate chips
Instructions
Step-by-Step Instructions
- Prepare Your Workspace by clearing and cleaning your kitchen counter or table. Gather all your ingredients and equipment.
- Mix the Peanut Butter Filling: In a large mixing bowl, combine peanut butter, powdered sugar, and vanilla extract. Mix thoroughly until smooth.
- Incorporate the Crispy Rice Cereal by gently folding it into the peanut butter mixture.
- Shape the Pumpkins by rolling small portions of the mixture into round shapes, about 1-2 inches in diameter.
- Chill the Pumpkins by covering with plastic wrap and refrigerating for about 30 minutes until firm.
- Prepare the Candy Coating by combining orange candy melts and vegetable oil in a microwave-safe bowl. Microwave until melted and smooth.
- Dip the Pumpkins by coating each chilled peanut butter ball in the orange candy coating.
- Add Eyes and Leaves by placing mini chocolate chips on each pumpkin and using melted green candy melts for leaves.
- Let the Coating Set at room temperature until hard, about 10-15 minutes.

Leave a Reply