
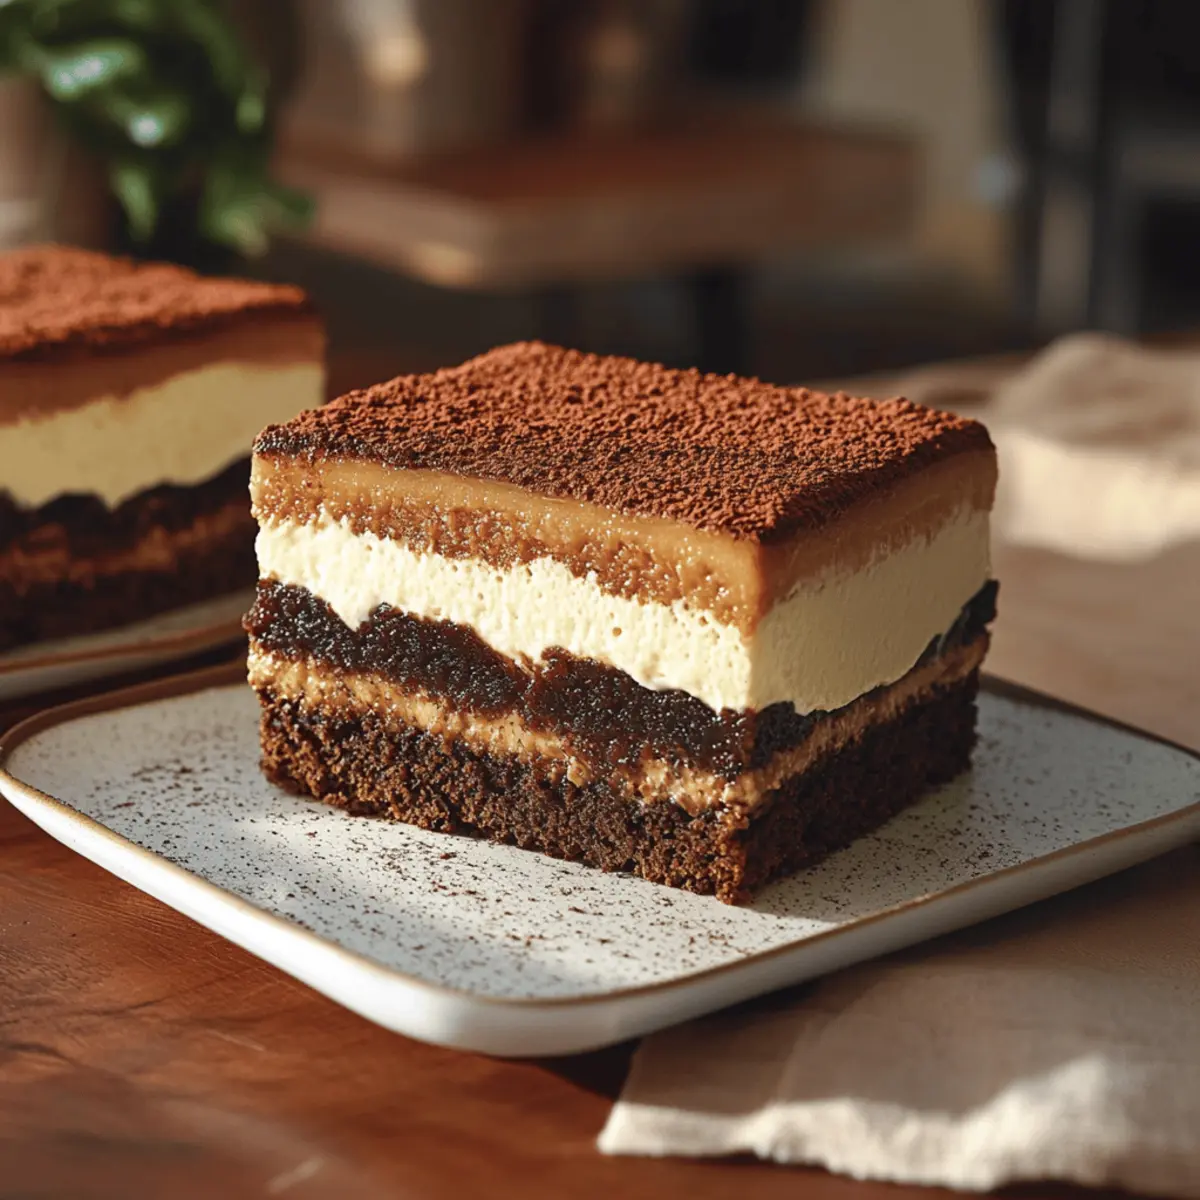
As I reached for the last piece of last night's dessert, a bright idea struck me: why not combine two classics into one delightful treat? Enter my Tiramisu Brownies! This recipe transforms rich, fudgy brownies into an espresso-infused, mascarpone-laden indulgence that is sure to surprise your taste buds. Not only are these brownies a show-stopping centerpiece for any gathering, but they’re also simple enough for a cozy night in, elevating your homemade dessert game without requiring hours in the kitchen. Plus, with the perfect blend of coffee and chocolate, they balance sweetness with a hint of bitterness that keeps you coming back for more. Curious to learn how to whip up this caffeinated delight? Let’s dive into the delicious world of Tiramisu Brownies!
Why are Tiramisu Brownies irresistible?
Unique Twist: These Tiramisu Brownies are a delightful blend of two beloved desserts, combining the fudgy richness of brownies with the creamy coffee flavor of tiramisu.
Crowd-Pleasing Dessert: Perfect for gatherings or cozy nights, this recipe satisfies chocolate lovers and coffee aficionados alike!
Simple Ingredients: You’ll need common pantry staples, plus the lusciousness of mascarpone and espresso. Easy to find, and even easier to whip up!
Time-Saving Treat: With minimal prep, you can wow your guests without spending hours in the kitchen, allowing more time to enjoy your creation.
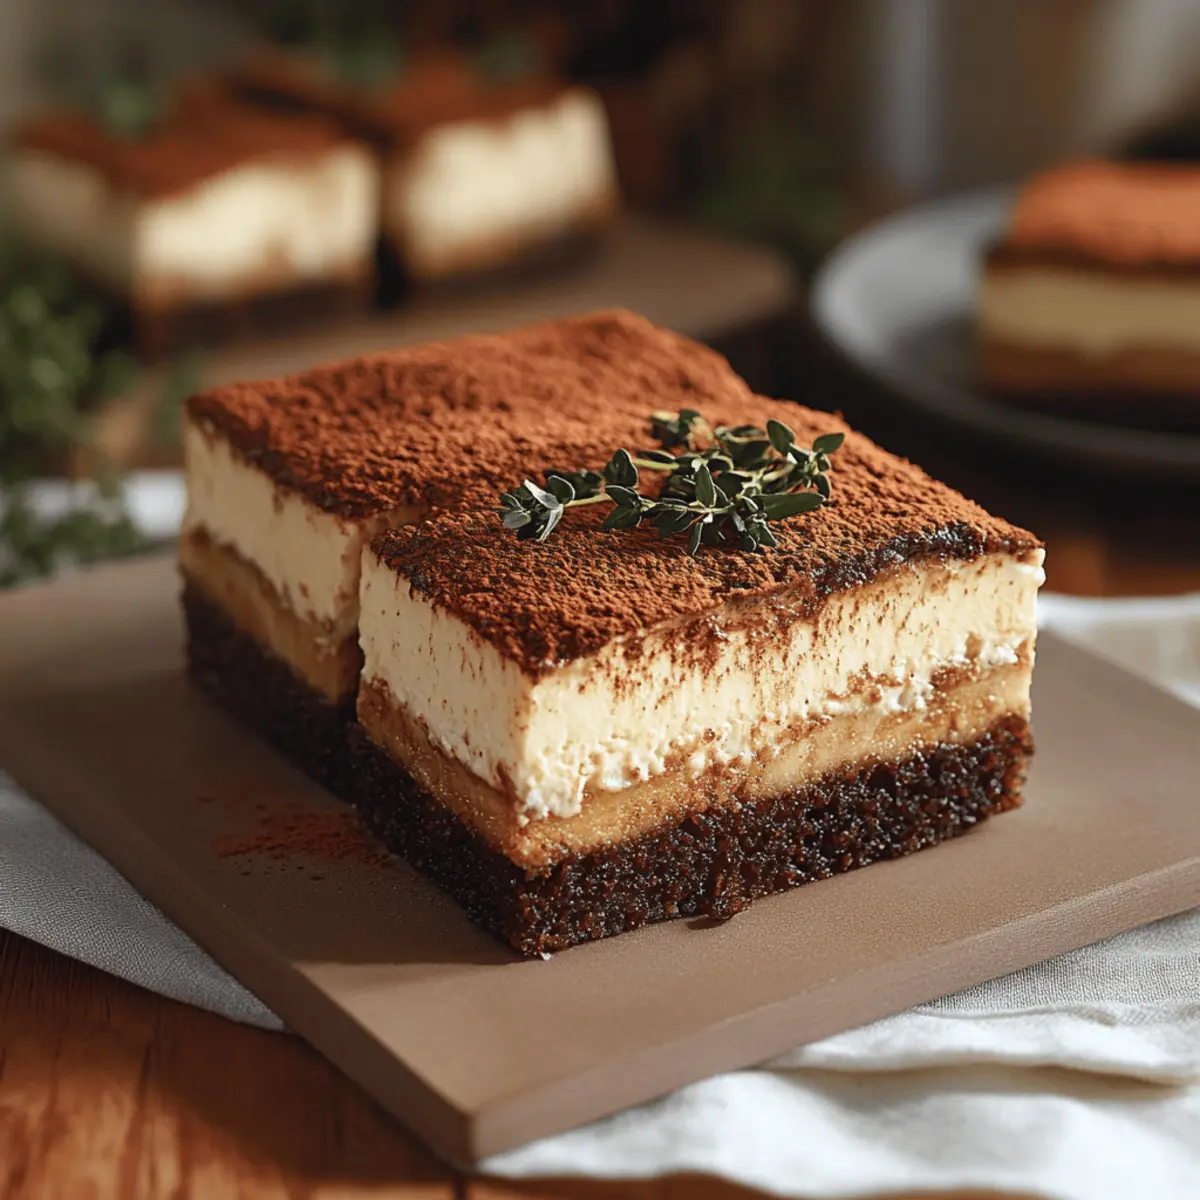
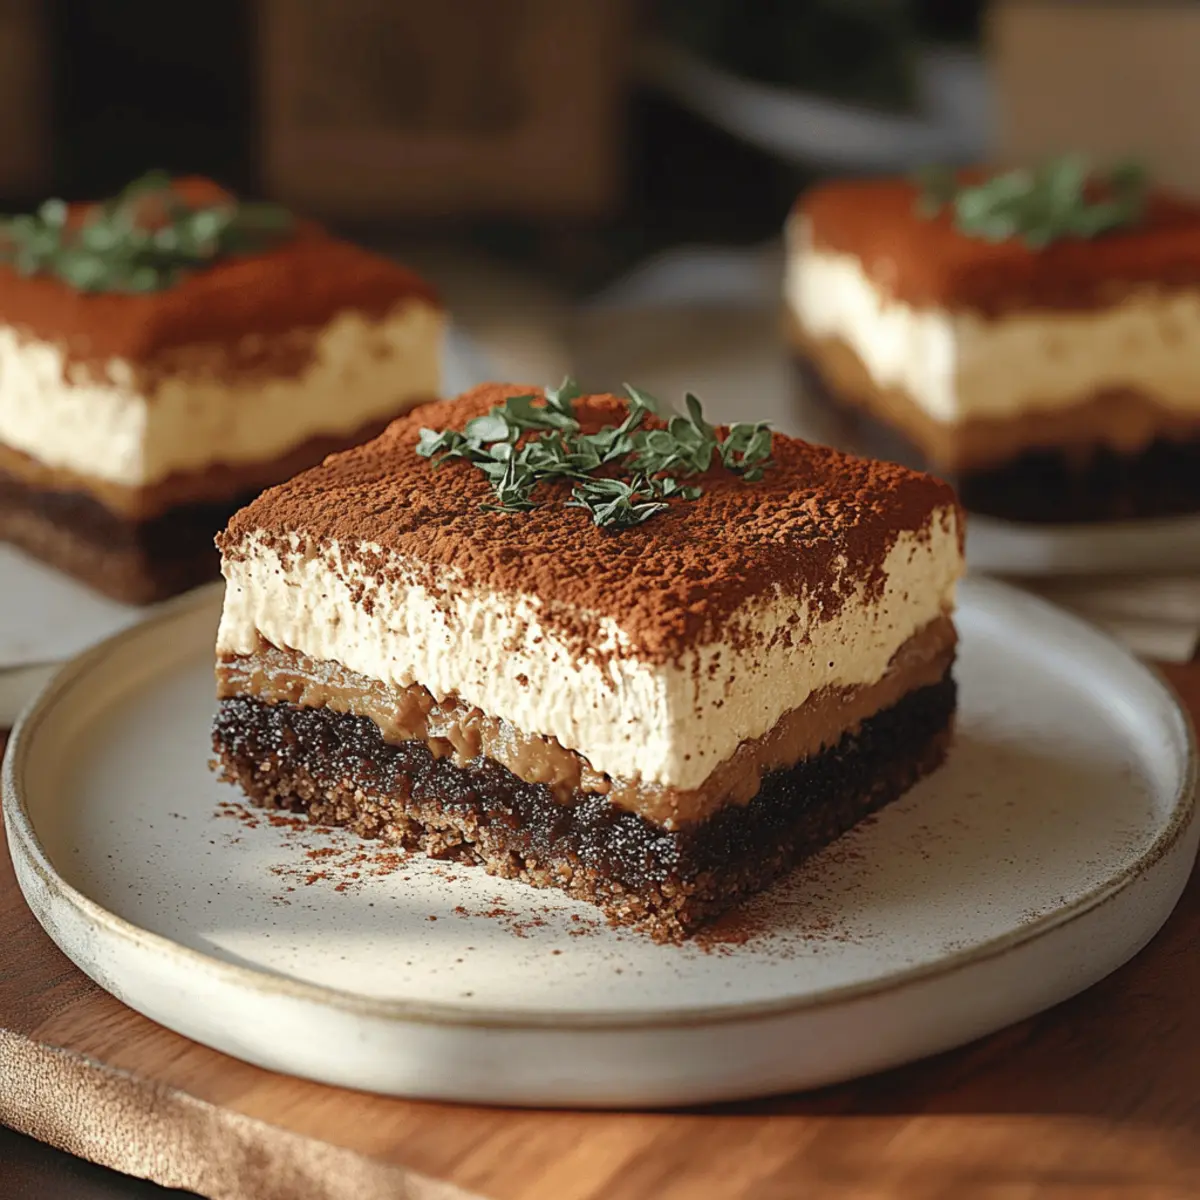
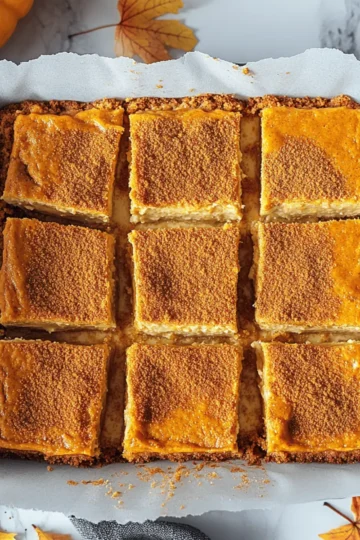
Charming Presentation: Dust with cocoa for an elegant finish that looks as good as it tastes! Serve these decadent squares at your next gathering, and watch them disappear.
Tiramisu Brownies Ingredients
For the Brownies
• Dark or Semi-Sweet Chocolate – 100 g, finely chopped for a rich, chocolatey base.
• Natural Cocoa Powder – 50 g adds to the deep chocolate flavor and enhances richness.
• Unsalted Butter – 230 g, roughly cubed, creates a fudgy texture that's irresistibly decadent.
• Large Eggs – 4, at room temperature, help bind the ingredients for a perfect crumb.
• Granulated Sugar – 150 g provides sweetness, balancing the bitterness of the chocolate.
• Brown Sugar – 100 g contributes extra moisture and a hint of caramel flavor.
• All-Purpose Flour – 100 g gives structure but should be mixed gently to keep the brownies fudgy.
For the Tiramisu Layer
• Mascarpone Cheese – 250 g, cold, adds a creamy richness that mimics traditional tiramisu.
• Whipping Cream – 200 g, cold, whips up to a fluffy consistency for lightness.
• Powdered Sugar – 50 g sweetens the mascarpone mixture without grittiness.
• Vanilla Extract – ½ teaspoon enhances the overall flavor with a warm note.
For the Coffee Infusion
• Espresso Powder – 2 teaspoons brings that classic coffee kick typical of tiramisu.
• Hot Water – 150 g helps dissolve the espresso powder for soaking the ladyfingers.
• Coffee Liqueur or Dark Rum (optional) – 1 tablespoon adds a depth of flavor, elevating the experience.
For Assembly
• Ladyfingers – 12, these will soak up the coffee and lend a fantastic texture.
• Cocoa Powder for Dusting – 1 tablespoon, to finish and present your Tiramisu Brownies beautifully.
Get ready to indulge your loved ones with the sensational Tiramisu Brownies!
Step‑by‑Step Instructions for Tiramisu Brownies
Step 1: Preheat and Prepare
Preheat your oven to 350°F (175°C). While it’s warming up, line a 9x9" square baking pan with parchment paper, allowing some overhang for easy removal later. This step is essential to ensure your Tiramisu Brownies come out perfectly and are easy to slice.
Step 2: Combine Chocolate and Cocoa
In a medium bowl, mix the finely chopped dark or semi-sweet chocolate with the natural cocoa powder, creating a rich foundation. Set this mixture aside while you prepare the browned butter, as it will be combined later for ultimate chocolaty goodness.
Step 3: Brown the Butter
In a small saucepan over medium heat, melt the cubed unsalted butter, stirring occasionally. Continue cooking until the milk solids turn a lovely golden brown and a nutty aroma fills your kitchen, about 5-7 minutes. Remove from heat and pour the browned butter directly over the chocolate-cocoa blend, letting it sit for 3 minutes.
Step 4: Melt the Chocolate
Once the butter has cooled slightly, stir the mixture until the chocolate is fully melted and everything is smoothly combined. The result should be a glossy, chocolatey mixture that sets the stage for your delightful Tiramisu Brownies.
Step 5: Mix the Egg and Sugar Mixture
In a large mixing bowl, whisk together the room temperature eggs, granulated sugar, and brown sugar for about 3 minutes until the mixture thickens and lightens in color. This aeration gives your brownies a wonderful texture that is both fudgy and fluffy.
Step 6: Combine Mixtures
Gradually pour the warm chocolate-butter mixture into the egg mixture while whisking constantly. This action incorporates the chocolate without cooking the eggs, ensuring a smooth, rich brownie batter filled with deep flavors reminiscent of your favorite Tiramisu.
Step 7: Add the Flour
Gently fold in the all-purpose flour using a spatula until just combined, being careful not to overmix. The key to fudgy Tiramisu Brownies lies in this step—overmixing can lead to a denser texture that is less desirable.
Step 8: Bake the Brownies
Transfer the brownie batter into the prepared baking pan, spreading it evenly. Bake in the preheated oven for 28-30 minutes, or until a toothpick inserted in the center comes out mostly clean with a few moist crumbs. This is your cue that they're fully baked yet still delightfully gooey!
Step 9: Cool the Brownies
Remove the brownies from the oven and allow them to cool completely at room temperature before transferring them to the fridge for extra firmness, about 30-60 minutes. These cooling steps are vital for setting up the layers of your Tiramisu Brownies.
Step 10: Make the Mascarpone Layer
In a large mixing bowl, beat cold mascarpone cheese until creamy and smooth. Gradually add the cold whipping cream, powdered sugar, and vanilla extract, beating until thickened and fluffy. This luscious cream layer adds the signature tiramisu flavor to your brownies.
Step 11: Prepare the Espresso Soak
In a shallow bowl, blend together the espresso powder, hot water, and optional coffee liqueur until the espresso is fully dissolved. This mixture infuses the ladyfingers with a rich coffee experience, enhancing the tiramisu aspect of your brownies.
Step 12: Assemble the Brownies
Briefly dip each ladyfinger into the espresso soak, ensuring they’re moist but not overly saturated. Layer the soaked ladyfingers over the cooled brownie base, fitting them snugly for a deliciously balanced texture throughout the Tiramisu Brownies.
Step 13: Spread the Cream
Evenly spread the creamy mascarpone mixture atop the layered ladyfingers, smoothing the surface for an elegant finish. The combination of creamy mascarpone and coffee-soaked ladyfingers wonderfully complements the fudgy brownies beneath.
Step 14: Chill and Set
Cover the assembled Tiramisu Brownies with plastic wrap and chill in the fridge for about 1 hour. Chilling not only helps the flavors meld together but also ensures clean slicing once you’re ready to serve your delectable dessert.
Step 15: Dust and Slice
Before serving, dust the top of your Tiramisu Brownies with cocoa powder for that classic finish. Slice into squares, taking care to wipe the knife between cuts for clean edges. The rich layers and delightful flavors will make these brownies the star of any gathering.
What to Serve with Tiramisu Brownies?
Indulge your senses and create a well-rounded meal that beautifully complements these luscious brownies.
-
Rich Vanilla Ice Cream: A scoop of velvety vanilla ice cream adds a creamy contrast to the rich chocolate and coffee flavors, enhancing your dessert experience.
-
Fresh Berries Medley: A mix of strawberries, raspberries, and blueberries provides a burst of freshness, balancing sweetness with a touch of tartness. Their vibrant colors also make your plate pop!
-
Coffee or Espresso: A warm cup of coffee or a shot of espresso pairs seamlessly with Tiramisu Brownies, enhancing their coffee notes while offering a delightful end to your meal.
-
Chocolate Ganache Drizzle: A warm drizzle of chocolate ganache on top adds an extra layer of decadence. It’s the perfect way to turn an already indulgent treat into something truly extraordinary.
-
Whipped Cream with a Twist: Lightly flavored whipped cream, perhaps with a hint of vanilla or coffee liqueur, can elevate the brownies while adding a fluffy texture that balances the rich layers below.
-
Homemade Biscotti: Serve alongside crunchy almond or chocolate biscotti. Their texture offers a satisfying crunch while dipping in coffee creates a welcoming flavor harmony.
-
Chocolate Mint Tea: A soothing cup of chocolate mint herbal tea provides a refreshing counterpart to the richness of the brownies, leaving you with a satisfying finish after indulging.
-
Fruity Sorbet: A scoop of lemon or raspberry sorbet adds a refreshing contrast, cleansing your palate after the dense brownies and enhancing the overall experience.
Expert Tips for Tiramisu Brownies
- Use Room Temperature Eggs: Ensure your eggs are at room temperature for better emulsification, resulting in a smoother batter for the Tiramisu Brownies.
- Don’t Overmix the Flour: Gently fold the flour into the batter to keep your brownies fudgy. Overmixing can lead to a tougher texture you’ll want to avoid!
- Properly Cool Brownies: Allow the brownies to cool completely before adding the tiramisu layer. This prevents melting the mascarpone mixture and creates better layering.
- Soak Ladyfingers Briefly: Dip ladyfingers quickly in the coffee soak to prevent them from becoming too soggy, which maintains their texture and flavor in the Tiramisu Brownies.
- Chill for Flavor Fusion: Let the assembled brownies chill in the fridge for at least an hour to enhance the flavor melding, making each bite even more delightful!
Tiramisu Brownies Variations
Feel free to get creative and make these Tiramisu Brownies your own with simple twists and substitutions!
- Gluten-Free: Swap all-purpose flour for a gluten-free blend to cater to gluten-sensitive friends and family. They’ll love the fudgy goodness just as much!
- Dairy-Free: Replace mascarpone with a dairy-free cream cheese or coconut cream and use plant-based butter for a similar creamy texture. It’s an indulgent treat that everyone can enjoy!
- Nutty Addition: Stir in chopped walnuts or hazelnuts into the brownie batter for a delightful crunch that complements the smooth mascarpone layer beautifully. The extra flavor will elevate your dessert to the next level!
- Extra Espresso: Boost the coffee flavor by adding an extra teaspoon of espresso powder to the brownie batter. It intensifies the flavor profile for those who can’t get enough of coffee’s rich essence!
- Minty Fresh: Add a few drops of mint extract to the mascarpone layer for a refreshing mint chocolate experience reminiscent of your favorite after-dinner mints. It’s a whimsical twist that’s sure to impress.
- Spicy Kick: For a subtle heat, incorporate a sprinkle of cayenne pepper into the brownie batter. This surprising twist will tantalize your taste buds and add a unique flavor layer!
- Fruit-Filled: Layer fresh raspberries or strawberries between the brownies and mascarpone for a fruity burst that contrasts with the rich chocolate. These bursts of freshness create a lovely balance!
- Vegan Delight: Replace eggs with flax eggs (1 tablespoon flaxseed meal mixed with 2.5 tablespoons water per egg) and use vegan cream for the mascarpone layer. It’s an all-inclusive treat everyone will savor.
Let your creativity flow and enjoy customizing these scrumptious Tiramisu Brownies to fit your taste preferences! For additional ideas, you might also enjoy my tips on how to store leftovers or pairings that complement this dessert beautifully.
Make Ahead Options
These Tiramisu Brownies are ideal for meal prep, letting you delight in a homemade dessert without the last-minute rush! You can make the brownies themselves up to 3 days in advance; simply store them wrapped tightly in plastic wrap at room temperature to maintain their fudgy texture. The mascarpone layer can also be prepared ahead of time and refrigerated for up to 24 hours—just ensure you whip it fresh and store it in an airtight container. When you're ready to serve, layer the soaked ladyfingers on top of the brownies, spread the mascarpone evenly, and chill the assembled dessert for an hour. This make-ahead strategy means you can enjoy restaurant-quality Tiramisu Brownies with minimal effort when the cravings hit!
How to Store and Freeze Tiramisu Brownies
Fridge: Keep your Tiramisu Brownies covered in an airtight container to maintain freshness for up to 3 days. The chilling also enhances the flavors even more!
Freezer: For longer storage, wrap individual portions tightly in plastic wrap and place them in freezer-safe bags. They’ll last for up to 2 months, ready to be enjoyed anytime!
Thawing: To enjoy frozen brownies, simply transfer them to the fridge overnight or let them sit at room temperature for a couple of hours until they are soft.
Reheating: If you prefer them warm, microwave a slice for 10-15 seconds, being cautious not to overheat, as this can affect the creamy mascarpone layer.
Tiramisu Brownies Recipe FAQs
How do I choose the best chocolate for Tiramisu Brownies?
Absolutely! For the richest flavor, opt for high-quality dark or semi-sweet chocolate with at least 60% cocoa content. The chocolate's quality significantly affects the brownies' taste, so indulge yourself in a good brand!
How should I store Tiramisu Brownies?
To keep your Tiramisu Brownies fresh, store them in an airtight container in the refrigerator. They'll stay delicious for up to 3 days. The cool environment also helps deepen the flavors, making every bite a pleasure!
Can I freeze Tiramisu Brownies?
Very much! To freeze, wrap individual portions tightly in plastic wrap and place them in a freezer-safe bag. These brownies can be stored for up to 2 months. When you're ready to enjoy, let them thaw in the fridge overnight or at room temperature for about 2 hours.
Why did my brownie batter turn out too runny?
If your batter is runny, you may have added too much liquid from the browning butter process or not measured the flour accurately. Make sure to follow the recipe's quantities closely and gently fold in the flour until just combined to achieve that perfect fudgy texture!
Are Tiramisu Brownies suitable for gluten-free diets?
Absolutely! To make them gluten-free, substitute the all-purpose flour with a gluten-free flour blend designed for baking. Just ensure the other ingredients (like ladyfingers and baking powder) are also gluten-free to keep everything suitable for those with gluten sensitivities.
Can I substitute mascarpone cheese?
If you can't find mascarpone cheese, you can substitute it with a mixture of cream cheese and whipped heavy cream. For every 250 g of mascarpone, use 125 g of cream cheese mixed with 125 g of whipped cream. This adjustment will maintain the creamy texture and complement the flavors of your Tiramisu Brownies nicely!
Tiramisu Brownies That Will Make Your Taste Buds Dance
Equipment
- 9×9-inch baking pan
- Mixing bowls
- Saucepan
- Spatula
Ingredients
For the Brownies
- 100 g Dark or Semi-Sweet Chocolate finely chopped
- 50 g Natural Cocoa Powder
- 230 g Unsalted Butter roughly cubed
- 4 Large Eggs room temperature
- 150 g Granulated Sugar
- 100 g Brown Sugar
- 100 g All-Purpose Flour
For the Tiramisu Layer
- 250 g Mascarpone Cheese cold
- 200 g Whipping Cream cold
- 50 g Powdered Sugar
- 0.5 teaspoon Vanilla Extract
For the Coffee Infusion
- 2 teaspoons Espresso Powder
- 150 g Hot Water
- 1 tablespoon Coffee Liqueur or Dark Rum optional
For Assembly
- 12 Ladyfingers
- 1 tablespoon Cocoa Powder for Dusting
Instructions
Step-by-Step Instructions for Tiramisu Brownies
- Preheat your oven to 350°F (175°C) and line a 9x9" baking pan with parchment paper.
- In a bowl, mix the dark chocolate and cocoa powder, then set aside.
- Melt the butter in a saucepan until golden brown, then pour it over the chocolate-cocoa mixture.
- Stir the mixture until fully melted and smooth.
- Whisk together the room temperature eggs, granulated sugar, and brown sugar until thickened.
- Pour the chocolate mixture into the egg mixture while whisking constantly to avoid cooking the eggs.
- Gently fold in the all-purpose flour until just combined.
- Spread the brownie batter in the prepared pan and bake for 28-30 minutes.
- Cool completely, then refrigerate for 30-60 minutes.
- Beat mascarpone cheese until smooth, then add whipping cream, powdered sugar, and vanilla extract.
- Combine espresso powder with hot water and optional liqueur, mixing until dissolved.
- Dip ladyfingers briefly in the espresso mixture and layer them over the brownie base.
- Spread the mascarpone layer evenly over the ladyfingers.
- Cover and chill in the fridge for about 1 hour to set.
- Dust with cocoa powder before slicing into squares and serving.


Leave a Reply