
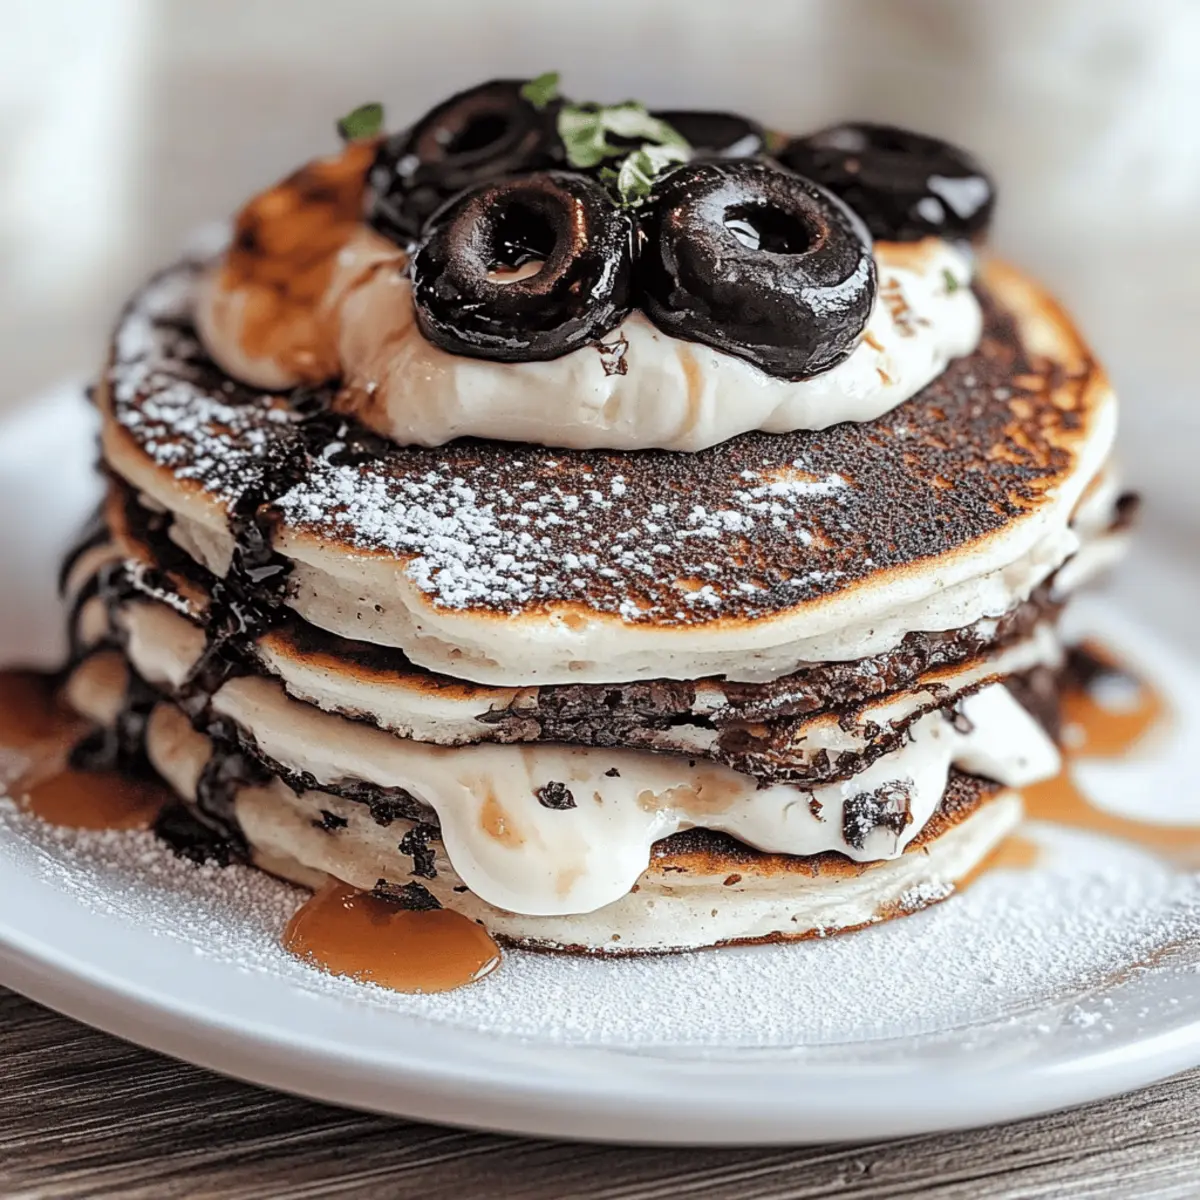
As I flipped the warm, fluffy pancakes onto the plate, a delightful aroma swirled around me, instantly bringing back memories of childhood breakfast adventures. These Oreo Pancakes are a whimsical twist on the classic, making them perfect for both lazy Sundays and special celebrations. With just a handful of everyday ingredients and a quick prep time of only 10 minutes, you can indulge in a sweet stack that’s sure to impress. Not only are these pancakes a crowd-pleaser but they also offer a fun way to enjoy a favorite cookie! Are you ready to elevate your breakfast game with this delicious recipe? Let’s dive in!
Why Are Oreo Pancakes So Irresistible?
Decadent, these pancakes turn every bite into a treat, combining the beloved flavors of Oreos with warm, fluffy goodness. Quick and easy, you can whip them up in just 20 minutes, perfect for busy mornings or weekend brunches. Versatile, they’re great topped with whipped cream, chocolate syrup, or fresh fruit for a touch of flair. Crowd-pleasing, both kids and adults alike will be begging for seconds! You can even check out our tips for storing leftovers to keep the yumminess going! Enjoy a breakfast experience that’s not just food but a joyous moment in every forkful.
Oreo Pancakes Ingredients
For the Batter
- 1 cup all-purpose flour – A staple for fluffy texture; don’t forget to sift for extra lightness!
- 2 teaspoon baking powder – Essential for that beautiful rise; make sure it's fresh for optimal fluffiness.
- 2 tablespoon granulated sugar – Adds just the right touch of sweetness to balance the rich flavor of the Oreos.
- ¼ teaspoon salt – Elevates all the flavors and enhances that sweet and savory combination.
- 1 cup whole milk – For creamy batter; you can substitute with almond milk for a dairy-free option.
- 1 large egg – Binds everything together and adds moisture; be sure it’s at room temperature for the best result.
- 2 tablespoon melted butter – Provides richness and a touch of flavor; you can use coconut oil for a lighter alternative.
- 6 crushed Oreos – The star of the show, adding a delightful crunch and rich chocolate flavor to your pancake mix!
For Toppings
- Whipped cream – A classic choice that adds lightness and decadence; try flavored cream for a twist!
- Chocolate syrup – Drizzle it on for an extra layer of indulgence; maple syrup works beautifully too!
- Fresh fruit – Berries or bananas can brighten and balance the sweetness; go creative with seasonal fruits!
Creating these Oreo Pancakes is a delightful way to kickstart your day. Enjoy customizing your stack with toppings that suit your taste!
Step‑by‑Step Instructions for Oreo Pancakes
Step 1: Prepare the Dry Ingredients
In a large mixing bowl, whisk together 1 cup of all-purpose flour, 2 teaspoons of baking powder, 2 tablespoons of granulated sugar, and ¼ teaspoon of salt until well combined. This mixture will provide the fluffy foundation for your Oreo Pancakes. Make sure there are no lumps, and enjoy the gentle aroma of freshly mixed ingredients as you prepare for the next step.
Step 2: Mix the Wet Ingredients
In another bowl, pour in 1 cup of whole milk, crack in 1 large egg, and add 2 tablespoons of melted butter. Whisk these ingredients together until smooth and fully combined, creating a creamy blend that will add moisture to your pancakes. Observe the vibrant yellow hue of the egg as it blends seamlessly with the milk and butter, ready to infuse flavor into your batter.
Step 3: Combine Wet and Dry Ingredients
Gradually add the wet mixture to the dry ingredients, stirring gently with a spatula. Mix just until combined, leaving some lumps for that perfect pancake fluffiness. The batter should look thick yet pourable, with flecks of dry ingredients barely visible. At this point, you’re one step closer to creating those delightful Oreo Pancakes that are sure to impress.
Step 4: Fold in the Oreos
Carefully fold in 6 crushed Oreos into the pancake batter, distributing them evenly without overmixing. The bits of chocolate cookies will contribute a delightful crunch and flavor explosion with every bite. As you turn the batter, enjoy how the dark crumbs swirl through the fluffy mixture, signaling that these pancakes are about to turn into a decadent breakfast treat.
Step 5: Heat the Skillet
Place a non-stick skillet over medium heat, allowing it to preheat for about 2–3 minutes. To ensure perfect cooking, a drop of water should sizzle when it hits the skillet, signaling it’s ready for your pancake batter. If you have cooking spray or a little more melted butter, apply it to the skillet for a non-stick surface that promises golden-brown pancakes.
Step 6: Cook the Pancakes
Pour half a cup of the batter onto the hot skillet for each pancake, leaving some space in between. Cook for approximately 2 minutes or until you see bubbles forming on the surface. At this stage, the edges will begin to look set, indicating they’re ready for flipping. Your kitchen will soon be filled with the delightful aroma of warm pancakes inviting you to indulge.
Step 7: Flip and Finish Cooking
Gently flip each pancake using a spatula and cook for an additional 1–2 minutes or until they turn golden brown. When perfectly cooked, they will spring back slightly when pressed. Watch as those beautiful, fluffy Oreo Pancakes become irresistible, showcasing the classic chocolatey bits peeking from the sides.
Step 8: Serve and Enjoy
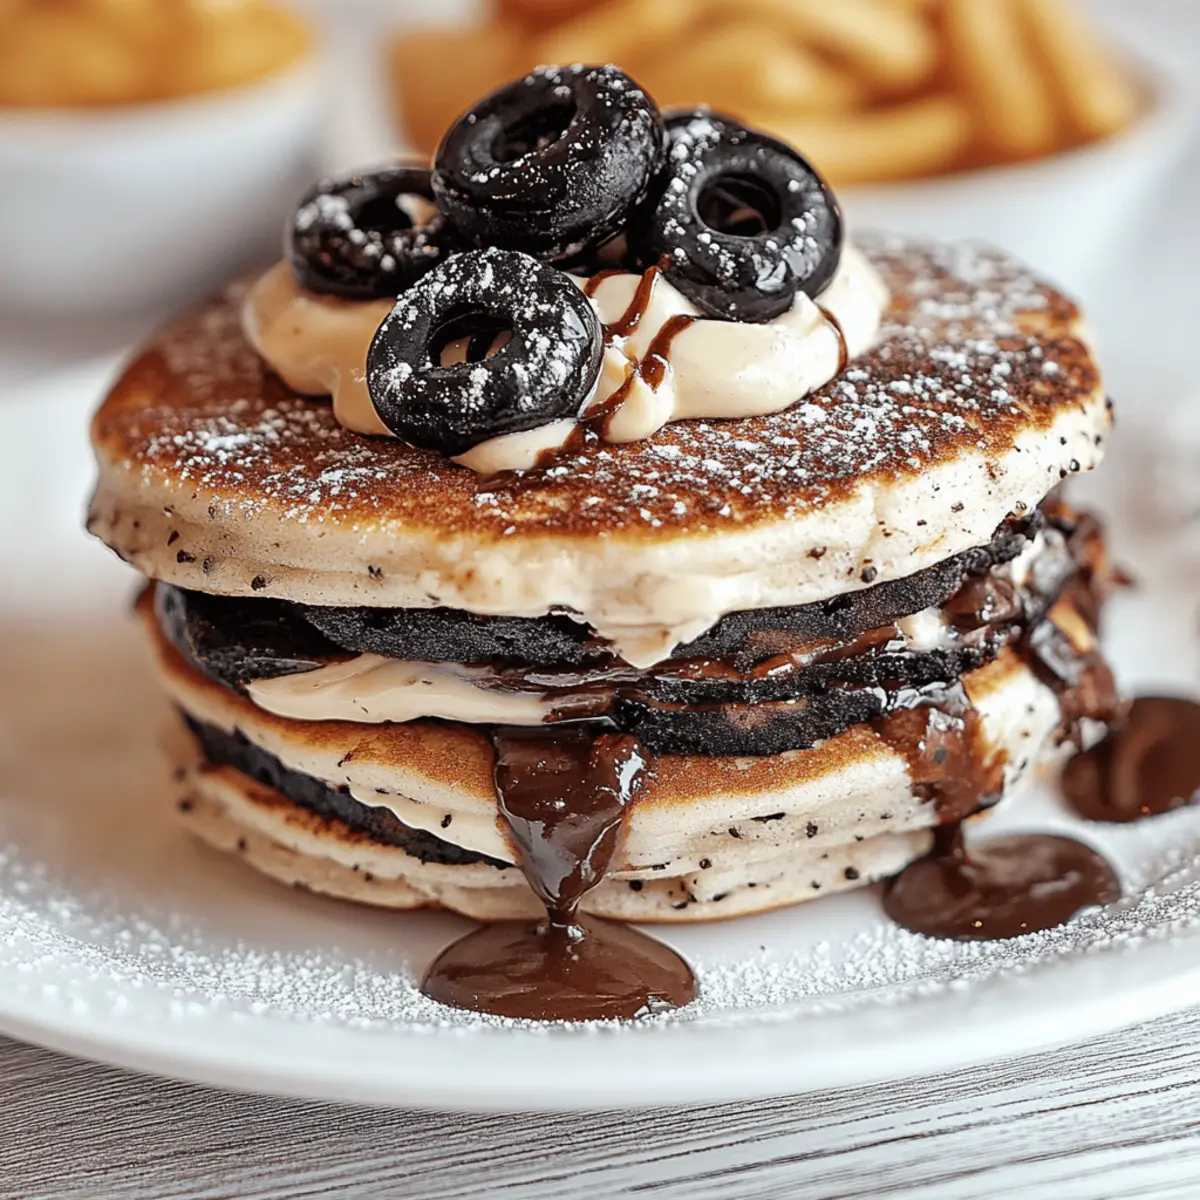
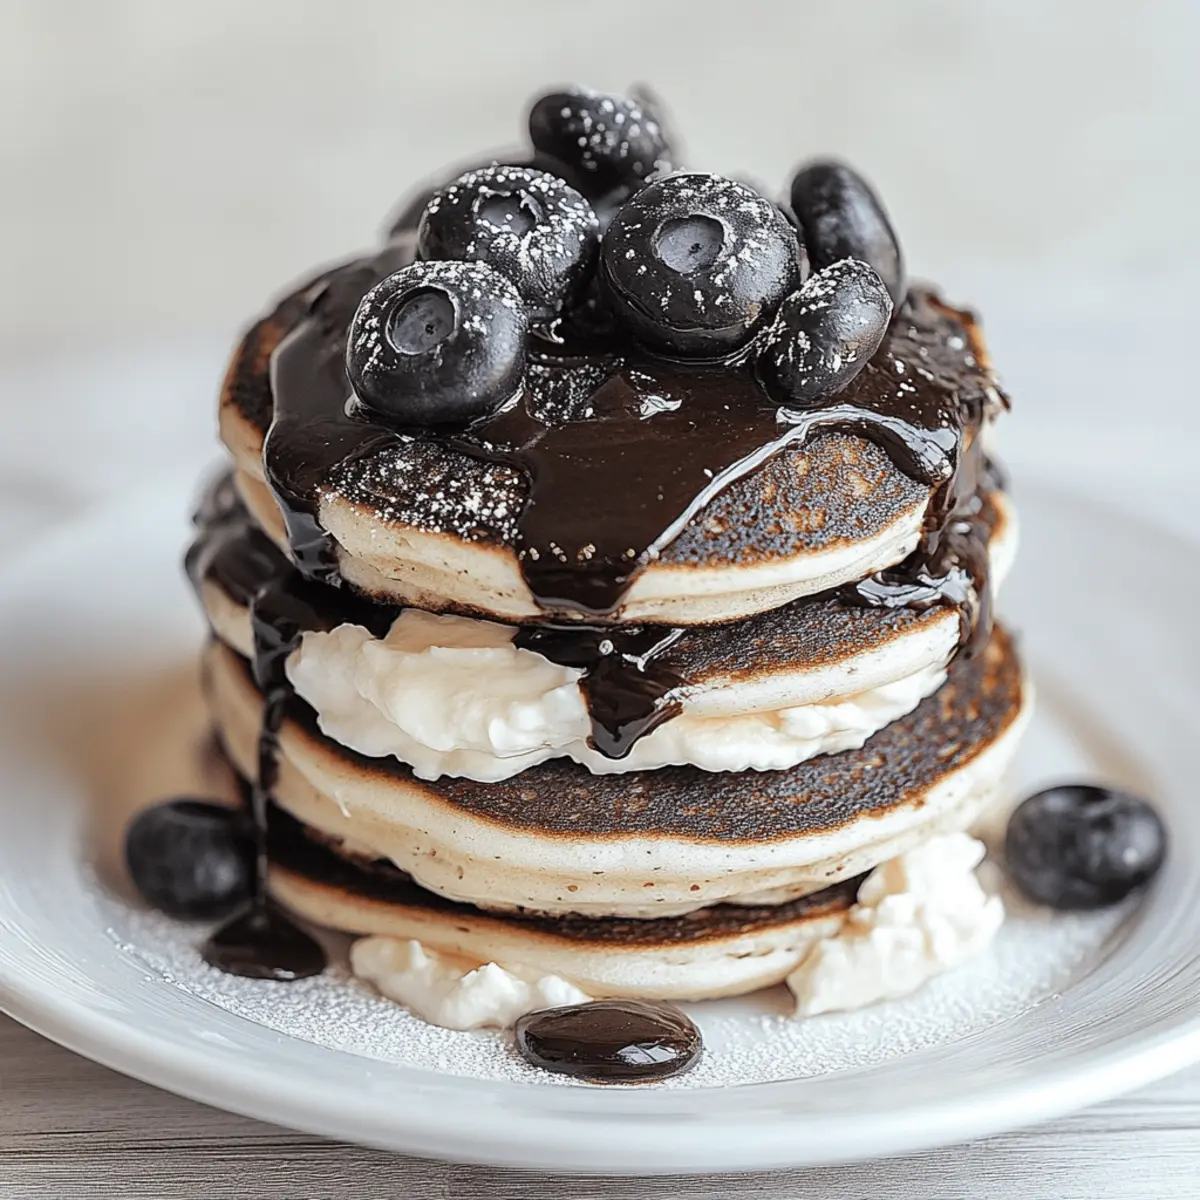
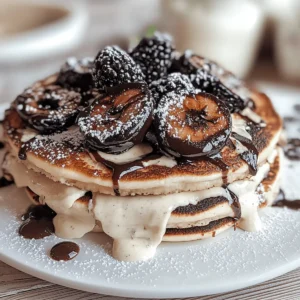
Once cooked, transfer the pancakes to a warm plate and repeat the cooking process with the remaining batter. Serve your decadent Oreo Pancakes immediately, topped with your favorite additions like whipped cream, chocolate syrup, or fresh fruit. As you stack each pancake high, let the excitement build—your breakfast masterpiece is ready to create tasty memories!
What to Serve with Oreo Pancakes
Indulge in a breakfast experience by pairing these sweet pancakes with delightful side dishes that will elevate your morning.
- Crispy Bacon: The savory crunch of crispy bacon complements the sweet pancakes perfectly, balancing flavors for a well-rounded meal.
- Fresh Fruit Salad: A vibrant mix of berries and melons adds a refreshing, juicy contrast, brightening each delightful bite of your Oreo pancakes.
- Yogurt Parfait: Creamy yogurt layered with granola and fruit offers a satisfying texture and nuttiness that pairs beautifully with the pancake's sweetness.
- Maple Syrup: A drizzle of warm maple syrup adds natural sweetness, enhancing the already delightful chocolate notes of the Oreo pancakes.
- Espresso or Coffee: A rich cup of coffee or espresso brings a robust, energizing contrast, perfect for kick-starting your morning alongside sweet breakfast delights.
- Chocolate Milkshake: For the ultimate indulgence, a chocolate milkshake adds a fun twist, echoing the Oreo flavor while making every bite feel like dessert.
- Whipped Cream Topping: A generous dollop of fluffy whipped cream brings a lightness that harmonizes with the decadence of the pancakes, making them even more irresistible.
- Peanut Butter Drizzle: A touch of creamy peanut butter offers a lovely nutty flavor, taking your Oreo pancake experience to new heights of deliciousness.
Make Ahead Options
These Oreo Pancakes are a fantastic option for those who want to save time in the kitchen, especially on busy mornings! You can prepare the pancake batter up to 24 hours in advance; simply mix the dry ingredients together and refrigerate the wet mixture separately. To maintain the best quality, store the wet mix in an airtight container. When you're ready to enjoy your pancakes, fold in the crushed Oreos and cook them right away for fluffy, delicious results. If you have leftovers, they can be kept in the fridge for up to three days; simply reheat them in the microwave for 20-30 seconds or on a skillet for a delightful breakfast that tastes just as good as fresh!
How to Store and Freeze Oreo Pancakes
- Room Temperature: Keep Oreo pancakes at room temperature for up to 2 hours if you plan to eat them soon. Just place them on a plate covered with a clean towel to retain warmth.
- Fridge: Store leftover Oreo pancakes in an airtight container in the fridge for up to 3 days. This helps maintain their texture and flavor, ensuring a delightful breakfast.
- Freezer: For longer storage, freeze the pancakes individually by wrapping them in plastic wrap and placing them in a freezer-safe bag. They can be stored for up to 2 months.
- Reheating: When you're ready to enjoy your pancakes, reheat them in the microwave for 20-30 seconds or warm them on a skillet over low heat until heated through. Enjoy the magic of Oreo pancakes again!
Expert Tips for Oreo Pancakes
-
Use Fresh Ingredients: Always check that your baking powder is fresh, as expired ingredients can lead to flat pancakes. Fresh ingredients make for fluffy Oreo Pancakes!
-
Mix Gently: When combining wet and dry ingredients, mix gently to leave small lumps. Overmixing can make the pancakes tough instead of light and airy.
-
Preheat Your Skillet: Ensure your skillet is preheated properly before pouring in the batter. A hot surface helps achieve that beautiful golden brown color.
-
Watch for Bubbles: Cook each pancake until bubbles form on the surface, signaling they’re ready to flip. This helps maintain the fluffiness of your Oreo Pancakes.
-
Customize Toppings: Feel free to experiment with toppings. From ice cream to fruit compote, personalized toppings can take your pancakes to another level of deliciousness!
Oreo Pancakes Variations & Substitutions
Get creative and make these delightful Oreo Pancakes your own!
- Gluten-Free: Swap regular flour for a gluten-free blend to cater to dietary restrictions without sacrificing flavor.
- Dairy-Free: Use almond milk or oat milk instead of whole milk, and replace the butter with coconut oil for a deliciously creamy alternative.
- Chocolate Boost: Mix in chocolate chips along with the crushed Oreos for a double chocolate treat you'll adore. Chocolate lovers rejoice!
- Minty Fresh: Add a drop of peppermint extract to the batter for a refreshing twist that plays beautifully with the Oreo flavor.
- Flavorful Mix-Ins: Consider folding in some chopped nuts or cinnamon for extra crunch and warmth in every bite. The possibilities are endless!
- Oreo Whipped Cream: Top with a whipped cream made by folding crushed Oreos into store-bought whipped cream for a fun finishing touch. Indulgent and irresistible!
- Savory Twist: Try adding a pinch of cheese to the batter for a unique blend of savory and sweet that’s sure to surprise your taste buds.
- Spice It Up: For a touch of heat, sprinkle in a little cayenne pepper for an unexpected kick that complements the sweet pancake flavor wonderfully.
Oreo Pancakes Recipe FAQs
How do I choose the best Oreos for my pancakes?
Absolutely! When selecting Oreos, look for ones that are fresh and have intact packaging. Avoid any that show signs of moisture or are nearing their expiration date. You can use classic Oreos or even try other flavors like mint or peanut butter for a fun twist!
What is the best method for storing leftover Oreo pancakes?
To keep leftover Oreo pancakes at their best, store them in an airtight container in the fridge for up to 3 days. Make sure they’re completely cooled before sealing to prevent moisture buildup. Just reheat them in the microwave for 20-30 seconds or warm them again on a skillet for a freshly-made taste!
Can I freeze Oreo pancakes?
Yes, you absolutely can! To freeze your Oreo pancakes, let them cool completely. Then, wrap each pancake in plastic wrap and place them in a freezer-safe bag. They can be stored for up to 2 months. When you’re ready to enjoy, simply reheat them in the microwave for 20-30 seconds or warm them in a skillet over low heat.
How can I prevent my pancakes from sticking to the skillet?
Very good question! Preheating your non-stick skillet is crucial; it should be hot enough that a drop of water sizzles when it hits the surface. Additionally, using a little cooking spray or melted butter will create an effective non-stick barrier, ensuring golden-brown pancakes without any hassle.
Are Oreo pancakes suitable for people with allergies?
It's always wise to check! The basic ingredients in this recipe include eggs, milk, and wheat, which can trigger allergies. For a dairy-free option, substitute whole milk with almond or oat milk and use a flaxseed egg instead of a regular egg to keep them tasty and allergen-friendly. Just make sure to double-check all ingredient labels for allergens.
Decadent Oreo Pancakes to Make Your Morning Marvelous
Equipment
- Mixing bowl
- Whisk
- Spatula
- Non-stick skillet
Ingredients
Batter Ingredients
- 1 cup all-purpose flour Sift for extra lightness.
- 2 teaspoon baking powder Ensure it's fresh for optimal fluffiness.
- 2 tablespoon granulated sugar Balances the rich flavor of Oreos.
- ¼ teaspoon salt Enhances the sweet and savory combination.
- 1 cup whole milk Almond milk can be used for a dairy-free option.
- 1 large egg At room temperature for best result.
- 2 tablespoon melted butter Use coconut oil for a lighter alternative.
- 6 pieces crushed Oreos Adds a delightful crunch and rich flavor.
Toppings
- whipped cream A classic choice that adds lightness.
- chocolate syrup For an extra layer of indulgence.
- fresh fruit Berries or bananas brighten the dish.
Instructions
Step‑by‑Step Instructions for Oreo Pancakes
- In a large mixing bowl, whisk together flour, baking powder, sugar, and salt until well combined.
- In another bowl, mix milk, egg, and melted butter until smooth.
- Gradually add wet mixture to dry ingredients, stirring gently until combined.
- Fold in crushed Oreos into the batter.
- Preheat a non-stick skillet over medium heat for 2-3 minutes.
- Pour ½ cup of batter per pancake onto the skillet and cook for about 2 minutes.
- Flip the pancakes and cook for an additional 1-2 minutes until golden brown.
- Serve pancakes immediately topped with your favorite toppings.

Leave a Reply