
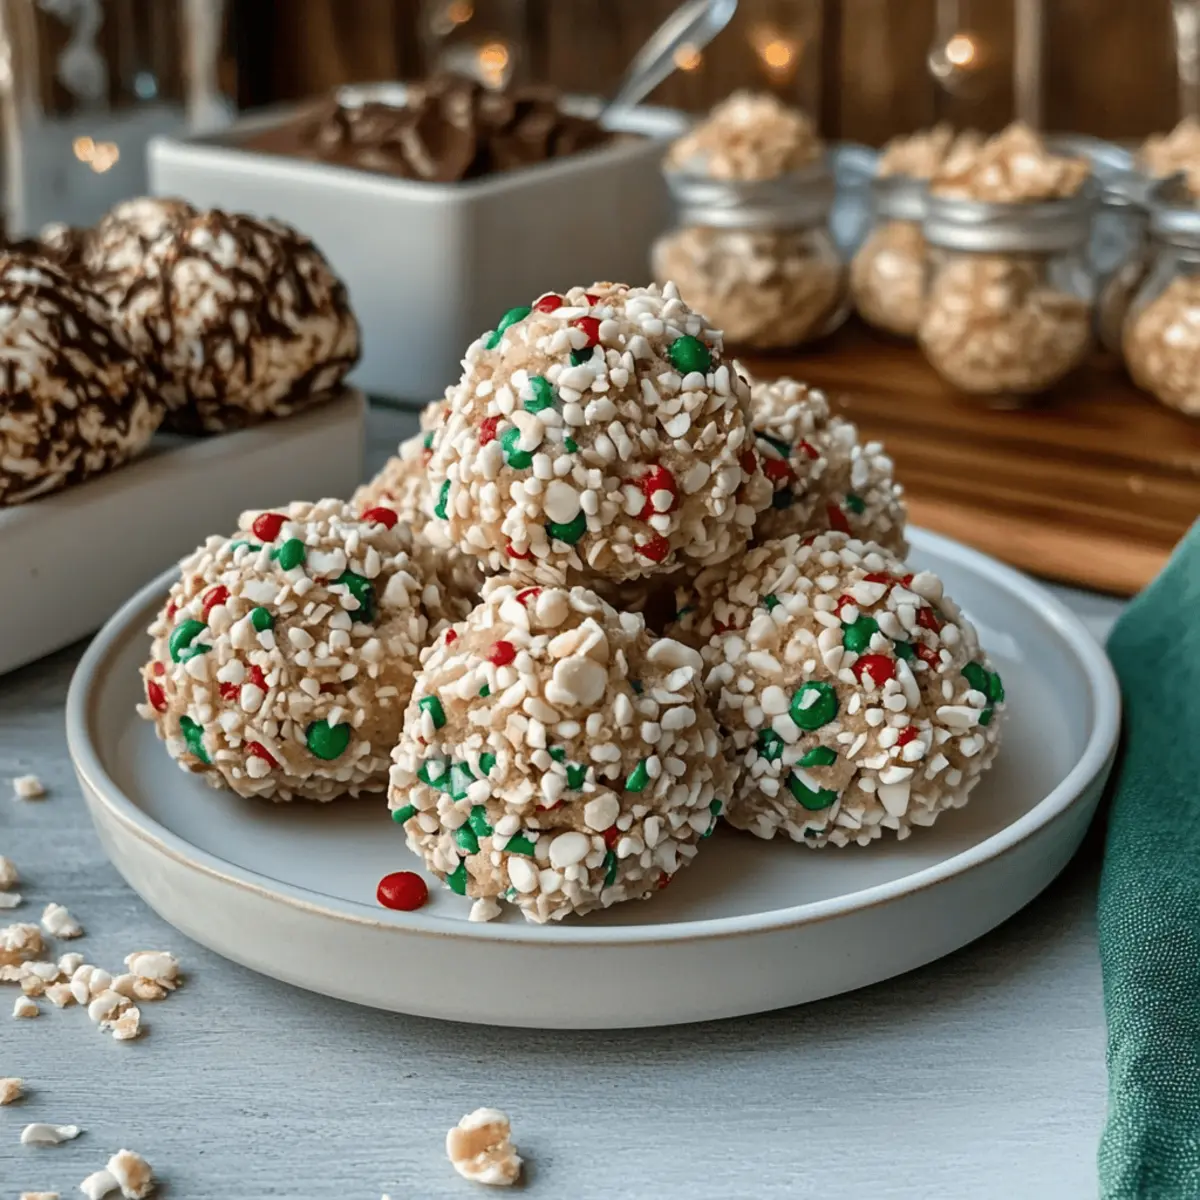
There's something magical about combining crispy rice cereal and creamy peanut butter—it's a nostalgic taste of childhood that brings back the wholesome joys of homemade treats. Today, I’m thrilled to share my Chocolate Rice Krispie Balls, a delightful snack that’s not only easy to whip up but also a total crowd-pleaser! In just 15 minutes of prep, you can create an irresistible dessert that marries the allure of chocolate with the satisfying crunch of cereal for a unique twist. These little bites are perfect for gifting during holidays, or as a sweet pick-me-up throughout the week. Who can resist the notion of indulging in something that feels both nostalgic and innovative at the same time? Ready to dive into this delicious adventure? Let's get started!
Why are Chocolate Rice Krispie Balls irresistible?
Quick Prep Time: In just 15 minutes, you can create these delightful treats, making them perfect for those busy nights.
Nostalgic Flavor: Crispy rice cereal paired with peanut butter evokes wonderful childhood memories, bringing warmth and comfort.
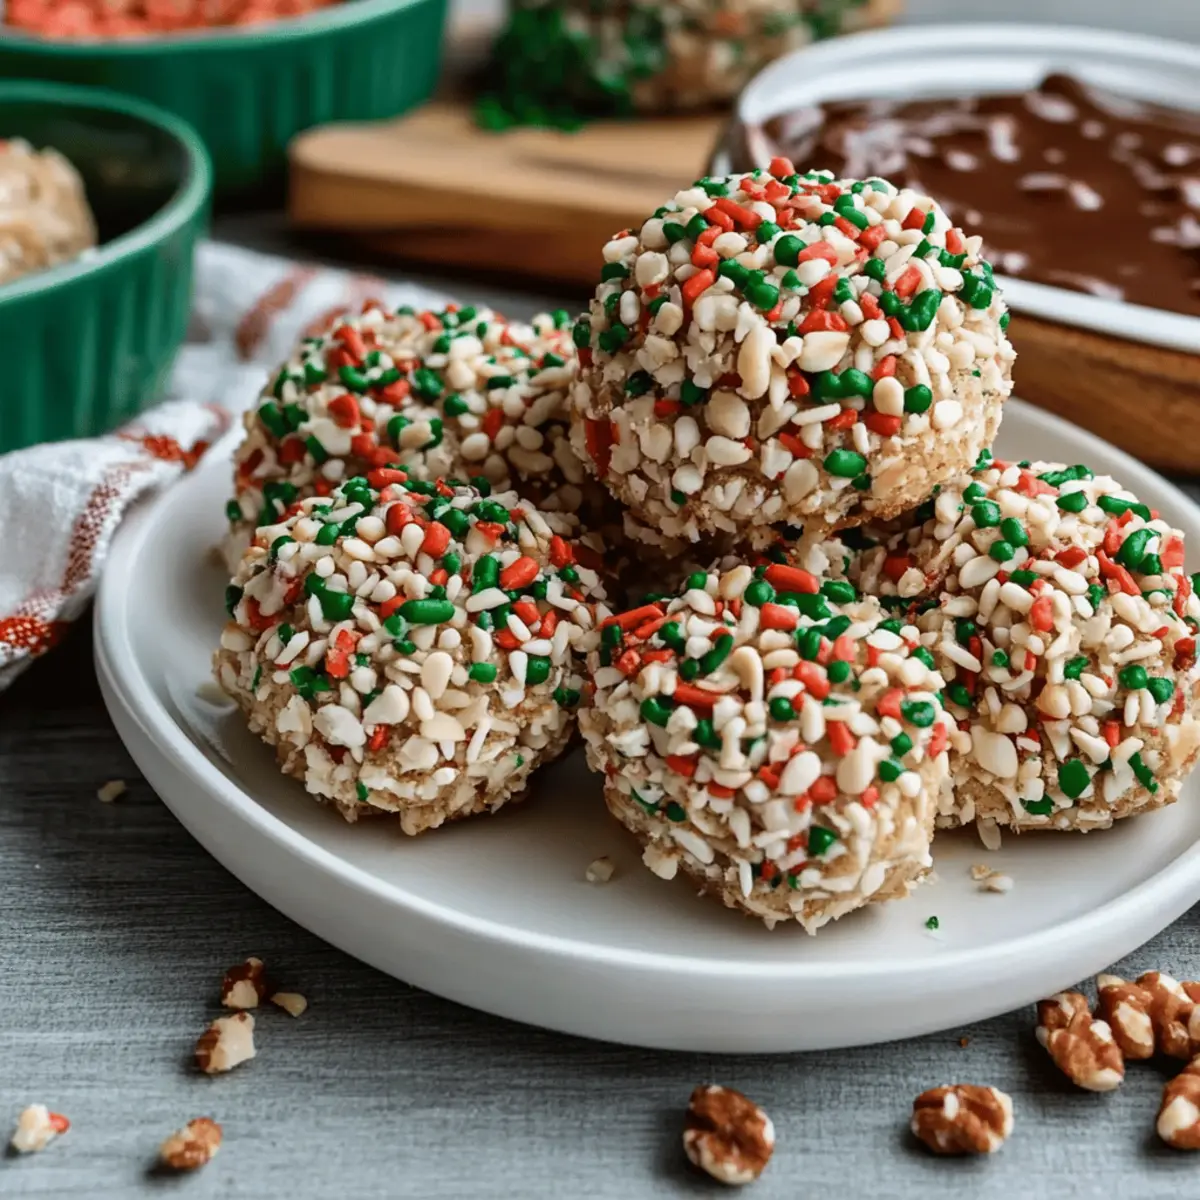
Crowd-Pleasing Appeal: These balls are perfect for parties, holidays, or any gathering—a guaranteed hit with friends and family!
Adaptable Variations: Feel free to get creative! Swap out peanut butter for your favorite nut butter or top them with your choice of sprinkles or nuts for a personal twist.
No Baking Required: With zero baking involved, you can enjoy these indulgent bites without the hassle of the oven! And remember, you can easily store them in an airtight container for later enjoyment, making them a fantastic quick snack option.
Chocolate Rice Krispie Balls Ingredients
• To make your Chocolate Rice Krispie Balls delightful and easy!
For the Base
- Creamy or crunchy peanut butter – Adds rich flavor and binds the ingredients together.
- Unsalted butter – Ensures a creamy texture without overpowering the sweetness.
- Powdered sugar – Provides the necessary sweetness and creates a thick filling.
- Vanilla extract – Enhances the flavor with a warm, aromatic note.
For the Crunch
- Crispy rice cereal – Gives that signature crunch and lightness to the treats.
For the Coating
- Semi-sweet or dark chocolate chips – Offers a perfect chocolatey finish; melting wafers may be used for an even smoother coating.
Feel free to mix things up and add your twist—these Chocolate Rice Krispie Balls can be customized to suit your tastes!
Step‑by‑Step Instructions for Chocolate Rice Krispie Balls
Step 1: Combine Peanut Butter and Butter
In a large mixing bowl, add 1 cup of creamy or crunchy peanut butter and 4 tablespoons of unsalted butter. Use a hand mixer or a sturdy spatula to blend them together until the mixture is smooth and creamy, approximately 2-3 minutes. You'll know it's ready when there are no visible lumps, creating a luscious base for your Chocolate Rice Krispie Balls.
Step 2: Add Vanilla Extract
Once your peanut butter and butter are perfectly blended, stir in 1 teaspoon of vanilla extract. Using a spatula, mix until the vanilla is fully incorporated, about 30 seconds. This step adds a delightful aroma and enhances the flavor, making your Chocolate Rice Krispie Balls even more irresistible.
Step 3: Mix in Powdered Sugar
Gradually sift in 2 cups of powdered sugar into the bowl, mixing continuously. Use a spatula or your hands to blend until everything is combined, which should take about 2-3 minutes. The mixture will become thick and creamy; this is the perfect consistency to hold the rice cereal in your Chocolate Rice Krispie Balls.
Step 4: Fold in Crispy Rice Cereal
Now, gently fold in 1 ½ cups of crispy rice cereal. Use a spatula to ensure that the cereal is well-coated with the nutty mixture. This should take about 1-2 minutes. You want the cereal evenly distributed for that satisfying crunch in every bite of your Chocolate Rice Krispie Balls.
Step 5: Shape the Mixture into Balls
Using a small cookie scoop or your hands, shape the mixture into 1-inch balls and place them on a parchment-lined baking sheet. This step should take around 5 minutes. Make sure they are packed tightly; this helps keep your Chocolate Rice Krispie Balls from falling apart as they chill.
Step 6: Chill the Balls
Once shaped, transfer the baking sheet to the freezer and chill the balls for at least 20 minutes. This step is essential for firming up your treats and ensuring they hold their shape during the coating process. You’ll know they’re ready when they feel solid to the touch.
Step 7: Melt the Chocolate
While the balls chill, melt 8-10 ounces of semi-sweet or dark chocolate chips in a double boiler or a microwave. If microwaving, heat in 30-second intervals, stirring frequently, until smooth. If the chocolate is too thick, add 1-2 teaspoons of vegetable oil. The melted chocolate should be glossy and easy to dip your Chocolate Rice Krispie Balls into.
Step 8: Coat the Balls with Chocolate
Once the balls are chilled, dip each one into the melted chocolate, ensuring they're completely coated. Allow the excess chocolate to drip off before placing them back on the parchment-lined baking sheet. This step should take about 10 minutes. The shiny finish will make your Chocolate Rice Krispie Balls look professionally made!
Step 9: Let Chocolate Set
Allow the chocolate coating to set completely, either at room temperature or in the refrigerator. This will take about 15-20 minutes. Once set, your Chocolate Rice Krispie Balls are ready to serve or store for later enjoyment. The hard chocolate shell will perfectly contrast with the creamy, chewy interior.
How to Store and Freeze Chocolate Rice Krispie Balls
Room Temperature: Keep your Chocolate Rice Krispie Balls in an airtight container at room temperature for up to 2 weeks. This makes them a perfect treat for snacking on the go.
Fridge: Store in the refrigerator for optimal freshness. They can last up to 2 weeks here as well, ensuring they stay deliciously chewy and chocolatey.
Freezer: For longer storage, flash freeze the balls on a baking sheet for 20 minutes, then transfer them to a freezer-safe bag. They’ll keep well for up to 3 months.
Thawing: Thaw your frozen Chocolate Rice Krispie Balls at room temperature or in the fridge for a few hours before enjoying them again, so they’re ready when cravings hit!
Chocolate Rice Krispie Balls Variations
Feel free to get creative and put your personal touch on these delightful treats!
- Nut-Free: Swap peanut butter for sunflower seed butter to make them allergy-friendly without sacrificing flavor.
- Low-Sugar: Use monk fruit sweetener instead of powdered sugar for a healthier take that still satisfies your sweet tooth.
- Vegan: Replace butter with coconut oil and use dairy-free chocolate chips to whip up a plant-based version.
- Spicy Kick: Add a pinch of cayenne pepper to the peanut butter mixture for an unexpected heat that contrasts beautifully with the chocolate.
- Texture Twist: Incorporate crispy bacon bits or cereal bars for an exciting crunch that adds an element of surprise in every bite!
- Coconut Macaroon Style: Fold in shredded coconut for a tropical twist that brings an extra layer of flavor and texture.
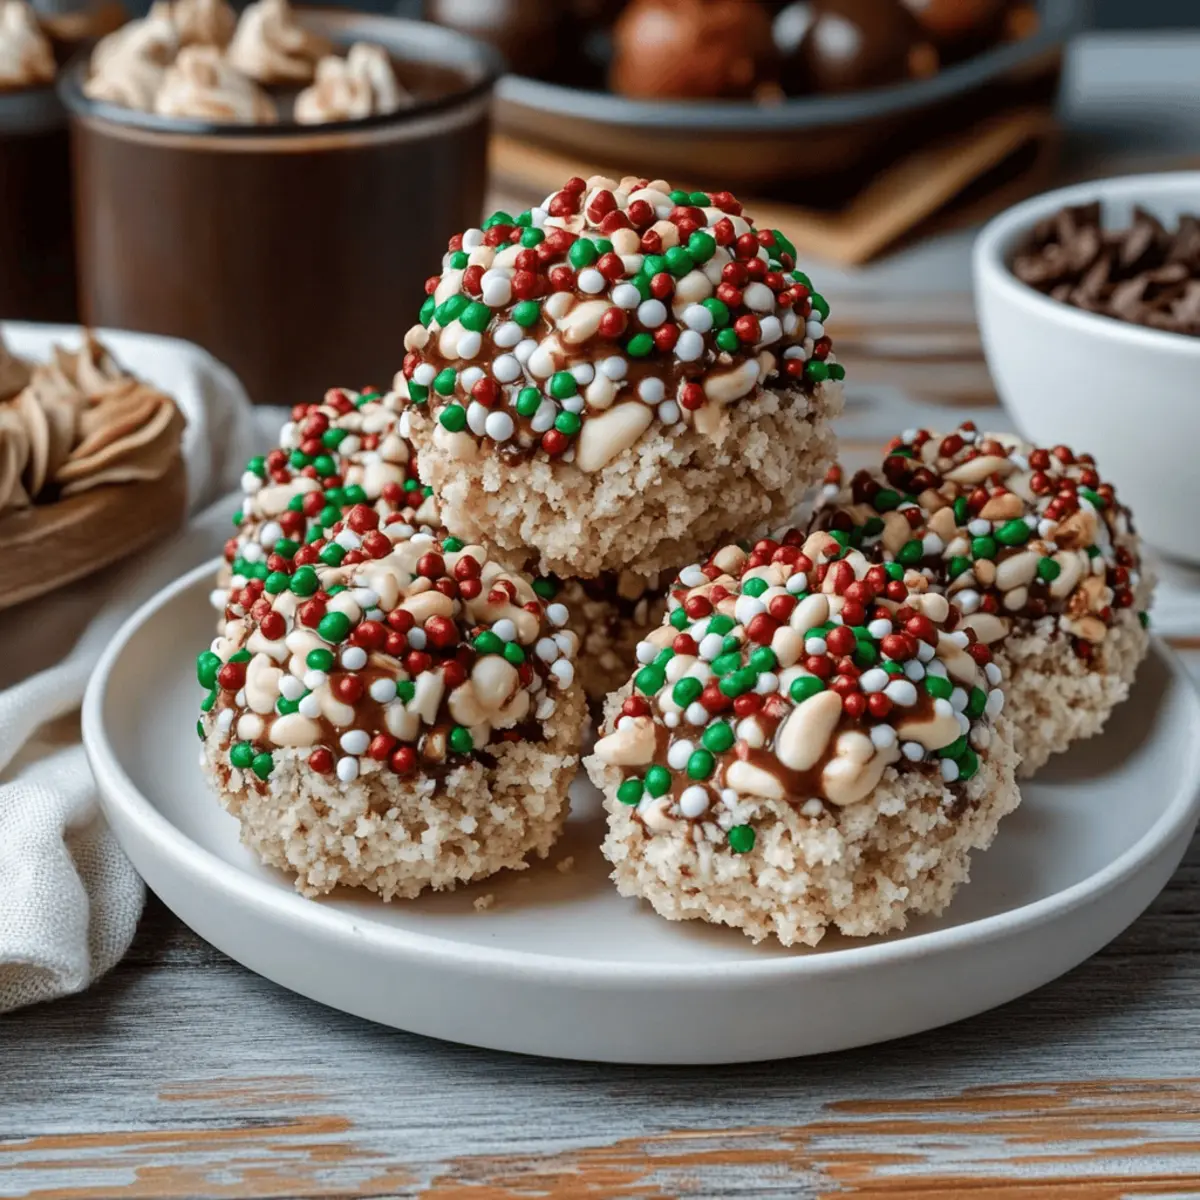
- Fancy Dipped: After chocolate coating, drizzle white chocolate on top for a decorative finish that elevates your treats for special occasions.
- Flavor Boost: Swap vanilla extract for almond or maple extract to give your Chocolate Rice Krispie Balls a unique flavor profile that tantalizes the taste buds.
As you experiment with these variations, don’t forget to check out how the texture and flavors change—each twist can lead to a delightful surprise! And if you’re curious about packaging these as gifts, consider visiting my section on Serving Suggestions.
Make Ahead Options
These Chocolate Rice Krispie Balls are perfect for meal prep enthusiasts! You can mix the peanut butter base and fold in the crispy rice cereal up to 24 hours in advance. Simply shape them into balls, then store them in an airtight container in the refrigerator. When you're ready to indulge, just chill them in the freezer for at least 20 minutes before dipping in melted chocolate. For the best quality, allow the chocolate to set at room temperature or in the fridge for a few minutes before serving. This way, your treats will be just as delicious and ready to surprise your family with minimal effort!
What to Serve with Chocolate Rice Krispie Balls
Imagine a delightful gathering, where sweet and savory bites create the perfect balance for every craving—all while keeping the laughter and joy flowing.
-
Creamy Mashed Potatoes: Their buttery, smooth texture is a warm contrast to the crunchy Chocolate Rice Krispie Balls and pairs beautifully at holiday dinners.
-
Fresh Fruit Salad: A vibrant mix of juicy fruits adds a refreshing touch to your spread, balancing the sweetness of the dessert. Think melons, berries, and citrus for a zingy finish!
-
Vanilla Ice Cream: A scoop of creamy vanilla ice cream alongside your treats creates a textural harmony, melting together with the chocolate coating of the balls for an indulgent experience.
-
Chocolate Dipped Strawberries: Elevate your dessert table! Their fresh, fruity essence beautifully complements the richness of the Chocolate Rice Krispie Balls—perfect for a romantic touch.
-
Savory Cheese Platter: Include a mix of bold cheeses that contrast with the sweet treats, allowing guests to experience a delightful array of flavors as they snack.
-
Nutty Trail Mix: A crunchy, salty trail mix makes an excellent contrast to the sweet candies, maintaining excitement between bites and offering a satisfying texture.
These delightful pairings create a festive atmosphere that’ll leave your guests talking long after the last Chocolate Rice Krispie Ball has disappeared!
Expert Tips for Chocolate Rice Krispie Balls
-
Texture Consistency: Ensure the peanut butter and butter are well-blended to create a smooth base, avoiding lumps for a perfect combination.
-
Chill Time Matters: Don’t skip or rush the chilling step! It’s crucial for the balls to firm up and maintain their shape during chocolate coating.
-
Melted Chocolate: If using a microwave, heat chocolate in short bursts and stir often to prevent burning. Adding oil can help achieve a smoother dip for your Chocolate Rice Krispie Balls.
-
Experiment with Add-Ins: Personalize your treats! Try mixing in crushed nuts, candies, or even drizzling white chocolate over the top for a playful twist.
-
Storage Savvy: Keep your finished Chocolate Rice Krispie Balls in an airtight container to maintain freshness, stored at room temperature or refrigerated for up to two weeks.
Chocolate Rice Krispie Balls Recipe FAQs
What’s the best way to select ripe bananas for this recipe?
Absolutely! Since this recipe doesn't call for bananas, I recommend focusing on your peanut butter choices. If you're using fresh ingredients like strawberry or raspberry toppings, choose ripe and sweet fruit for the best flavor.
How should I store my Chocolate Rice Krispie Balls to keep them fresh?
You can store your Chocolate Rice Krispie Balls in an airtight container at room temperature for up to 2 weeks. If you prefer them chilled, the fridge is great—just make sure you give them a little time to come to room temperature before enjoying.
Can I freeze Chocolate Rice Krispie Balls, and what’s the best method?
Yes, you can absolutely freeze them! Start by placing the balls on a baking sheet and flash freeze them for about 20 minutes. This hardens them enough to prevent sticking. Then, transfer the frozen balls to a freezer-safe bag and they’ll keep for up to 3 months. When you're ready to enjoy them, thaw at room temperature or in the fridge.
My Chocolate Rice Krispie Balls are falling apart; how can I fix this?
No worries! This can happen if the mixture isn't well-combined or if they didn’t chill long enough. To fix this, try returning the mixture to the bowl and adding a touch more peanut butter to help bind it. If they're already rolled, just make sure to chill them thoroughly for at least an hour before dipping in chocolate.
Are these Chocolate Rice Krispie Balls suitable for children with nut allergies?
Very! If you're catering to someone with nut allergies, simply substitute the peanut butter with sun butter or another nut-free alternative like soy nut butter. Just ensure the chocolate you use is also allergy-friendly, as some brands may contain traces of nuts.
What’s the best way to tell if the chocolate is melted properly?
You'll want to melt the chocolate until it's glossy and smooth, which typically takes about 1-2 minutes in the microwave or on the stovetop in a double boiler. Stir frequently to ensure even melting! If it's too thick, you can add a teaspoon or two of vegetable oil to give it that perfect dipping consistency.

Irresistibly Chewy Chocolate Rice Krispie Balls for Sweet Cravings
Equipment
- Mixing bowl
- Spatula
- Cookie scoop
- Baking sheet
- double boiler or microwave
Ingredients
For the Base
- 1 cup creamy or crunchy peanut butter Adds rich flavor and binds the ingredients together.
- 4 tablespoons unsalted butter Ensures a creamy texture without overpowering the sweetness.
- 2 cups powdered sugar Provides the necessary sweetness and creates a thick filling.
- 1 teaspoon vanilla extract Enhances the flavor with a warm, aromatic note.
For the Crunch
- 1.5 cups crispy rice cereal Gives that signature crunch and lightness to the treats.
For the Coating
- 8-10 ounces semi-sweet or dark chocolate chips Offers a perfect chocolatey finish.
Instructions
Step‑by‑Step Instructions
- In a large mixing bowl, add the peanut butter and butter. Blend until smooth and creamy for about 2-3 minutes.
- Stir in the vanilla extract until fully incorporated, about 30 seconds.
- Gradually sift in the powdered sugar, mixing continuously until combined, about 2-3 minutes.
- Gently fold in the crispy rice cereal until evenly coated, about 1-2 minutes.
- Shape the mixture into 1-inch balls and place them on a parchment-lined baking sheet. This should take around 5 minutes.
- Transfer the baking sheet to the freezer and chill the balls for at least 20 minutes.
- Melt the chocolate chips in a double boiler or microwave, stirring frequently until smooth.
- Dip each ball into the melted chocolate, allowing excess to drip off before placing back on the baking sheet. This step should take about 10 minutes.
- Let the chocolate coating set completely, either at room temperature or in the refrigerator, for about 15-20 minutes.


Leave a Reply