
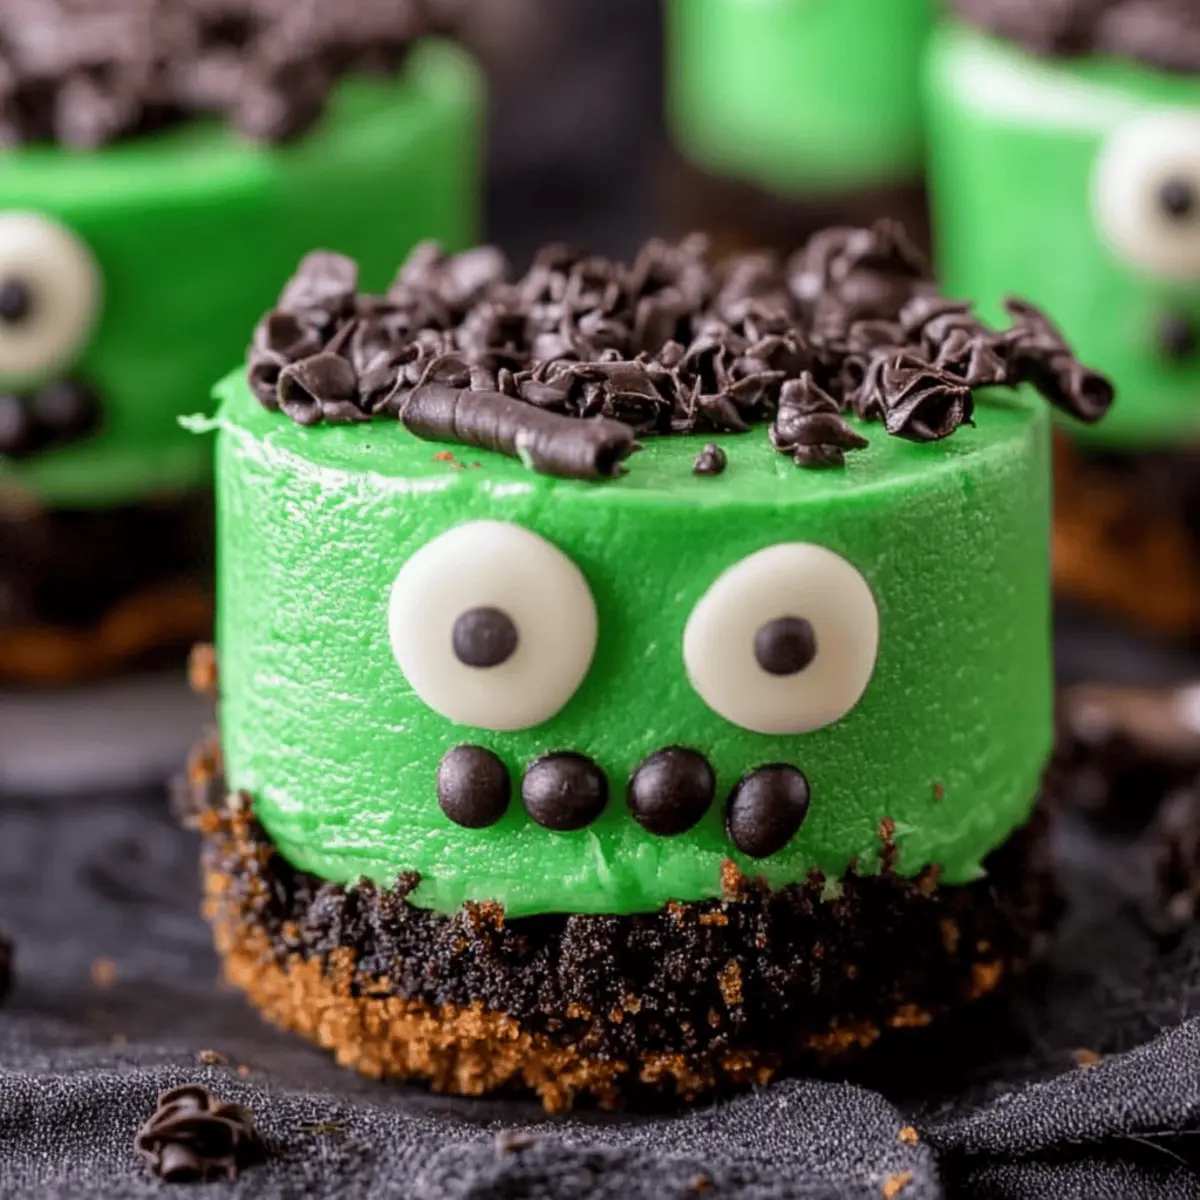
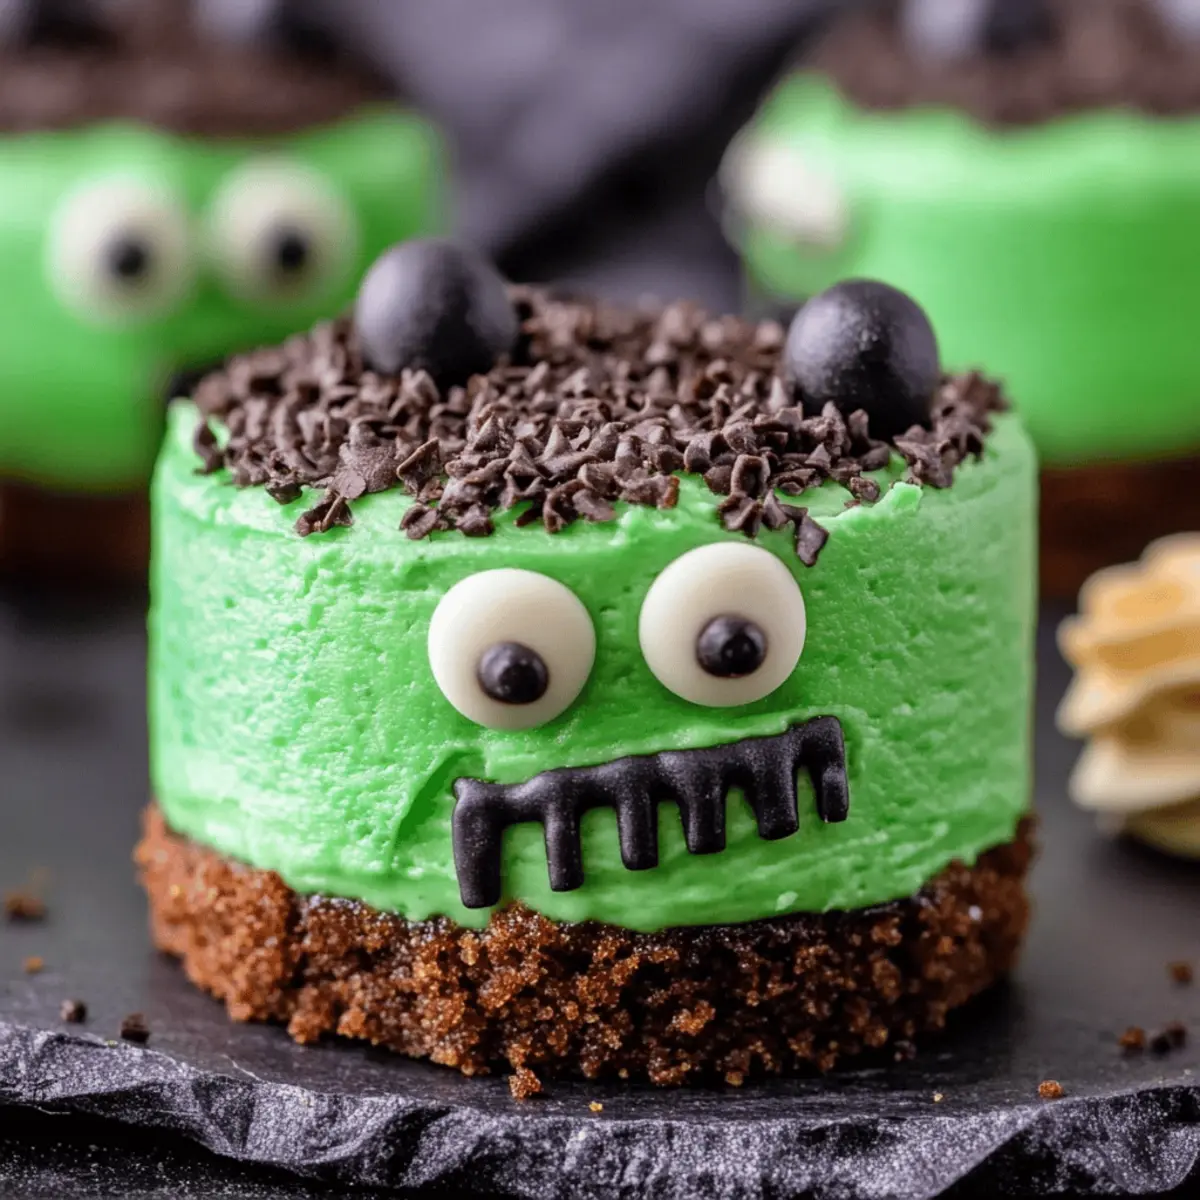
As I flipped through my favorite recipe book one rainy afternoon, a playful thought crossed my mind: what if I could create a dessert that was both spooky and delicious? Enter the Frankenstein Mini Cheesecakes! These bite-sized wonders are not only a fun way to celebrate any Halloween gathering but also incredibly easy to whip up in just 30 minutes. With a creamy, luscious filling that pairs perfectly with a crunchy Oreo crust, they promise to be a crowd-pleaser at any occasion. Plus, the vibrant green hue and charming edible eyes make each cheesecake a delightful surprise. Are you ready to channel your inner pastry artist and bring these little monsters to life in your kitchen?
Why Are These Cheesecakes So Fun?
Delightful creativity shines through in each bite, making these Frankenstein Mini Cheesecakes a hit for any gathering. Easy to prepare, they require just 15 minutes of hands-on time—perfect for busy bakers! Visually stunning, their vibrant green color and playful decorations will surely impress your guests. Perfect for Halloween or any festive occasion, they add a whimsical twist to traditional desserts. For more delightful treats, check out these Vegan Mini Rose cupcakes that are equally fun and festive!
Frankenstein Mini Cheesecakes Ingredients
• Get ready to whip up a spooktacular treat with these Frankenstein Mini Cheesecakes!
For the Cheesecake Filling
- 16 ounces cream cheese – Make sure it's softened to achieve a smooth, creamy texture.
- 1 cup sugar – The sweetness balances the richness of the cream cheese beautifully.
- 3 eggs – These add structure and creaminess for a perfect cheesecake consistency.
- 2 tablespoons flour – Helps to stabilize the filling, preventing it from cracking.
- 1 ½ teaspoon vanilla – A splash of vanilla enhances the overall flavor profile.
- 20 drops green food coloring – Adjust according to your desired spooky shade!
For the Crust
- 24 OREO cookies – Crushed Oreos create a deliciously crunchy crust that's hard to resist.
- 2 tablespoons butter – Melted butter binds the crumbs together and adds richness.
For Decoration
- 32 edible eyes – These whimsical toppings add a fun and spooky element!
- 1 cup chocolate chips, melted – Perfect for dipping and creating gooey tops on the cheesecakes.
- 1 cup chocolate sprinkles – Adds a fun texture and festive look to your mini cheesecakes.
- 32 chocolate chips – Use these to create neck bolts for your Frankenstein creations!
Now you’re all set to bring these delightful and spooky Frankenstein Mini Cheesecakes to life!
Step‑by‑Step Instructions for Frankenstein Mini Cheesecakes
Step 1: Preheat the Oven
Begin by preheating your oven to 350°F (175°C). This step is crucial as it ensures that the Frankenstein Mini Cheesecakes will cook evenly and set perfectly once assembled. While the oven heats up, gather your mini cheesecake pan and other ingredients to streamline your cooking process.
Step 2: Prepare the Crust
Melt 2 tablespoons of butter and combine it with 24 crushed OREO cookies in a medium mixing bowl. Stir until all the crumbs are evenly coated and resemble wet sand. This mixture will serve as the base for your cheesecakes, so ensure it's well combined before moving on.
Step 3: Form the Crust
Using your hands, form the cookie mixture into 1-inch balls and place them neatly into each compartment of the mini cheesecake pan. Then, use a tamper or the back of a spoon to press each ball down firmly, establishing a solid crust. This crust should be compact, providing a sturdy base for your cheesecakes.
Step 4: Mix the Cheesecake Filling
In a large mixing bowl, beat together 16 ounces of softened cream cheese, 1 cup of sugar, 3 eggs, and 1 ½ teaspoons of vanilla extract. Use an electric mixer on medium speed until the mixture is smooth and creamy, which will take about 2-3 minutes. Make sure there are no lumps, as a silky filling yields the best Frankenstein Mini Cheesecakes.
Step 5: Add Dry Ingredients and Color
Gradually mix in 2 tablespoons of flour while continuing to blend the filling. Once combined, add 20 drops of green food coloring, mixing until your desired spooky shade is achieved. The filling should now be a vibrant green, which adds to the fun of these mini cheesecakes!
Step 6: Pour the Cheesecake Mixture
Carefully pour the rich cheesecake filling over the crusts in your mini pan, filling each tin almost to the top. This ensures that your Frankenstein Mini Cheesecakes will have a generous amount of creamy goodness. Tap the pan gently on the counter to remove any air bubbles trapped in the filling.
Step 7: Bake and Cool
Slide your mini cheesecake pan into the preheated oven and bake for 15 minutes. When done, the cheesecakes should look slightly puffed and set around the edges while remaining a bit jiggly in the center. Once baked, remove them from the oven and allow them to cool completely at room temperature.
Step 8: Remove and Decorate
Once cooled, gently remove the Frankenstein Mini Cheesecakes from the pan. Dip the top of each cheesecake into 1 cup of melted chocolate, allowing any excess to drip off. Next, roll the chocolate-coated tops into a bowl of chocolate sprinkles to create a delightful finishing touch.
Step 9: Add Finishing Touches
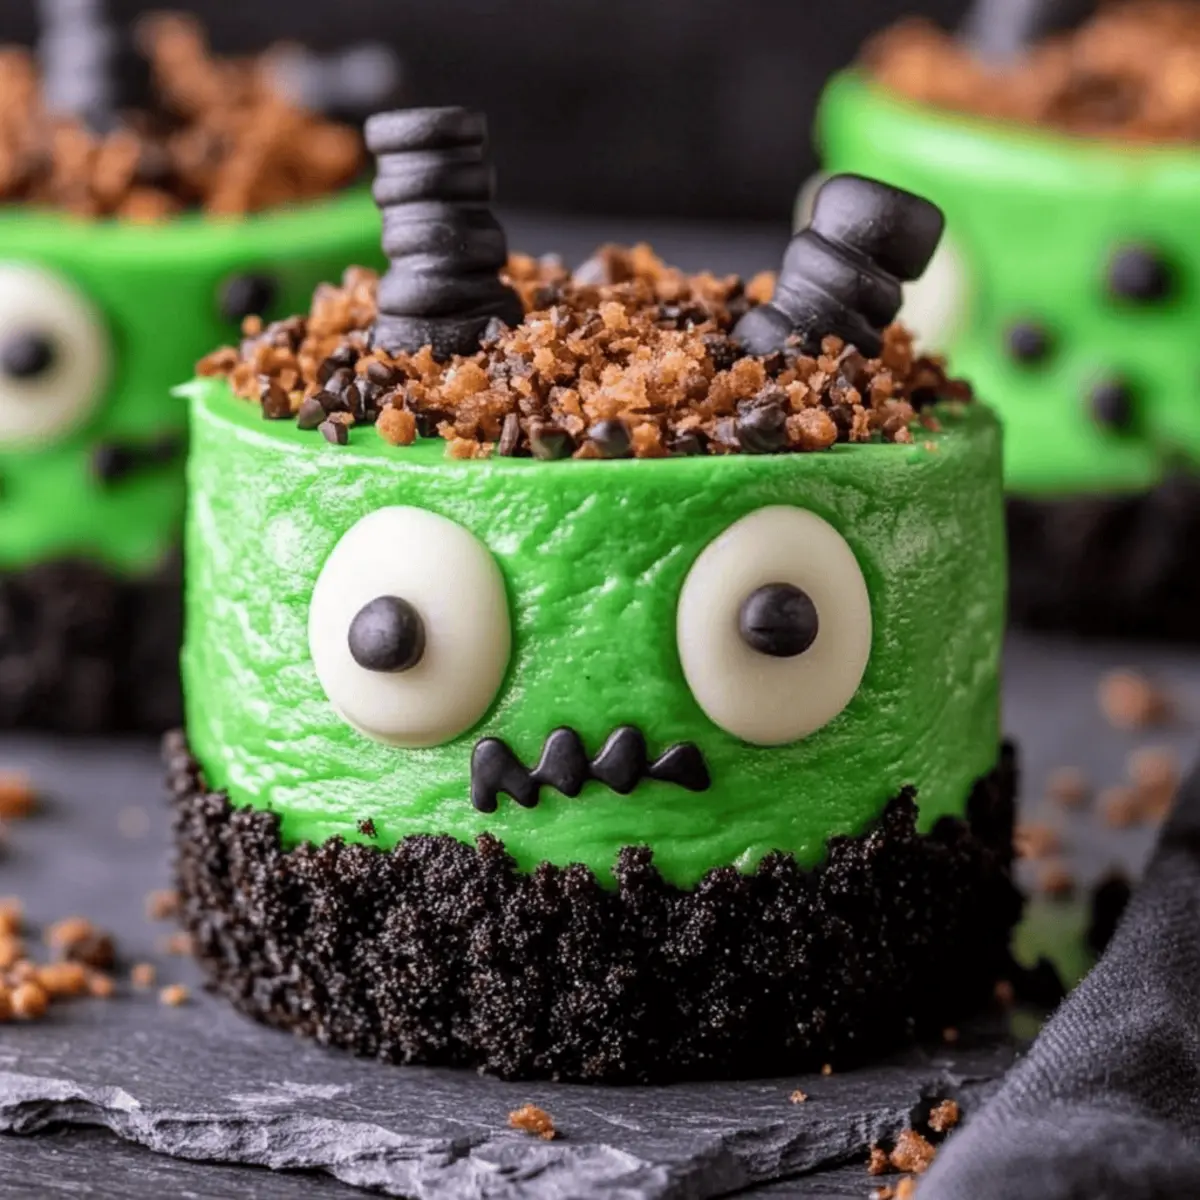
Using the remaining melted chocolate, pipe a mouth and other fun decorations on each cheesecake. Finish by gluing on 32 edible eyes with a small dot of chocolate, and attach chocolate chips as neck bolts. These playful decorations will truly bring your Frankenstein Mini Cheesecakes to life!
Make Ahead Options
These Frankenstein Mini Cheesecakes are a fantastic option for busy home cooks looking to save time! You can prepare the crust and cheesecake filling up to 24 hours in advance. Simply make the cookie crust, press it into the mini cheesecake pan, and mix the cheesecake filling, then store them separately in airtight containers in the refrigerator. When you're ready to bake, pour the filling over the crusts and proceed with baking as directed. For best quality, wait to dip and decorate the cheesecakes until just before serving—this keeps them looking fresh and delightful. With a little prep, you’ll have a spooky dessert with minimal effort!
What to Serve with Frankenstein Mini Cheesecakes?
Indulging in these whimsical creations opens up a world of delicious pairings to enhance your Halloween festivities.
-
Crispy Apple Slices: Their crisp freshness and natural sweetness beautifully balance the richness of the cheesecake, offering a light contrast.
-
Pumpkin Spice Latte: A warm, spiced beverage pairs perfectly, echoing the festive spirit and making every bite feel cozy and seasonal.
-
Chocolate-Covered Pretzels: The salty crunch of pretzels harmonizes with the sweet cheesecakes, providing delightful flavor complexity and texture.
-
Whipped Cream: A dollop of airy whipped cream adds a creamy layer, making each cheesecake feel even more indulgent and enhancing its sweetness.
-
Caramel Drizzle: Drizzling warm caramel sauce over the mini cheesecakes introduces a luscious, buttery flavor that complements their creamy filling fabulously.
-
Spooky Fruit Salad: Combine vibrant, seasonal fruits like oranges and grapes for a colorful side that offers refreshing bites amidst the dessert indulgence.
-
Halloween-themed Punch: A fun, fizzy punch can be a festive way to wash down your treats. The effervescence pairs nicely with the cheesecakes.
-
Mini Chocolate Chip Cookies: These bite-sized goodies can serve as playful accompaniments to the cheesecakes, adding an extra element of fun to your dessert spread.
How to Store and Freeze Frankenstein Mini Cheesecakes
-
Fridge: Keep uneaten Frankenstein Mini Cheesecakes in an airtight container for up to 3 days. This preserves their fresh taste and creamy texture while preventing them from drying out.
-
Freezer: To freeze, place the cheesecakes in a single layer on a baking sheet until solid, then transfer them to a freezer-safe container for up to 2 months. Proper wrapping is key to maintaining flavor.
-
Thawing: When you're ready to indulge, thaw them in the refrigerator overnight. This gradual thaw keeps them creamy without compromising texture.
-
Reheating: Avoid reheating these cheesecakes. Enjoy them chilled straight from the fridge or at room temperature for the best experience—there’s nothing like a fresh, delicious cheesecake!
Expert Tips for Frankenstein Mini Cheesecakes
-
Room Temperature Ingredients: Ensure cream cheese and eggs are at room temperature for a smooth cheesecake filling—cold ingredients can lead to lumps.
-
Proper Mixing: Mix the filling on medium speed until completely smooth. Over-mixing can incorporate too much air and cause cracks during baking.
-
Avoid Overbaking: Keep an eye on your cheesecakes while baking. They should be slightly jiggly in the center—overbaking results in a dry texture.
-
Cooling Time: Allow the cheesecakes to cool completely at room temperature before decorating. This prevents the chocolate from melting when applied.
-
Decoration Delight: Get creative with your decorations! Use different colors of food coloring or varying sizes of edible eyes for a unique twist on each Frankenstein Mini Cheesecake.
Frankenstein Mini Cheesecakes Variations & Substitutions
Feel free to unleash your creativity and customize these delightful cheesecakes to suit your taste and dietary needs!
- Gluten-Free Crust: Substitute crushed gluten-free cookies for the OREOs to enjoy a gluten-free version without sacrificing flavor.
- Dairy-Free Option: Use a dairy-free cream cheese alternative to create a vegan version that everyone can savor.
- Add Spice: A pinch of cinnamon or nutmeg in the cheesecake filling can give these mini treats a warm, spiced flavor twist.
- Chocolate Cookie Crust: Swap traditional OREOs with chocolate wafer cookies for an extra chocolatey base that pairs beautifully with the filling.
- Fruity Flavor: Mix in a few tablespoons of fruit puree like raspberry or strawberry into the filling for a fruity surprise in every bite. It's a lovely contrast to the creamy texture.
- Nutty Crunch: Incorporate crushed nuts, like pecans or almonds, into the crust for added flavor and texture. This twist adds a satisfying crunch that complements the cheesecake.
- Heat it Up: For a kick of spice, add a dash of cayenne pepper or chili powder to the melted chocolate. This surprising heat enhances the sweetness and creates a fun contrast.
- Mini Vanilla Rose Cups: For something equally charming, consider following the path of these delightful Vegan Mini Rose cupcakes, which celebrate sweetness and beauty in their own right!
Each variation invites you to personalize these spooky monsters, ensuring they reflect your style. Happy baking!
Frankenstein Mini Cheesecakes Recipe FAQs
How do I choose ripe ingredients for this recipe?
Absolutely! When selecting cream cheese, look for blocks that are fully sealed without any cracks. The color should be uniform, and there shouldn’t be any dark spots, which can indicate spoilage. For fresh eggs, check the date on the carton to ensure freshness—ideally, they should be within the expiration date for the best results.
How should I store the leftover cheesecakes?
Very! Leftover Frankenstein Mini Cheesecakes should be stored in an airtight container in the refrigerator, where they can remain fresh for up to 3 days. This method keeps them creamy and delicious, preventing them from drying out. Covering them securely is key to preserving their spooky toppings!
Can I freeze these mini cheesecakes?
Absolutely! To freeze, first place the cheesecakes on a baking sheet in a single layer and freeze until solid, about 1-2 hours. Then transfer them to a freezer-safe container or wrap each one in plastic wrap followed by aluminum foil to prevent freezer burn. They can be frozen for up to 2 months without losing their flavor or texture.
What’s the best way to thaw frozen cheesecakes?
For the best experience, I recommend taking the frozen cheesecakes out of the freezer and placing them in the refrigerator overnight for a gradual thaw. This method helps maintain their creamy texture and prevents condensation from ruining the toppings. Once thawed, enjoy them chilled or at room temperature!
What should I do if my cheesecakes crack after baking?
If you notice cracks appearing, don’t fret! This can happen due to overmixing or overbaking. To minimize this, mix the filling just until smooth and watch the baking time closely. If cracks do occur, try topping them with extra melted chocolate or sprinkles for a fun, festive look that covers imperfections.
Are these cheesecakes safe for kids and those with allergies?
I often make these cheesecakes with my family in mind! However, be mindful of allergies, especially with egg and dairy content. For gluten-free alternatives, use gluten-free cookies for the crust. Always check the labels of any toppings or decorations used. If you're serving these at a party, be sure to inform guests about the ingredients!
Deliciously Spooky Frankenstein Mini Cheesecakes Recipe
Equipment
- mini cheesecake pan
- Mixing bowls
- Electric mixer
Ingredients
For the Cheesecake Filling
- 16 ounces cream cheese softened
- 1 cup sugar
- 3 eggs
- 2 tablespoons flour
- 1.5 teaspoons vanilla
- 20 drops green food coloring adjust to desired shade
For the Crust
- 24 OREO cookies crushed
- 2 tablespoons butter melted
For Decoration
- 32 edible eyes
- 1 cup chocolate chips melted
- 1 cup chocolate sprinkles
- 32 pieces chocolate chips for neck bolts
Instructions
Step-by-Step Instructions
- Preheat your oven to 350°F (175°C).
- Melt 2 tablespoons of butter and combine it with 24 crushed OREO cookies in a medium mixing bowl.
- Form the cookie mixture into 1-inch balls and press down into the mini cheesecake pan.
- In a large mixing bowl, beat together cream cheese, sugar, eggs, and vanilla until smooth.
- Gradually mix in flour and then add green food coloring until desired shade is reached.
- Pour the cheesecake filling over the crusts in your mini pan.
- Bake for 15 minutes; let cool completely at room temperature.
- Remove cheesecakes from the pan, dip tops in melted chocolate, then roll in chocolate sprinkles.
- Pipe decorations and attach edible eyes and chocolate chips.


Leave a Reply