
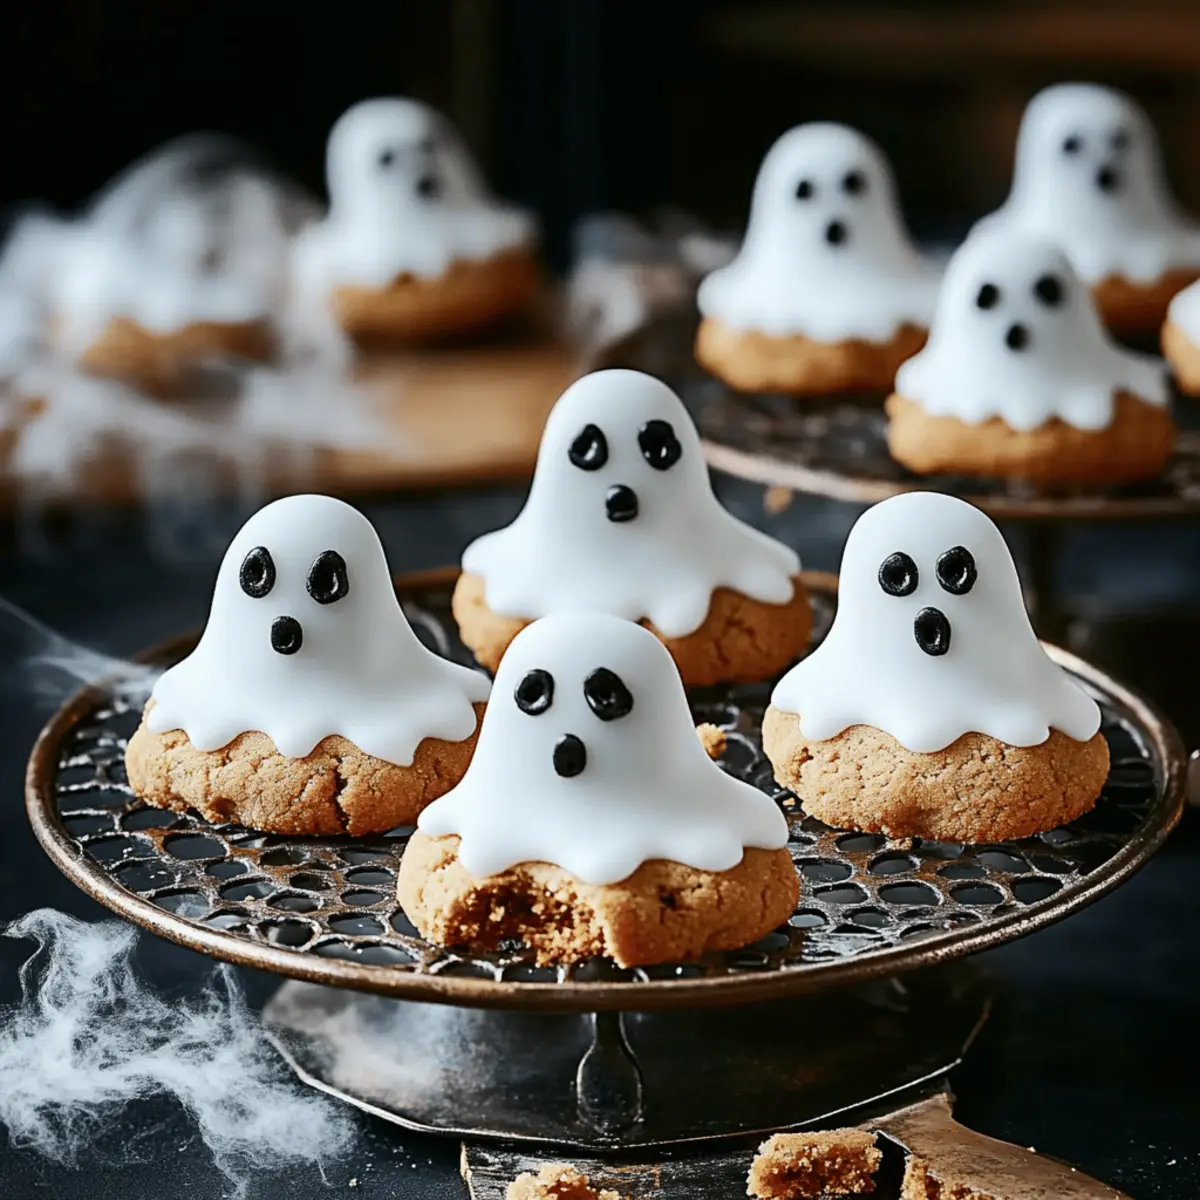
As I stared into my pantry, a ghostly glow from a bag of powdered sugar caught my eye, sparking the idea for a whimsical dessert: Ghost Cookies. These delightful little treats not only bring a spooky flair to your gatherings, but they also come together in no time, making them a fantastic option for busy home chefs. Fun and festive, these cookies are perfect for sharing with family and friends, offering a sweet way to celebrate any occasion—especially Halloween. With just a few simple ingredients and minimal prep, you can create a batch that adds both charm and taste to your dessert table. Ready to find out how to conjure up these deliciously haunting delights?
Why are Ghost Cookies so exciting?
Delightful and whimsical, these Ghost Cookies are perfect for adding a touch of fun to any gathering! Quick to prepare, you can whip up a batch in no time, making them a go-to choice for busy home chefs. Versatile in flavor, they're not only great for Halloween but also fun for birthday parties and family get-togethers. If you love creative treats, be sure to try out Pencil Cookies Fun and elevate your dessert game with more homemade inspiration!
Ghost Cookies Ingredients
• Here’s what you’ll need to make these deliciously spooky treats!
For the Cookie Dough
- All-purpose flour – A must-have for structure; ensure it's properly measured for soft cookies.
- Unsalted butter – Use softened butter for a creamy texture; can be substituted with coconut oil for a dairy-free option.
- Granulated sugar – This sweetener creates a lovely balance; you can swap with brown sugar for a hint of caramel flavor.
- Egg – One large egg helps bind everything together; a flax egg works for a vegan alternative.
- Vanilla extract – For that warm, inviting flavor; consider using almond extract for a twist!
For the Ghostly Decoration
- Powdered sugar – Essential for that fluffy icing; sift it for a smoother finish.
- Milk – Just enough to achieve your desired frosting consistency; almond milk is a great dairy-free substitute.
- Chocolate chips – For cute little ghostly eyes; white chocolate chips can add a fun contrast!
- Black food coloring – Essential for a spooky touch; use cocoa powder for a natural alternative.
Now you're all set to bring these enchanting Ghost Cookies to life!
Step‑by‑Step Instructions for Ghost Cookies
Step 1: Prepare the Cookie Dough
Start by preheating your oven to 350°F (175°C). In a large mixing bowl, cream together 1 cup of softened butter and 1 cup of granulated sugar until the mixture is light and fluffy, about 3-4 minutes. Beat in 1 large egg and 1 teaspoon of vanilla extract until well combined. Gradually add 3 cups of all-purpose flour, mixing until a soft dough forms.
Step 2: Shape the Cookies
Once your dough is ready, scoop out tablespoon-sized portions and roll them into balls. Place the balls onto a parchment-lined baking sheet, spacing them about 2 inches apart to allow for spreading. Gently flatten each ball with the back of a fork or your hand to create an even surface. Bake in your preheated oven for 10-12 minutes, or until the edges are lightly golden.
Step 3: Cool the Cookies
After baking, remove the cookies from the oven and let them cool on the baking sheet for 5 minutes. Then, transfer the cookies to a wire rack to cool completely before frosting. This step is crucial, as the cookies need to be at room temperature for the icing to adhere properly and maintain the lovely shapes of your Ghost Cookies.
Step 4: Make the Ghostly Icing
In a medium bowl, sift 2 cups of powdered sugar to remove any lumps, then add a couple of tablespoons of milk gradually until you achieve a smooth, spreadable consistency. For a ghostly white effect, keep the icing white, or add a few drops of black food coloring to create a spooky design. Mix until well combined, making sure it's not too runny.
Step 5: Decorate the Ghost Cookies
Using a piping bag or a knife, spread the icing generously over the cooled cookies, creating a ghostly shape that mimics the whimsical spirit. While the icing is still wet, place two chocolate chips on each cookie for the eyes, ensuring they stick well. Allow the icing to set for at least 30 minutes before serving your delightful Ghost Cookies to your family and friends.
Step 6: Serve and Share
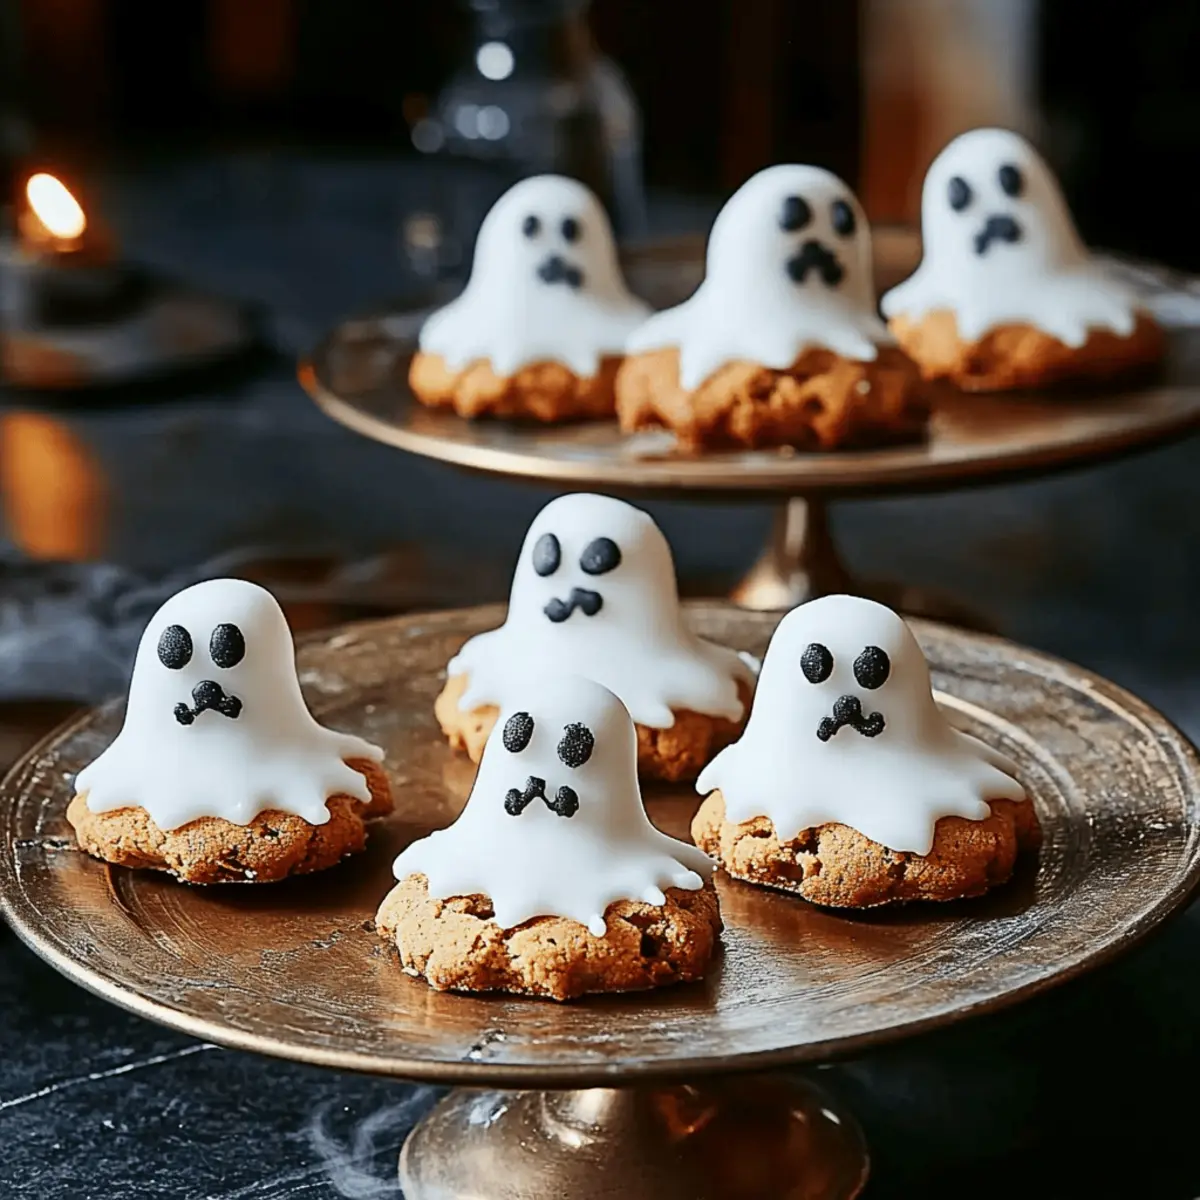
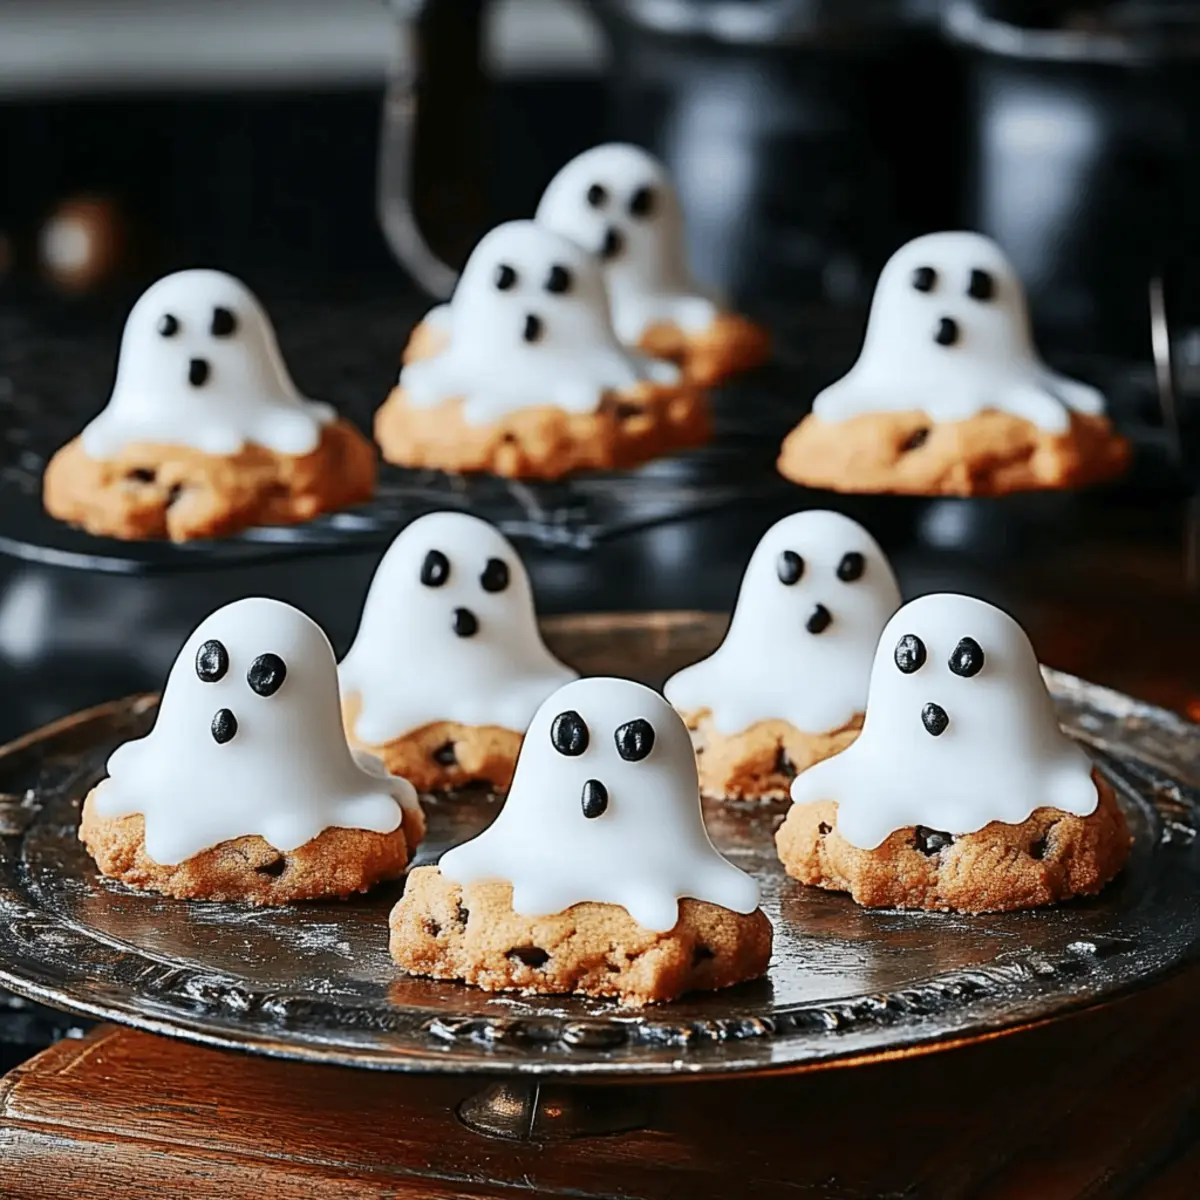
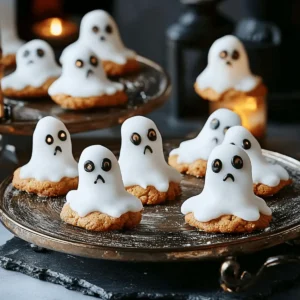
Your deliciously spooky Ghost Cookies are now ready! Arrange the cookies on a festive serving platter, perfect for Halloween parties or any fun gathering. These treats not only taste fantastic but also bring a charming touch to your dessert table. Enjoy the delight on everyone's faces as they indulge in their ghostly goodies!
Expert Tips for Ghost Cookies
-
Measure Carefully: Ensure you're accurately measuring your flour and sugar—too much can lead to dry cookies. Use the spoon-and-level method for the best results.
-
Keep It Cool: Let the cookies cool completely before icing. If they’re too warm, the icing will melt and lose its shape, ruining the ghostly effect.
-
Decorate with Style: Use a piping bag for cleaner, more professional-looking decorations. If you don’t have one, a zip-top bag with a small corner cut works great too!
-
Experiment with Flavors: Feel free to swap vanilla for almond extract in the dough for a unique twist on your Ghost Cookies, perfect for impressing your guests.
-
Storage Solutions: Store your decorated cookies in an airtight container at room temperature to keep them fresh. They can also be frozen for up to three months!
These tips will ensure your Ghost Cookies turn out as delightful as they are spooky!
What to Serve with Ghost Cookies
Experience the magic of your dessert table transformed with delightful accompaniments that enhance every bite of your whimsical treats.
-
Spiced Apple Cider: A warm and fragrant drink that complements the sweet flavors, perfect for cozy gatherings with a festive touch.
-
Pumpkin Cream Cheese Dip: The rich creaminess elevates the dessert experience, providing a delightful contrast to the lighter cookies.
-
Chocolate Bark: This crunchy treat adds extra chocolatey goodness alongside the cookies, enticing sweet tooth enthusiasts.
-
Gourmet Hot Chocolate: A rich and creamy beverage offering a sweet warmth that pairs beautifully with the ghostly flavors of the cookies.
-
Caramel Apples: Fresh and juicy, the tartness of apples with a sweet caramel finish balances the sweetness of your Ghost Cookies nicely.
-
Candy Corn: This iconic Halloween candy adds a playful touch to serving options and provides a crunchy variety alongside your spooky treats.
-
Mini Pumpkin Pies: These bite-sized delights offer a traditional autumn flavor that harmonizes with the fun of Ghost Cookies.
-
Meringue Ghosts: Keep the ghostly theme alive with these light and airy treats, complementing the cookie in both texture and spirit.
Ghost Cookies Variations & Substitutions
Feel free to let your creativity shine by customizing these delightful Ghost Cookies with a few fun twists!
-
Chocolate Twist: Add ½ cup of cocoa powder to the dough for a rich, chocolatey flavor. These cookies can transform into a spooky bite that both kids and adults love.
-
Nut-Free: Substitute sunflower seed butter for the traditional butter to enjoy a delicious nut-free version. They’ll still be spooky and delightful, making them perfect for school parties!
-
Low-Sugar: Replace granulated sugar with a sugar substitute like coconut sugar or stevia to create a lighter treat. Your guests will appreciate a less sweet cookie while still indulging in fun flavors.
-
Spiced Up: Incorporate 1 teaspoon of cinnamon or nutmeg into the dough for a warm spice that’s perfect for fall festivities. Imagine the aroma filling your home as they bake!
-
Gluten-Free: Use a gluten-free all-purpose flour blend in place of regular flour for gluten-sensitive friends to partake too. Good taste knows no dietary barriers!
-
Shimmery Decor: Mix edible glitter into the icing for a magical touch! A sprinkle of shimmer will take your Ghost Cookies to the next level of festive fun!
-
Berry Good: Add dried cranberries or blueberries to the cookie dough for a tangy burst of flavor. These fruity additions provide a delightful contrast to the sweet icing.
-
Fruity Flavor: Swap out the vanilla extract for orange or lemon extract in the dough. The bright and zesty notes will make these Ghost Cookies refreshingly unique.
Mix and match these ideas to make your Ghost Cookies an even more enchanting treat for everyone at your gathering. No matter how you choose to customize them, the delight and surprise will surely steal the show! Don't forget, if you're in the mood for creative cookie ideas, you can also check out Chocolate Chip Cookies for more inspiration!
How to Store and Freeze Ghost Cookies
Room Temperature: Store your Ghost Cookies in an airtight container at room temperature for up to 5 days to maintain their freshness and delightful flavor.
Fridge: If you prefer a longer storage time, you can keep your decorated cookies in the fridge for up to 2 weeks; this helps them stay fresh while avoiding a soggy texture.
Freezer: Freeze your Ghost Cookies in an airtight container or freezer bag for up to 3 months. To prevent sticking, separate layers with parchment paper.
Reheating: To enjoy them again, thaw frozen cookies in the fridge overnight. If desired, warm them slightly in the microwave for a few seconds to bring back that freshly baked taste.
Make Ahead Options
These Ghost Cookies are perfect for busy home cooks looking to save time! You can prepare the cookie dough up to 24 hours in advance by mixing all the ingredients and wrapping it tightly in plastic wrap before refrigerating. Additionally, bake the cookies a day ahead and store them in an airtight container to maintain their freshness. When you're ready to serve, simply make the ghostly icing and decorate the cookies just before your gathering for a festive touch. This way, your deliciously spooky Ghost Cookies will be just as delightful, ensuring a fun and stress-free celebration!
Ghost Cookies Recipe FAQs
What kind of flour should I use for Ghost Cookies?
All-purpose flour is essential for achieving the right structure and texture in your Ghost Cookies. Make sure to measure it properly for the softest results—using the spoon-and-level method works best! If you prefer a gluten-free option, you can substitute it with a 1:1 gluten-free baking mix designed for cookies.
How long can I store my Ghost Cookies?
You can keep your Ghost Cookies in an airtight container at room temperature for up to 5 days. If you want them to last longer, refrigerate them for up to 2 weeks. Just be sure to avoid overloading the container; cookies need space to stay fresh!
Can I freeze Ghost Cookies?
Absolutely! To freeze your Ghost Cookies, place them in an airtight container or a freezer bag lined with parchment paper to prevent sticking. They can be frozen for up to 3 months. When you're ready to enjoy them again, simply thaw them in the fridge overnight or warm them slightly in the microwave for a cozy treat.
What if my icing is too runny?
If your icing turns out too runny, no need to worry! Simply add a bit more sifted powdered sugar to thicken it. Do this in small increments—1 tablespoon at a time—until you reach the desired spreadable consistency. If it’s too thick, add a few drops of milk until you get that perfectly ghostly glaze!
Is there a vegan option for these cookies?
Yes! You can easily make Ghost Cookies vegan by substituting the egg with a flax egg. To create a flax egg, mix 1 tablespoon of ground flaxseed with 2.5 tablespoons of water and let it sit for about 5 minutes until it thickens. Also, consider using coconut oil instead of butter and almond milk in your icing!
Can I use different decorations for the Ghost Cookies?
The more the merrier! While chocolate chips for the eyes are adorable, feel free to get creative! You might use candy eyes instead, or add sprinkles for some extra Halloween flair. Just remember to ensure the decorations stick to the icing while it’s still wet, for that charming and spooky look!
Deliciously Spooky Ghost Cookies to Delight Your Halloween
Equipment
- Mixing bowl
- Baking sheet
- parchment paper
- Piping Bag
Ingredients
Cookie Dough
- 3 cups All-purpose flour Properly measured for soft cookies.
- 1 cup Unsalted butter Use softened; can substitute with coconut oil.
- 1 cup Granulated sugar Can substitute with brown sugar.
- 1 large Egg Can substitute with a flax egg for vegan option.
- 1 teaspoon Vanilla extract Almond extract can be used for a twist.
Ghostly Decoration
- 2 cups Powdered sugar Sift for a smoother finish.
- 2 tablespoons Milk Almond milk is a great dairy-free substitute.
- 1 cup Chocolate chips Use white chocolate chips for a contrast.
- as needed Black food coloring Use cocoa powder for a natural alternative.
Instructions
Cookie Preparation
- Preheat your oven to 350°F (175°C).
- In a large mixing bowl, cream together the butter and sugar until light and fluffy, about 3-4 minutes.
- Beat in the egg and vanilla extract until well combined.
- Gradually add the flour, mixing until a soft dough forms.
- Scoop out tablespoon-sized portions, roll into balls, and place them on a parchment-lined baking sheet, spaced 2 inches apart.
- Flatten each ball gently and bake for 10-12 minutes, or until the edges are golden.
- Cool on the baking sheet for 5 minutes, then transfer to a wire rack.
Icing and Decoration
- Sift powdered sugar into a medium bowl and gradually add milk until smooth.
- Add black food coloring if desired and mix until well combined.
- Spread icing over cooled cookies and place two chocolate chips on each for eyes.
- Allow icing to set for at least 30 minutes before serving.
- Arrange cookies on a festive platter and enjoy!


Leave a Reply