
As I rummaged through my kitchen one gloomy afternoon, a quirky idea sparked: what if I could transform simple mozzarella into something delightful and fun? Enter the world of Mozzarella Cheese Skulls! Not only do these charming little morsels make for an eye-catching snack, but they’re also incredibly quick to whip up, making them perfect for spontaneous gatherings or a cozy night in. With just a few ingredients, you can create a spooky yet tasty treat that will impress everyone at your table. These cheese skulls are a wonderful way to break the monotony of fast food and embrace a little creativity in your cooking. So, are you ready to dive into this cheesy adventure and give your gatherings a fun twist?
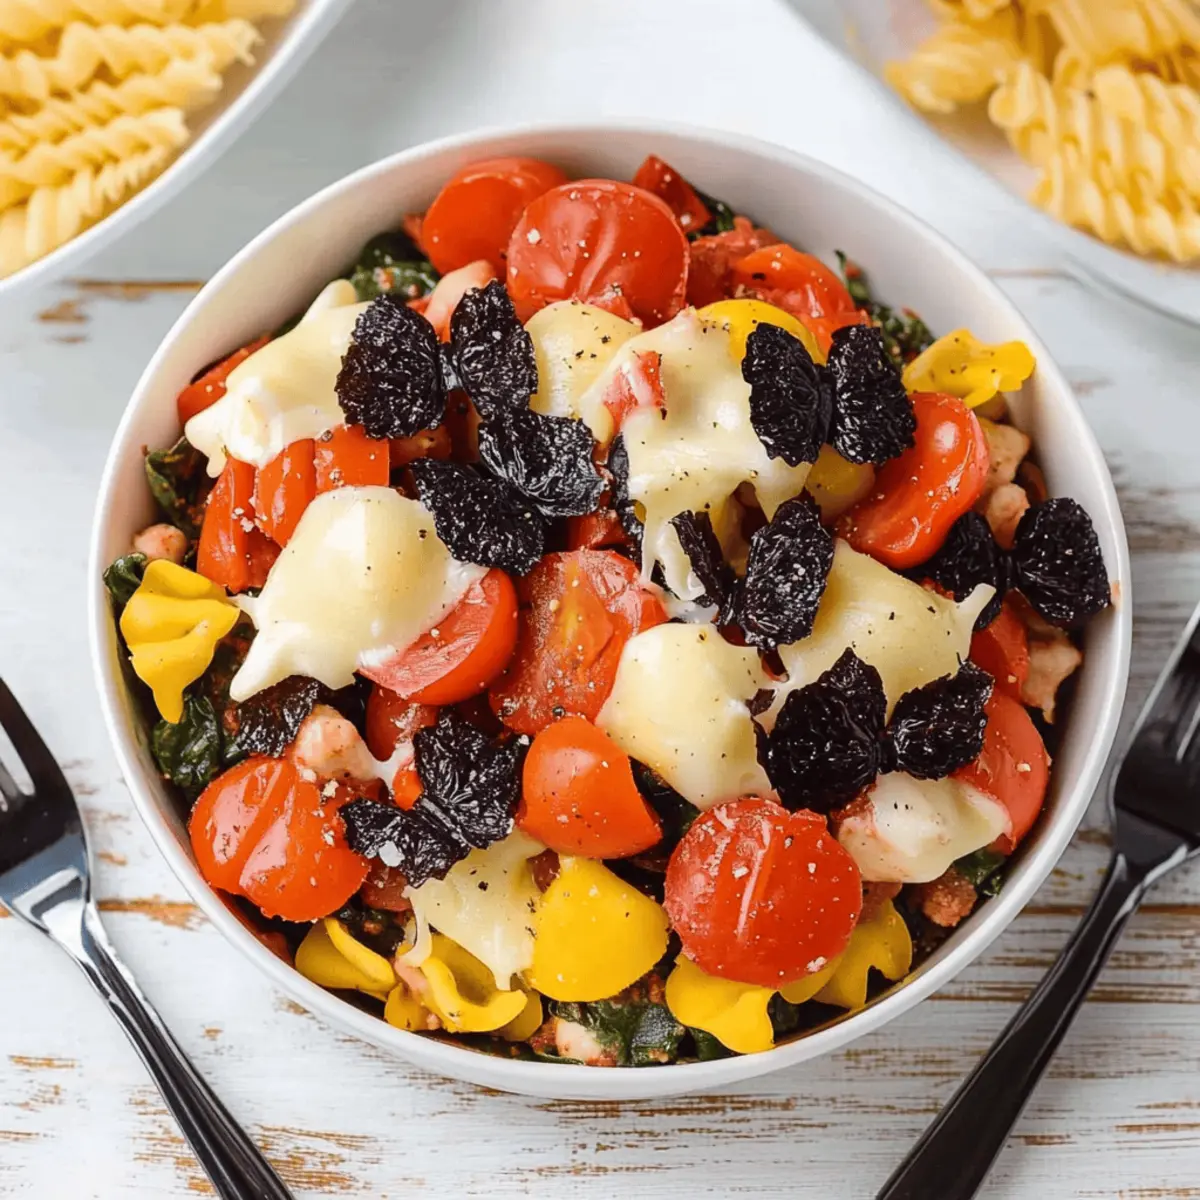
Why Are Mozzarella Cheese Skulls So Fun?
Unique Presentation: These skull-shaped treats will wow your guests and add a whimsical touch to any gathering.
Quick and Easy: Ready in just 20 minutes, they’re perfect for when you need a last-minute snack.
Versatile Snack: Serve them as an appetizer or pair with your favorite marinara sauce for a fun twist on fondue!
Impressively Creative: Showcase your culinary creativity without complicated steps.
Family-Friendly Fun: Kids will love helping mold these delightful skulls, making it a perfect cooking project!
Tired of same-old snacks? Try making these delightful Mozzarella Cheese Skulls for your next get-together, and pair them with a refreshing drink or one of your favorite homemade dips. Enjoy the excitement they bring to your table!
Mozzarella Cheese Skulls Ingredients
For the Cheese Skulls
• Mini mozzarella balls (ciliegine) – These soft little balls are perfect for molding into spooky shapes and pack a delicious cheesy punch.
• Silicone skull mold – The secret weapon to transforming your mozzarella into fun shapes, ensuring easy release after baking.
• Moisture blotting items (e.g., paper towel) – Essential for removing excess moisture, helping your cheese achieve the perfect texture for molding.
Bring these simple ingredients together, and you're well on your way to creating your delightful Mozzarella Cheese Skulls! Enjoy crafting this unique treat that will capture the imagination of family and friends alike.
Step‑by‑Step Instructions for Mozzarella Cheese Skulls
Step 1: Preheat and Prepare
Preheat your oven to 350°F (175°C) to ensure a perfectly baked texture. While the oven warms up, take a paper towel and gently blot each mini mozzarella ball to remove any excess moisture. This step is crucial for achieving the firm yet soft consistency of the Mozzarella Cheese Skulls.
Step 2: Mold the Mozzarella
Place a single mozzarella ball into each cavity of the silicone skull mold, ensuring that they sit comfortably in the shape. This creative mold will help form our spooky skulls. Make sure not to overcrowd the cavities; give each cheese ball a little space to expand during baking.
Step 3: Bake with Care
Once your mozzarella is neatly placed in the mold, place it in the preheated oven. Bake for 8-10 minutes, checking frequently for a soft, gooey texture without fully melting. The cheese should be visibly softened and slightly puffed, ready for the fun shaping that follows.
Step 4: Shape the Skulls
Remove the cheese mold from the oven with oven mitts, as it will be hot! Using the back of a spoon, press gently into each mozzarella ball, ensuring they take on the skull shape beautifully. If you notice any excess moisture, blot it away carefully to maintain a clean finish.
Step 5: Chill and Unmold
Place the molded mozzarella skulls in the refrigerator for about 10 minutes to allow them to cool and set up. Once they are chilled and firm to the touch, gently flip the mold over and carefully unmold each Mozzarella Cheese Skull. Enjoy the delightful spooky presentation of your creation!
What to Serve with Mozzarella Cheese Skulls?
Looking to elevate your Mozzarella Cheese Skulls into a full feast? Here are some delightful pairings that will make your meal unforgettable.
-
Savory Marinara Sauce:
A warm, rich dip to complement the gooey cheese, adding a tangy contrast. -
Garlicky Breadsticks:
These crispy treats will provide a crunchy texture, perfect for dipping into sauces alongside your skulls. -
Zesty Salad:
A fresh arugula salad with lemon dressing will add brightness, balancing the creamy cheese with vibrant flavors. -
Roasted Vegetables:
Seasoned to perfection, these earthy veggies offer a wonderful contrast to the richness of the mozzarella. -
Buttery Popcorn:
Tossed with herbs or spices, popcorn makes a fun, crunchy side that enhances the playful vibe of your spooky creation. -
Red Wine:
A smooth red wine pairs beautifully with the richness of cheese, creating a gourmet dining experience that feels special. -
Spooky Cocktails:
Serve themed drinks such as black martinis or pumpkin-flavored beverages to fit the fun, Halloween-esque spirit of the occasion. -
Chocolate Mousse:
End your meal on a sweet note with a creamy dessert that juxtaposes the savory flavors of your Mozzarella Cheese Skulls.
Mozzarella Cheese Skulls Variations
Feel free to explore these fun twists on Mozzarella Cheese Skulls to make them uniquely yours!
-
Herb-Infused: Mix dried herbs like oregano or basil into the mozzarella before molding for a flavor boost.
-
Spicy Twist: Add a pinch of red pepper flakes to the mozzarella for a delightful kick that adds warmth with every bite. Spice enthusiasts will enjoy the extra layer of complexity in these cheesy skulls!
-
Cheddar Mix: Blend in some shredded sharp cheddar for an added tangy flavor, creating a delightful contrast with the mozzarella's mildness.
-
Dairy-Free Option: Substitute with dairy-free mozzarella balls; they’ve come a long way, making this spooky treat accessible for everyone.
-
Funky Fillings: Before frosting with cheese, layer in small bits of sun-dried tomatoes or olives for added texture and flavor surprises. This makes each bite an exciting adventure!
-
Garnish Glam: Top with fresh chopped parsley or a drizzle of balsamic glaze right before serving for a visually stunning finish.
-
Pumpkin Spice Variation: Try adding pumpkin spice seasoning to the mix if you’re in the mood for a fall-inspired twist. It infuses just the right amount of seasonal cheer!
Let your creativity shine as you experiment with these variations; after all, cooking is all about having fun and expressing yourself! And while you’re at it, why not check out these unique dips like Roasted Red Pepper Hummus or a classic Creamy Spinach Dip that pair beautifully with your Mozzarella Cheese Skulls? Enjoy!
Expert Tips for Mozzarella Cheese Skulls
-
Moisture Control: Blotting the mozzarella balls is vital; extra moisture can lead to uneven melting, making it harder to mold your skulls.
-
Monitor Baking Time: Keep a close eye while baking. Remove the cheese as soon as it’s softened but not fully melted to achieve the best shape for your Mozzarella Cheese Skulls.
-
Chill Thoroughly: Allow enough chilling time in the fridge before unmolding. This step ensures they hold their shape and enhances the texture.
-
Experiment with Flavors: Add herbs or spices to your mozzarella before baking for a delicious twist that complements your spooky treats.
-
Use Quality Ingredients: Fresh mozzarella will yield the best flavor and texture, making your Mozzarella Cheese Skulls even more delightful!
Make Ahead Options
These Mozzarella Cheese Skulls are ideal for busy home cooks looking to streamline their meal prep! You can prepare the mozzarella balls in advance by blotting and storing them in the refrigerator for up to 3 days. Simply place the blotted mozzarella in an airtight container lined with paper towels (to absorb moisture) until you’re ready to bake. When it’s time to impress your guests, just pop them into the silicone skull mold, bake for 8-10 minutes, and proceed with shaping and chilling as outlined in the recipe. Rest assured, these make-ahead cheese treats will be just as delightful and spooky when served, making your gatherings stress-free and fun!
How to Store and Freeze Mozzarella Cheese Skulls
Room Temperature: These cheese skulls are best enjoyed fresh; however, if left at room temperature, they will stay good for up to 2 hours at a party.
Fridge: Store leftover Mozzarella Cheese Skulls in an airtight container in the fridge for up to 3 days. This keeps them fresh while maintaining that delightful texture.
Freezer: For longer storage, you can freeze the unmolded cheese skulls in a single layer on a baking sheet, then transfer to an airtight container. They can last up to 2 months in the freezer.
Reheating: To enjoy leftovers, simply reheat in the oven at 350°F for 5-7 minutes until warmed through without losing their charm.
Mozzarella Cheese Skulls Recipe FAQs
What’s the best way to select mini mozzarella balls for this recipe?
Absolutely! When selecting mini mozzarella balls (ciliegine), look for ones that are firm and free from dark spots or excessive moisture. Freshness is key, so check for a recent expiration date and choose cheese that feels slightly springy to the touch.
How should I store leftover Mozzarella Cheese Skulls?
Great question! To keep your Mozzarella Cheese Skulls fresh, store them in an airtight container in the refrigerator. They should remain delicious for up to 3 days. Just make sure not to overcrowd them to prevent any squishing!
Can I freeze Mozzarella Cheese Skulls?
Very! Freezing is a fantastic option. First, unmold the cheese skulls and lay them on a baking sheet in a single layer. Freeze them for about 1-2 hours until they're hard. Then, transfer the frozen skulls to an airtight container. They can last up to 2 months in the freezer. When you’re ready to enjoy them, simply reheat in the oven at 350°F for 5-7 minutes.
What should I do if my mozzarella balls don’t seem to hold their shape?
No worries, this can happen! If your cheese isn’t holding its shape, it may be due to excess moisture. Ensure you blot the mozzarella balls thoroughly before molding. Also, monitor baking time closely—the cheese should be softened but not fully melted. If you accidentally overbake them, they might flatten out. Just remember to allow them to chill properly after shaping to help maintain their form.
Are there any dietary considerations for Mozzarella Cheese Skulls?
Certainly! Mozzarella is made from milk, so be cautious if you have lactose intolerance or a dairy allergy. For a dairy-free alternative, you might explore plant-based mozzarella options available at health food stores. Also, ensure that any ingredients you pair your cheese skulls with, like dips or sauces, align with any dietary restrictions of your guests!
Deliciously Spooky Mozzarella Cheese Skulls You’ll Love
Equipment
- Silicone skull mold
Ingredients
For the Cheese Skulls
- 1 cup Mini mozzarella balls (ciliegine) Perfect for molding into spooky shapes.
- 1 unit Silicone skull mold Ensures easy release after baking.
- 1 unit Moisture blotting items e.g., paper towel, to remove excess moisture.
Instructions
Step‑by‑Step Instructions
- Preheat your oven to 350°F (175°C). Blot each mini mozzarella ball with a paper towel to remove excess moisture.
- Place a single mozzarella ball into each cavity of the silicone skull mold, ensuring they sit comfortably.
- Bake for 8-10 minutes, checking frequently until soft but not fully melted.
- Remove the mold from the oven and press gently into each mozzarella ball to shape them into skulls.
- Chill the molded mozzarella skulls in the refrigerator for about 10 minutes, then unmold and enjoy.

Leave a Reply