
As I walked through the seasonal aisles, the vibrant orange and black colors of Halloween instantly transported me back to my childhood. This year, I decided to get crafty in the kitchen and create some delightful Halloween Pretzels. With just a handful of simple ingredients and a prep time of only 20 minutes, these treats are the perfect blend of sweet and salty—ideal for entertaining guests or enjoying a cozy night in. Not only do they make for a fun and festive snack, but they're also a great way to unleash your creativity with toppings like candy eyes and sprinkles. So, are you ready to whip up a batch of these spook-tacular delights that will have everyone coming back for more?
Why are Halloween Pretzels so fun?
Simplicity and Speed: In just 20 minutes, you can create a whimsical treat that’s sure to impress. Customizable Toppings: Use candy eyes and sprinkles to make each pretzel unique. Sweet and Salty Delight: The balance of flavors will satisfy any craving. Perfect for Parties: Whether it’s a spooky Halloween bash or a casual get-together, these pretzels are a hit! For an extra treat, try pairing them with hot cocoa or go all out with some delicious homemade caramel sauce. Get ready to make this festive snack and become the star of your gathering!
Halloween Pretzel Ingredients
For the Base
• Mini pretzels – The perfect salty canvas for your sweet creations; both twists and rods work great!
• Candy melts – Choose from white, orange, or black to create a festive appearance and delightful sweetness.
For the Toppings
• Halloween sprinkles – Add a burst of color and fun; they’re essential for that spooky vibe!
• Candy eyes – Spookify your pretzels with these playful additions that really bring your Halloween pretzels to life.
• Crushed Oreos – For an extra dash of crunch and flavor, sprinkle these optional crumbs on top!
For Assembly
• Parchment paper – Line your baking sheet for easy transfer and hassle-free cleanup; it keeps pretzels from sticking while they set.
With these Halloween pretzel ingredients at your fingertips, you're all set to craft a treat that's as delightful to make as it is to eat!
Step‑by‑Step Instructions for Halloween Pretzels
Step 1: Prepare Your Workspace
Start by lining a baking sheet with parchment paper. This step is crucial as it prevents the Halloween Pretzels from sticking, making for easy cleanup later. Ensure that your workspace is tidy and everything is within reach. Prepping your area also sparks creativity as you're ready to dive into crafting these delicious snacks!
Step 2: Melt the Candy Melts
Next, melt the candy melts according to the package instructions, usually in a microwave-safe bowl for about 30 seconds at a time, stirring in between until smooth. Aim for a creamy consistency without any lumps. The melted candy should be glossy and pourable, ready to coat your pretzels beautifully.
Step 3: Dip the Pretzels
Once the candy melts are ready, take a mini pretzel and dip it into the melted candy, ensuring it’s fully coated. If you prefer a drizzle, hold the pretzel above the bowl and let the candy pour over it. Place the coated pretzel on the parchment-lined baking sheet, and repeat this process until all pretzels are covered in delightful candy.
Step 4: Add Your Toppings
Before the melted candy sets, sprinkle your Halloween sprinkles and place candy eyes on top of each pretzel to bring them to life. Feel free to get creative with your designs! If you’re using crushed Oreos, now is the time to sprinkle them over the candy layer for an extra touch of flavor and crunch.
Step 5: Let Them Harden
After decorating, let the pretzels sit undisturbed at room temperature for about 15 minutes or until the candy coating hardens completely. Check for a firm finish—a glossy coating that feels solid to the touch without any stickiness. This ensures your Halloween Pretzels will hold their shape beautifully when taken off the baking sheet.
Step 6: Store Your Treats
Once fully set, gently lift the Halloween Pretzels from the parchment paper and place them in an airtight container. They can be stored at room temperature, keeping them fresh for up to a week. Enjoy sharing these festive treats at gatherings, or save some for your own special Halloween celebrations!
What to Serve with Halloween Pretzels?
Let the enchanting flavors and festive vibes of Halloween Pretzels inspire your menu for a playful gathering with family and friends.
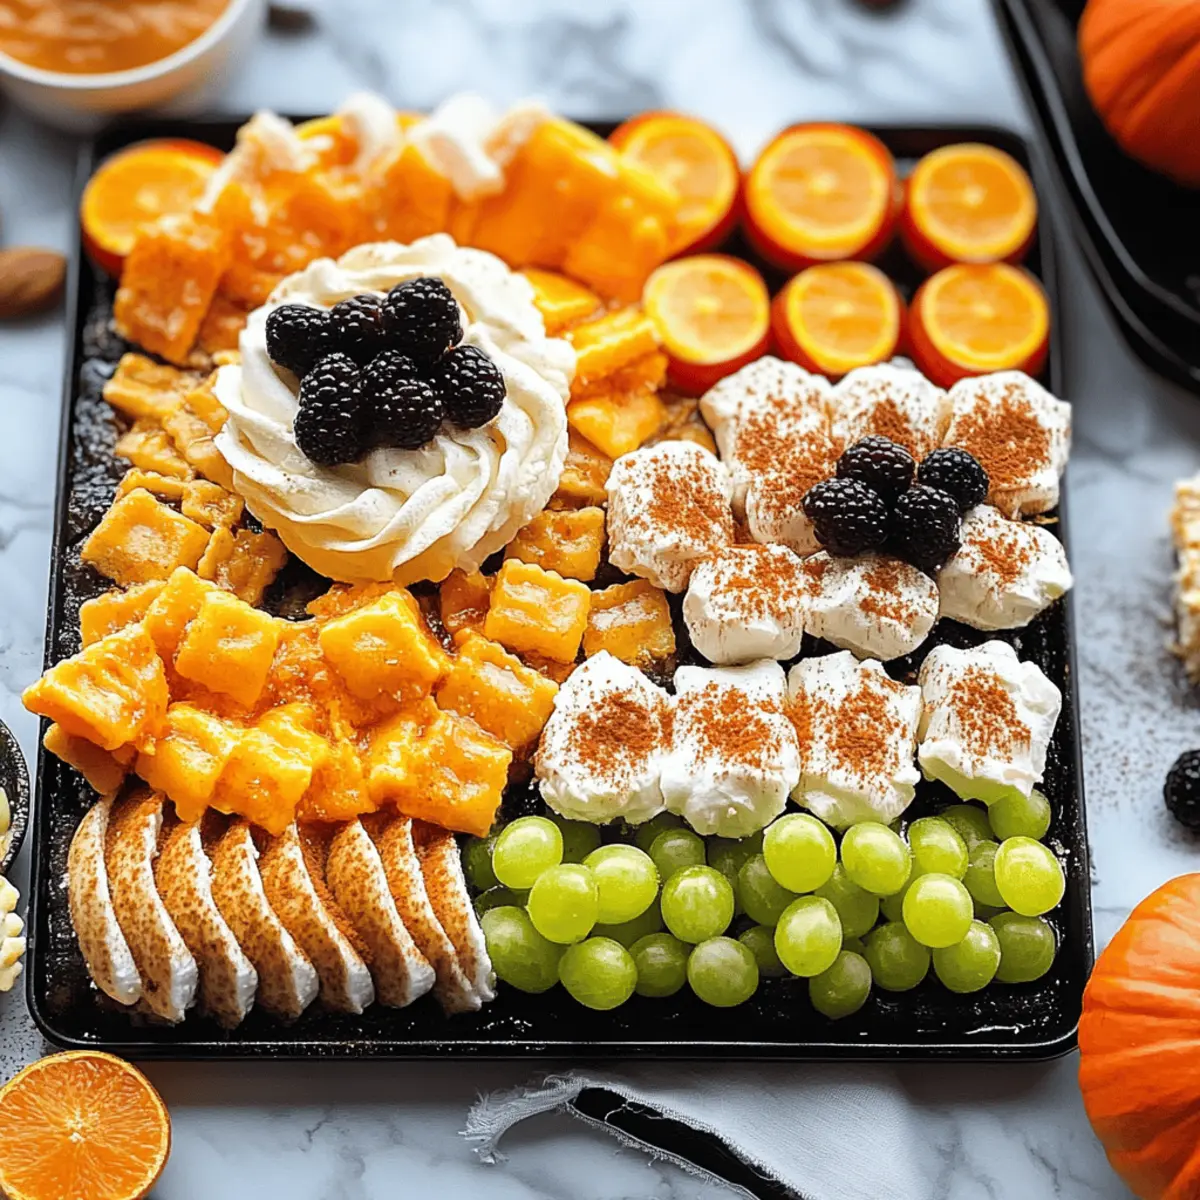
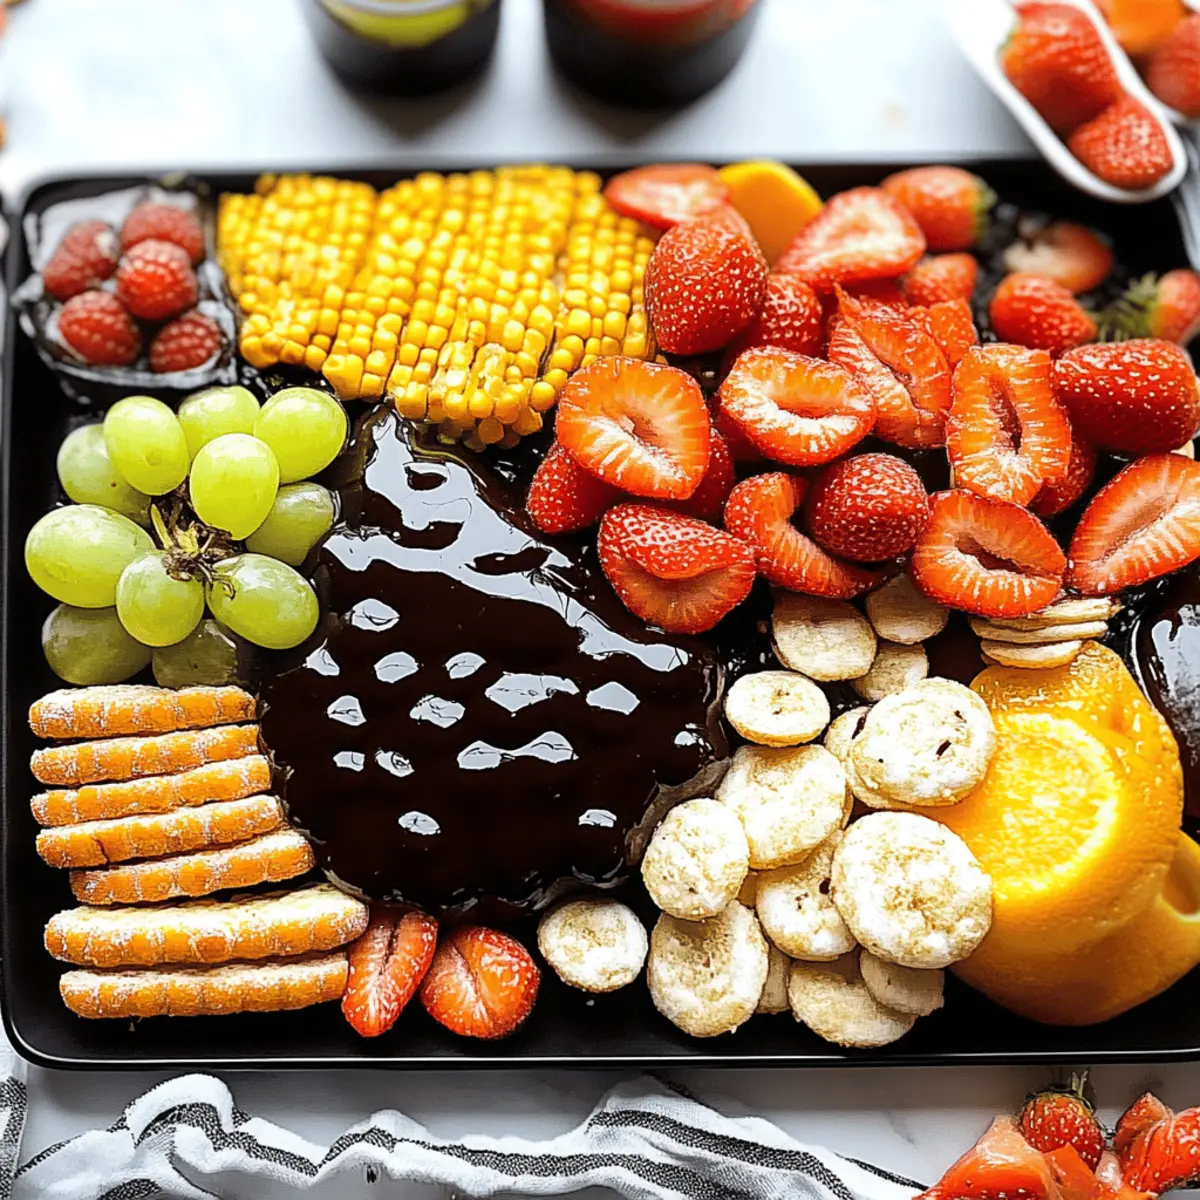
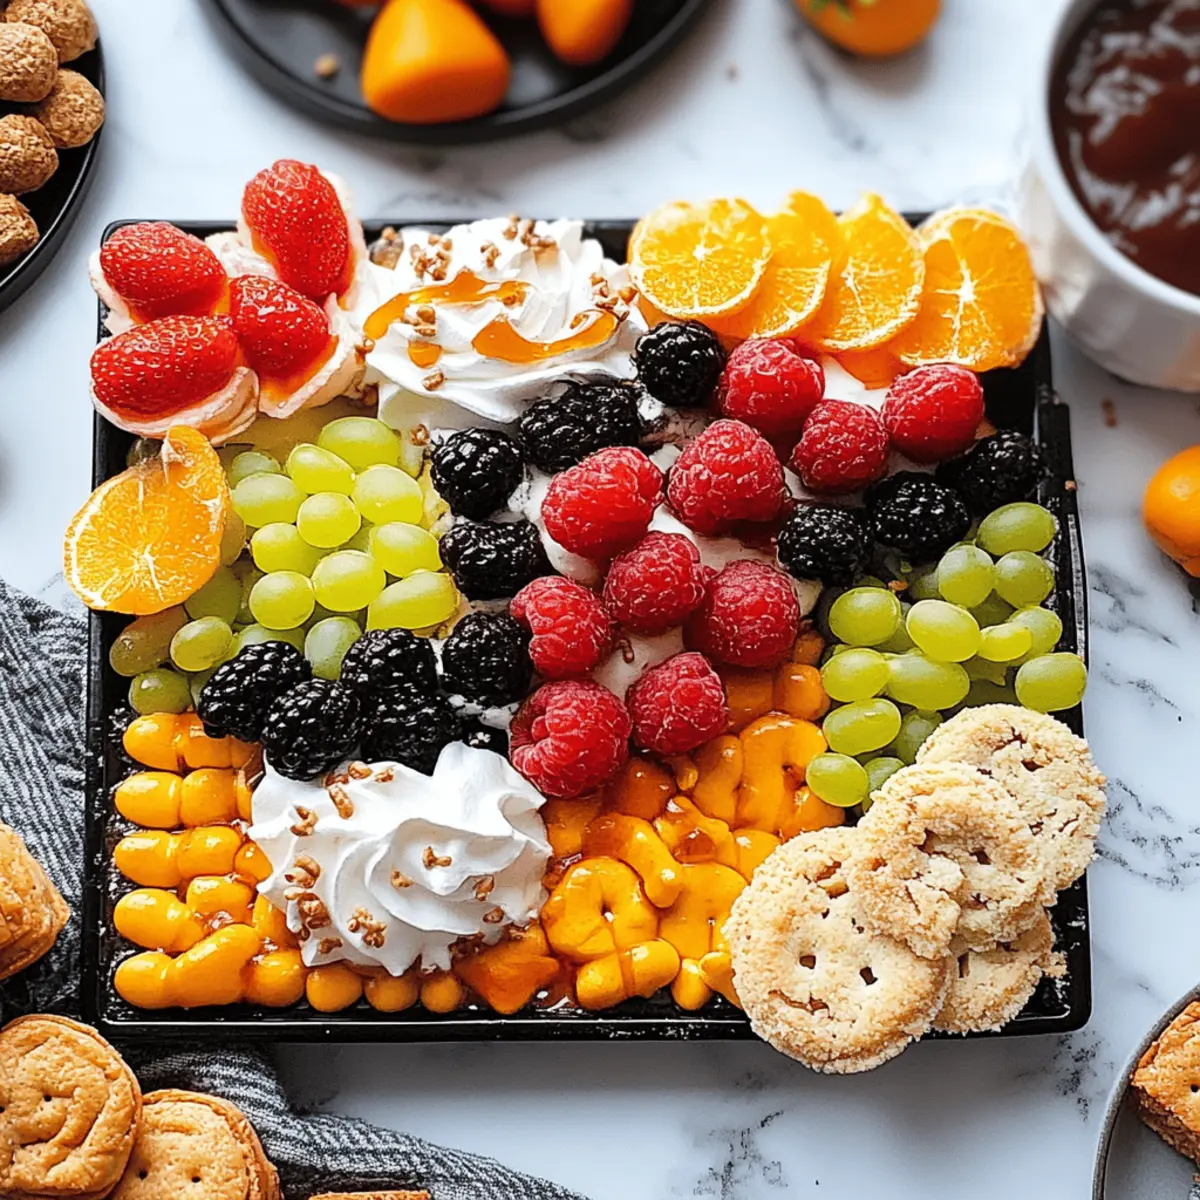
- Spooky Fruit Platter: A colorful assortment of seasonal fruits adds a refreshing touch, balancing the sweetness of your pretzels.
- Pumpkin Spice Hot Chocolate: Cozy up with this creamy drink, perfectly complementing the sweet and salty flavors of the pretzels.
- Caramel Apple Slices: These treats offer a crunchy, fruity contrast with sweet caramel that pairs delightfully with the pretzels.
- Ghostly Meringue Cookies: Light and airy, these treats provide a delightful texture contrast while maintaining a whimsical ambiance.
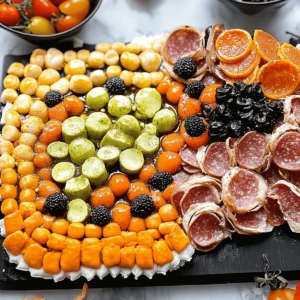
- Cheese and Charcuterie Board: A savory platter featuring various cheeses, meats, and crackers provides a satisfying balance to the homemade sweetness of your pretzels.
- Halloween-themed Cupcakes: Decorate some cupcakes with spooky motifs to create an eye-catching dessert table that visitors will love.
- Chilled Pumpkin Soup: This velvety dish adds an element of warmth and comfort, pairing pleasantly with the playful crunch of pretzels.
How to Store and Freeze Halloween Pretzels
Room Temperature: Keep your Halloween Pretzels in an airtight container at room temperature for up to 1 week to maintain their crispy texture and colorful appearance.
Fridge: If you prefer a longer shelf life, store them in the fridge, where they can last up to 2 weeks. Just ensure they're well-wrapped to avoid moisture.
Freezer: For long-term storage, freeze the pretzels for up to 3 months. Place them in a freezer-safe container, separating layers with parchment paper to prevent sticking.
Reheating: When ready to enjoy, simply remove the desired amount and let them sit at room temperature for about 15 minutes before serving. This helps restore their delightful crunch!
Halloween Pretzels Variations & Substitutions
Feel free to get creative and make these Halloween Pretzels uniquely yours with these tasty twists and substitutions!
-
Dark Chocolate Drizzle: Swap candy melts for melted dark chocolate for a rich flavor that pairs beautifully with salty pretzels.
-
Nut Allergy-Friendly: Use sunbutter or soy nut butter in place of candy melts for a delightful and safe alternative for those with nut allergies.
-
Spicy Kick: Sprinkle some cayenne pepper or chili powder over the top before setting for a surprising heat that complements the sweetness.
-
Caramel Swirl: Drizzle a homemade or store-bought caramel sauce over the pretzels for a gooey, sweet addition that takes them to the next level.
-
Grain-Free Option: Try substituting pretzels with crunchy veggie chips or cheese crisps to cater to a low-carb or grain-free diet.
-
Festive Colors: Use colored sugar or edible glitter to create a vibrant, eye-catching finish. Different colors can enhance the Halloween spirit significantly!
-
Savory Twist: Sprinkle some seasoned herb mixture or cheese powder to transform these treats into a delicious savory snack that contrasts delightfully with the sweetness.
-
Chocolate Chip Variation: Add mini chocolate chips after dipping in the candy melts for an extra layer of sweetness. This combination offers both texture and taste!
These variations will not only add excitement but also cater to different dietary preferences and flavor profiles. And if you have some leftover candy melts, why not whip up a batch of chocolate-covered strawberries for an easy and elegant dessert? Enjoy every delightful bite as your Halloween festivities unfold!
Expert Tips for Halloween Pretzels
• Choose Quality Candy Melts: Opt for high-quality candy melts for a smoother melting experience. Cheaper brands may clump or not melt evenly, affecting the final look.
• Get Creative with Toppings: Don’t hesitate to mix and match toppings! Use nuts, crushed candies, or even edible glitter for unique Halloween Pretzels that stand out.
• Be Timely with Decorations: Add your sprinkles and candy eyes while the candy coating is still wet. Once it hardens, they won’t stick well, resulting in less festive treats.
• Use a Double Boiler: If microwaving isn’t yielding smooth results, try melting the candy melts using a double boiler. This method offers better control over the temperature and prevents burning.
• Avoid Overcrowding: Space out your pretzels on the baking sheet. This ensures they harden evenly without sticking together, helping your Halloween Pretzels maintain their delightful shapes.
Make Ahead Options
These Halloween Pretzels are fantastic for meal prep, allowing you to enjoy the festive spirit without the last-minute rush! You can prepare the pretzels by coating them in melted candy up to 24 hours ahead of time. After dipping, add your sprinkles and candy eyes just before serving to maintain their delightful appearance. Simply store the coated pretzels in an airtight container at room temperature to preserve their crunch and freshness. When it's time to serve, bring them out—your guests will be amazed at how just as delicious and festive they look!
Halloween Pretzels Recipe FAQs
How do I choose the right pretzels for my Halloween Pretzels?
Absolutely! For the best results, opt for mini twists or rods, as both provide a perfect base for your candy coating. Look for pretzels that are fresh and have no dark spots or breakages, which can affect the presentation and texture of your finished treats.
How should I store my Halloween Pretzels?
To keep your Halloween Pretzels fresh, store them in an airtight container at room temperature for up to 1 week. If you’d like them to last longer, refrigeration can extend their shelf life to about 2 weeks, as long as they’re well-wrapped to prevent moisture from ruining that delightful crunch!
Can I freeze Halloween Pretzels?
Yes, you can! To freeze your Halloween Pretzels for long-term storage, place them in a freezer-safe container, ensuring to layer them with parchment paper to avoid sticking. They can be stored in the freezer for up to 3 months. When you're ready to enjoy them, remove the desired amount and let them sit at room temperature for about 15 minutes to restore their crunch!
What should I do if my candy melts don't melt smoothly?
Very! If your candy melts aren’t turning out as smooth as you’d like, first check the quality of the melts you're using; cheaper options can sometimes clump. For a better melting experience, use a microwave in short bursts (30 seconds), stirring in between, or try a double boiler for more controlled heat. If they're still clumpy, consider adding a teaspoon of vegetable oil to thin them out for that perfect coating consistency.
Are there any dietary considerations for making Halloween Pretzels?
Yes, absolutely! If any guests have allergies, it's wise to look for gluten-free pretzels and ensure your candy melts are allergen-free too. Additionally, be mindful if any pets will have access to the pretzels, as chocolate and certain candies can be harmful to animals. Always check ingredient labels for potential allergens like peanuts or dairy.
Can I use different toppings for my Halloween Pretzels?
The more the merrier! Get creative with your toppings! In addition to Halloween sprinkles and candy eyes, consider adding crushed nuts, edible glitter, or even bits of your favorite candies for a unique twist. Just remember to add them while the candy coating is still wet, so they adhere well and look fabulous on your spooky snacks!
Easy Halloween Pretzels That Will Wow Your Guests
Equipment
- Microwave-safe bowl
- Baking sheet
- parchment paper
Ingredients
For the Base
- 2 cups Mini pretzels Both twists and rods work great.
- 1 cup Candy melts Choose from white, orange, or black.
For the Toppings
- 1 cup Halloween sprinkles Essential for that spooky vibe!
- 1 cup Candy eyes For a fun decorative touch.
- ½ cup Crushed Oreos Optional for added crunch.
For Assembly
- 1 sheet Parchment paper To line your baking sheet.
Instructions
Step‑by‑Step Instructions
- Prepare Your Workspace: Line a baking sheet with parchment paper to prevent sticking and ensure easy cleanup.
- Melt the Candy Melts: Melt candy melts in a microwave-safe bowl, heating in 30-second intervals, stirring until smooth.
- Dip the Pretzels: Dip each mini pretzel in the melted candy until fully coated, then place on parchment paper.
- Add Your Toppings: Before the coating hardens, sprinkle with Halloween sprinkles and place candy eyes on top.
- Let Them Harden: Allow pretzels to sit for about 15 minutes at room temperature until the coating is firm.
- Store Your Treats: Place fully set pretzels in an airtight container. They stay fresh at room temperature for up to a week.


Leave a Reply