
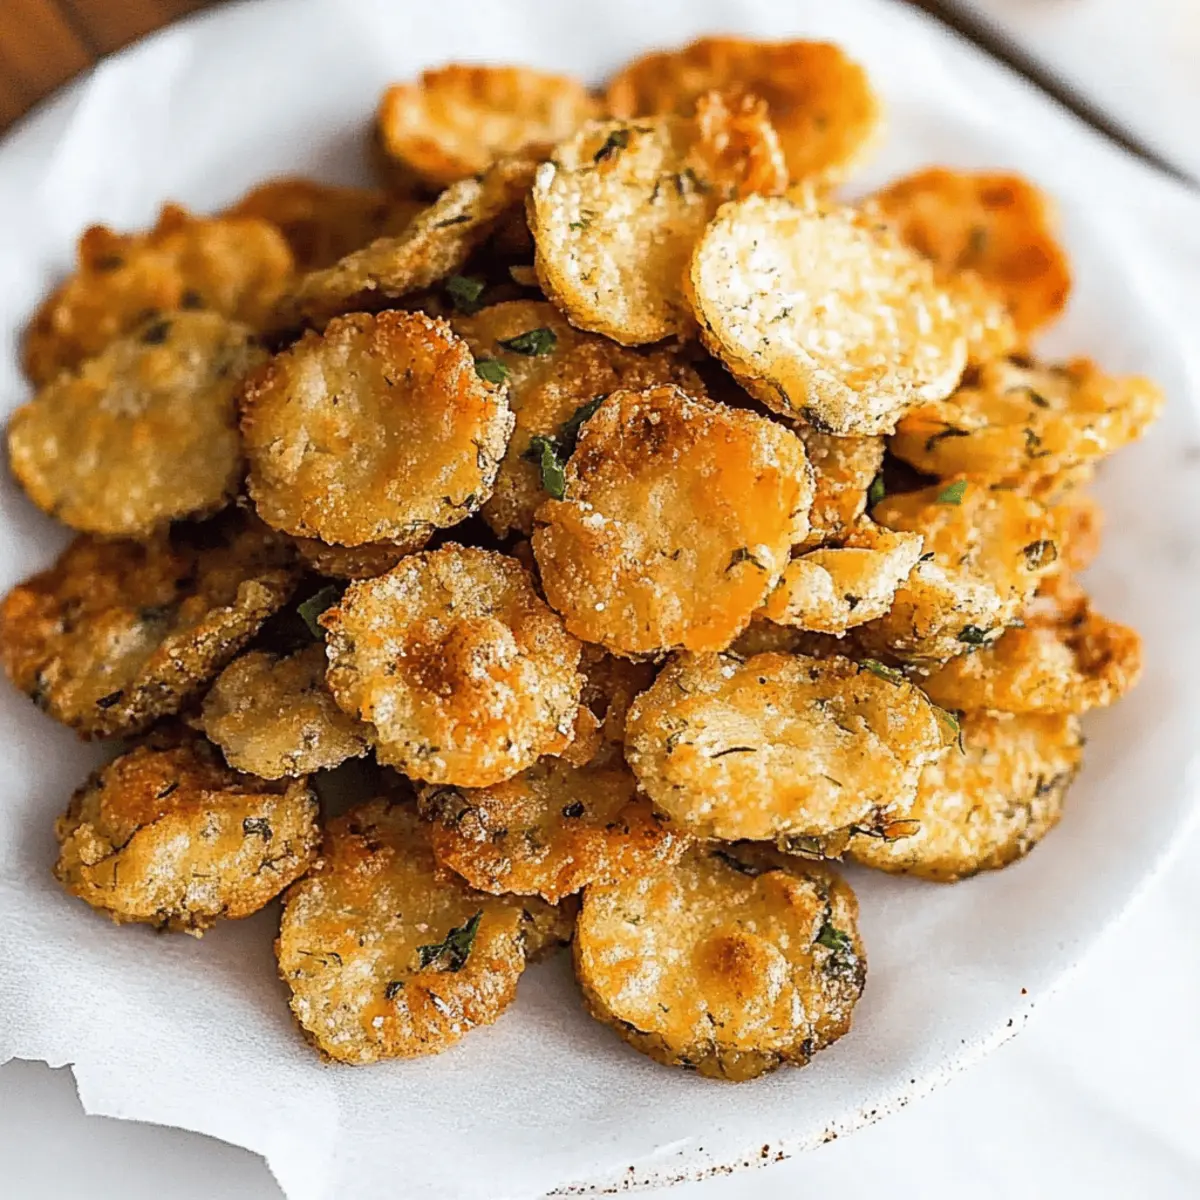
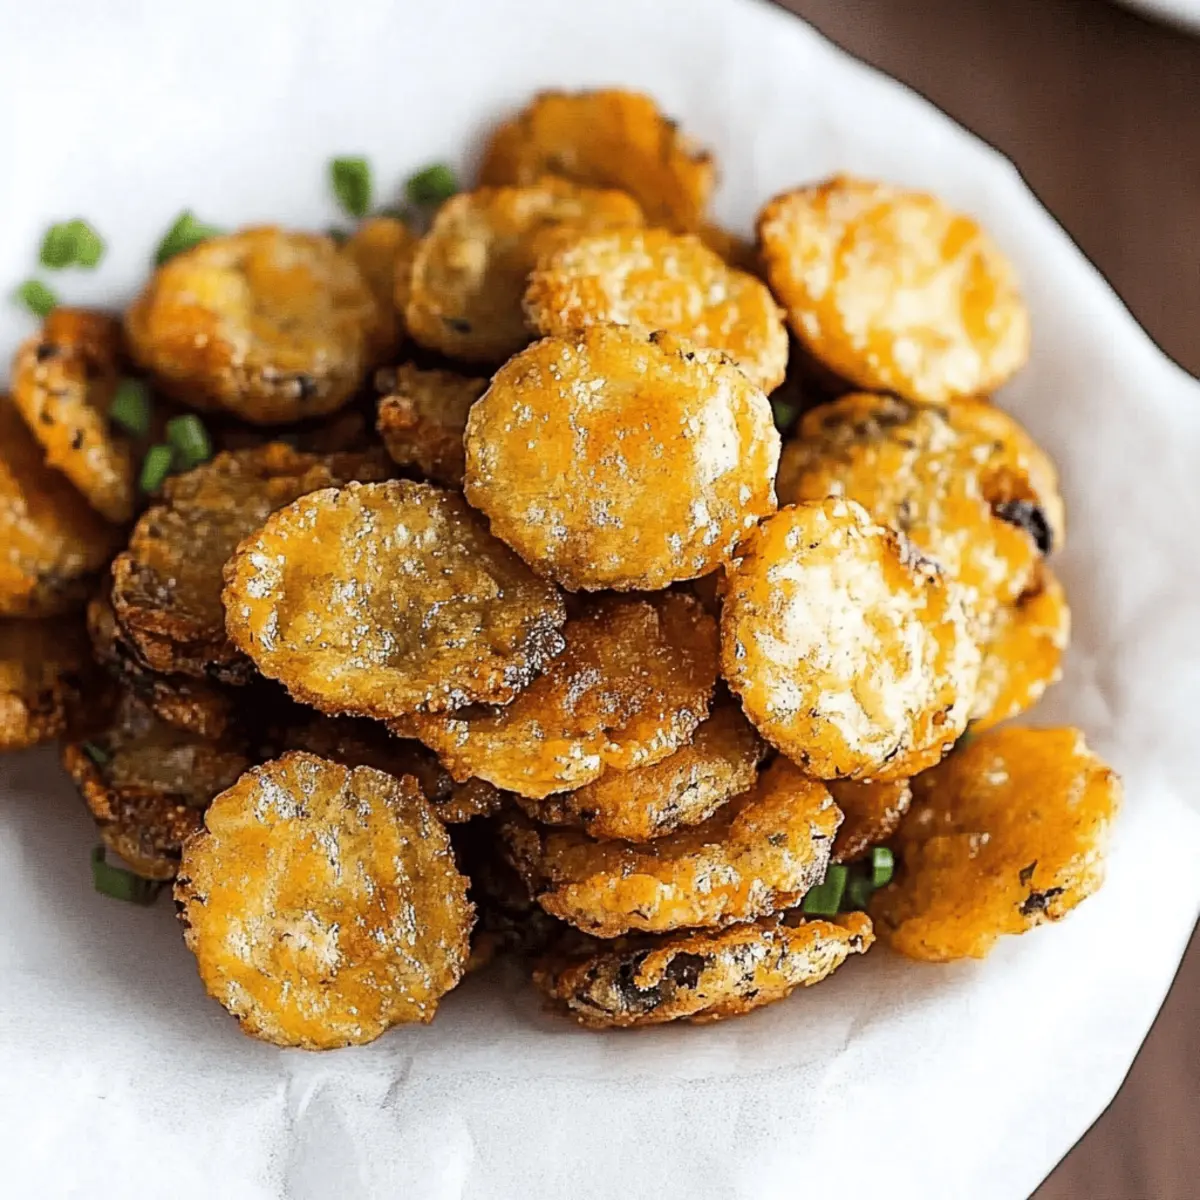
The first time I tasted fried pickles, I was hooked. The crunchy, golden batter and the tangy pickle inside created a flavor explosion that had me reaching for more. Today, I’m excited to share my recipe for Fried Pickles, a delightful snack that’s incredibly easy to make at home. Not only do they come together in just 35 minutes, but they also make for a fun party appetizer or a satisfying treat for a cozy night in. Every bite offers that perfect crunch paired with a zesty kick, making them a true crowd-pleaser. You won’t want to miss out on trying these crispy delights! Are you ready to make your taste buds dance?
Why Are Fried Pickles So Irresistible?
Crispy, the irresistible crunch of the golden batter will have you hooked from the very first bite. Tangy, the burst of pickle flavor perfectly contrasts with the richness of the crispy coating. Quick to make, whip these up in just 35 minutes, making them perfect for unexpected guests or a cozy movie night. Versatile, serve them as an appetizer, snack, or even a fun side dish alongside your favorite burger. Dippable, pair with ranch dressing for that extra flavor kick! Elevate your snack game today with these delicious fried pickles!
Fried Pickles Ingredients
Ready to dive into the crunchy goodness of homemade fried pickles? Here’s everything you need!
For the Pickles
• 16-oz jar sliced pickles – Drain them well to ensure the batter sticks and those fried pickles end up crispy!
For the Batter
• 1 cup all-purpose flour – The foundation of your batter; it creates that delightful crunch.
• 1 teaspoon salt – Essential for enhancing the overall flavor of your fried pickles.
• ½ teaspoon ground black pepper – Adds a subtle heat and depth to the seasoning.
• ½ teaspoon garlic powder – Infuses a wonderful aroma and rich flavor into the batter.
• ½ teaspoon onion powder – Complements the garlic for an extra layer of deliciousness.
• ½ teaspoon paprika powder – A touch of color and mild smokiness to enhance the taste.
• ¼ teaspoon baking powder – Helps the batter puff up perfectly during frying for that golden brown texture.
For the Wet Mixture
• 1 cup milk – Ensures the batter is moist and adheres well to the pickle slices.
• 2 large eggs – Adds richness and helps bind everything together in the batter.
For Frying
• Vegetable oil – Use a good-quality oil for frying; it helps achieve that crispy outer layer for perfect fried pickles.
Now that you have everything ready, let’s get frying! Your taste buds are in for a treat with these delightful fried pickles!
Step‑by‑Step Instructions for Fried Pickles
Step 1: Heat the Oil
Begin by pouring vegetable oil into a deep pan or fryer to a depth of about 2-3 inches. Heat the oil over medium-high heat until it reaches 350°F (175°C); you can use a thermometer or check with a small drop of batter—if it sizzles, you're ready to fry. This crucial first step will ensure your fried pickles come out perfectly crispy.
Step 2: Prepare the Dry Ingredients
In a large mixing bowl, combine 1 cup of all-purpose flour, 1 teaspoon of salt, ½ teaspoon of ground black pepper, ½ teaspoon of garlic powder, ½ teaspoon of onion powder, ½ teaspoon of paprika powder, and ¼ teaspoon of baking powder. Whisk these dry ingredients until they’re well mixed and there are no lumps, creating a flavorful coating for your fried pickles.
Step 3: Whisk the Wet Ingredients
In a separate bowl, crack in 2 large eggs and pour in 1 cup of milk. Whisk together vigorously until completely blended, creating a smooth and creamy mixture. This wet mixture will help the seasoned flour adhere beautifully to the pickle slices, ensuring each bite of your fried pickles has a rich flavor.
Step 4: Coat the Pickles
Take each drained pickle slice and first dip it into the milk mixture to coat it evenly. Shake off any excess liquid before placing it into the bowl with the flour mixture. Ensure each slice is fully covered in the seasoned flour for that extra crunch when frying, making your fried pickles irresistibly crispy.
Step 5: Fry the Pickles
Carefully introduce the coated pickles into the hot oil, laying them in a single layer to avoid overcrowding. Fry them for about 3-4 minutes or until they are golden brown, flipping them occasionally with a slotted spoon to ensure even cooking. This step is key to achieving that delightful crunch everyone loves in fried pickles.
Step 6: Drain and Cool
Once golden brown, carefully remove the fried pickles from the oil using a slotted spoon and set them on a plate lined with paper towels. This will help absorb any excess oil. Let them cool for a moment while the remaining pickles fry, keeping your first batch nice and crispy.
Step 7: Serve with Dipping Sauce
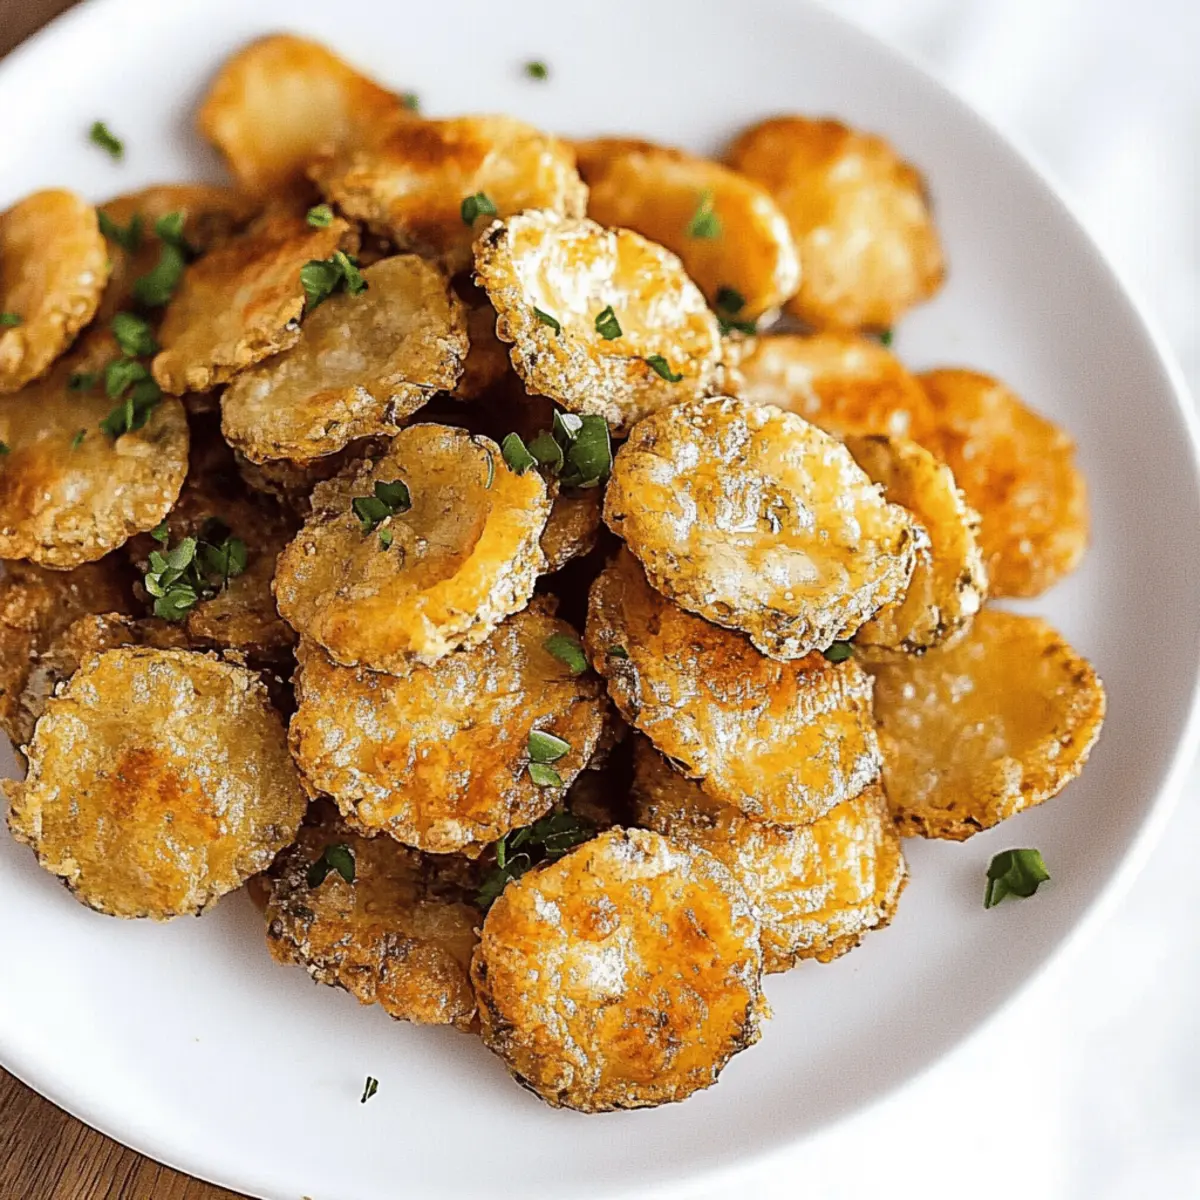
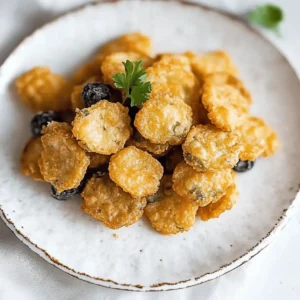
Your fried pickles are now ready to shine! Serve them hot for the best flavor and texture, alongside a bowl of your favorite ranch dressing or dipping sauce. These fried pickles make the perfect snack or appetizer that’s sure to impress family and friends with their amazing crunch and zing!
Make Ahead Options
These crispy fried pickles are perfect for meal prep enthusiasts! You can assemble the batter up to 24 hours in advance by mixing the dry ingredients and keeping them in an airtight container. Additionally, the wet mixture of milk and eggs can also be prepared ahead and stored in the refrigerator for the same timeframe. When you're ready to fry, simply coat your drained pickle slices in the prepared batter and fry them as directed. To maintain that excellent crunch, avoid pre-frying, as they taste best fresh out of the oil. There’s no need to sacrifice taste; your fried pickles will be just as delicious when prepared this way!
How to Store and Freeze Fried Pickles
Room Temperature: Fried pickles can be stored at room temperature for up to 2 hours, but it's best to enjoy them hot and fresh for optimal crunch.
Fridge: Store any leftover fried pickles in an airtight container in the fridge for up to 3 days. Be sure to separate layers with paper towels to maintain some crispness.
Freezer: For longer storage, freeze cooked fried pickles in a single layer on a baking sheet, then transfer to an airtight container for up to 2 months.
Reheating: Reheat frozen fried pickles in an oven at 400°F (200°C) for about 10-15 minutes to regain their crispy texture. Avoid the microwave, as it can make them soggy. Enjoy your tasty fried pickles!
What to Serve with Fried Pickles
Get ready to elevate your snack time with delightful pairings that will complement the zesty crunch of crispy fried pickles!
-
Creamy Ranch Dip: This classic pairing enhances the tanginess of fried pickles, offering a smooth blend of flavors that’s simply irresistible.
-
Spicy Buffalo Sauce: Add a kick to your snack with spicy buffalo sauce; its heat contrasts beautifully with the cool dill pickle flavor.
-
Savory Sliders: Mini burgers or sliders are perfect companions; their hearty goodness balances the light, crunchy texture of the fried pickles.
-
Crispy Onion Rings: Pair with onion rings for an all-out fried feast; the sweet and savory flavors create a delightful medley of crunch.
-
Coleslaw: A refreshing, creamy coleslaw adds a cool, crunchy element to your meal, countering the fried goodness perfectly.
-
Cold Beer: Enjoy with a cold beer for that classic pub vibe; the carbonation and bitterness enhance the earthy flavors of the pickles.
-
Tangy Lemonade: For a vibrant, refreshing contrast, serve with a glass of tangy lemonade—its sweetness balances the saltiness of the fried pickles, making every bite dance on your palate!
-
Cheesy Nachos: Elevate your snacking game by serving these fried gems alongside cheesy nachos; the melted cheese creates a comforting and inviting combination.
-
Chocolate Chip Cookies: For a sweet finish, indulge in chocolate chip cookies after your savory snack; the chocolate's richness rounds out the meal beautifully.
With these delicious pairings, your fried pickles will shine even brighter, transforming any gathering into a tasty experience!
Expert Tips for Fried Pickles
• Oil Temperature: Make sure your oil reaches 350°F (175°C) before frying. This ensures a crispy exterior without absorbing too much oil, keeping your fried pickles light and delicious.
• Coat Well: Ensure each pickle slice is completely coated in the flour mixture. Skipping this step can lead to soggy pickles, compromising their beloved crunch.
• Fry in Batches: Avoid overcrowding the pan. Frying too many pickles at once can lower the oil temperature, resulting in uneven cooking. Give each slice the space it needs to cook properly.
• Flip for Evenness: Don’t forget to flip the pickles while frying for even browning. This simple step will maximize the crunch and keep your fried pickles looking golden on all sides.
• Serve Immediately: Enjoy your fried pickles straight out of the hot oil for optimum crispiness. They tend to lose their crunch as they cool, so serve them up with ranch and dive right in!
Fried Pickles Variations & Substitutions
Feel free to explore these delicious twists that will make fried pickles even more exciting!
-
Gluten-Free: Substitute all-purpose flour with a gluten-free flour blend for a similar crispy texture. Enjoy the same great taste without the gluten!
-
Spicy: Add ½ teaspoon of cayenne pepper to the flour mixture for a bold kick that dances on your taste buds. If you love heat, this twist will elevate your fried pickles to a new level!
-
Herb-Infused: Mix in dried herbs like dill or oregano into the flour for a flavorful twist. The aroma during frying will be heavenly, enhancing every bite with herbal goodness.
-
Cheesy: Add ¼ cup of grated Parmesan cheese to the flour mixture for a rich and savory twist. Each crispy bite will have a delightful cheesy crunch, perfect for cheese lovers!
-
Vegan: Swap out the milk and eggs for a plant-based milk and flaxseed meal. Combine 1 tablespoon of ground flaxseed with 3 tablespoons of water for the egg substitute to keep these darlings vegan-friendly.
-
Buttermilk: Use buttermilk instead of regular milk for a tangy flavor that pairs beautifully with the pickles. It adds a delicious richness that complements their natural zing.
-
Pickle Spear Style: Instead of slices, try using spears for a fun twist and a heartier bite. Coat them the same way, and watch your guests' eyes light up with this unique presentation!
-
Sweet and Spicy: Mix a tablespoon of hot sauce with the egg and milk mixture for a sweet and spicy flavor explosion you won’t forget! It’s the perfect balance for those who crave a little sweetness with their heat.
With these variations, your homemade fried pickles are bound to impress! Serve these alongside some homemade ranch dressing or try them as a delicious starter before a warming bowl of homemade chili. Happy cooking!
Fried Pickles Recipe FAQs
How do I choose the right pickles for frying?
Absolutely! When selecting pickles, look for slices that are firm and bright in color. Avoid any with dark spots or excessive cloudiness in the jar, as this could indicate spoilage. Bread-and-butter pickles work great for a sweeter option, while dill pickles provide a tangy kick, so choose based on your flavor preference!
How should I store leftover fried pickles?
Very good question! Leftover fried pickles can be stored in an airtight container in the fridge for up to 3 days. To keep them as crispy as possible, place layers of paper towels between them. This will help absorb any excess moisture, preserving that delightful crunch.
Can I freeze fried pickles, and how do I do it?
Absolutely! To freeze your fried pickles, place them in a single layer on a baking sheet and freeze until solid, about 1 hour. Once frozen, transfer them to an airtight container or a zip-top freezer bag for up to 2 months. This method helps them keep their shape and crunch. When ready to enjoy, reheat from frozen in a preheated oven at 400°F (200°C) for about 10-15 minutes, until nice and crispy again!
What’s the best way to reheat fried pickles?
Great question! For optimal results, I recommend reheating fried pickles in the oven rather than the microwave, as the latter can zap their crunch. Preheat your oven to 400°F (200°C) and place your pickles on a baking sheet. Bake them for about 10-15 minutes until they are heated through and regain their glorious crunch.
Are fried pickles suitable for everyone to eat?
Definitely, but be mindful! Fried pickles contain common allergens like eggs and gluten from the flour. If you have dietary restrictions, you can substitute gluten-free flour and use dairy-free milk to make them suitable for a wider audience. Just make sure to check the specific brands to ensure they fit your dietary needs!
What should I do if the batter isn't sticking to the pickles?
Oh no! If your batter isn’t sticking well, try these tips: make sure the pickles are completely drained of excess liquid, as moisture can prevent the batter from adhering. Additionally, ensure that the pickle slices are coated first in the wet mixture before dipping them into the flour mixture. A thorough coating helps to lock in that crispy goodness!
Crispy Fried Pickles That Will Change Your Snack Game
Equipment
- Deep pan or fryer
- Mixing bowls
- Whisk
- Slotted spoon
- thermometer
- Paper towels
Ingredients
For the Pickles
- 16 oz sliced pickles Drain them well
For the Batter
- 1 cup all-purpose flour The foundation of your batter
- 1 teaspoon salt Essential for flavor
- ½ teaspoon ground black pepper Adds subtle heat
- ½ teaspoon garlic powder Infuses rich flavor
- ½ teaspoon onion powder Complements garlic
- ½ teaspoon paprika powder Adds color and smokiness
- ¼ teaspoon baking powder Helps the batter puff up
For the Wet Mixture
- 1 cup milk Ensures batter adheres
- 2 large eggs Adds richness
For Frying
- vegetable oil Good-quality oil for frying
Instructions
Step-by-Step Instructions for Fried Pickles
- Heat the oil in a deep pan or fryer to 350°F (175°C).
- Combine all-purpose flour, salt, black pepper, garlic powder, onion powder, paprika powder, and baking powder in a large bowl.
- In a separate bowl, whisk together eggs and milk until blended.
- Dip each drained pickle slice into the milk mixture, then coat with the flour mixture.
- Fry the coated pickles in hot oil for about 3-4 minutes until golden brown.
- Remove fried pickles from oil and drain on paper towels.
- Serve hot with your favorite dipping sauce.
Leave a Reply