
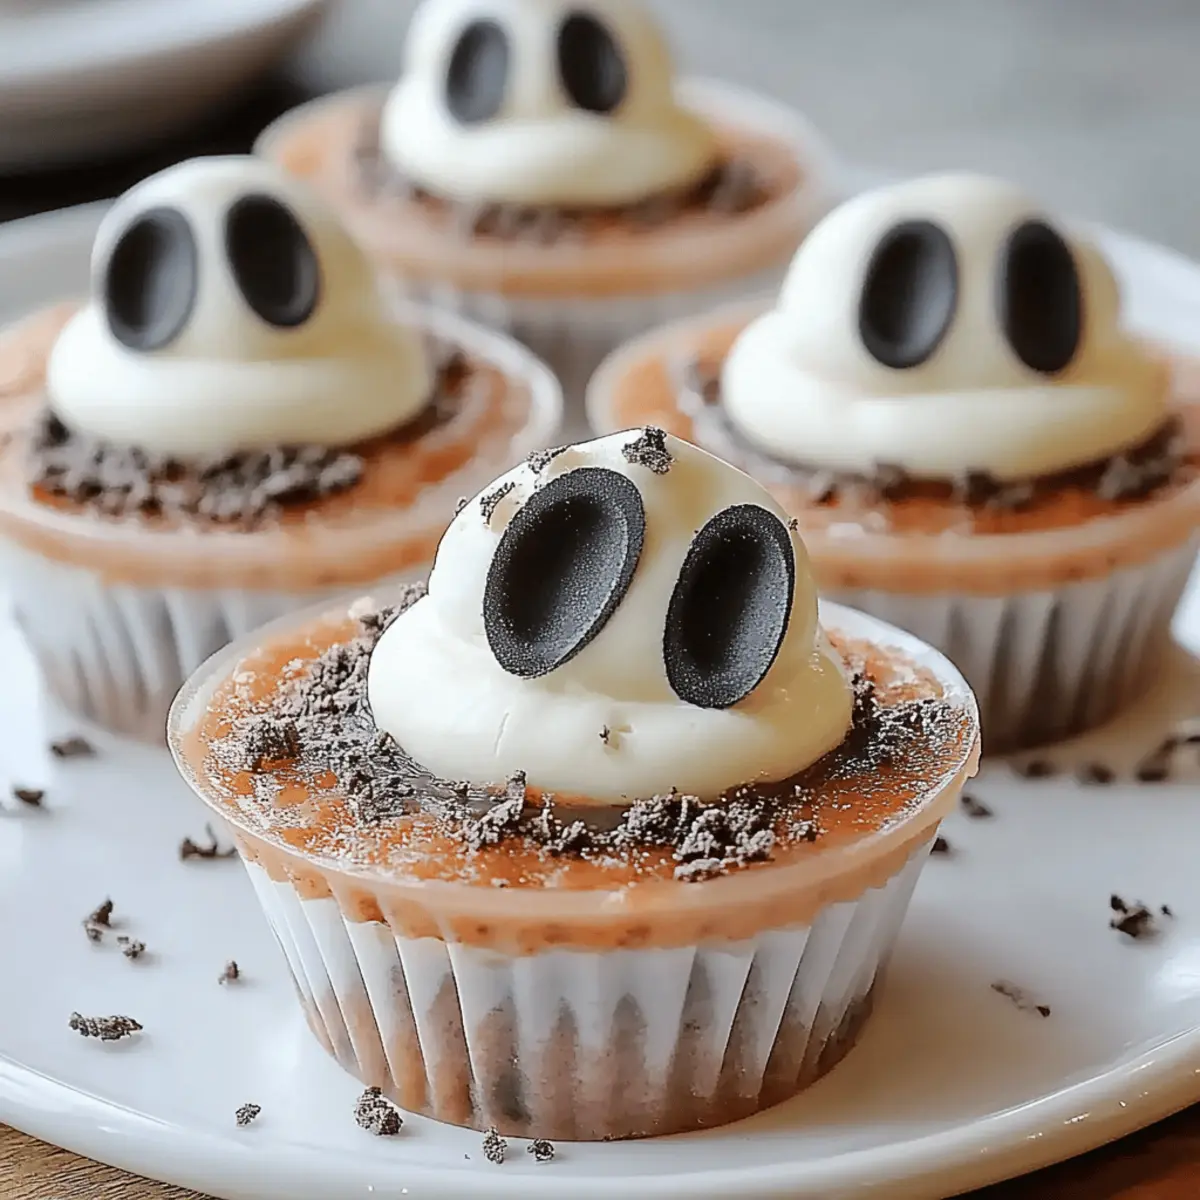
As I stood in the kitchen, the smell of warm cookie dough filled the air, instantly transporting me back to my childhood Halloween parties. There’s something magical about combining fun and flavor, which is exactly what you'll find in these Graveyard Pudding Cookie Cups. Whimsical and delightfully easy to make, this recipe is perfect for bringing a little cheer and creativity to your dessert table. Not only do they offer a quick prep time of just 20 minutes, but they also serve up a sweet crowd-pleaser that’s bound to make everyone smile! With chocolate chip cookie cups filled with creamy vanilla pudding and topped with playful gummy worms and candy eyeballs, what’s not to love? Ready to bring a piece of spooky fun into your kitchen? Let’s dive into this delicious adventure!
Why are Graveyard Pudding Cookie Cups a must-try?
Deliciously Fun: These cookie cups are a whimsical blend of tasty treats, featuring a warm chocolate chip cookie shell filled with creamy vanilla pudding.
Quick to Make: With a prep time of just 20 minutes, you can whip up these delightful desserts without spending hours in the kitchen.
Crowd-Pleasing Delight: Perfect for parties or family gatherings, these Graveyard Pudding Cookie Cups will dazzle both kids and adults alike.
Creative Topping Options: Feel free to swap out gummy worms for other toppings. You could consider using candy bats for an extra spooky touch!
Instant Nostalgia: Every bite will take you back to childhood Halloweens, making these cookie cups not just a treat, but also a sweet memory.
Graveyard Pudding Cookie Cups Ingredients
For the Cookie Cups
- Chocolate chip cookie dough – this provides a warm, sweet shell that perfectly cradles the filling.
For the Pudding Filling
- Vanilla pudding mix – gives a creamy and rich texture that complements the cookie cups beautifully.
- Whole milk – necessary to achieve the perfect consistency in your vanilla pudding.
For the Toppings
- Gummy worms – adds a playful, spooky touch, making these cookie cups a fun treat.
- Candy eyeballs – these will certainly bring your Graveyard Pudding Cookie Cups to life with their quirky charm!
Embrace your creativity and let’s get started on making these fun-filled delights!
Step‑by‑Step Instructions for Graveyard Pudding Cookie Cups
Step 1: Preheat the Oven
Begin your delicious journey by preheating your oven to 350°F (175°C). Meanwhile, prepare a muffin tin by lining each cup with parchment paper to prevent sticking. This step sets the stage for your delightful Graveyard Pudding Cookie Cups, ensuring that the cookie cups bake evenly and come out perfectly shaped.
Step 2: Prepare the Cookie Dough
Take your chocolate chip cookie dough and scoop tablespoon-sized portions. Press each portion into the lined muffin tins, making sure to create a well in the center for the pudding filling. This will give your cookie cups a nice rounded shape and hold all the delicious filling you’ll be adding later.
Step 3: Bake the Cookie Cups
Place the muffin tin in the preheated oven and bake for 10-12 minutes. You'll know they’re done when the cookie edges turn a beautiful golden brown and the centers look slightly puffed. After baking, take them out and let them cool completely in the pan; this ensures the cups maintain their shape and are ready for filling.
Step 4: Whisk the Pudding
While your cookie cups are cooling, whisk together the vanilla pudding mix and whole milk in a medium bowl. Stir vigorously until the mixture thickens according to the package instructions, which usually takes about 2-3 minutes. Once thickened, your creamy filling is ready to be heaped into the cooled cookie cups.
Step 5: Fill the Cookie Cups
Once your Graveyard Pudding Cookie Cups have completely cooled, carefully fill each cookie cup with the prepared vanilla pudding. Use a spoon to heap it high, allowing some to overflow slightly for a generous look. This step creates the scrumptiously creamy center that pairs so well with the soft cookie shell.
Step 6: Add Fun Toppings
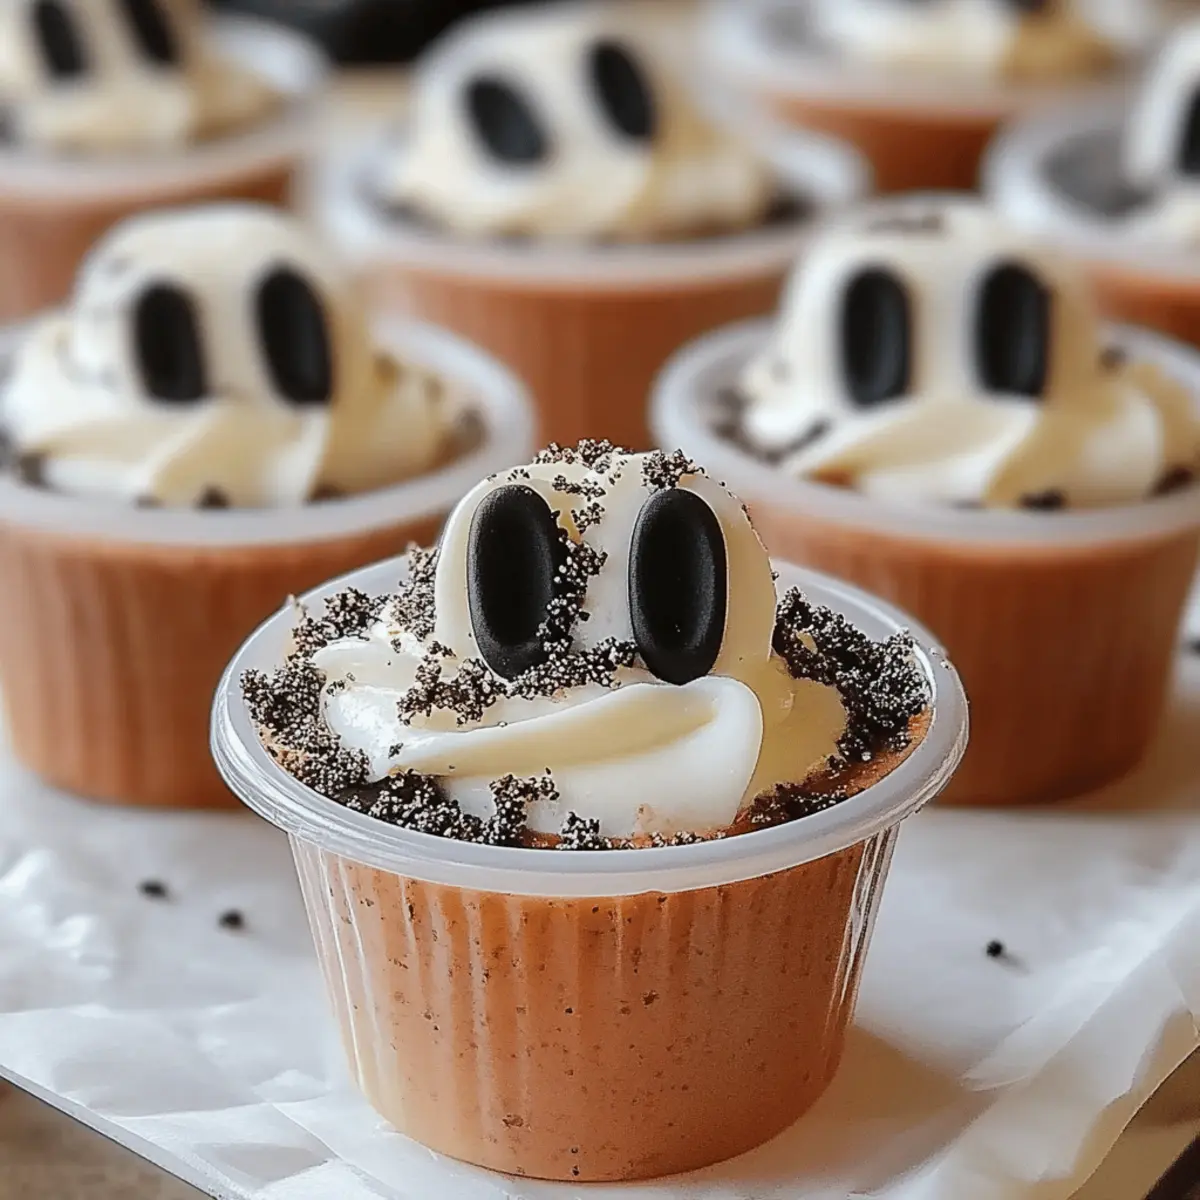
Finally, it’s time to decorate! Top each filled cookie cup with playful gummy worms and quirky candy eyeballs. Arrange them in a fun way to give your Graveyard Pudding Cookie Cups an eye-catching, festive appearance. These fun toppings will surely delight everyone and add that whimsical touch perfect for any gathering.
How to Store and Freeze Graveyard Pudding Cookie Cups
Room Temperature: Allow your cookie cups to cool completely before storing them in an airtight container. They can sit at room temperature for up to 2 days.
Fridge: If you want to keep them fresh longer, place your cookie cups in the fridge for up to 5 days. Cover them loosely to avoid sogginess while maintaining the delightful texture.
Freezer: For longer storage, freeze your Graveyard Pudding Cookie Cups individually wrapped in plastic wrap, then placed in a freezer-safe bag. They can be frozen for up to 3 months.
Reheating: To enjoy them warm, gently reheat the cookie cups in the microwave for about 15 seconds. Add fresh toppings if preferred after reheating!
Graveyard Pudding Cookie Cups Variations
Feel free to unleash your creativity and personalize these delightful treats to your liking!
-
Gluten-Free: Substitute regular cookie dough with gluten-free cookie dough for a delicious, inclusive dessert. You won't lose any of the delightful flavors!
-
Nutty Twist: Add ½ cup of finely chopped nuts like walnuts or pecans to the cookie dough for an added crunch. They bring a lovely flavor and texture contrast to each bite.
-
Chocolate Pudding: Swap vanilla pudding for rich chocolate pudding to intensify the chocolaty goodness. Chocolate lovers will surely swoon over this variation!
-
Dairy-Free: Use almond milk or coconut milk with dairy-free pudding mix to accommodate those with dairy sensitivities. It's a great way to ensure everyone enjoys these treats!
-
Caramel Drizzle: After topping with gummy worms and eyeballs, add a drizzle of caramel sauce for a decadent flavor boost. This sweet addition elevates each bite to pure bliss.
-
Spicy Kick: For those who enjoy heat, mix in a dash of cayenne pepper into your cookie dough. It adds a surprising twist that can be incredibly delightful!
-
Fruit-Filled: Replace gummy worms with fresh fruit like strawberries or raspberries for a refreshing take. This variant feels lighter and is a wonderful way to incorporate some natural sweetness.
-
No-Bake Version: If you're feeling a little lazy, make no-bake cookie cups! Crush graham crackers mixed with melted butter and form them into cups, then fill them with pudding for a super easy alternative.
These variations allow every baker to customize these Graveyard Pudding Cookie Cups to fit their tastes—making dessert not just a treat, but a unique experience too!
Make Ahead Options
These Graveyard Pudding Cookie Cups are a fantastic choice for meal prep, making it easy to enjoy a delightful dessert with minimal effort. You can prepare the cookie cups up to 24 hours in advance; simply bake them and allow them to cool completely before storing them in an airtight container at room temperature to maintain their chewy texture. The vanilla pudding can also be whisked up to 3 days ahead; just keep it covered in the refrigerator to prevent a skin from forming. When you’re ready to serve, fill the cooled cookie cups with the chilled pudding and top them with gummy worms and candy eyeballs for a delightful finishing touch. This way, you can surprise your family or guests with a fun and delicious treat, all while saving precious time!
Expert Tips for Graveyard Pudding Cookie Cups
• Chill Before Filling: Allow your cookie cups to cool completely before adding the pudding. This prevents the filling from melting into the cookie and ensures a perfect texture.
• Don’t Overbake: Watch your cookie cups closely as they bake; overbaking can lead to a dry texture. Aim for a soft, golden brown.
• Pudding Thickness: If your pudding seems too runny, let it sit for a few more minutes to thicken up. A thicker pudding holds better in the cookie cups.
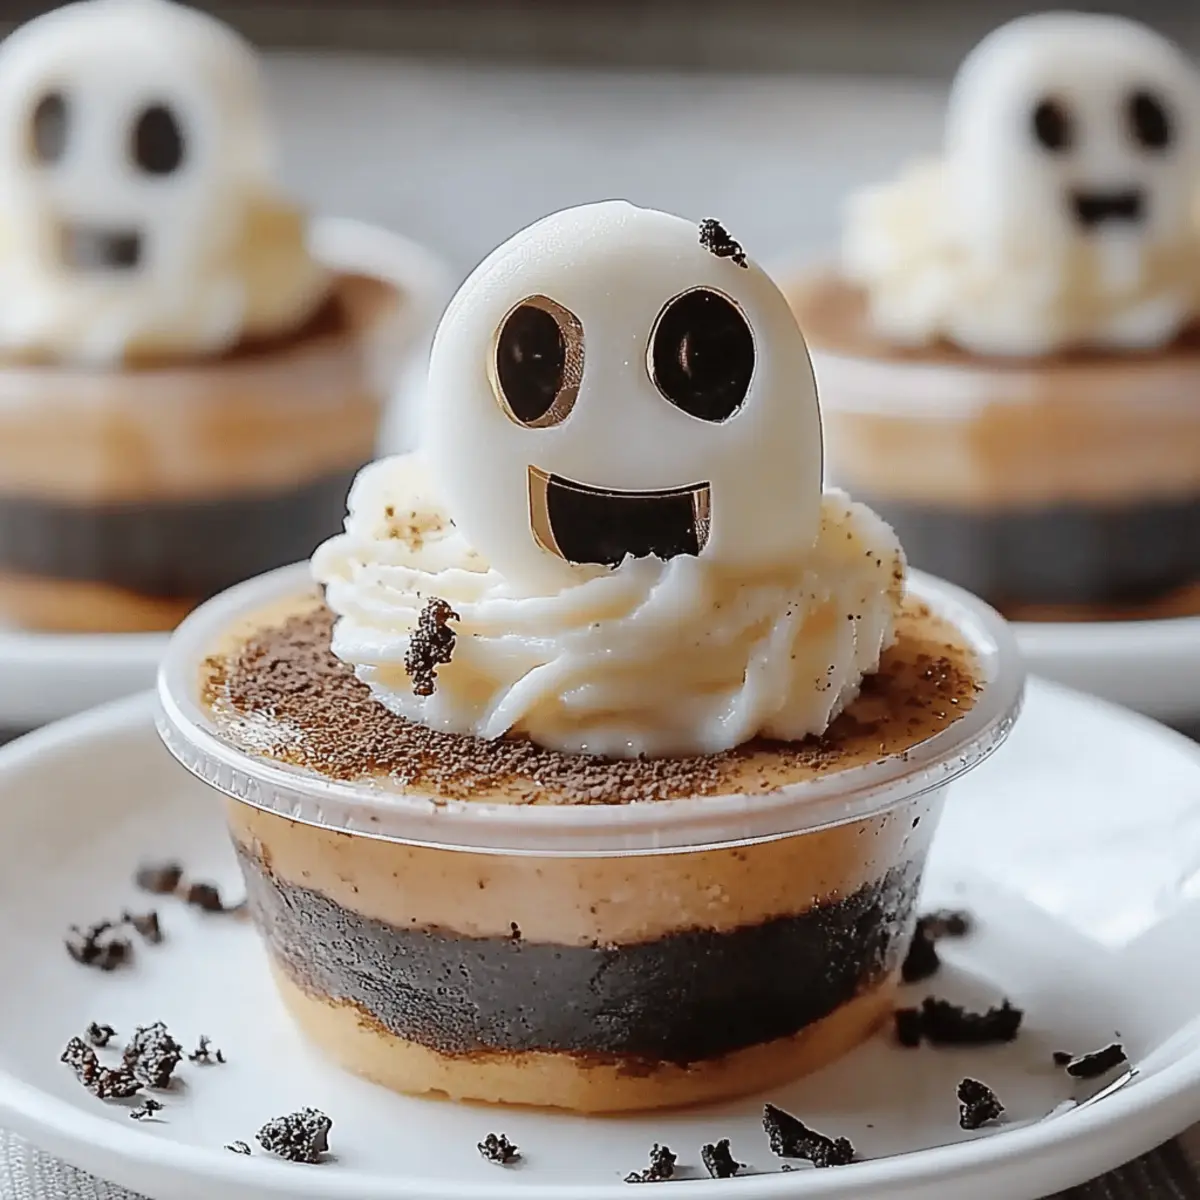
• Creative Toppings: Get creative with your toppings! Besides gummy worms and candy eyeballs, consider using crushed Oreo cookies for a dirt-like effect or marshmallow ghosts.
• Batch Preparation: If you're making these for a party, consider doubling the batch. They disappear quickly, and everyone will want more of these delightful Graveyard Pudding Cookie Cups!
What to Serve with Graveyard Pudding Cookie Cups
Creating a whimsical dessert is just the beginning of your sweet adventure—let's elevate your spread into something truly memorable!
- Spooky Fruit Salad: A mix of seasonal fruits with a splash of citrus creates a refreshing contrast to the sweet cookie cups.
- Witch's Brew Punch: A fizzy, colorful drink that enhances the playful theme, making it perfect for Halloween parties.
- Chocolate Mousse: Rich, smooth mousse pairs beautifully with the sweetness of cookie cups, adding an indulgent twist.
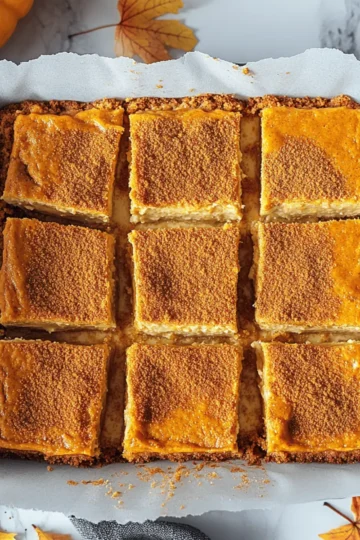
- Mini Pumpkin Pies: Serve these alongside to bring in more fall flavors and celebrate the season in style.
- Candy Corn Cupcakes: Delightful and festive, these cupcakes make for a cute complement and a fun treat for guests.
- Caramel Dipping Sauce: Offer this alongside sliced apples to introduce a healthy element that balances the sweetness of your dessert.
- Ghostly Marshmallow Treats: Light and fluffy, these treats add extra fun and whimsy, tying in the theme perfectly.
- Hot Chocolate Bar: Set up a station with marshmallows and whipped cream to create a cozy drink that pairs wonderfully with your cookie cups.
Graveyard Pudding Cookie Cups Recipe FAQs
How do I choose the right chocolate chip cookie dough?
Absolutely! When selecting chocolate chip cookie dough, look for brands that use real butter and high-quality chocolate chips for the best flavor. Homemade dough is also a fantastic option, as it allows you to customize sweetness and add extra ingredients, such as chopped nuts or different types of chocolate.
What is the best way to store leftover Graveyard Pudding Cookie Cups?
The more the merrier! If you have any leftover cookie cups, place them in an airtight container. At room temperature, they can stay fresh for up to 2 days, but if you store them in the fridge, they can last up to 5 days. Just remember to cover them loosely to avoid any sogginess!
Can I freeze Graveyard Pudding Cookie Cups? How?
For sure! Freezing is a wonderful option if you want to enjoy them later. First, allow cookie cups to cool completely. Then, wrap each cup individually in plastic wrap and place them in a freezer-safe bag. They can be frozen for up to 3 months. When you're ready to enjoy them, simply remove them from the freezer, unwrap, and gently reheat in the microwave for about 15 seconds for that fresh-baked taste again.
What if my cookie cups overflow while baking?
Very often, this can happen if the dough is packed too tightly or if too much dough is used per muffin cup. To avoid this, ensure that you're pressing the dough lightly into the muffin tin just enough to create a well, and scoop out only tablespoon-sized portions. If you do end up with overflow, simply trim back the excess after they cool, and they’ll still be delicious!
Are there dietary considerations for Graveyard Pudding Cookie Cups?
Definitely! If you’re making these for someone with dietary restrictions, consider using gluten-free cookie dough and dairy-free pudding and milk alternatives. Always double-check package labels to identify potential allergens, especially for those who may have nut or dairy allergies. A little creativity goes a long way to include everyone in the spooky fun!

Delicious Graveyard Pudding Cookie Cups for Spooktacular Fun!
Equipment
- muffin tin
- Mixing bowl
- Whisk
- Spoon
- parchment paper
Ingredients
For the Cookie Cups
- 1 batch Chocolate chip cookie dough
For the Pudding Filling
- 1 box Vanilla pudding mix
- 2 cups Whole milk
For the Toppings
- 1 cup Gummy worms
- 1 cup Candy eyeballs
Instructions
Step‑by‑Step Instructions
- Preheat your oven to 350°F (175°C) and line each cup of a muffin tin with parchment paper.
- Scoop tablespoon-sized portions of chocolate chip cookie dough into the lined muffin tins, pressing each portion into the base and creating a well in the center.
- Bake the cookie cups for 10-12 minutes or until the edges are golden brown. Let them cool completely in the pan.
- Whisk together vanilla pudding mix and whole milk in a bowl until the mixture thickens, about 2-3 minutes.
- Once cooled, fill each cookie cup with the prepared vanilla pudding, heaping it slightly.
- Decorate each filled cookie cup with gummy worms and candy eyeballs.


Leave a Reply