
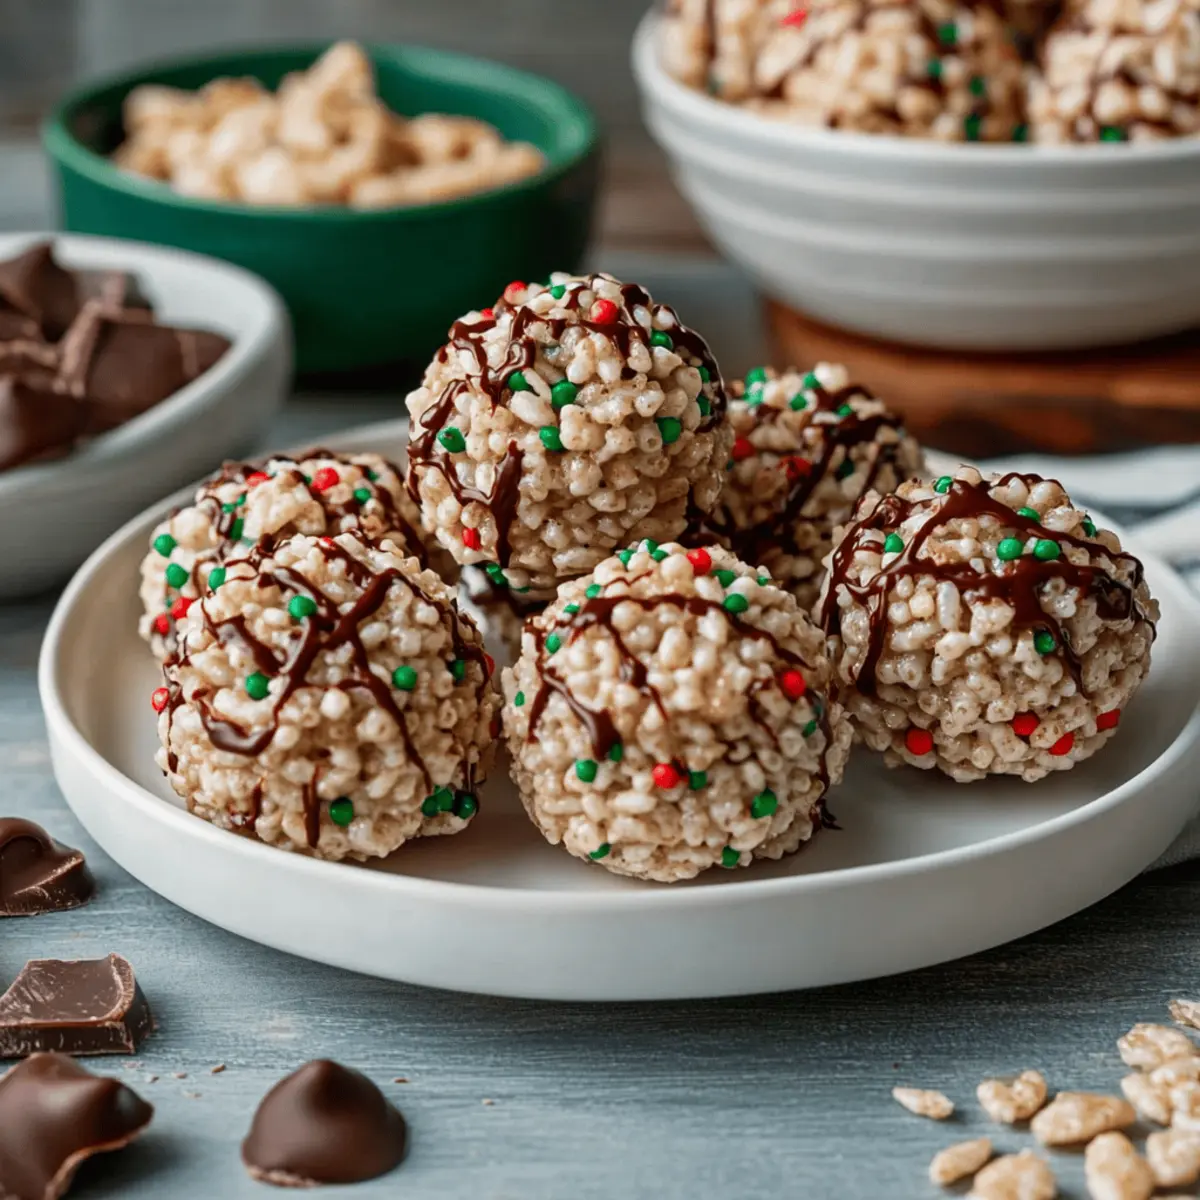
While rummaging through my pantry one afternoon, I stumbled upon a jar of peanut butter and a box of crispy rice cereal, sparking a delightful idea! This led to the creation of my beloved Chocolate Rice Krispie Balls—a sweet treat that’s as easy to make as it is to devour. Not only are these little bites of joy a quick prep snack, but they also make an irresistible crowd-pleaser at any gathering. With a perfectly crunchy exterior and a creamy, dreamy center, they’re bound to satisfy cravings for something homemade and comforting. Plus, you can make them ahead of time, keeping them fresh in your fridge or freezer for whenever you need a sweet pick-me-up. Ready to bring a little magic into your kitchen? Let’s dive into this fun recipe!
Why are Chocolate Rice Krispie Balls irresistible?
Simplicity at its finest: With just a handful of ingredients, these Chocolate Rice Krispie Balls come together quickly—perfect for busy home cooks!
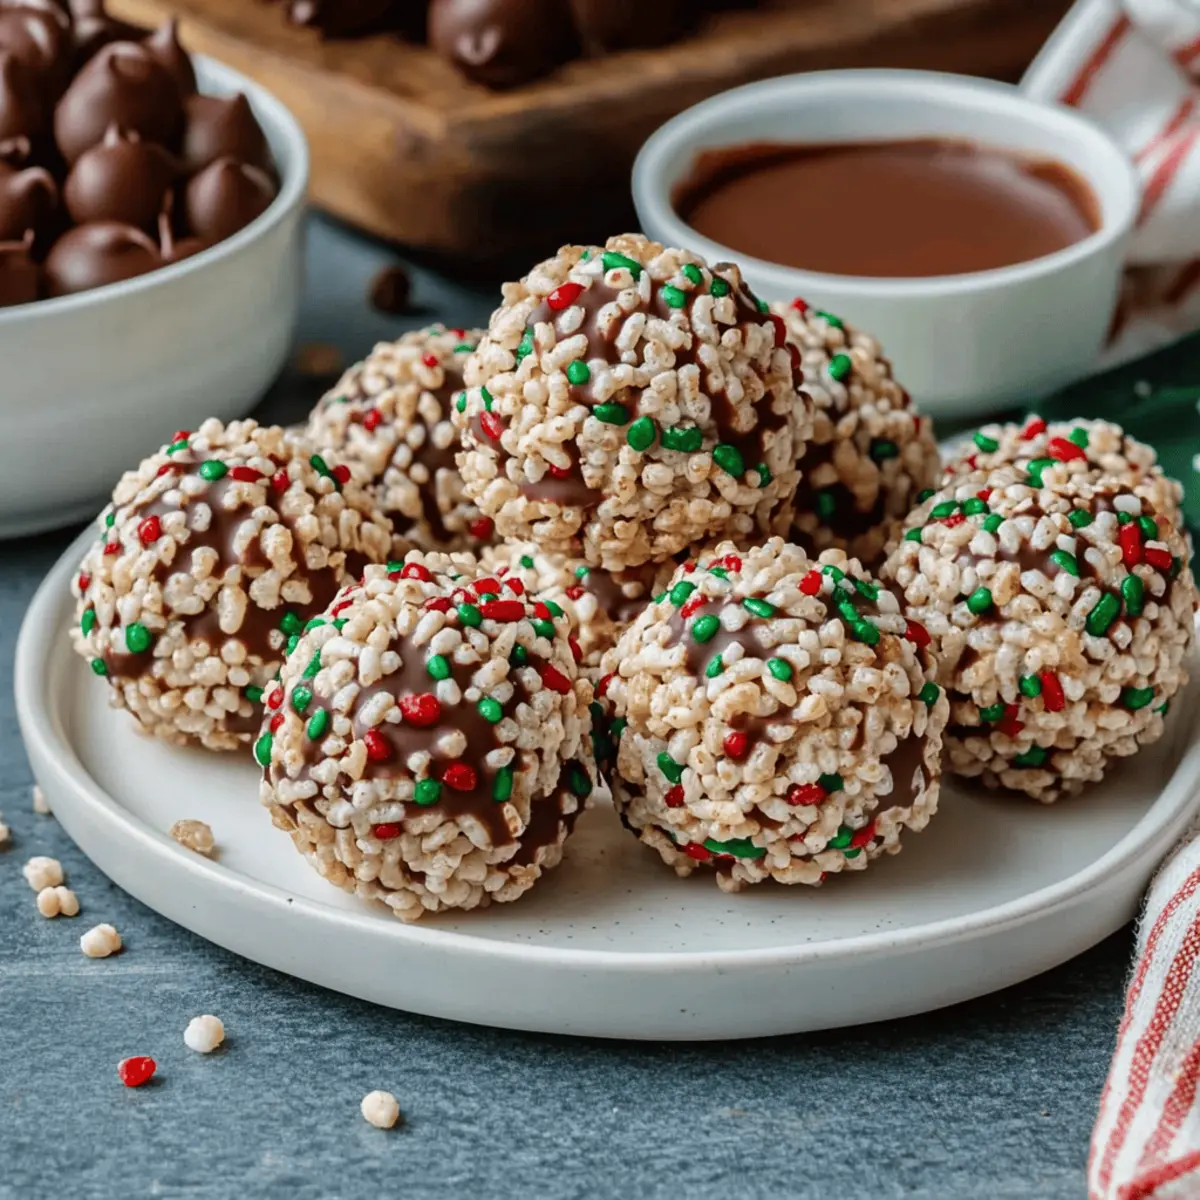
Creamy, Crunchy Delight: The combination of peanut butter, crispy rice cereal, and rich chocolate creates a blissful texture that will have you reaching for seconds.
Versatile Treat: Ideal for parties, holiday gifts, or as a snack, they can be dressed up with toppings like crushed peanuts or sprinkles for added flair.
Make Ahead Magic: Chill or freeze these treats, making them an easy, delicious option whenever a sweet craving strikes—no last-minute baking needed!
If you love no-bake desserts, you might also enjoy making some Apple Oreo Balls or try delicious Chocolate Chip Cookies for a classic twist!
Chocolate Rice Krispie Balls Ingredients
• A delightful mix of flavors and textures awaits in these irresistible treats!
For the Base
- Creamy or crunchy peanut butter – The star ingredient that imparts rich flavor and a smooth texture.
- Unsalted butter – Helps to bind the mixture and adds a touch of creaminess.
- Powdered sugar – Sweetens the treat while contributing to the smooth consistency.
- Vanilla extract – Enhances the overall flavor profile with a warm, inviting aroma.
- Crispy rice cereal – Provides that satisfying crunch, perfect for the texture of Chocolate Rice Krispie Balls.
For the Coating
- Semi-sweet or dark chocolate chips (or melting wafers) – The dreamy chocolate coating that takes these balls to the next level; feel free to opt for your favorite variety!
Each bite of these Chocolate Rice Krispie Balls delivers the perfect balance of flavors and textures, ensuring that they’ll be a hit with everyone who tries them.
Step‑by‑Step Instructions for Chocolate Rice Krispie Balls
Step 1: Mix the Base
In a large mixing bowl, combine 1 cup of creamy or crunchy peanut butter with 4 tablespoons of unsalted butter. Using a hand mixer or spatula, blend the ingredients until smooth and creamy, which should take about 2–3 minutes. This luscious mixture serves as the base for your Chocolate Rice Krispie Balls, setting the perfect stage for the goodness to come.
Step 2: Add Flavor
Once the peanut butter and butter are well combined, add 1 teaspoon of vanilla extract and mix thoroughly for another minute. The vanilla infusion will enhance the flavors, making your Chocolate Rice Krispie Balls irresistibly aromatic. Take a moment to enjoy the delightful scent that fills the kitchen—it’s a sign that you're on the right track!
Step 3: Sweeten the Mix
Gradually incorporate 2 cups of powdered sugar into the peanut butter mixture, mixing as you go to maintain a creamy texture. It may become thick, so continue blending until the sugar is fully integrated and the mixture becomes a beautiful, thick paste. This sweet addition is vital for achieving the lusciousness that your Chocolate Rice Krispie Balls are known for.
Step 4: Fold in Cereal
Gently fold in 1 ½ cups of crispy rice cereal until all the cereal is well-coated in your creamy mixture. This should take about 2 minutes; be careful not to overmix, as we want to maintain the delightful crunch. The combination of crunchy cereal and rich peanut butter creates a wonderful texture that will ensure your Chocolate Rice Krispie Balls are a hit!
Step 5: Shape the Balls
Using a small cookie scoop or your hands, shape the mixture into 1-inch balls. Each ball should be firm and well-rounded, with a nice even surface. This step is both satisfying and fun—feel free to let your creativity shine as you form the Chocolate Rice Krispie Balls!
Step 6: Chill for Firmness
Place the shaped balls onto a parchment-lined baking sheet, ensuring they are evenly spaced. Chill in the freezer for at least 20 minutes, allowing the mixture to firm up. The cold setting is crucial for getting the right texture, making it easier to coat them in chocolate later on.
Step 7: Melt the Chocolate
While your balls are chilling, melt 8-10 ounces of semi-sweet or dark chocolate chips using a double boiler or microwave. If using a microwave, heat in 30-second intervals, stirring frequently until smooth. If needed, add 1-2 teaspoons of vegetable oil to thin the chocolate for a perfect coating consistency.
Step 8: Coat the Balls
Once melted, use a toothpick or dipping tool to dip each chilled ball into the warm chocolate. Ensure each ball is fully coated, then allow any excess chocolate to drip off before placing them back on the baking sheet. This step transforms your creations into the delightful Chocolate Rice Krispie Balls everyone will love!
Step 9: Let the Chocolate Set
Allow the coated balls to sit at room temperature or in the fridge until the chocolate is completely set, which may take about 30 minutes. Once firm, they will have a beautiful shine and will be ready to serve or store. Relish the anticipation as you prepare to enjoy these scrumptious treats!
Expert Tips for Chocolate Rice Krispie Balls
-
Ingredient Quality: Use high-quality chocolate chips or melting wafers for a rich flavor; it truly elevates your Chocolate Rice Krispie Balls.
-
Chilling Time: Don't skip the chilling! Letting the balls freeze for at least 20 minutes ensures a firmer texture, making them easier to coat.
-
Controlled Coating: If the chocolate is too thick, add a little vegetable oil to thin it out; this helps achieve an even coat around each ball.
-
Avoid Overmixing: When folding in the crispy rice cereal, mix gently to maintain that satisfying crunch in your Chocolate Rice Krispie Balls.
-
Experiment with Toppings: Get creative! Before the chocolate sets, sprinkle crushed nuts, sprinkles, or even coconut to add a personal touch and extra texture.
How to Store and Freeze Chocolate Rice Krispie Balls
Room Temperature: Store your Chocolate Rice Krispie Balls in an airtight container for up to 2 weeks, keeping them fresh and delicious.
Fridge: For slightly firmer bites, refrigerate in an airtight container for the same duration—perfect for a chilly snack!
Freezer: Freeze for up to 3 months; simply place the balls in a freezer-safe container or bag. Thaw in the refrigerator before serving to bring back that delightful texture.
Reheating: There's no need to reheat these treats; just enjoy them chilled or at room temperature for the best experience!
Make Ahead Options
These Chocolate Rice Krispie Balls are perfect for busy home cooks looking to save time! You can make the mixture and shape the balls up to 24 hours in advance—simply store them in an airtight container in the refrigerator to keep them fresh. For longer storage, freeze the shaped balls for up to 3 months. When you're ready to enjoy, thaw them in the refrigerator before coating with melted chocolate. This prep method ensures that your treats are just as delicious and satisfying when you're ready to serve, making them an ideal option for parties or quick snacks. Enjoy the ease and convenience with this make-ahead strategy!
What to Serve with Chocolate Rice Krispie Balls?
Indulging in these sweet bites is just the beginning—let's take your dessert game to the next level!
- Coffee or Espresso: The rich, bold flavors of coffee perfectly balance the sweetness of the Chocolate Rice Krispie Balls, making them a delightful afternoon treat.
- Milkshake: A creamy chocolate or vanilla milkshake offers a luscious contrast to the crunchy texture of the balls, creating a nostalgic, joyful pairing.
- Fresh Fruit Salad: The bright acidity of fresh berries or citrus fruits brings a refreshing touch that complements the sweetness, adding a vibrant color to your dessert spread.
These pairings will elevate your experience, creating memorable moments around the table with friends and family! Enjoy your creations while experiencing the joy of sharing delicious food.
Chocolate Rice Krispie Balls Variations
Feel the freedom to get creative with your Chocolate Rice Krispie Balls—these delightful treats can easily be customized to suit your tastes or dietary needs!
- Nut-Free: Substitute peanut butter with sunbutter or another nut-free spread for a similar creamy texture without the nuts.
- Vegan: Swap the unsalted butter for coconut oil and use dairy-free chocolate chips to create a completely vegan dessert. Your friends won’t even know the difference!
- Low-Sugar: Use a sugar substitute like stevia or erythritol in place of powdered sugar. This keeps the sweetness while cutting calories.
- Crispy Texture: Add ½ cup of crushed pretzels or chopped nuts to the mixture for an incredible crunch that contrasts beautifully with the creamy center.
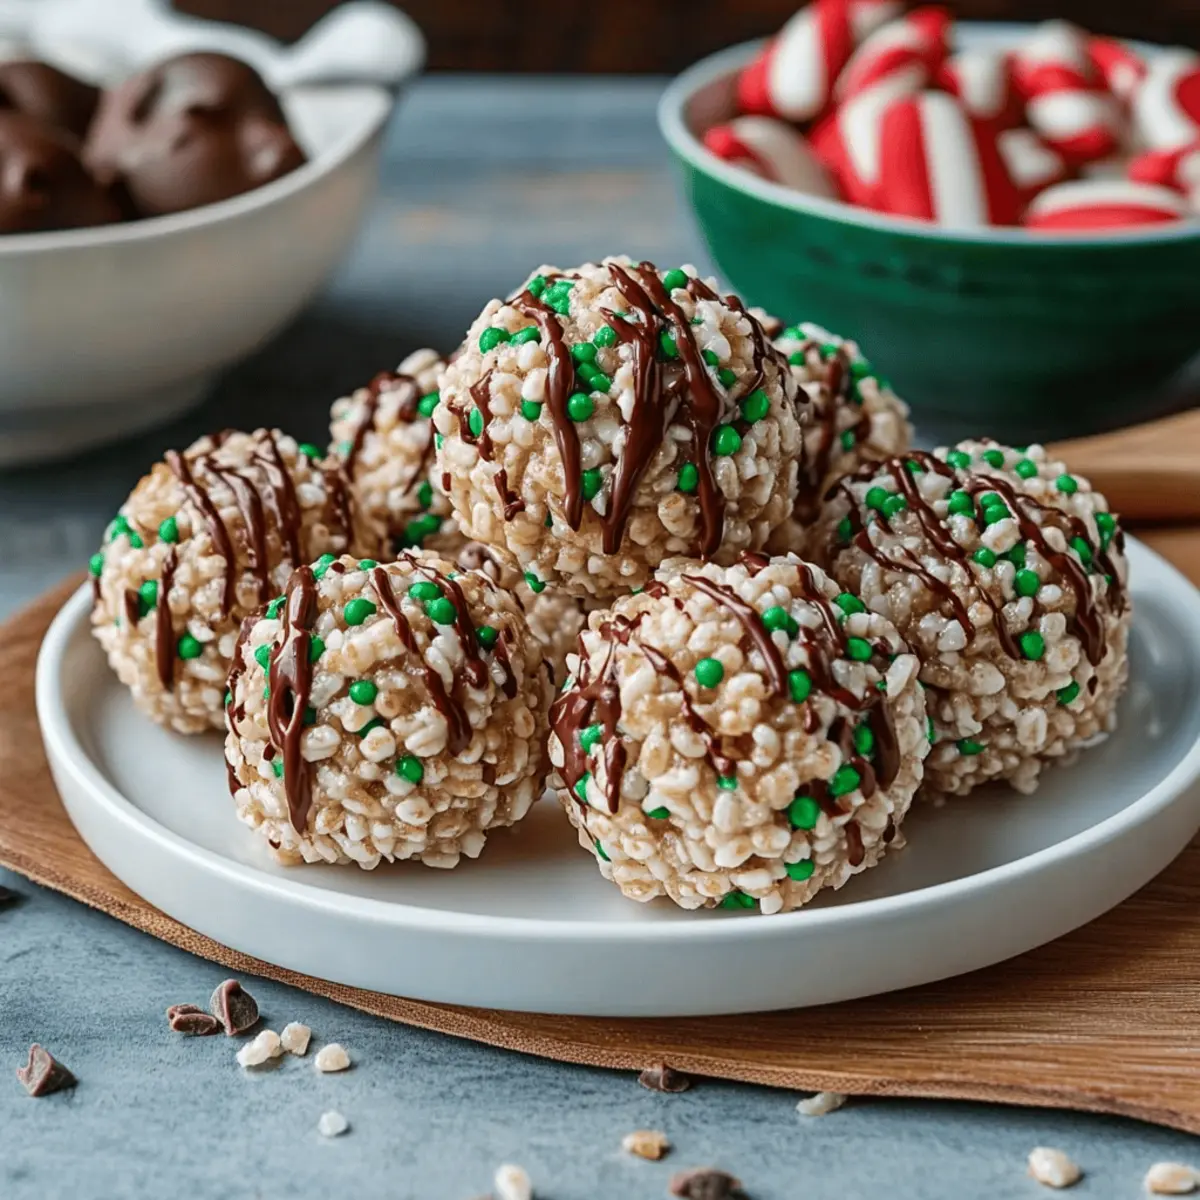
- Fun Colors: Stir in rainbow sprinkles or colored chocolate chips to bring a festive flair to your Chocolate Rice Krispie Balls—they're perfect for parties!
- Chocolate Drizzle: Enhance your treats by drizzling white chocolate over the dark chocolate coating. This not only looks beautiful but adds a delightful twist.
- Spicy Kick: Add a pinch of cayenne pepper to the chocolate for a surprising, fiery punch that will wow your taste buds.
- Flavor Infusions: Experiment with flavored extracts, like almond or mint, instead of vanilla. This can take your Chocolate Rice Krispie Balls on a delicious journey of taste.
Feel free to explore and mix it up—you never know what blissful combinations you might create! If you find yourself interested in more sweet treats, why not try your hand at Paper Rice Krispies or indulge in some classic Chocolate Chip Cookies for a delightful twist?
Chocolate Rice Krispie Balls Recipe FAQs
What type of peanut butter is best for this recipe?
You can use either creamy or crunchy peanut butter, depending on your texture preference. Creamy peanut butter creates a smoother, more uniform mixture, while crunchy peanut butter adds delightful bits of texture. I often use creamy for a perfect blend, but both options work wonderfully!
How should I store Chocolate Rice Krispie Balls?
Store your Chocolate Rice Krispie Balls in an airtight container at room temperature for up to 2 weeks. If you prefer a firmer bite, refrigerate them for the same duration. Just make sure they are well-covered to keep them fresh and tasty!
Can I freeze Chocolate Rice Krispie Balls?
Absolutely! These treats freeze beautifully. To freeze, place them in a single layer in a freezer-safe container or zip-top bag, separating layers with parchment paper. They can be frozen for up to 3 months! When you're ready to enjoy, simply thaw them in the refrigerator before serving.
What if my Chocolate Rice Krispie Balls are too soft to coat?
If your balls are soft, they may not have chilled long enough. Make sure to chill them in the freezer for at least 20 minutes to firm up. If they still seem soft, you can always return them to the freezer for a bit longer. This step ensures they coat more easily in chocolate!
Are there any allergy considerations for this recipe?
Yes! This recipe contains peanuts and dairy, which may pose an allergy risk for some individuals. If making these for a gathering, be sure to check with your guests about allergies beforehand. You can substitute almond butter or sun butter for the peanut butter if nut allergies are a concern.
How can I give my Chocolate Rice Krispie Balls extra flair?
Get creative with toppings! Before the chocolate sets, you can sprinkle crushed nuts, rainbow sprinkles, or even shredded coconut over the chocolate coating for added texture and visual appeal. I love using crushed peanuts—it adds a delightful crunch and a bit of sophistication!

Irresistible Chocolate Rice Krispie Balls for Sweet Cravings
Equipment
- Mixing bowl
- Hand mixer or spatula
- parchment paper
- Cookie scoop
- double boiler or microwave
Ingredients
For the Base
- 1 cup creamy or crunchy peanut butter
- 4 tablespoons unsalted butter
- 2 cups powdered sugar
- 1 teaspoon vanilla extract
- 1.5 cups crispy rice cereal
For the Coating
- 8-10 ounces semi-sweet or dark chocolate chips (or melting wafers)
Instructions
Step-by-Step Instructions
- In a large mixing bowl, combine peanut butter and unsalted butter. Blend until smooth and creamy, about 2–3 minutes.
- Add vanilla extract and mix thoroughly for another minute.
- Gradually incorporate powdered sugar, blending until fully integrated.
- Fold in crispy rice cereal until well-coated, being careful not to overmix.
- Shape the mixture into 1-inch balls using a cookie scoop or your hands.
- Place the balls onto a parchment-lined baking sheet and chill in the freezer for at least 20 minutes.
- Melt the chocolate chips using a double boiler or microwave, stirring until smooth. If needed, thin with vegetable oil.
- Dip each chilled ball into the melted chocolate, ensuring they are fully coated, then place back on the baking sheet.
- Allow the chocolate to set at room temperature or in the fridge for about 30 minutes.


Leave a Reply