
The tantalizing aroma of sautéed garlic fills the kitchen, wrapping me in a culinary embrace that promises satisfaction. These Cheesy Garlic Chicken Wraps are a delightful solution for those busy weeknights when you crave something homemade yet effortlessly delicious. With just a handful of ingredients, they not only boast a quick prep time but also cater to even the pickiest eaters. Imagine tender chicken mingling with melty cheeses and garlicky goodness all snugly wrapped in a golden tortilla. Whether you’re serving them as a casual family dinner or packing them for lunch, these wraps are a versatile delight that will leave everyone asking for seconds. Ready to elevate your everyday meals?
Why are these wraps a must-try?
Simplicity: This recipe is incredibly easy to follow, making it perfect for home cooks of all skill levels.
Flavor Explosion: The harmonious blend of garlic, chicken, and two types of cheese creates a savory sensation that’s hard to resist.
Versatile Meal: Whether you enjoy them for lunch, dinner, or even as a snack, these wraps fit seamlessly into any meal plan.
Quick Cook Time: With just 12-15 minutes of cooking time, you can whip up a delicious homemade meal without breaking a sweat.
Family-Friendly Appeal: Even the pickiest eaters will be begging for more of these cheesy garlic chicken wraps! Pair them with a fresh green salad or seasoned potato wedges for a complete meal experience!
Cheesy Garlic Chicken Wraps Ingredients
For the Filling
• Cooked chicken, diced – 2 cups of protein-packed goodness, perfect for leftover rotisserie chicken!
• Olive oil – 2 tablespoons to create a savory base for the garlic.
• Garlic, minced – 3 cloves for that irresistible aroma and flavor.
• Shredded cheddar cheese – 1 cup adds a rich, sharp taste that melds beautifully.
• Shredded mozzarella cheese – 1 cup ensures creaminess and gooeyness in every bite.
For Assembly
• Large tortillas – 4 to hold all the cheesy garlic chicken goodness; feel free to use your favorite wrap!
• Butter – 2 tablespoons for that golden, crispy exterior.
For Seasoning
• Salt – Add to taste to enhance the flavors.
• Pepper – A sprinkle to kick it up a notch.
For Garnish
• Chopped parsley – Optional, but it adds a lovely fresh touch and vibrant color to your wraps.
With these delectable ingredients, you’re just moments away from enjoying the delightful bites of Cheesy Garlic Chicken Wraps. Dive into the process and let your kitchen fill with scrumptious aromas!
Step‑by‑Step Instructions for Cheesy Garlic Chicken Wraps
Step 1: Prepare the Chicken
Begin by cooking your chicken, whether baking, grilling, or sautéing, until it reaches an internal temperature of 165°F (75°C). Season with salt and pepper to taste, then dice the chicken into small, bite-sized pieces. Set the flavorful chicken aside while you prepare the delicious cheesy garlic filling.
Step 2: Sauté the Garlic
In a large skillet, warm 2 tablespoons of olive oil over medium heat. Add 3 cloves of minced garlic and sauté for about 30 seconds to 1 minute, until the garlic turns golden and fragrant. Take care not to let it burn, as burnt garlic can spoil the taste. This aromatic base will elevate your Cheesy Garlic Chicken Wraps!
Step 3: Combine Chicken and Garlic
Add the diced chicken to the skillet and toss it in the garlicky oil, ensuring each piece is well-coated. Cook for an additional 2-3 minutes over medium heat to infuse the chicken with the garlic flavor. Once heated through, remove the skillet from the heat, allowing the flavors to meld beautifully in your cheesy garlic chicken mixture.
Step 4: Melt the Cheese
Stir in 1 cup each of shredded cheddar and mozzarella cheese while the chicken is still warm. The residual heat will help the cheese begin melting, creating a gooey, rich texture that binds the filling. Ensure the chicken and cheese are thoroughly mixed, achieving a luscious consistency that defines these Cheesy Garlic Chicken Wraps.
Step 5: Assemble the Wraps
Lay one large tortilla flat on a clean surface. Spoon a generous portion of the cheesy garlic chicken mixture into the center, ensuring not to overfill. Fold the sides of the tortilla inward, then roll it up tightly from the bottom, much like a burrito. Repeat the process for the remaining tortillas, embracing the satisfying filling as you wrap!
Step 6: Cook the Wraps
In a skillet, melt 2 tablespoons of butter over medium heat. Once sizzling, place the assembled wraps seam-side down in the skillet. Cook for 2-3 minutes until they are golden brown and crispy. Gently flip the wraps using a spatula to avoid spilling the delicious filling, and cook the other side another 2-3 minutes.
Step 7: Rest and Slice
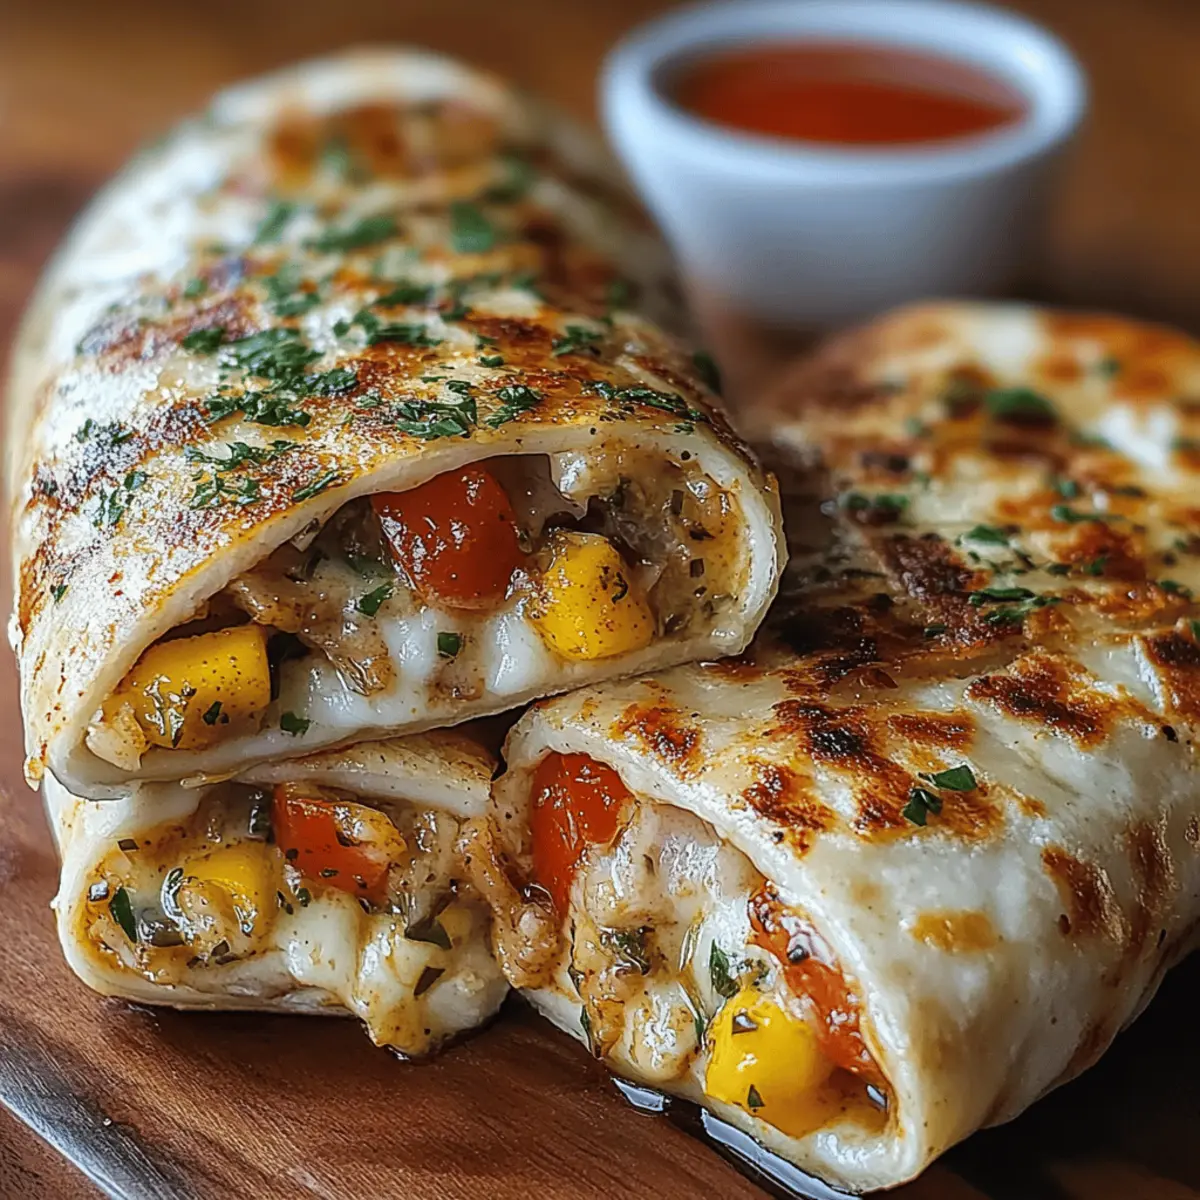
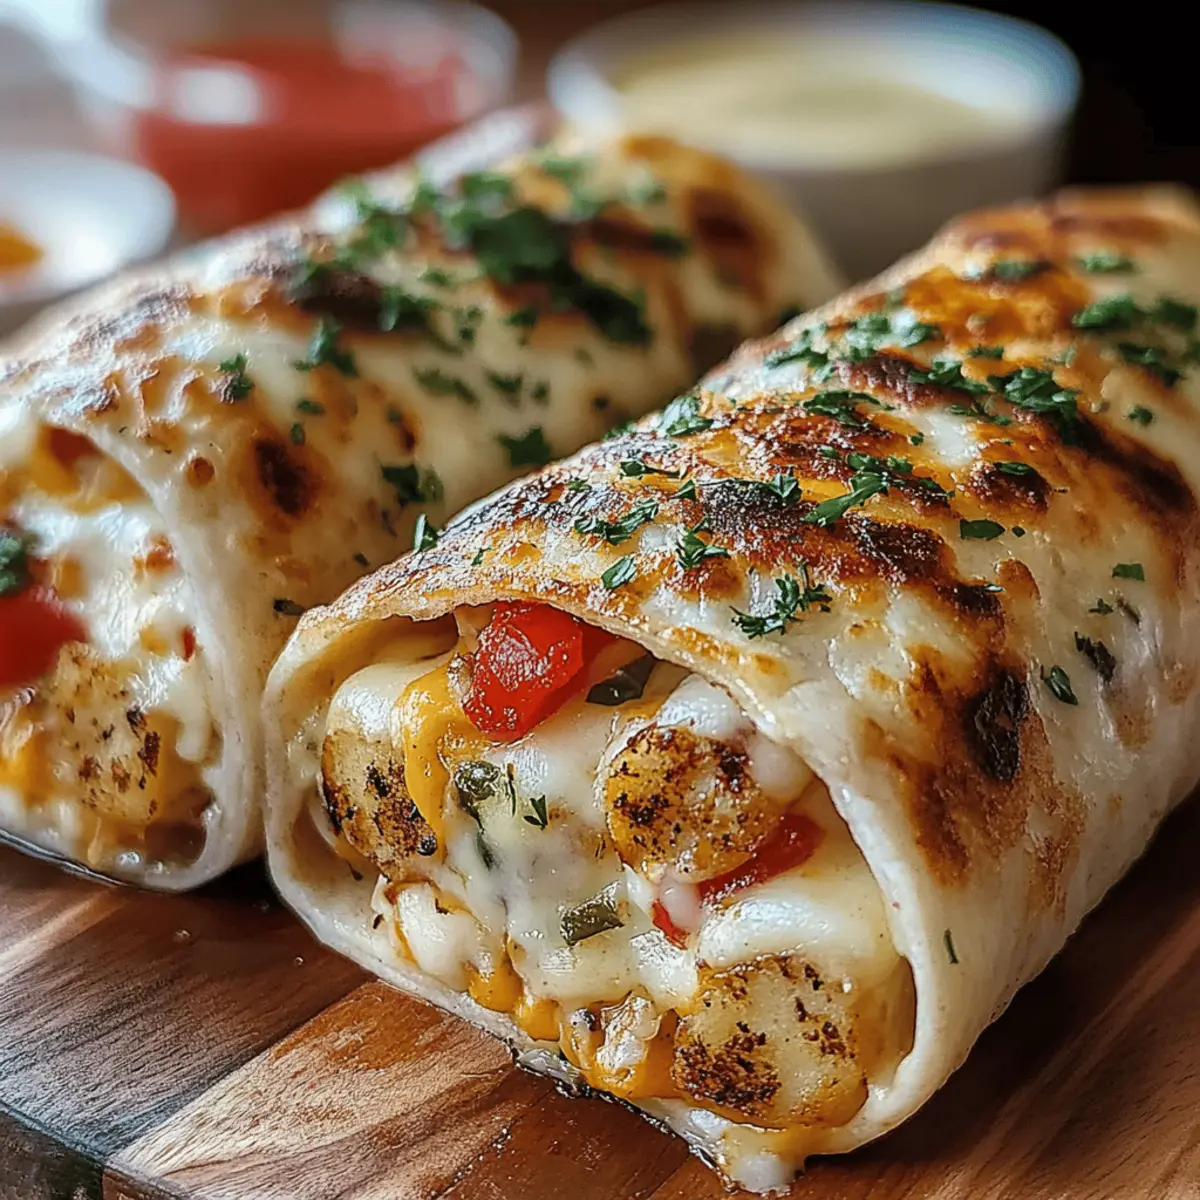
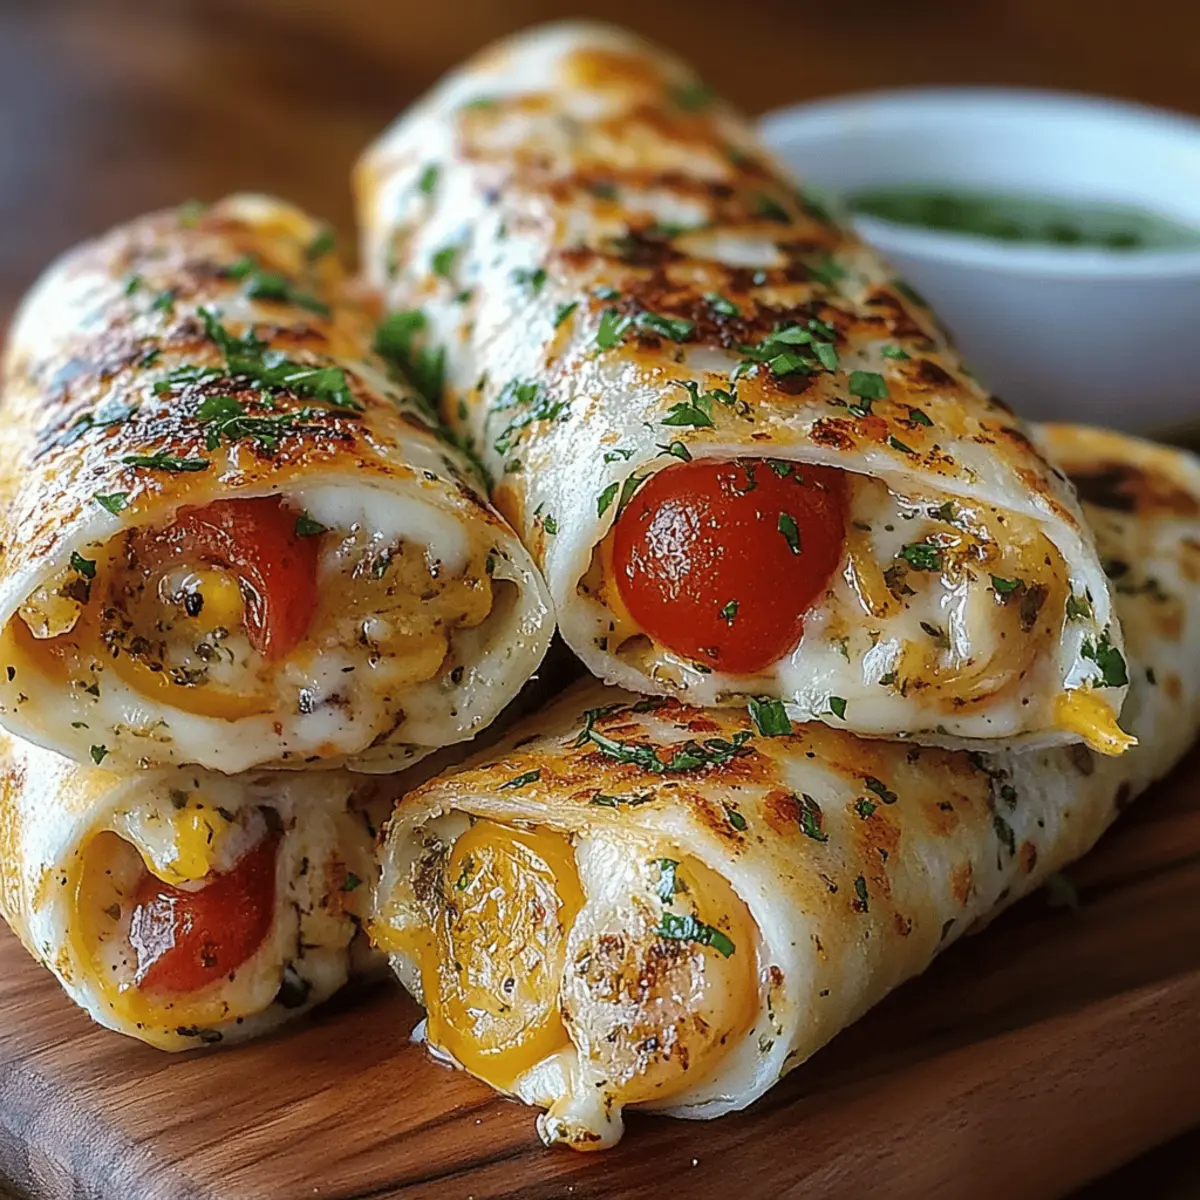
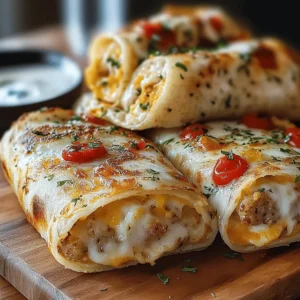
After cooking all wraps, remove them from the skillet and allow to rest for 1-2 minutes on a cutting board. This short resting time helps the melted cheese set slightly, making them easier to slice. Once rested, cut the wraps in half diagonally, showcasing the cheesy garlic chicken filling.
Step 8: Garnish and Serve
If desired, sprinkle chopped parsley over the top of the sliced wraps for a fresh burst of color. Serve your Cheesy Garlic Chicken Wraps warm, alongside your favorite dips or sides. These wraps are the perfect blend of flavors, ideal for a family dinner or a satisfying lunch!
Expert Tips for Cheesy Garlic Chicken Wraps
Use Leftover Chicken: For a quick meal, repurpose leftover rotisserie chicken for your filling. It’s a simple way to save time!
Don’t Overfill: It’s tempting, but don't overstuff your wraps. Leaving some space ensures they roll up nicely and don’t spill during cooking.
Preheat the Skillet: Make sure your skillet is adequately heated before adding the wraps. This ensures a crispy exterior without burning.
Cooking Time Matters: Watch the cooking time closely. Overcooking can lead to a dry wrap. Aim for 2-3 minutes per side for the perfect golden brown.
Rest Before Slicing: Allow the wraps to rest for a couple of minutes after cooking. This helps the melted cheese settle for easy slicing and serving.
Add Your Spin: Feel free to experiment with additional fillings, like sautéed vegetables or different cheeses, to customize your Cheesy Garlic Chicken Wraps to your taste!
What to Serve with Cheesy Garlic Chicken Wraps
Transform your delicious wraps into a complete meal with these delightful pairings that tantalize the taste buds.
- Fresh Green Salad: A light, crunchy salad topped with a zesty vinaigrette brings a refreshing burst to balance the cheesy richness.
- Seasoned Potato Wedges: Crispy and golden, these wedges provide a delightful texture contrast while complementing the savory flavors in your wraps.
- Tomato Soup: Warm and comforting, a velvety tomato soup makes a cozy dip, enhancing the wraps' cheesy goodness.
- Coleslaw: With its crunchy texture and tangy dressing, coleslaw adds a delightful crunch that perfectly complements the soft wraps.
- Roasted Vegetables: Seasoned and caramelized, roasted veggies bring depth of flavor and a satisfying veggie boost to your meal.
- Cucumber and Yogurt Salad: This cool and creamy salad offers a refreshing contrast to the warm, cheesy wraps, making each bite more enjoyable.
Pair these suggestions with your Cheesy Garlic Chicken Wraps for a comforting and satisfying meal that the whole family will love!
Make Ahead Options
These Cheesy Garlic Chicken Wraps are a fantastic choice for meal prep enthusiasts! You can prepare the chicken filling up to 24 hours in advance. Simply cook and dice the chicken, sauté the garlic, and mix in both cheeses, then store it in an airtight container in the refrigerator. A day later, when you’re ready to enjoy, just spoon the mixture onto tortillas, roll them up, and cook them in a skillet for 2-3 minutes on each side until golden brown. This make-ahead approach not only saves time on busy weekdays but ensures the wraps are just as delicious when you serve them!
How to Store and Freeze Cheesy Garlic Chicken Wraps
Fridge: Store leftover Cheesy Garlic Chicken Wraps in an airtight container and refrigerate for up to 3 days to keep them fresh and flavorful.
Freezer: For longer storage, wrap each cooked wrap tightly in plastic wrap and then place them in a freezer-safe bag. They can be frozen for up to 2 months.
Reheating: To reheat, place the wraps in a skillet over medium heat for about 5-7 minutes per side to regain crispiness, avoiding the microwave to maintain texture.
Serving Reminder: Always let the wraps cool briefly after reheating before serving, ensuring the cheese is perfectly melty and delicious.
Cheesy Garlic Chicken Wraps Variations
Feel free to bring your own twist to these delicious wraps and let your creativity shine!
-
Dairy-Free: Substitute the cheddar and mozzarella with dairy-free cheese alternatives for a creamy texture without the dairy.
-
Vegetarian: Replace chicken with sautéed mushrooms or chickpeas for a hearty, plant-based option that’s equally satisfying.
-
Spicy Kick: Add sliced jalapeños or a sprinkle of red pepper flakes to the filling for a delightful heat that'll wake up your taste buds.
-
Herb Infusion: Mix in fresh herbs like basil or cilantro to the cheese blend for an aromatic lift that will enchant every bite.
-
Crunchy Texture: For an extra layer of crunch, toss in some diced bell peppers or shredded carrots with the chicken mixture before wrapping.
-
Smoky Flavor: Incorporate smoked paprika or a dash of liquid smoke into the chicken for a deliciously smoky profile that adds depth.
-
Tortilla Swap: Try using spinach or whole grain tortillas for a nutritious twist that adds a colorful flair to your wraps.
Let your imagination run wild as you adapt these Cheesy Garlic Chicken Wraps to suit your taste! Pair your creations with a refreshing cucumber and yogurt salad or some zesty roasted vegetables for a complete meal sure to impress the family!
Cheesy Garlic Chicken Wraps Recipe FAQs
How do I choose ripe ingredients for my Cheesy Garlic Chicken Wraps?
Absolutely! When selecting chicken, opt for fresh, lean cuts or leftover rotisserie chicken that looks moist and firm. For the garlic, choose bulbs that are firm to the touch without dark spots or sprouting. Ensure your cheese is fresh with a slight bounce when pressed; both cheddar and mozzarella should be creamy without any unusual odor.
What’s the best way to store leftover wraps?
Very important! Leftover Cheesy Garlic Chicken Wraps should be stored in an airtight container in the fridge. They can stay fresh for up to 3 days. To keep the wraps from getting soggy, it's best to place a paper towel in the container to absorb excess moisture.
Can I freeze Cheesy Garlic Chicken Wraps?
Yes, you can! To freeze, allow the cooked wraps to cool completely, then wrap each one tightly in plastic wrap and place them in a freezer-safe zip-top bag. They can be stored in the freezer for up to 2 months. When you're ready to enjoy them, simply thaw overnight in the fridge before reheating.
What should I do if my wraps are spilling during cooking?
If your wraps are spilling, it may be because you overfilled them. Be sure to use a generous but reasonable amount of filling—about a third of the tortilla should be filled. When rolling, fold the sides in tightly while keeping the filling toward the center, and ensure the seam is down while cooking to keep everything secure.
Can I make these wraps allergy-friendly?
Absolutely! For a gluten-free option, use gluten-free tortillas. If you're looking for dairy-free alternatives, try using plant-based cheeses made from nuts or soy, and substitute the butter with olive oil or a vegan butter alternative for cooking. Always check ingredient labels to ensure they meet your dietary needs.
How do I reheat my Cheesy Garlic Chicken Wraps without losing their crispiness?
To maintain that delightful crunch, I recommend reheating in a skillet. Preheat a non-stick skillet over medium heat, then add the wraps. Cook for about 5-7 minutes on each side until they're heated through and crispy. Avoid the microwave, as it can make your wraps soft and lose that desirable texture.
Irresistibly Cheesy Garlic Chicken Wraps You’ll Crave
Equipment
- large skillet
- Cutting Board
- Spatula
Ingredients
For the Filling
- 2 cups cooked chicken, diced perfect for leftover rotisserie chicken
- 2 tablespoons olive oil for sautéing garlic
- 3 cloves garlic, minced for flavor
- 1 cup shredded cheddar cheese adds a rich, sharp taste
- 1 cup shredded mozzarella cheese ensures creaminess
For Assembly
- 4 large tortillas for wrapping
- 2 tablespoons butter for a crispy exterior
For Seasoning
- salt to taste
- pepper to taste
For Garnish
- chopped parsley optional
Instructions
Step-by-Step Instructions
- Prepare your chicken by cooking it until it reaches an internal temperature of 165°F. Season with salt and pepper, dice, and set aside.
- In a skillet, warm olive oil and sauté minced garlic for 30 seconds to 1 minute until golden and fragrant.
- Add the diced chicken to the skillet and toss in the garlic oil. Cook for an additional 2-3 minutes.
- Stir in cheddar and mozzarella cheese while the chicken is warm to melt the cheese and create a gooey filling.
- Lay a tortilla flat. Spoon the cheesy chicken mixture into the center, fold in sides, and roll tightly.
- In a skillet, melt butter over medium heat, add wraps seam-side down, cooking for 2-3 minutes until golden brown.
- Allow wraps to rest for 1-2 minutes before slicing in half to showcase the filling.
- If desired, sprinkle parsley on top and serve warm with dips or sides.
Leave a Reply