
As I took my first bite of a Pumpkin Patch Dirt Cup, I could practically hear the laughter of children eagerly digging into a delightful dessert—a nostalgic blend of sweet chocolate pudding and crunchy crushed Oreos. This whimsical treat is not only a fun way to celebrate the season, but it also packs an easy prep time of just 15 minutes, making it a fantastic choice for busy home chefs. Whether you're hosting a fall gathering or simply looking to satisfy your sweet tooth, these cups are a sure crowd-pleaser. Plus, they’re customizable—feel free to swap in gluten-free cookies if needed! Curious about how to create your own spooky treat? Let’s dive into this deliciously simple recipe!
Why are Pumpkin Patch Dirt Cups a Must-Try?
Whimsical Appeal: These delightful cups bring a touch of fun with every bite, making them perfect for family gatherings or themed parties.
Quick to Make: With just 15 minutes of prep, you can whip up a batch in no time, leaving you more moments to enjoy the festivities.
Versatile Treat: Whether you prefer chocolatey delights or need gluten-free options, this recipe is adaptable for everyone's taste.
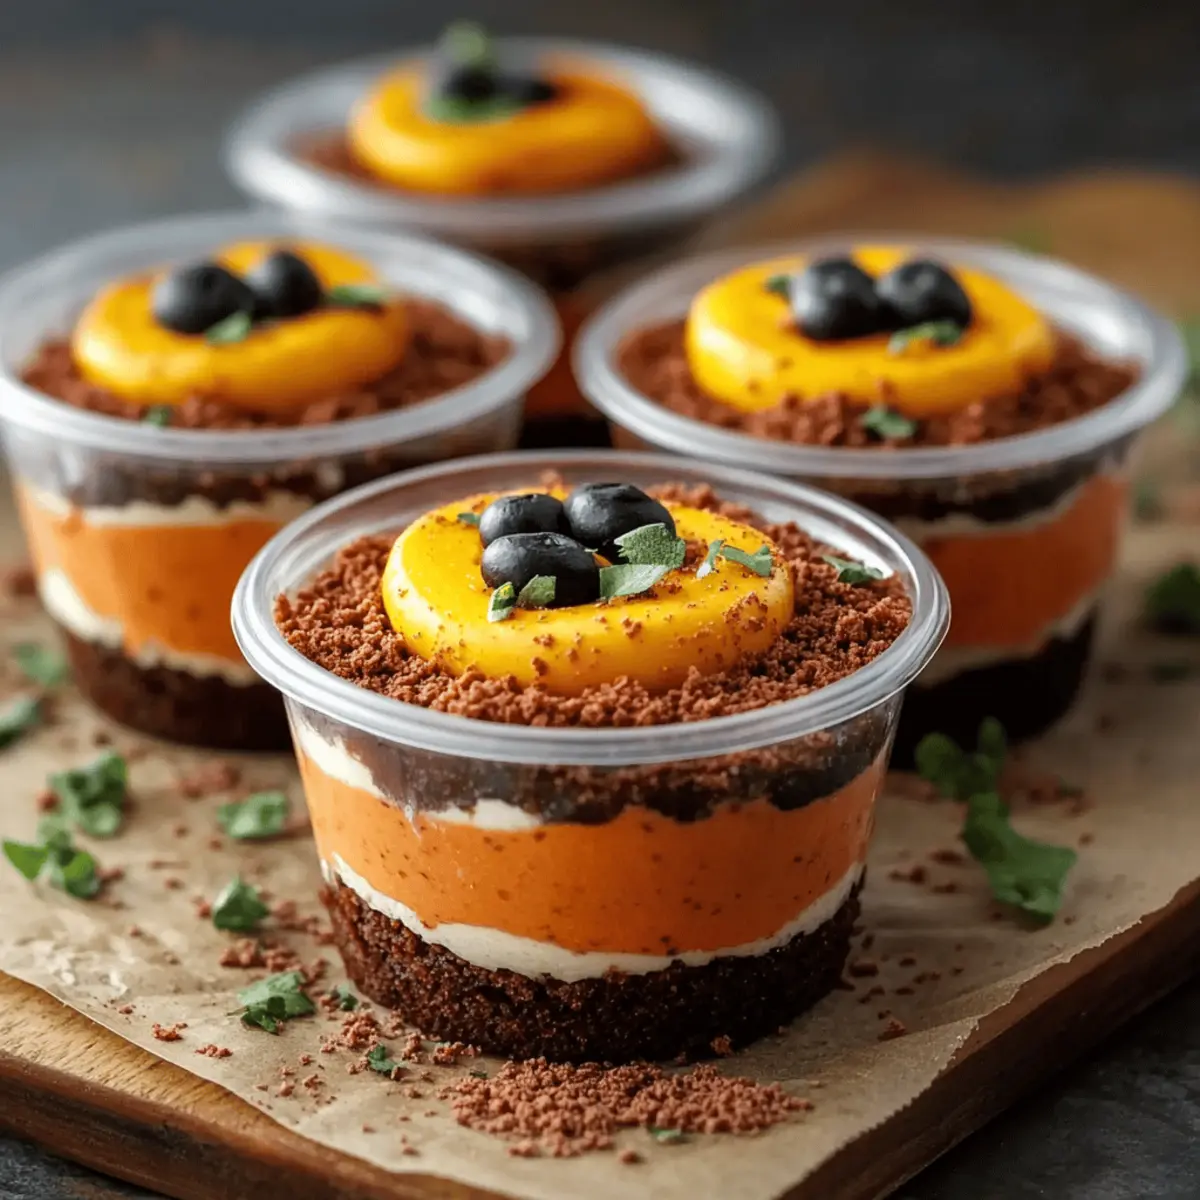
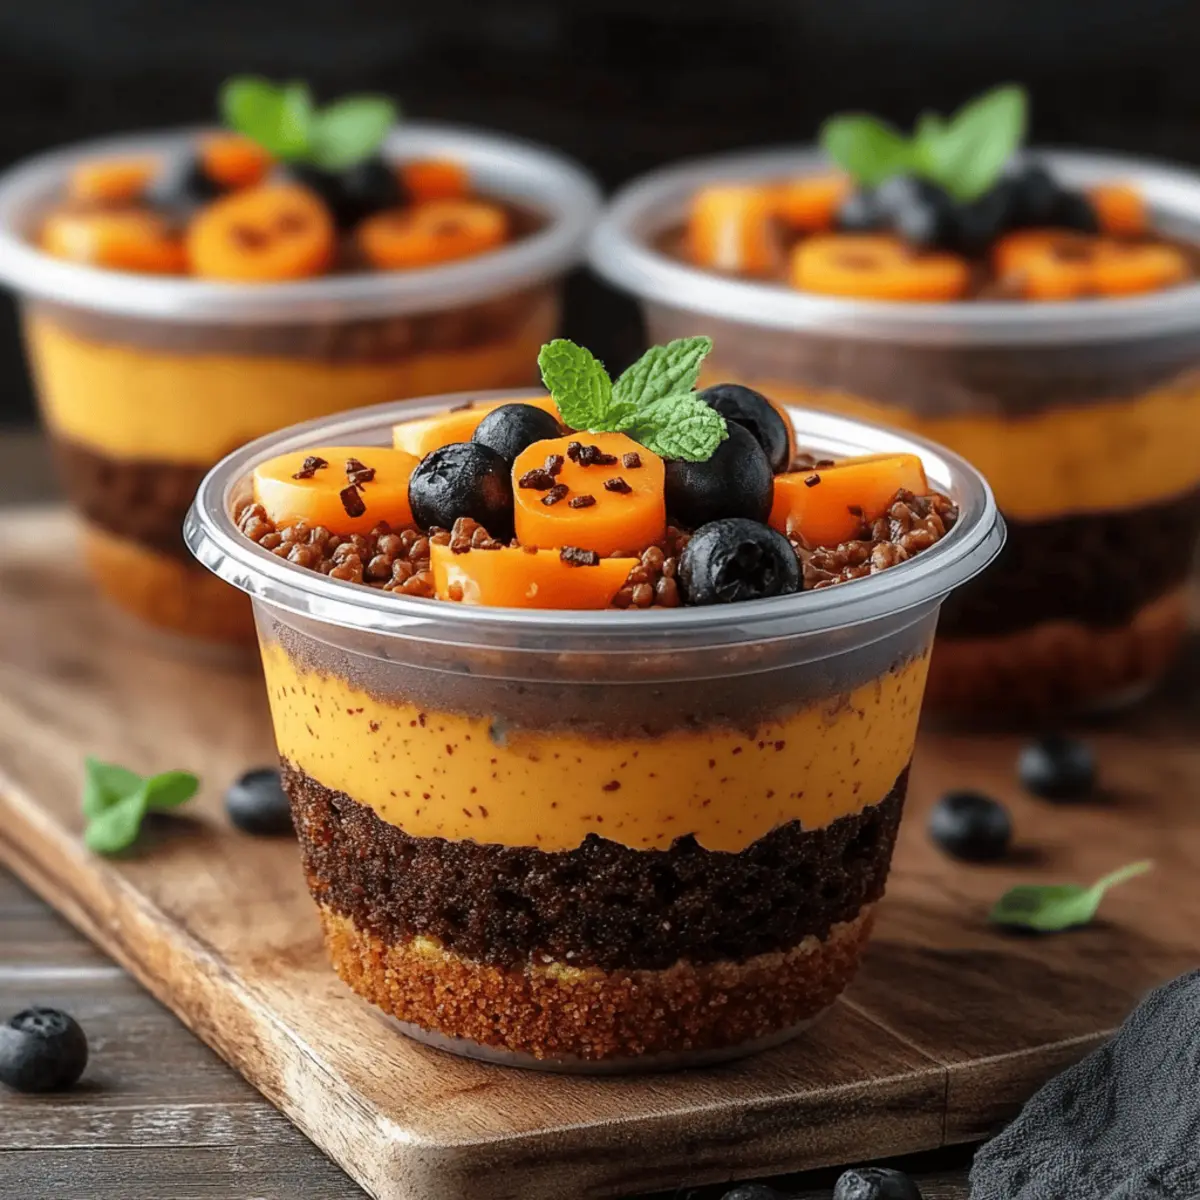
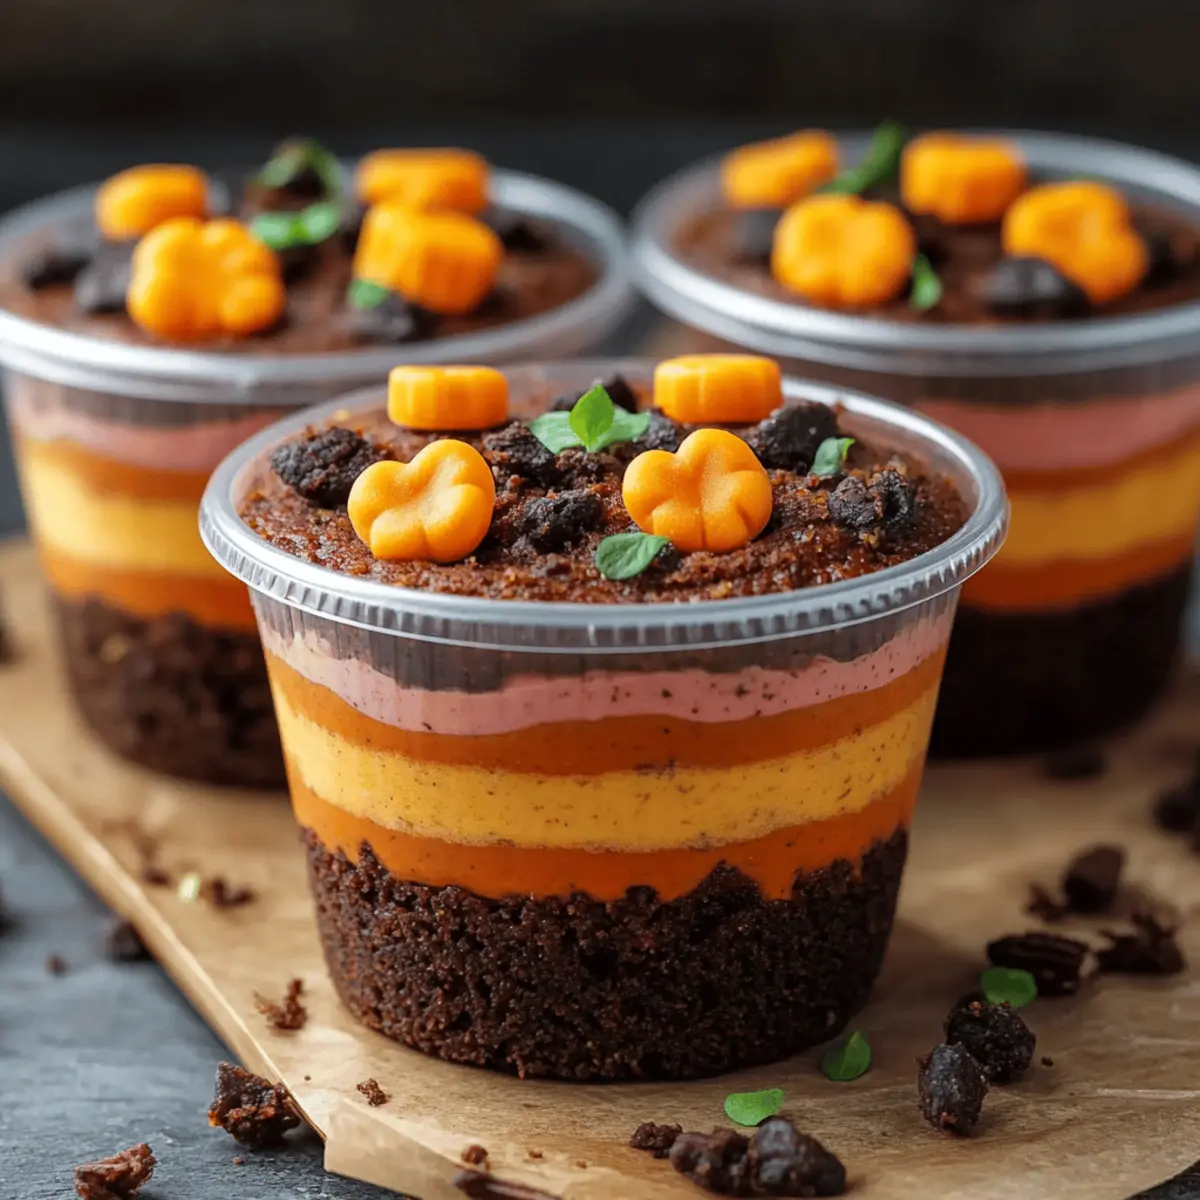
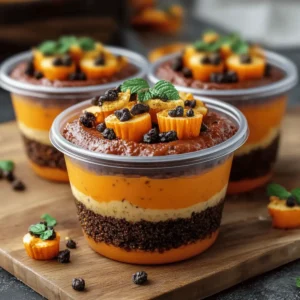
Eye-Catching Presentation: Layered with crushed Oreos and topped with festive candy pumpkins, these cups are a feast for the eyes as well as the palate.
No-Bake Delight: Skip the oven and enjoy a dessert that's chilled to perfection, ideal for those warm days or when time is tight.
Dive into more delicious recipes like Chocolate Pudding Parfaits for another easy yet impressive dessert option!
Pumpkin Patch Dirt Cups Ingredients
For the Pudding Mixture
- Chocolate pudding mix – this is the star of the show, providing rich, chocolatey goodness.
- Milk – helps to create a smooth and creamy pudding texture; feel free to use plant-based milk for a lactose-free version.
- Whipped cream – for that extra cloud of sweetness, adding lightness to the dense chocolate.
For the Layers
- Oreos – their crunch complements the pudding perfectly; substitute with gluten-free cookies if needed for dietary restrictions.
- Candy pumpkins – these cute decorations bring a festive vibe that makes this treat even more delightful.
- Optional: gummy worms – they add an element of fun that kids especially adore; feel free to skip them for a simpler look.
Prepare to impress your family and friends with these charming Pumpkin Patch Dirt Cups that are as fun to make as they are to eat!
Step‑by‑Step Instructions for Pumpkin Patch Dirt Cups
Step 1: Prepare the Pudding Mixture
In a mixing bowl, combine 2 cups of chocolate pudding mix with 2 cups of cold milk. Use a whisk to blend thoroughly until smooth, ensuring no lumps remain. Allow the mixture to sit for about 5 minutes, watching it thicken to a creamy consistency perfect for your Pumpkin Patch Dirt Cups.
Step 2: Incorporate the Whipped Cream
Once the pudding has thickened, gently fold in 1 cup of whipped cream. Use a spatula to carefully combine the whipped cream with the pudding, achieving a light and airy mixture. This step adds a delightful texture to your Pumpkin Patch Dirt Cups, blending the rich chocolate with the fluffy cream seamlessly.
Step 3: Layer the Ingredients
Grab clear plastic cups or dessert glasses to begin layering your Pumpkin Patch Dirt Cups. Start by spooning a layer of the fluffy pudding mixture into each cup, filling them about one-third full. Next, sprinkle a layer of crushed Oreos on top, creating a crunchy contrast that pairs beautifully with the creamy pudding.
Step 4: Repeat Layering
Continue the layering process by adding another layer of the pudding mixture, followed by a second layer of crushed Oreos. Fill the cups to the top, ensuring the final layer is crushed Oreos for a charming “dirt” look. The visual layers make your Pumpkin Patch Dirt Cups both appealing and fun.
Step 5: Add Whipped Cream and Decorations
To finish, top each cup with a generous dollop of whipped cream, creating a snowy peak that looks inviting. Decorate with candy pumpkins and optional gummy worms, arranging them artfully on top. This festive touch transforms your Pumpkin Patch Dirt Cups into a joyful treat perfect for any occasion.
Step 6: Chill Before Serving
Place the assembled Pumpkin Patch Dirt Cups in the refrigerator to chill for at least 30 minutes. This cooling time allows the flavors to meld beautifully and sets the pudding. When ready to serve, give your cups a minute to come to a slight room temperature for an even more delightful bite!
Expert Tips for Pumpkin Patch Dirt Cups
Chill Tip: Keep it cool: Allowing your Pumpkin Patch Dirt Cups to chill for at least 30 minutes enhances flavor and texture.
Whipped Cream Care: Fold gently: When adding whipped cream, fold it carefully to maintain that light, airy texture—you want creaminess, not a deflated mix!
Cookie Crunch: Crush smartly: Aim for even cookie crumbles; too large can disrupt the layering. Use a food processor for uniformity if needed.
Decoration Timing: Add decorations last: To keep candy pumpkins and gummy worms looking fresh, add them just before serving. They’ll stay bright and fun!
Dietary Substitution: Think gluten-free: If necessary, substitute Oreos with gluten-free cookies without compromising the dessert’s whimsical vibe.
Explore more whimsical creations like Dirt Cups with Berries for a fruity twist!
How to Store and Freeze Pumpkin Patch Dirt Cups
Fridge: Store any leftover Pumpkin Patch Dirt Cups in the refrigerator for up to 2 days. Cover them with plastic wrap to maintain freshness and avoid moisture buildup.
Freezer: While not ideal for freezing, you can store the pudding layer separately in an airtight container for up to 1 month. Just remember to assemble and decorate after thawing for the best presentation!
Layering Tip: For optimal taste and texture, prepare the pudding and cookie layers ahead of time, but avoid adding the whipped cream and decorations until just before serving.
Reheating: As this dessert is served cold, there's no need for reheating. Just pull them from the fridge when you're ready to indulge!
What to Serve with Pumpkin Patch Dirt Cups
To create a complete Halloween celebration, explore delightful pairings that will leave your guests feeling festive and satisfied.
- Spooky Fruit Salad: A mix of seasonal fruits, like oranges and grapes, adds a refreshing contrast to the rich dessert.
- Apple Cider: The warm spices in apple cider beautifully complement the velvety chocolate pudding, making it perfect for cool evenings.
- Ginger Snap Cookies: Crunchy and slightly spicy, these cookies offer a delightful texture contrast, enhancing the overall experience.
- Whipped Cream Topping: Elevate the cups with a fun twist by serving extra whipped cream on the side for a creamy delight.
- Chocolate Cake Pops: These sweet bites echo the chocolatey goodness of the cups and are fun for kids to enjoy. For a whimsical twist, dip them in orange sprinkles!
- Pumpkin Spice Latte: Embrace the season's favorite flavor with this warm beverage, its spices perfectly complementing the dirt cups' sweetness.
- Caramel Corn: The sweet, crunchy popcorn offers a delightful alternative texture, making your dessert table irresistibly fun and festive.
- Vanilla Ice Cream: A scoop of creamy vanilla ice cream can enhance the experience, melting into the dirt cups for a delightful treat.
- Miniature Orange Cupcakes: These bright treats add a burst of color and flavor, tying in the pumpkin theme beautifully while leaving room for more sweets.
Let these ideas inspire you to create a memorable spread that pairs wonderfully with your Pumpkin Patch Dirt Cups!
Pumpkin Patch Dirt Cups Variations
Customize your Pumpkin Patch Dirt Cups to suit your taste and dietary needs with these fun ideas!
- Dairy-Free: Swap the milk and whipped cream for almond or coconut milk and coconut whipped cream for a dairy-free delight.
- Gluten-Free: Use gluten-free cookies instead of Oreos; they maintain the crunch without compromising on taste.
- Chocolate Cake Layers: For an extra indulgent twist, add crumbled chocolate cake between the layers. It takes these cups to a new level of deliciousness!
- Nutty Flavor: Add a layer of crushed nuts like pecans or walnuts for a delightful crunch and a nutty flavor that complements the sweetness.
- Fruit Addition: Mix in diced strawberries or raspberries between the layers for a refreshing fruit burst that brightens each bite.
- Spicy Kick: Sprinkle a touch of cinnamon or cayenne pepper with the crushed Oreos for a unique flavor twist that adds a spicy surprise.
- Vegan Option: Replace chocolate pudding mix with a vegan alternative and use silken tofu blended with cocoa powder for a creamy base.
- S'mores Style: Top your cups with mini marshmallows and drizzle with melted chocolate for a s'mores-inspired version that will be a hit at any gathering!
Get creative with these variations and turn every serving of your Pumpkin Patch Dirt Cups into a personalized experience. If you’re looking for more delightful desserts, try your hand at Chocolate Pudding Parfaits or whip up some scrumptious Dirt Cups with Berries for a fruity twist!
Make Ahead Options
These Pumpkin Patch Dirt Cups are perfect for meal prep, making your fall gatherings a breeze! You can prepare the chocolate pudding mixture and layer it with crushed Oreos up to 24 hours in advance, simply refrigerating the cups without the final toppings to maintain freshness. To do this, assemble the cups as instructed, cover them with plastic wrap, and store them in the fridge. On the day of serving, just add the whipped cream, candy pumpkins, and optional gummy worms for a festive touch. This way, you’ll have a delightfully-themed dessert ready with minimal effort, leaving you more time to enjoy the festivities!
Pumpkin Patch Dirt Cups Recipe FAQs
How do I choose ripe ingredients for Pumpkin Patch Dirt Cups?
Absolutely! For the best results, choose high-quality chocolate pudding mix and whipped cream. If you're opting for dairy milk, go for fresh, and avoid anything that has been sitting in the fridge for too long. For optional gummy worms, check for vibrant colors without any signs of fading.
How should I store leftover Pumpkin Patch Dirt Cups?
Very good question! Store any leftovers in the refrigerator for up to 2 days. Make sure to cover them with plastic wrap to lock in freshness and prevent them from absorbing other odors in the fridge. If you want to keep the layers looking nice, wait to add toppings until you're ready to serve.
Can I freeze Pumpkin Patch Dirt Cups?
While it’s not ideal for freezing finished cups, you can freeze the pudding layer separately in an airtight container for up to 1 month. When you’re ready to enjoy, simply thaw it in the fridge overnight and layer it with crushed cookies and whipped cream just before serving for the best taste and texture.
What if my pudding doesn’t thicken properly?
If your pudding fails to thicken, it could be due to not mixing well with the milk. Make sure to whisk thoroughly and allow it to rest for 5 minutes after mixing. If it’s still runny, you can try adding a small amount of cornstarch dissolved in cold milk and whisking it in until it reaches the desired consistency.
Are there any dietary considerations with Pumpkin Patch Dirt Cups?
Absolutely! You can easily make this recipe gluten-free by using gluten-free cookies as a substitute for Oreos. Always check ingredient labels to ensure there are no hidden allergens, especially for the pudding mix and whipped cream if you or your guests have specific dietary needs.
Can I decorate with fresh fruits instead of candy?
Yes, you can certainly swap candy pumpkins and gummy worms for fresh fruits! Berries, slices of banana, or even chopped apples can give a refreshing twist while still maintaining that fun appeal. Just remember that fresh fruits should be added right before serving to keep everything looking vibrant!
Delicious Pumpkin Patch Dirt Cups Perfect for Fall Fun
Equipment
- Mixing bowl
- Whisk
- Spatula
- clear plastic cups
Ingredients
Pudding Mixture
- 2 cups chocolate pudding mix
- 2 cups milk can substitute with plant-based milk
- 1 cup whipped cream
Layers
- 1 package Oreos can substitute with gluten-free cookies
- 1 cup candy pumpkins
- 1 cup gummy worms optional
Instructions
Prepare the Pudding
- In a mixing bowl, combine chocolate pudding mix and cold milk. Whisk until smooth and allow to thicken for about 5 minutes.
Incorporate Whipped Cream
- Gently fold in the whipped cream to the thickened pudding until well combined.
Layer Ingredients
- Layer the pudding mixture into clear cups, filling them about one-third full.
Repeat Layering
- Add another layer of pudding, followed by crushed Oreos, topping with more crushed Oreos.
Add Toppings
- Top each cup with whipped cream, candy pumpkins, and optional gummy worms before serving.
Chill
- Refrigerate the cups for at least 30 minutes before serving to enhance flavor.


Leave a Reply