
As I stood in my kitchen, the aroma of melting chocolate wafted through the air, instantly whisking me back to my childhood. Halloween Rocky Road Slices have this enchanting ability to conjure up memories of trick-or-treating, pumpkin carvings, and the delightful chaos that comes with celebrating fall. This no-bake recipe is not only a fun and festive treat but also a breeze to whip up, making it perfect for last-minute holiday gatherings. Each slice is packed with a whimsical assortment of flavors and textures—from crunchy peanuts and mini marshmallows to chewy gummy worms and colorful candy eyes. You'll love how these spooky delights can be prepared in just 15 minutes, followed by an overnight chill. Are you ready to take your Halloween treats to the next level with this bewitching recipe?
Why Will You Love These Slices?
Irresistible Flavors: The combination of rich chocolate, crunchy peanuts, and fluffy mini marshmallows creates a taste sensation that’s hard to resist.
No-Bake Delight: This recipe requires minimal cooking, making it perfect for busy days when you crave something sweet without a lengthy process.
Fun Presentation: Decorate your slices with gummy worms and candy eyes for a playful Halloween treat that’s sure to impress guests and kids alike!
Quick Prep Time: With just 15 minutes of hands-on time, you can create a spooky masterpiece perfect for last-minute parties—check out other easy Halloween recipes like ghostly cupcakes for more festive ideas!
Perfect for Sharing: Yielding 25 slices, these treats are ideal for gatherings, ensuring there’s plenty to go around while making unforgettable memories.
Halloween Rocky Road Slices Ingredients
For the Base
• 340 g semi-sweet chocolate chips – The star of your Halloween Rocky Road Slices; their rich flavor is irresistible!
• 170 g butter – Adds creaminess and helps bind the ingredients together for a perfect texture.
• Generous pinch of salt – Enhances the sweetness of the chocolate, balancing the flavors beautifully.
For the Mix-Ins
• 150 g roasted peanuts – Provides that delightful crunch that contrasts with the smooth chocolate.
• 75 g mini marshmallows – Light and fluffy, these give a sweet twist and a fun bounce to every bite.
• 10 mini Kit Kat bars (or 5 regular Kit Kat bars) – Extra chocolatey goodness with a satisfying crunch—ideal for Halloween festivities!
For the Decorations
• 115 g candy melts, in each color (about 1 cup each) – Swirl these in for a colorful, spooky effect that makes your treats pop!
• Gummy worms (regular or sour) – Add silly charm and a touch of whimsy to your slices—perfect for Halloween.
• M&M candy – Gives a colorful crunch and additional sweetness that complements the other ingredients.
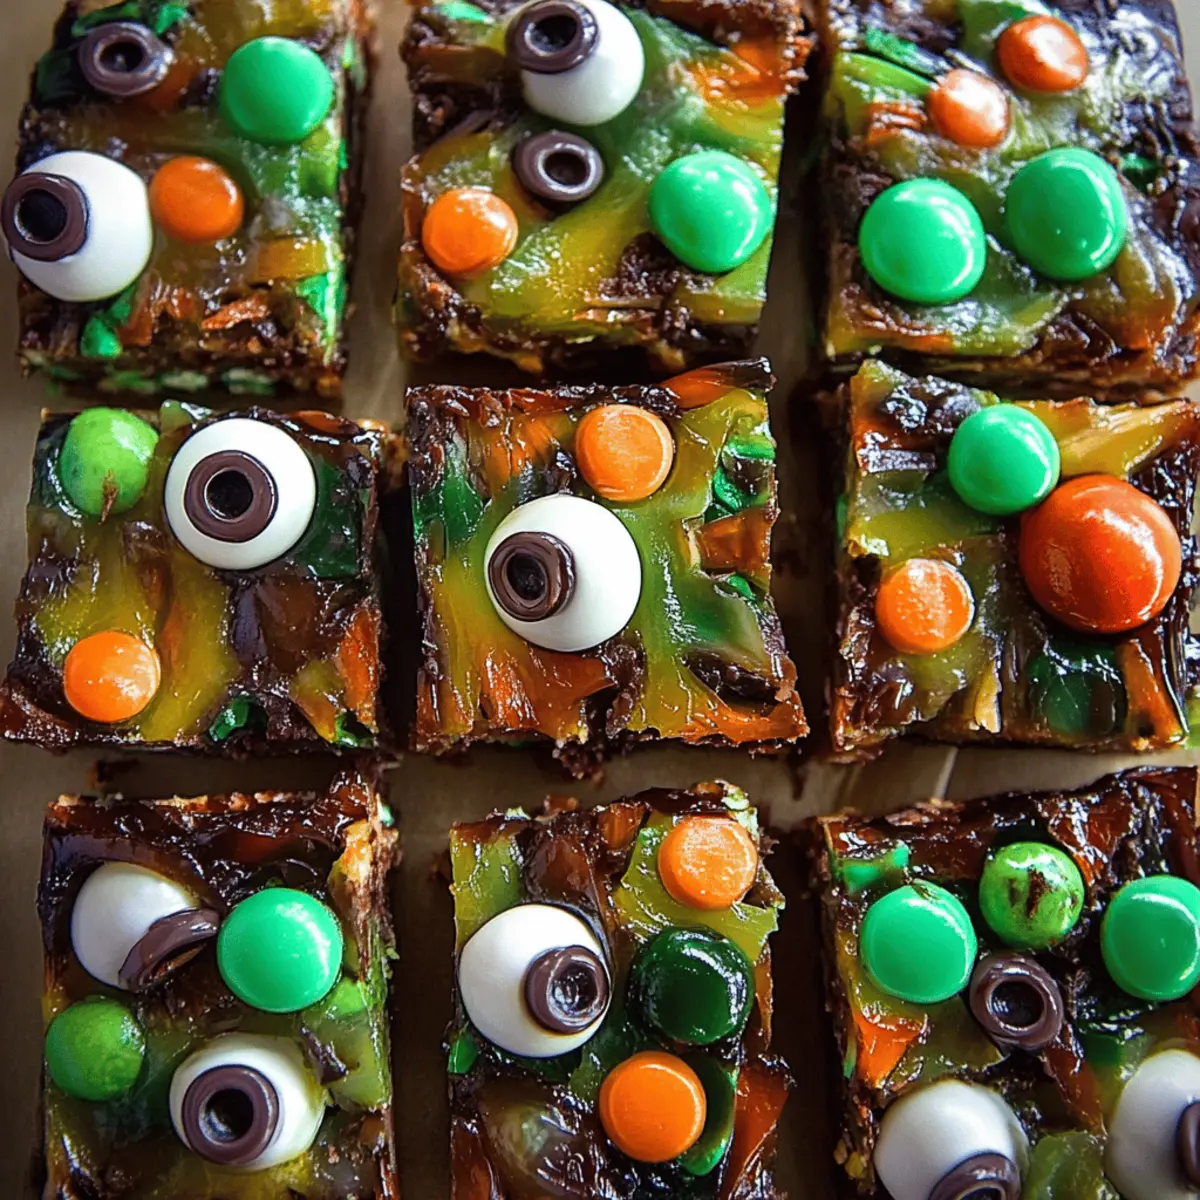
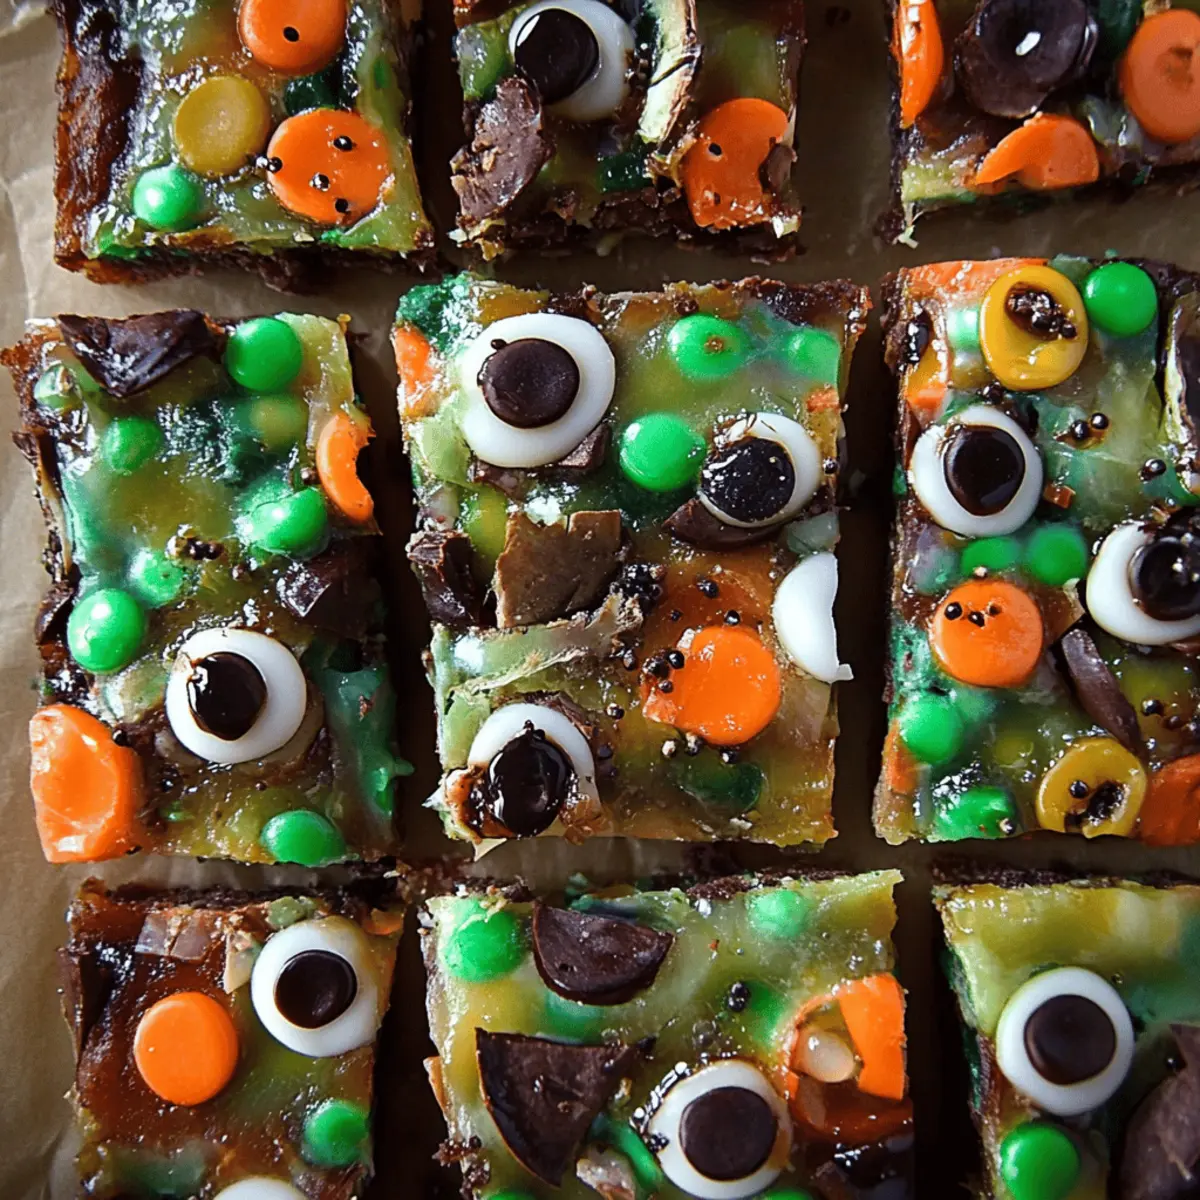
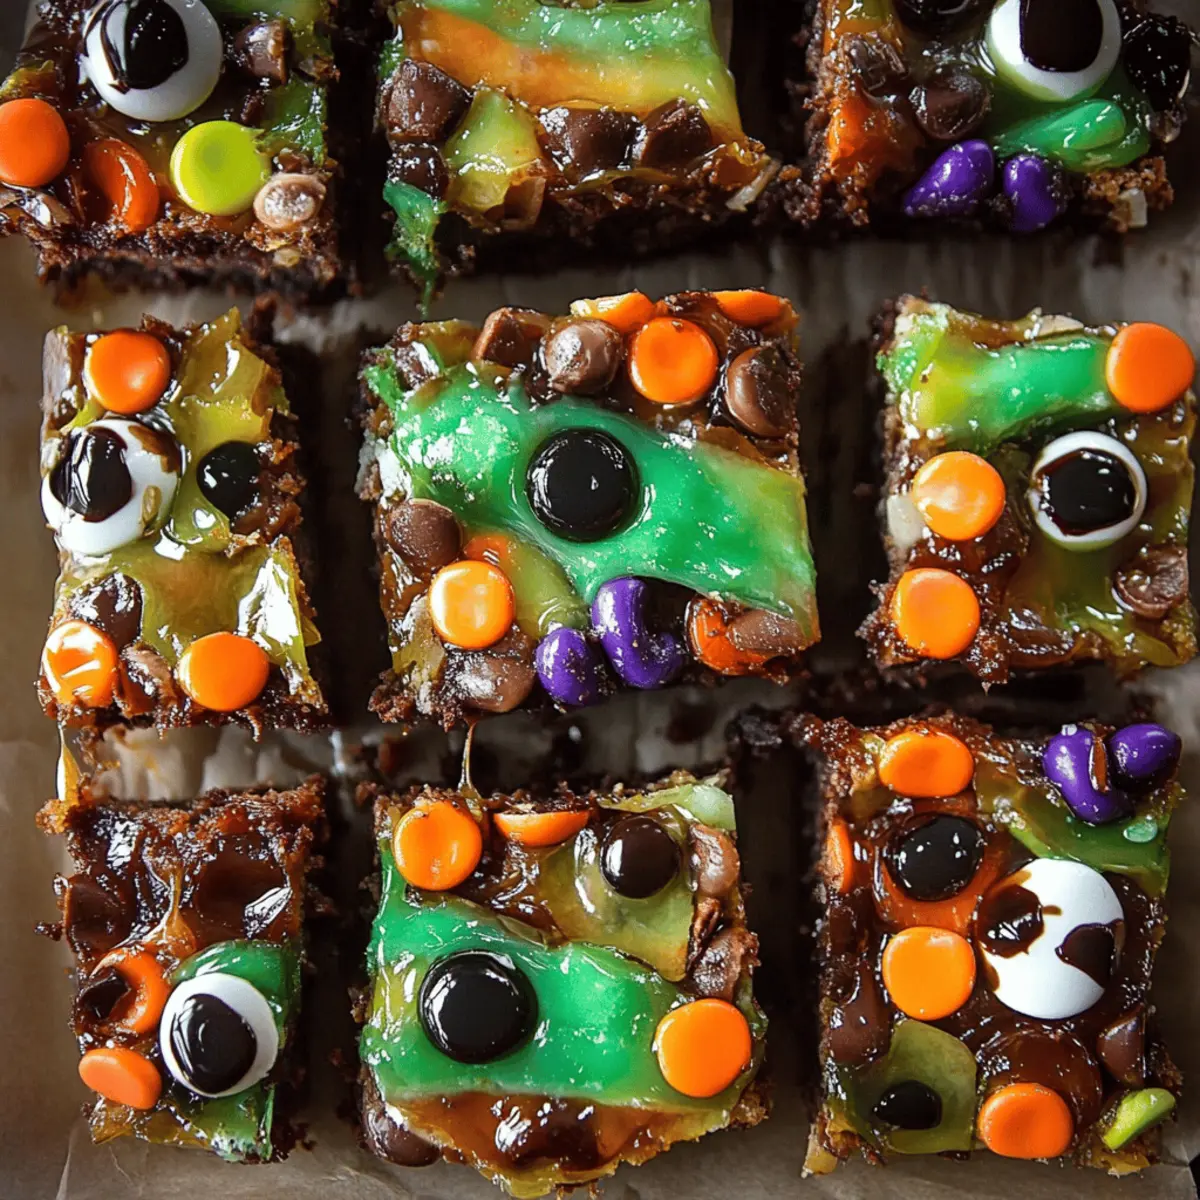
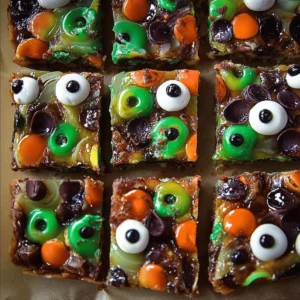
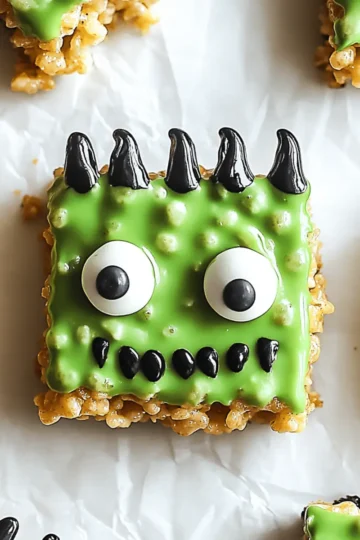
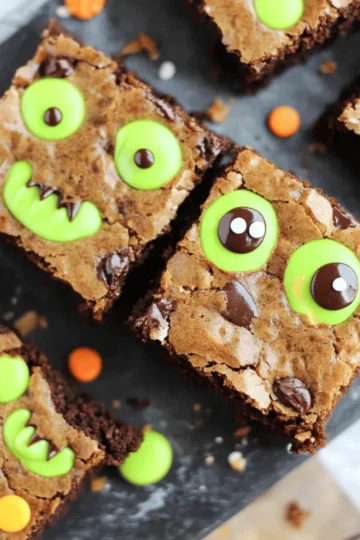
• Candy eyes (a mix of small and large eyes) – Create the funniest and spookiest expressions on your slices for a festive touch.
• Halloween sprinkles – Top off your creations with these fun additions to celebrate the spooky season.
• Extra melted semi-sweet chocolate – Use as a drizzle for added flavor and a polished final look.
Step‑by‑Step Instructions for Halloween Rocky Road Slices
Step 1: Prepare Your Pan
Begin by lining an 8-inch or 9-inch square pan with parchment paper, ensuring it hangs over the edges for easy removal later. This will create a perfect base for your Halloween Rocky Road Slices. Take a moment to smooth the paper down, securing it in the corners to avoid any creases.
Step 2: Melt the Chocolate Mixture
In a large microwave-safe bowl, combine 170 g of butter, 340 g of semi-sweet chocolate chips, and a generous pinch of salt. Microwave the mixture in 30-second intervals, stirring after each round, until everything is melted and smooth—this should take about 1-2 minutes total. When done, the chocolate should be glossy and well-combined.
Step 3: Melt the Candy Melts
While the chocolate mixture cools slightly, prepare your colorful candy melts. In separate microwave-safe bowls, place the 115 g of candy melts in each desired color. Microwave them in 20 to 30-second intervals, stirring until you achieve a smooth consistency. Set these vibrant melts aside for a bright addition to your rocky road slices.
Step 4: Add the Crunchy Mix-Ins
Once the chocolate mixture has cooled for a few minutes, fold in the 150 g of roasted peanuts and the cut pieces of 10 mini Kit Kat bars. Stir gently to combine, allowing those delightful crunchy elements to integrate into the rich chocolate base without breaking apart.
Step 5: Fold in the Marshmallows
To preserve the fluffiness, add the 75 g of mini marshmallows next. Gently mix them into the chocolate mixture, creating a delightful blend without letting them melt. This step ensures every bite of your Halloween Rocky Road Slices has that soft, chewy texture!
Step 6: Pour and Swirl
Transfer the rocky road mixture into the prepared pan, spreading it evenly with an offset spatula. Then, take dollops of the melted candy melts and swirl them into the chocolate concoction, creating a beautiful design. Make sure to press the mixture firmly to the edges for an even layer that sets properly.
Step 7: Decorate Creatively
Using a knife, lightly mark cutting lines on the surface of your rocky road mix for easy slicing later. Now, unleash your creativity! Decorate the top with gummy worms, colorful M&Ms, and candy eyes, making sure to place them outside the marked lines for a spooky, eye-catching effect.
Step 8: Chill Until Firm
Cover your decorated rocky road slices with plastic wrap and refrigerate them until fully set, ideally overnight. This firming up time allows the chocolate to harden, ensuring delicious slices that hold their shape when cut.
Step 9: Slice and Serve
Once set, carefully remove the chilled mixture from the pan using the parchment paper edges. Use a warm knife to cut along the marked lines for neat slices. Your Halloween Rocky Road Slices are now ready to serve, showcasing a delightful mix of spooky charm and delicious taste!
Step 10: Store for Freshness
If you have any leftovers (though unlikely!), store your delicious Halloween Rocky Road Slices in an airtight container in the refrigerator. This will keep them fresh and enjoyable for days, perfect for sharing or indulging any time!
Make Ahead Options
These Halloween Rocky Road Slices are an excellent choice for busy cooks looking to save time without sacrificing flavor! You can prepare the chocolate mixture and mix in the peanuts and Kit Kat bars up to 24 hours in advance. Simply store the mixture covered in the refrigerator until you're ready to incorporate the marshmallows and swirl in the colorful candy melts. Just before serving, pour the mixture into the lined pan, decorate, and chill overnight for the best results. This way, you’ll achieve that perfect set while maintaining the delightful textures of your spooky treats—so you can impress guests with minimal effort!
What to Serve with Halloween Rocky Road Slices
These delightful treats are perfect for adding a touch of whimsy to your Halloween gatherings, making every bite a memory to cherish.
-
Warm Apple Cider: The cozy spices in warm apple cider create a perfect complement to the sweet, rich flavors of the rocky road slices. This drink invokes the comforting essence of fall, making it an ideal pairing.
-
Pumpkin Spice Ice Cream: Treat yourself to indulgence with creamy pumpkin spice ice cream, offering a smooth contrast that enhances the festive spirit of your dessert spread.
-
Chewy Caramel Brownies: Amplify the sweetness with chewy caramel brownies. The rich chocolate and gooey caramel introduce a delightful depth to each dessert plate, perfect for chocolate lovers.
-
Spooky Charcuterie Board: Assemble a spooky charcuterie board with an assortment of cheeses, meats, and Halloween-themed snacks. This vibrant mix offers various textures that balance the sweetness of the rocky road slices.
-
Hot Chocolate Bar: Set up a fun hot chocolate bar with toppings like whipped cream, chocolate shavings, and mini marshmallows. The rich warmth pairs exceptionally well with the chocolatey goodness of your slices.
-
Candy Corn Parfaits: Layered candy corn, whipped cream, and graham cracker crumbs create festive mini parfaits that echo the playful theme of Halloween, delighting both kids and adults.
-
Ghostly Meringues: Light and airy ghost-shaped meringues add a fun and spooky touch to your dessert table. Their crisp texture contrasts beautifully with the chewy rocky road slices.
-
Milkshakes: A thick chocolate or pumpkin milkshake rounds out the dessert experience, offering a familiar yet festive flavor that invites everyone to indulge.
-
Ginger Snap Cookies: Crunchy ginger snap cookies lend a spiced kick to your dessert lineup, and their bold flavor makes a lovely backdrop for the sweet treats to shine.
-
Halloween-themed Punch: Serve a vibrant Halloween punch with fruity flavors and colorful floating fruits, creating an inviting and refreshing drink that pairs beautifully with decadent desserts.
Expert Tips for Halloween Rocky Road Slices
Cool Chocolate Properly: Allow your chocolate mixture to cool slightly—too hot, and it will melt the marshmallows; too cool, and it won't mix well.
Avoid Overmixing: Once you add the marshmallows, mix gently to keep them puffy. Overmixing can cause them to melt and lose their texture.
Swirl with Care: When swirling in candy melts, use an offset spatula to create patterns without disturbing the base too much for a beautiful finish.
Mark Cutting Lines: Lightly score cutting lines on the surface before refrigerating. This makes slicing easier later without compromising your spooky decorations.
Use a Warm Knife: For the cleanest cuts, always use a warm knife when slicing your Halloween Rocky Road Slices. This prevents sticking and keeps edges neat.
Store Wisely: Keep leftover slices in an airtight container in the fridge. They stay fresh for days, making them perfect for unexpected guests!
How to Store and Freeze Halloween Rocky Road Slices
Fridge: Store your Halloween Rocky Road Slices in an airtight container for up to 1 week. This keeps them fresh while preserving their soft texture and delightful flavors.
Freezer: If you want to keep them longer, wrap the slices tightly in plastic wrap and then in aluminum foil. They can be stored in the freezer for up to 2 months.
Reheating: To enjoy your frozen slices, simply thaw them in the fridge overnight for the best texture before serving. Avoid using the microwave, as it may melt the chocolate.
Room Temperature: If you’re hosting a gathering or party, these slices can be displayed at room temperature for up to 2 hours before they begin to soften.
Halloween Rocky Road Slices Variations
Feel free to unleash your creativity with these fun variations and substitutions that will add even more charm to your Halloween Rocky Road Slices!
- Nut-Free: Substitute peanuts with sunflower seeds or pumpkin seeds for a crunchy alternative that’s free from common allergens.
- Gluten-Free: Use gluten-free cookie bars instead of Kit Kat for a similar satisfying crunch—everyone can enjoy!
- Fruit Fusion: Add chopped dried fruits like cranberries or apricots to the mixture for a delightful, chewy twist that elevates the flavor profile.
- Ghostly White Chocolate: Swap out semi-sweet chocolate for white chocolate chips for a spooky, sweet treat that raises the cuteness factor!
- Spicy Kick: Add a pinch of cayenne pepper to the chocolate mixture for a surprising hint of heat that complements the sweetness beautifully.
- Vegan Option: Use coconut oil instead of butter and dairy-free chocolate chips to create a decadent vegan delight everyone can love.
- Flavor Boost: Drizzle caramel sauce over the top before chilling for a rich, gooey sweetness that will take your slices to the next level!
- Savory Touch: Incorporate crushed pretzels into the mixture for a savory crunch that perfectly contrasts with the sweet elements—such a unique delight!
These variations are not just ways to customize your Halloween Rocky Road Slices; they allow you to cater to various tastes and dietary needs while retaining that cheerful, spooky essence.
Halloween Rocky Road Slices Recipe FAQs
How do I select the best chocolate chips for my Halloween Rocky Road Slices?
Absolutely! When choosing semi-sweet chocolate chips, look for ones that have a shiny appearance and feel slightly glossy to the touch. It's best if they don't have any dark spots or a dull surface, as this can indicate they’re past their prime. Brands that specify "real chocolate" usually have the richest flavor, making your rocky road slices even more delightful!
How should I store my leftover Halloween Rocky Road Slices?
Very important! You can keep your Halloween Rocky Road Slices in an airtight container in the fridge for up to 1 week. This helps maintain their soft texture and prevents them from absorbing other odors. Make sure to layer parchment paper between slices to avoid sticking.
Can I freeze Halloween Rocky Road Slices?
Absolutely! To freeze your slices, individually wrap each piece tightly in plastic wrap and then place them in a freezer-safe container or bag. They can stay frozen for up to 2 months. When you’re ready to enjoy them, simply move the desired slices to the fridge and let them thaw overnight for the best texture. Avoid reheating in the microwave, as this may melt the chocolate.
What should I do if my chocolate mixture isn’t melting properly?
If you’re facing issues with melting, ensure you’re microwaving in short intervals—30 seconds for chocolate, and 20-30 seconds for candy melts. Stirring each time is essential; chocolate can seize if overheated, so if it feels grainy or clumpy, don’t panic! Just add a teaspoon of vegetable oil or shortening, stirring gently until smooth again.
Are these Halloween Rocky Road Slices suitable for kids with nut allergies?
I recommend it! For kids with nut allergies, simply replace the roasted peanuts with more marshmallows or crispy rice cereal to retain that delightful crunch while keeping it allergy-friendly. Always double-check your candy and chocolate labels as some products can contain traces of nuts.
How long should I let the Halloween Rocky Road Slices chill before serving?
After preparing, it's best to refrigerate your slices overnight—this ensures they're perfectly set and maintain their shape for slicing. If you’d rather not wait that long, allow at least 4 to 6 hours in the fridge, ensuring they’re firm before cutting into your spooky creations!
Spooktacular Halloween Rocky Road Slices You’ll Love
Equipment
- Microwave-safe bowl
- 8-inch or 9-inch square pan
- offset spatula
Ingredients
For the Base
- 340 g semi-sweet chocolate chips The star of your Halloween Rocky Road Slices; their rich flavor is irresistible!
- 170 g butter Adds creaminess and helps bind the ingredients together for a perfect texture.
- 1 generous pinch salt Enhances the sweetness of the chocolate, balancing the flavors beautifully.
For the Mix-Ins
- 150 g roasted peanuts Provides that delightful crunch that contrasts with the smooth chocolate.
- 75 g mini marshmallows Light and fluffy, these give a sweet twist and a fun bounce to every bite.
- 10 mini bars Kit Kat bars Extra chocolatey goodness with a satisfying crunch—ideal for Halloween festivities!
For the Decorations
- 115 g candy melts Swirl these in for a colorful, spooky effect that makes your treats pop!
- gummy worms Add silly charm and a touch of whimsy to your slices—perfect for Halloween.
- M&M candy Gives a colorful crunch and additional sweetness that complements the other ingredients.
- candy eyes Create the funniest and spookiest expressions on your slices for a festive touch.
- Halloween sprinkles Top off your creations with these fun additions to celebrate the spooky season.
- extra melted semi-sweet chocolate Use as a drizzle for added flavor and a polished final look.
Instructions
Step-by-Step Instructions
- Prepare your pan by lining an 8-inch or 9-inch square pan with parchment paper, leaving it overhanging for easy removal.
- Melt the chocolate mixture by combining butter, chocolate chips, and salt in a large microwave-safe bowl. Microwave in 30-second intervals until melted and smooth.
- Melt the candy melts in separate bowls using microwave in 20 to 30-second intervals until smooth. Set aside.
- Fold in roasted peanuts and cut Kit Kat pieces into the chocolate mixture, stirring gently.
- Gently mix in the mini marshmallows, ensuring they remain fluffy.
- Pour the mixture into the prepared pan, spreading evenly, and swirl in melted candy melts.
- Decorate the top with gummy worms, colorful M&Ms, and candy eyes, positioning them outside the marked lines.
- Cover and refrigerate until set, ideally overnight.
- Once set, use the parchment edges to remove and slice into squares with a warm knife.
- Store leftovers in an airtight container in the fridge.
Leave a Reply