
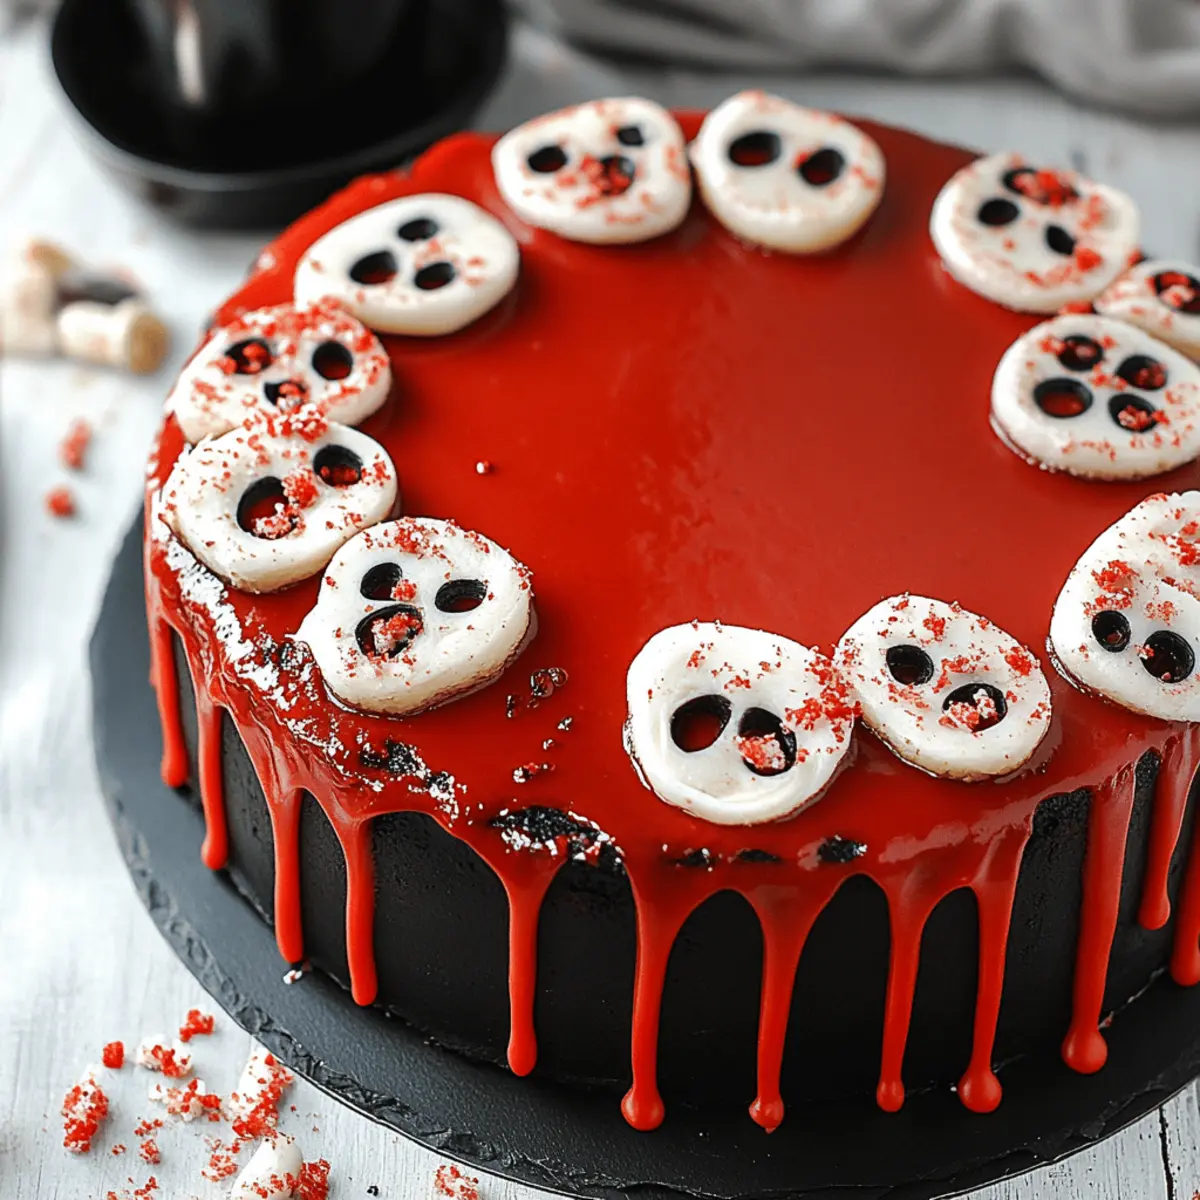
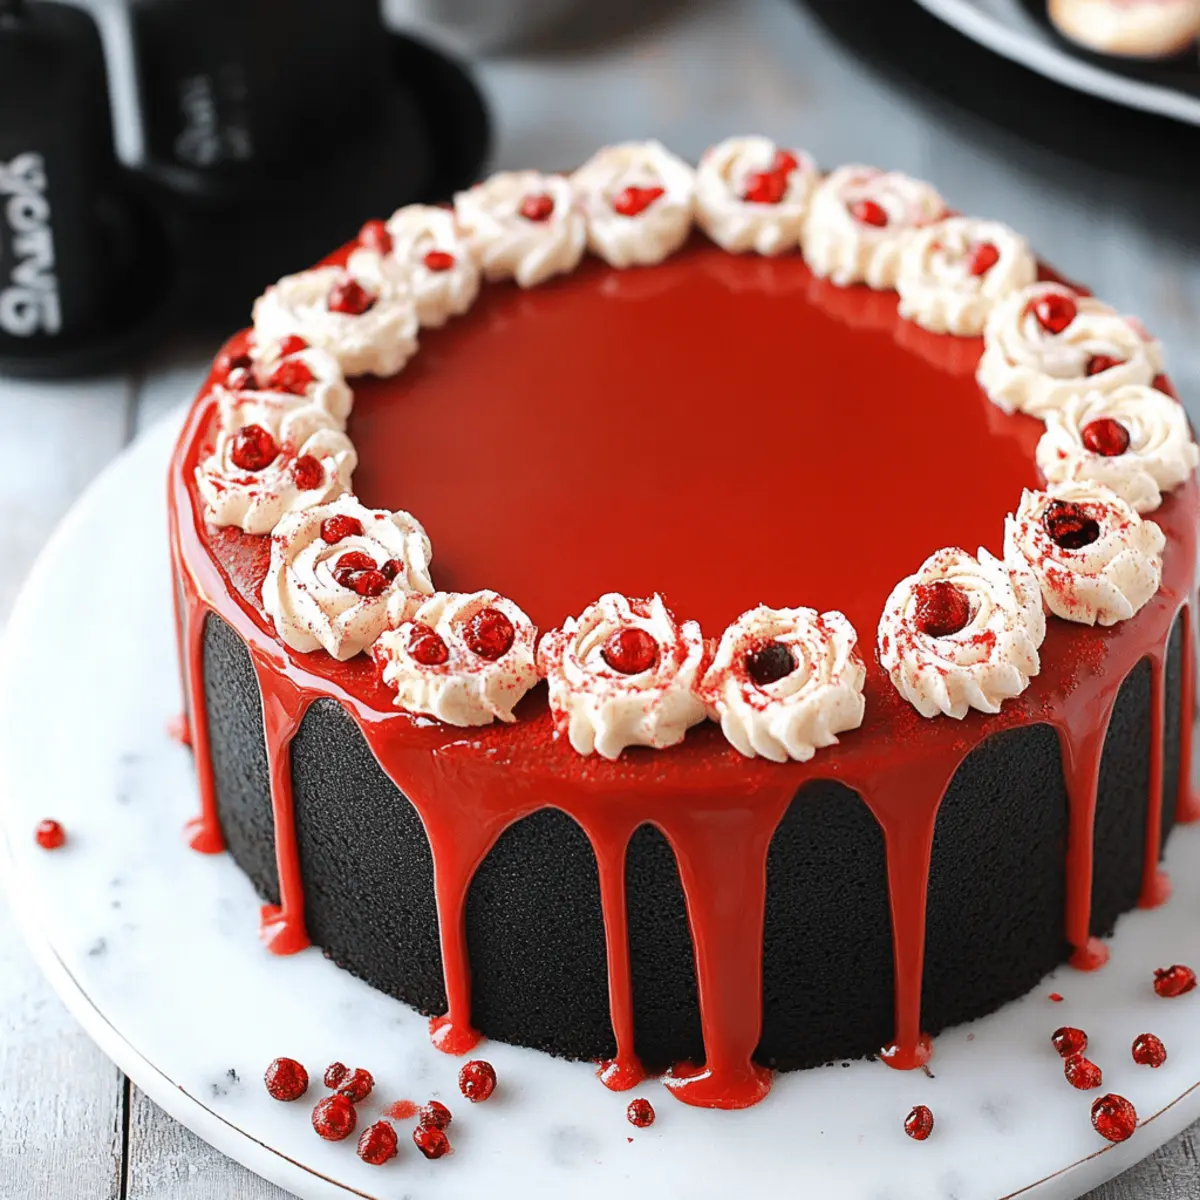
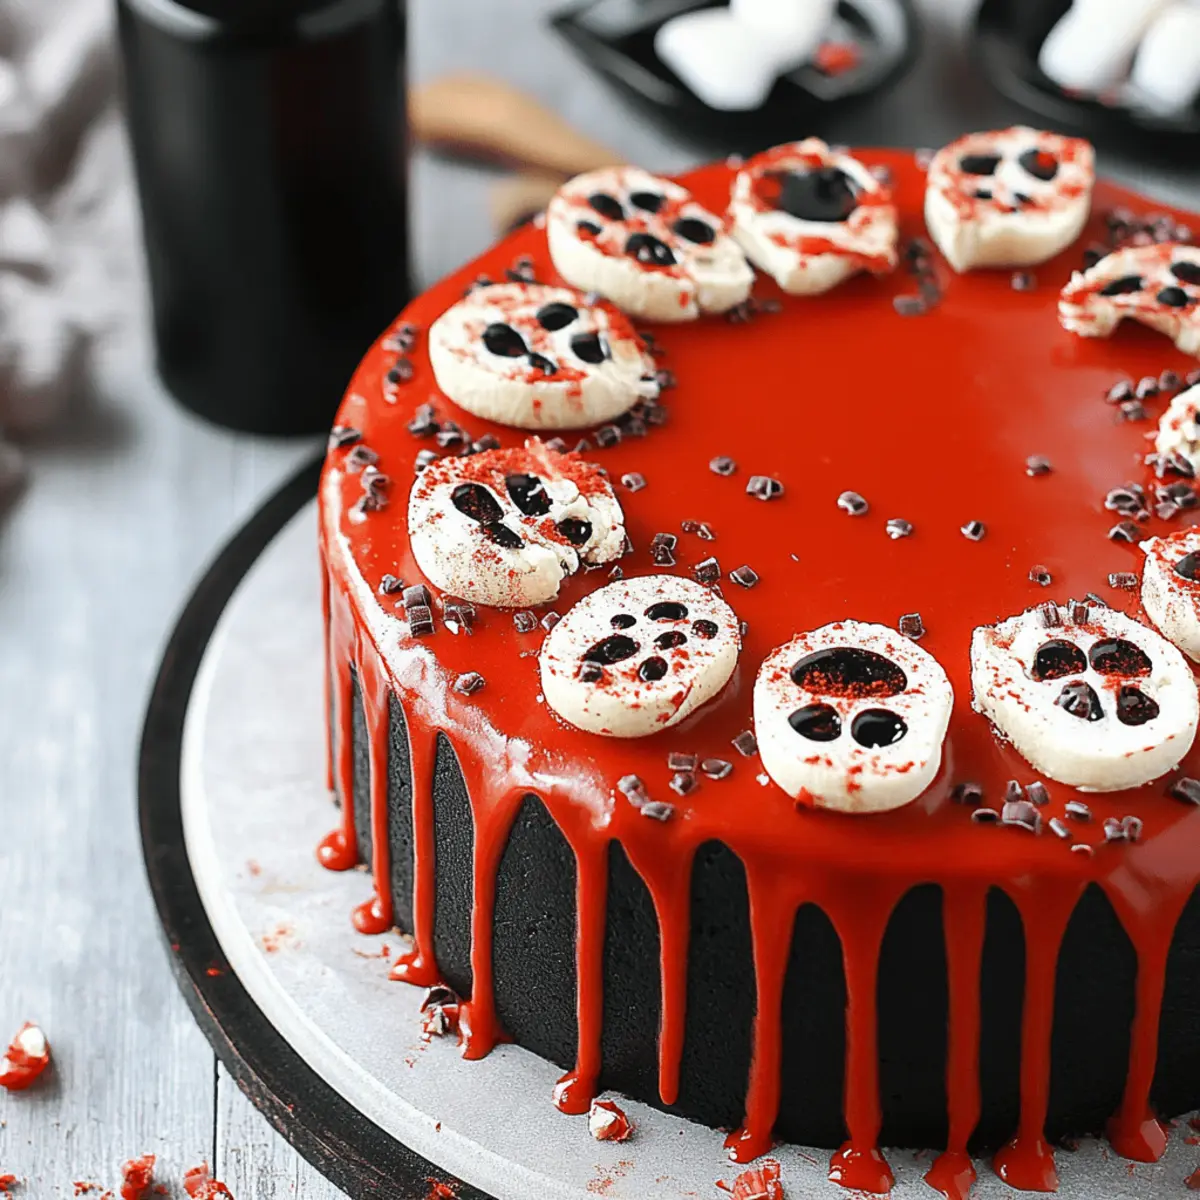
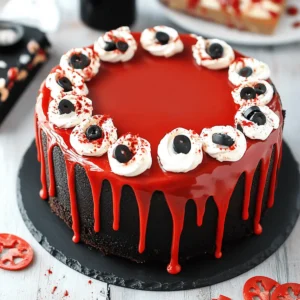
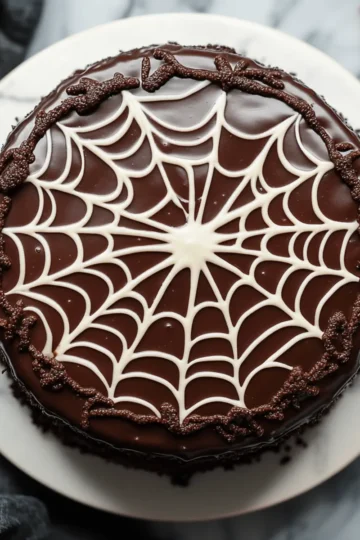
As leaves begin to crunch underfoot and the air turns crisp, the thrill of Halloween creeps into our kitchens, sparking creativity. There’s something so enchanting about baking a Spooky Halloween Marble Cake that not only looks hauntingly delightful but also makes the whole family gather around in anticipation. This cake’s mesmerizing marbled layers, accented with festive sprinkles and drippy red icing, will have your friends raving and the kids clamoring for more. It’s an easy, crowd-pleasing recipe perfect for embracing the spirit of the season without the stress of complicated steps. Plus, it's a fun way to involve the little ones in the kitchen! Are you ready to conjure up some deliciously spooky magic this Halloween?
Why is this cake the ultimate Halloween treat?
Delightfully Irresistible: This Spooky Halloween Marble Cake is a unique twist on a classic dessert, making it a standout centerpiece for your Halloween festivities.
Simple Steps: With straightforward instructions, even novice bakers can whip up this hauntingly beautiful cake without feeling overwhelmed.
Crowd Pleaser: Perfect for gatherings, its striking marbled design and festive sprinkles will impress both kids and adults alike, ensuring everyone is excited for a slice!
Versatile Flavor: The rich chocolate layers combined with the sweet vanilla make each bite a delightful experience. You can easily customize the decorations to fit your Halloween theme, creating fun variations!
Fun Family Activity: Get the little ones involved as you create this spooky masterpiece together! It's a great way to bond and make lasting memories in the kitchen before the Halloween festivities begin.
Spooky Halloween Marble Cake Ingredients
For the Cake Batter
- All-purpose flour – Essential for structure; ensure it’s fresh for the best results.
- Baking powder – Helps the cake rise; double-check its freshness for effectiveness.
- Baking soda – Works with the acid in buttermilk for a fluffy texture.
- Salt – Enhances flavors; don’t skip it!
- Unsalted butter – Use softened for easy creaming with sugar, ensuring a light cake.
- Granulated sugar – Adds sweetness and helps with the cake's texture.
- Vanilla extract – Provides a warm, aromatic flavor; opt for pure for the best taste.
- Buttermilk – Keeps the cake moist; can substitute with regular milk if necessary.
- Bittersweet chocolate – Melts beautifully for a rich chocolate flavor; use high-quality chocolate for best results.
For the Toppings and Decor
- Unsweetened cocoa powder – Intensifies the chocolate flavor in your cake.
- Powdered sugar – Perfect for making smooth frostings and decorations.
- Black gel icing color – Creates that spooky hue; a little goes a long way!
- Bloody bones sprinkles – Perfectly thematic; they add a fun crunch to each slice!
- Bloody eyeball sprinkles – Eye-catching and fun for kids; don’t skimp on the drama.
- Red candy melts – Ideal for creating a ghoulish red drip effect on top, making your cake truly stand out.
Gather these Spooky Halloween Marble Cake ingredients and let the fun begin! Your family and friends will be charmed by this bewitching delight, perfect for gathering around the Halloween table.
Step‑by‑Step Instructions for Spooky Halloween Marble Cake
Step 1: Preheat and Prepare
Begin by preheating your oven to 350°F (175°C). Grease and flour two 9-inch round cake pans to ensure your Spooky Halloween Marble Cake releases easily after baking. Place parchment paper at the bottom of each pan for an extra layer of protection. This initial preparation sets the stage for a perfectly baked cake.
Step 2: Mix Dry Ingredients
In a medium bowl, whisk together 2 ¼ cups of all-purpose flour, 2 ½ teaspoons of baking powder, ¼ teaspoon of baking soda, and ½ teaspoon of salt. Ensure the mixture is well combined and free of lumps. This step is essential for a light and fluffy cake, as even distribution of the leavening agents will help your cake rise beautifully in the oven.
Step 3: Cream Butter and Sugar
In a large mixing bowl, beat ½ cup of softened unsalted butter and 1 ½ cups of granulated sugar together using an electric mixer on medium speed. Continue mixing until the mixture becomes light and fluffy, which should take about 3-4 minutes. This process incorporates air into the batter, contributing to the cake's tenderness and inviting sweetness.
Step 4: Add Vanilla and Eggs
Add 1 tablespoon of vanilla extract to the creamed butter and sugar, mixing well to incorporate. Next, crack in the eggs—one at a time—beating well after each addition. The mixture should become smooth and creamy. This step enhances flavor and adds moisture to your Spooky Halloween Marble Cake.
Step 5: Combine Wet and Dry Mixtures
Gradually add the flour mixture to the butter mixture, alternating with 1 cup of buttermilk. Start and finish with the dry ingredients, mixing just until combined. Avoid over-mixing, as this might result in a dense cake. The batter will be smooth and ready to transform into a festive marbled delight.
Step 6: Tint the Batters
Divide the batter evenly into two separate bowls. In one bowl, fold in the melted bittersweet chocolate until fully incorporated. In the second bowl, add 2 teaspoons of black gel icing color, stirring until you achieve a vibrant, spooky hue. This dual-colored batter is what gives your Spooky Halloween Marble Cake its enchanting marbled appearance.
Step 7: Create the Marble Effect
Pour spoonfuls of both batters into the prepared cake pans, alternating between the chocolate and black-tinted batter. Use a knife or skewer to gently swirl the batters together, creating a marbled effect. The contrasting colors will yield a striking visual once baked, perfectly capturing the Halloween spirit.
Step 8: Bake the Cakes
Place the pans in the preheated oven and bake for 25-30 minutes or until a toothpick inserted into the center comes out clean. Keep an eye on the cakes; they should be golden brown and slightly spring back when touched. The enticing aroma will fill your kitchen, adding to the Halloween ambiance.
Step 9: Cool and Decorate
After baking, allow the cakes to cool in their pans for about 10 minutes before transferring them to a wire rack. Once completely cool, frost with black buttercream and create a spooky red drip using melted red candy melts. Finish by decorating with bloody bones and bloody eyeball sprinkles for a chillingly delightful presentation that enhances your Spooky Halloween Marble Cake.
How to Store and Freeze Spooky Halloween Marble Cake
Room Temperature: Store leftover cake in an airtight container at room temperature for up to 3 days for optimal freshness and taste.
Fridge: If you prefer a longer storage option, keep your Spooky Halloween Marble Cake in the refrigerator for up to 1 week. Make sure it's covered well to avoid drying out.
Freezer: For an even longer shelf life, slice the cake and wrap each piece tightly in plastic wrap before placing them in a freezer bag. It can last for up to 2 months in the freezer.
Reheating: To enjoy your cake again, thaw overnight in the refrigerator and let it come to room temperature before serving. A quick warm-up in the microwave for about 10-15 seconds can bring back that fresh-baked allure!
Expert Tips for Spooky Halloween Marble Cake
-
Quality Ingredients: Use fresh ingredients like flour and baking powder to ensure your Spooky Halloween Marble Cake rises beautifully and has the right texture.
-
Proper Mixing: Avoid over-mixing the batter once the dry and wet ingredients are combined to prevent a dense cake. Mix just until combined for the best rise.
-
Swirl Technique: When creating the marbled effect, don’t over-swirling. Aim for distinct swirls to get those haunting layers without losing the color definition.
-
Check Doneness: Insert a toothpick into the center of your cakes; if it comes out clean, it’s ready! Checking early can help avoid overbaking your cake.
-
Cool Completely: Allow the cakes to cool fully before frosting to prevent melting your delicious decorations. A warm cake can lead to a messy presentation!
-
Creative Decor: Feel free to customize the toppings—use different sprinkles or edible glitter to match your Halloween theme while making your Spooky Halloween Marble Cake truly unique!
Make Ahead Options
These Spooky Halloween Marble Cakes are perfect for meal prep enthusiasts! You can bake the cakes up to 3 days in advance, allowing you to focus on other Halloween festivities. Once cooled, wrap each cake layer tightly in plastic wrap to maintain moisture and refrigerate. The frosting can also be prepared up to 24 hours ahead; store it in an airtight container in the fridge to prevent it from drying out. When you’re ready to serve, simply reassemble and decorate your marbled masterpiece with the black buttercream and festive sprinkles. This way, your Spooky Halloween Marble Cake stays just as delicious and spooky while saving you precious time on the big day!
What to Serve with Spooky Halloween Marble Cake?
As you prepare to dazzle your family and friends with this bewitching treat, here are some delightful accompaniments to create a festive feast.
-
Witch’s Brew Punch:
A fun, fizzy drink that combines cranberry juice and ginger ale, offering a refreshing contrast to the rich cake. -
Savory Pumpkin Soup:
Warm and creamy, this soup adds a comforting touch that complements the cake's sweetness—perfect for chilly Halloween evenings. -
Crispy Apple Slices with Caramel Dip:
The crispness of fresh apples and the decadence of caramel create an inviting nibble alongside the cake. -
Spooky Cheese Platter:
A selection of hauntingly themed cheeses with crackers and fruit provides a savory counterpoint, balancing all that sweetness. -
Ghostly Meringue Cookies:
Light and airy meringues piped in spooky shapes make for delightful, whimsical bites that fit right in with your Halloween theme. -
Scary Chocolate-Covered Strawberries:
Dipped in dark chocolate and drizzled with white chocolate, these treats are both elegant and festive, enhancing the cake’s flavors. -
Haunted Hot Chocolate:
Rich and velvety, topped with whipped cream and marshmallow ghosts, it’s a cozy drink to enjoy alongside each sweet slice. -
Trick-or-Treat Candy Bowl:
An assortment of colorful candies adds to the festive spirit, creating a playful atmosphere that kids will love as they indulge in the cake.
With these charming options, your Spooky Halloween Marble Cake becomes the centerpiece of a memorable Halloween gathering!
Spooky Halloween Marble Cake Variations
Feel free to mix and match some of these delicious twists to make your cake even more memorable!
-
Gluten-Free: Substitute all-purpose flour with a gluten-free blend, ensuring your spooky treat can be enjoyed by everyone.
-
Dairy-Free: Use almond or coconut milk in place of buttermilk, and replace unsalted butter with vegan butter for a dairy-free delight.
-
Chocolate Overload: Increase the bittersweet chocolate to 10 oz for an even richer chocolate flavor that chocolate lovers will rave about.
-
Chilling Heat: Add a pinch of cayenne pepper to one half of the batter for a surprising spicy kick amidst the sweetness!
-
Nutty Delight: Fold in ½ cup of finely chopped walnuts or pecans into the cake batter for an added crunch and nutty flavor that complements the chocolate.
For those baking alongside kids, these variations can turn your kitchen into a creative haven. Try the nutty or spicy twist together—making these adjustments can bring everyone into the spooky spirit while savoring the joy of baking. And don’t forget to explore our [expert tips](#Expert-Tips-for-Spooky-Halloween-Marble-Cake) for the perfect bake every time!
Spooky Halloween Marble Cake Recipe FAQs
What’s the best way to choose ripe and fresh ingredients for this cake?
Absolutely! When selecting ingredients, especially for a Spooky Halloween Marble Cake, fresh components are key. For butter, ensure it’s unsalted and soft to the touch. The all-purpose flour should be free of clumps and not past its expiration date. A quick sniff test for the baking powder and baking soda can determine freshness—if they don’t have any fizz when mixed with vinegar or lemon juice, it’s time to replace them!
How should I store leftover Spooky Halloween Marble Cake?
For maximum freshness, store any leftover cake pieces in an airtight container at room temperature for up to 3 days. If you want to keep it longer, place it in the refrigerator, where it can last up to 1 week. Just be sure it's wrapped well to maintain moisture and avoid drying out—no one likes a dry cake!
Can I freeze my Spooky Halloween Marble Cake for later enjoyment?
Absolutely! To freeze your cake, start by slicing it into individual pieces. Then, wrap each slice tightly in plastic wrap. Place the wrapped slices in a labeled freezer bag, and your spooky treat will last for up to 2 months! When you're ready to enjoy, just take a slice out and thaw it overnight in the refrigerator, letting it come to room temperature before serving.
What should I do if my cake doesn’t rise properly?
Very disappointing, I know! If your Spooky Halloween Marble Cake doesn’t rise, it might be due to old baking powder or baking soda. Always check for freshness before starting. Additionally, ensure you’re not over-mixing your batter during the wet and dry ingredient integration, as this can affect the cake's rise. If everything's fresh and mixed correctly, your cake should rise beautifully.
Are there any dietary considerations I should be aware of for this recipe?
Yes! This Spooky Halloween Marble Cake contains dairy, gluten, and sugar. If you're making it for someone with allergies or dietary restrictions, consider using dairy-free butter and a gluten-free flour blend. For a sugar alternative, you can experiment with sweeteners like stevia or coconut sugar, but adjust your measurements accordingly. Always double-check individual ingredient labels for potential allergens, especially if serving to guests!
What’s the best way to decorate my cake for Halloween?
Absolutely! After frosting your cake with black buttercream, get creative with your decorations. Use a piping bag for the spooky red drip effect from candy melts, and go wild with the bloody bones and eyeball sprinkles for an extra fright! You can also add edible glitter or themed toppers to personalize your cake and make it even more festive. The more, the merrier when it comes to Halloween spirit!
Spooky Halloween Marble Cake: A Delightfully Wicked Treat
Equipment
- Oven
- Mixing bowls
- Electric mixer
- cake pans
- Whisk
- Rubber spatula
- parchment paper
Ingredients
For the Cake Batter
- 2 ¼ cups all-purpose flour Ensure it’s fresh for the best results.
- 2 ½ teaspoons baking powder Double-check its freshness for effectiveness.
- ¼ teaspoon baking soda Works with buttermilk for a fluffy texture.
- ½ teaspoon salt Enhances flavors; don’t skip it!
- ½ cup unsalted butter Use softened for easy creaming.
- 1 ½ cups granulated sugar Adds sweetness and texture.
- 1 tablespoon vanilla extract Opt for pure for the best taste.
- 1 cup buttermilk Keeps the cake moist.
- 8 ounces bittersweet chocolate Use high-quality chocolate for best results.
For the Toppings and Decor
- ½ cup unsweetened cocoa powder Intensifies the chocolate flavor.
- 1 cup powdered sugar Perfect for smooth frostings.
- 2 teaspoons black gel icing color Creates a spooky hue.
- 1 cup bloody bones sprinkles Adds a fun crunch.
- 1 cup bloody eyeball sprinkles Eye-catching for kids.
- 1 cup red candy melts For a ghoulish red drip effect.
Instructions
Step-by-Step Instructions
- Preheat your oven to 350°F (175°C) and grease/flour two 9-inch round cake pans.
- In a medium bowl, whisk together 2 ¼ cups of all-purpose flour, 2 ½ teaspoons of baking powder, ¼ teaspoon of baking soda, and ½ teaspoon of salt.
- In a large mixing bowl, beat ½ cup of softened unsalted butter and 1 ½ cups of granulated sugar until light and fluffy.
- Add 1 tablespoon of vanilla extract, then crack in eggs one at a time, mixing well after each addition.
- Gradually add the flour mixture and 1 cup of buttermilk, starting and finishing with the dry ingredients.
- Divide the batter, fold in melted bittersweet chocolate in one bowl, and black gel icing in the other.
- Pour spoonfuls of both batters into pans, alternate them, and swirl together.
- Bake for 25-30 minutes until a toothpick comes out clean.
- Cool in pans for 10 minutes, then wire rack to cool completely. Frost with black buttercream and red candy melts.
Leave a Reply